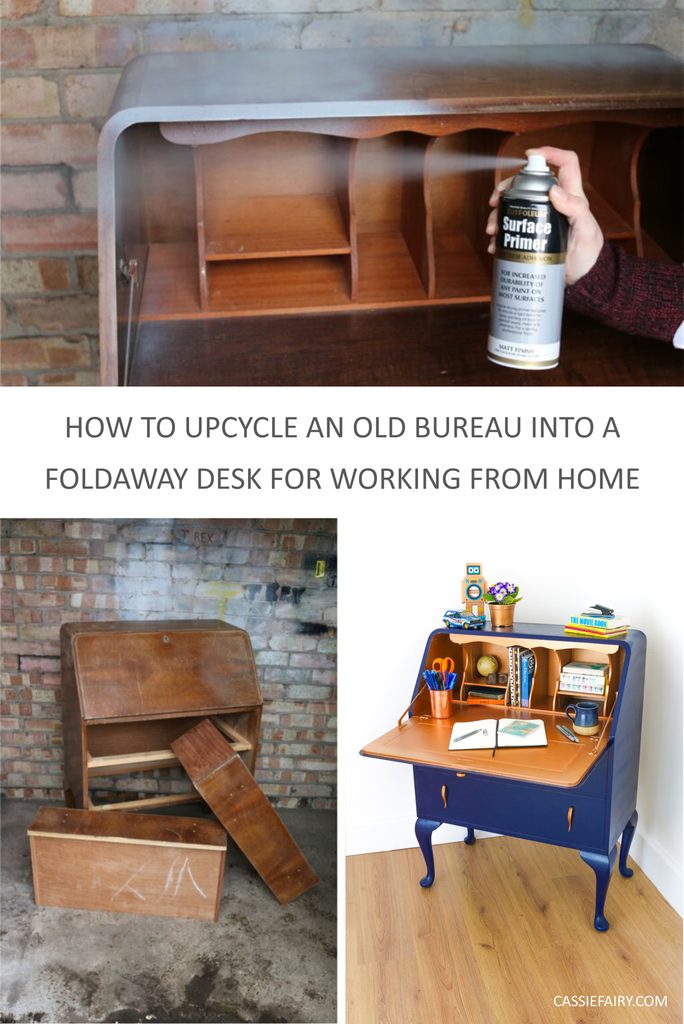




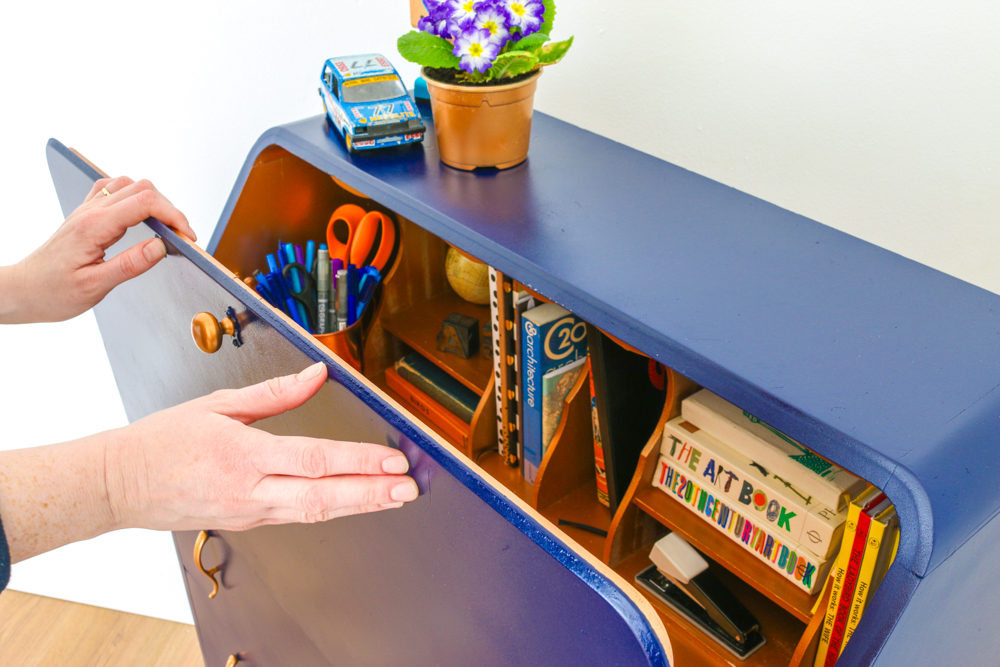
A few years ago, while browsing a charity shop in Lancashire, we found an old bureau that had definitely seen better days. It was a traditional style that didn’t really fit into our home and was covered in stains and scratches
However, I could picture it as a handy little workspace where I could work from home during the day and then tuck away my laptop away out of sight at night.
These little vintage bureaus don’t take up much space in the corner of the living room or even in the hallway or tucked into an alcove, but will give you that dedicated desk you need when remote working.
I think it’s so handy to be able to close the lid on your work when you’re done for the day. For me, it gives my brain the signal that work is over and it’s time to relax – out of sight, out of mind, amIright?
So, if you’ve spotted a second‑hand bureau at a charity shop or inherited one that’s gathering dust in your garage, let’s give it a refresh so you can use it when you’re working from home.
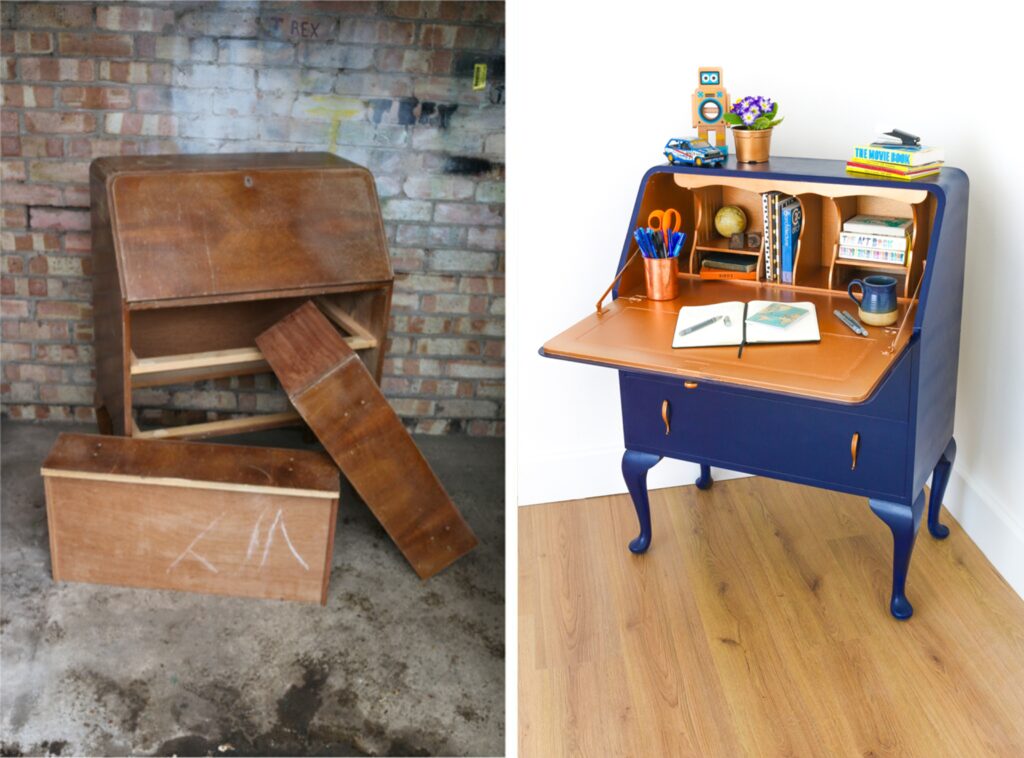
Step 1: Prep Your Bureau
Most makeovers begin with a bit of elbow grease and my bureau certainly needed some! The wood was covered in scratches, stains and scrawps, so the only option to bring it back to life was to sand and paint it.
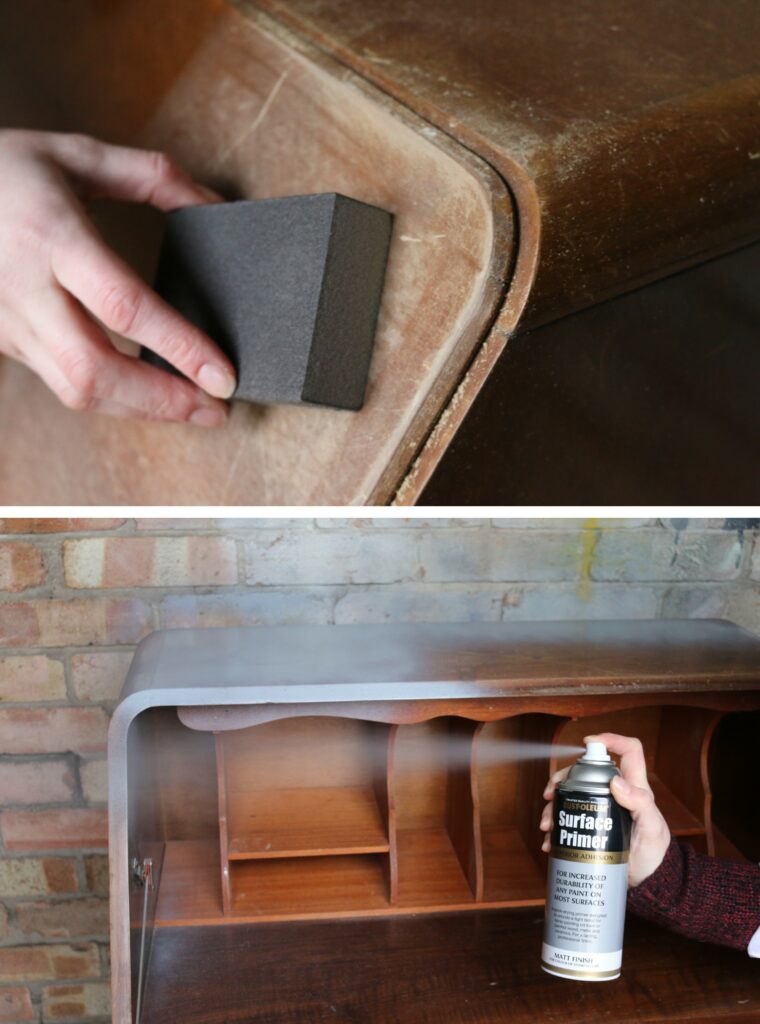
First, remove any handles or fixings so you’ve got a blank slate to work with, then give the wood a light sanding to smooth the surfaces and help the paint cling properly. Once you’ve sanded, wipe away the dust with a lint‑free cloth and vacuum out the drawers.
Step 2: Prime time
It’s a step that I sometimes skip if I’m using a chalk paint or one that includes a primer, but this time I decided to use a primer spray paint to create an even base and help the top coat to be applied evenly.
Give the whole bureau a coat of primer, including the interior if you’re planning to paint the inside. It’s amazing how much fresher it already looks at this stage – maybe grey primer could be the finished colour for a minimalist vibe haha!
Step 3: Pick Your Colours
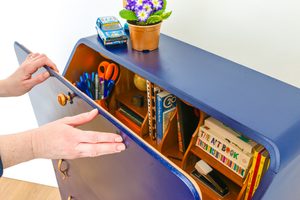
Choosing a colour combination is always my favourite part of any project. I went for a deep inky blue on the outside and a warm metallic copper inside because I wanted a cosy, jewel‑box feel when I opened the lid. I guess the autumnal season influenced me somewhat.
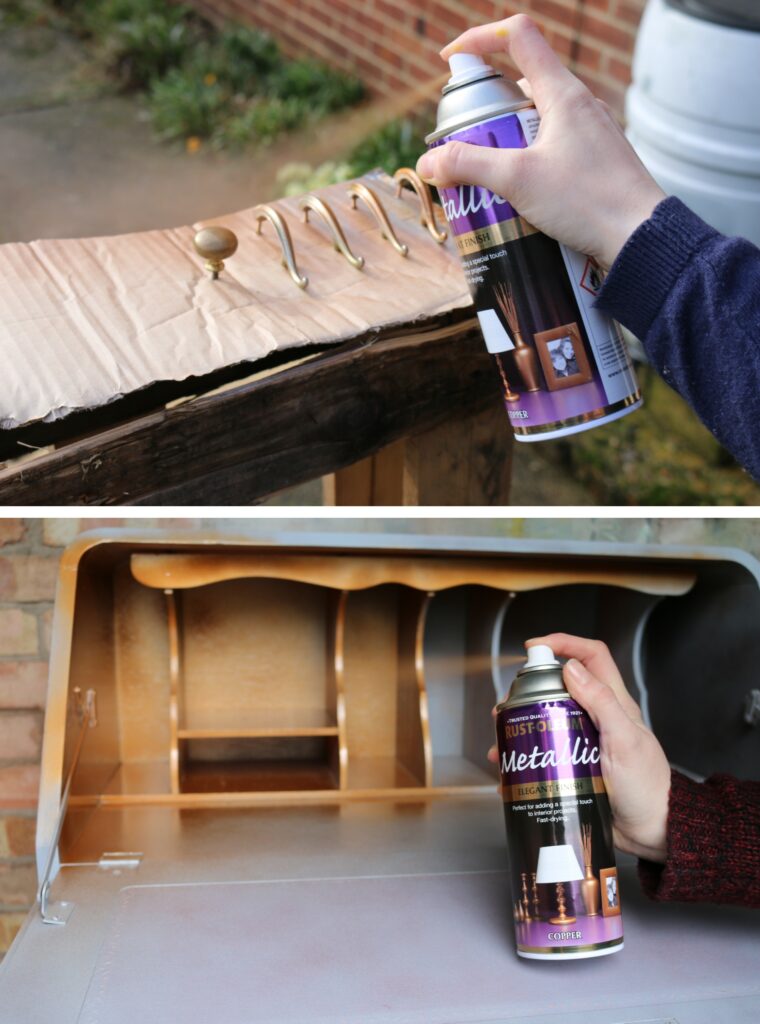
Whatever colours you choose, spray the handles and knobs in the same shade as you’re using on the interior so everything ties together. It’s such a small detail but makes a huge difference to the finished look.
Step 4: Paint the Interior
Start with the inside of the bureau and spray paint the drawers, the drop-down leaf and inside the cabinet. If yours has cubby holes or little shelves like mine does, make sure you spray into every nook and cranny.
Move around the piece as you paint so you can see it from multiple angles to make sure you don’t miss any corners. A couple of fine coats, with drying time between the layers, will give you an even finish and good depth of colour inside your bureau.
Step 5: Mask and Protect
Once the paint is dry, it’s time to protect your lovely copper interior. Use masking tape around the edges and cover the whole of the inside with newspaper or old carrier bags. It’s worth it to keep the interior pristine while you paint the outside.
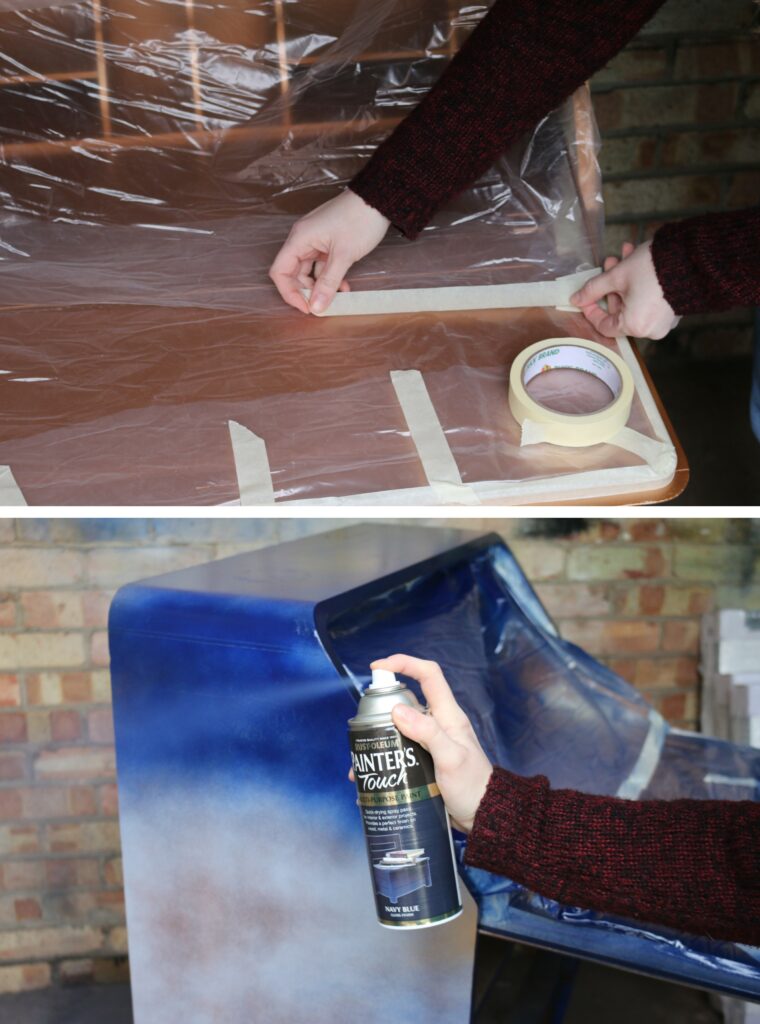
Step 6: Paint the Exterior
Now for the transformation moment. Spray the exterior in thin, even coats – lots of light layers are better than one thick layer that will almost certainly drip.
Let each coat dry thoroughly before adding the next. The bureau will soon start to look like a brand‑new piece of furniture. Once everything is dry, reassemble the drawers and add the handles to finish it off.
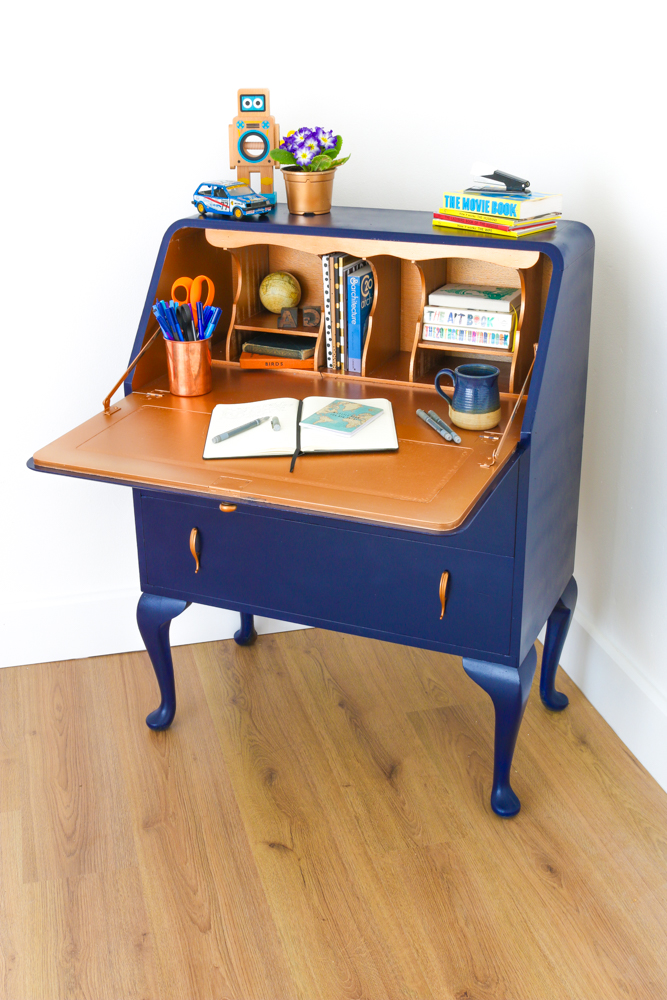
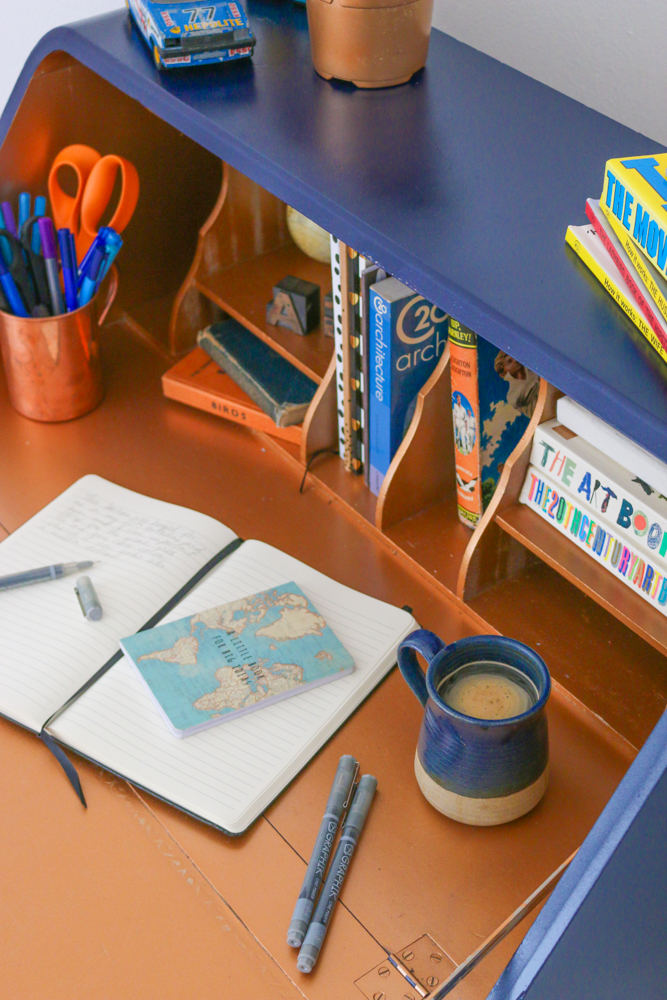
Bring it into a cosy corner of your home and style it with a lamp, plant, little trinkets and your favourite books. Don’t forget the opportunity to buy new stationery – enjoy that back-to-school feeling as you stock up on coordinating notebooks!
Your beautiful bureau is both a practical and stylish addition to your home – you’ve painted it to suit your interior and the fold-out desk provides plenty of space for your laptop. Plus, there’s something so satisfying about closing the lid at the end of the day and reclaiming your home when you’re remote working.
I hope this project inspires you to give an old piece of furniture a new life. If you try this makeover, I’d love to hear about it in the comments or you can browse even more furniture upcycling ideas on my blog for your next DIY project.
Pin it for later