Over the past couple of weeks I’ve been taking on the challenge to give my garden a bit of makeover. The weather is finally lovely enough to encourage me outside and I’ve had the urge to start digging, weeding and planting ready for summer. A trip to the garden centre for couple of bags of compost and some plant pots two weekends ago ensured that I had no excuse to get started and here’s how I got on.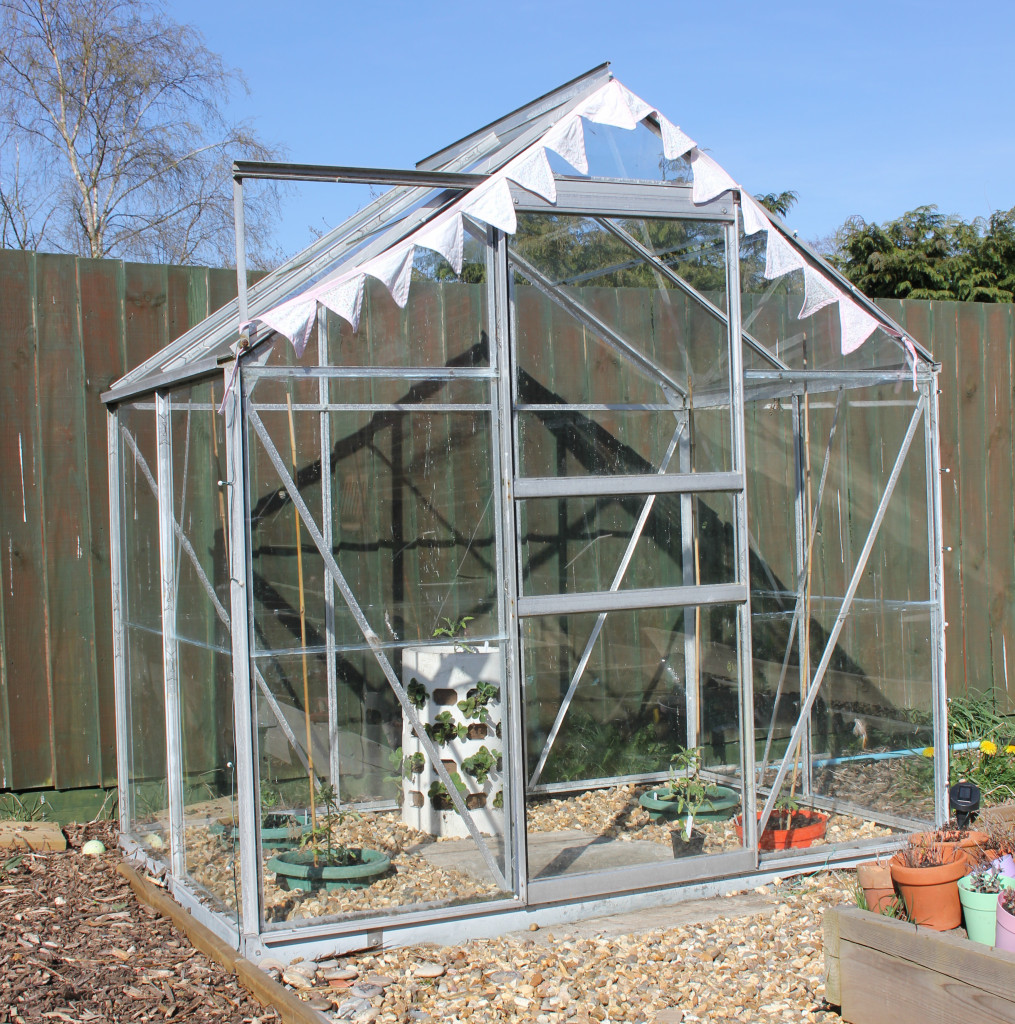 I started with my greenhouse, which had been sadly neglected since the end of tomato-growing season last year and had sprouted all kinds of weeds, alongside the crispy plants, tangled string and cobwebs. So when I heard about MKM’s garden SOS challenge I knew this would be the ideal part of my garden for a makeover.
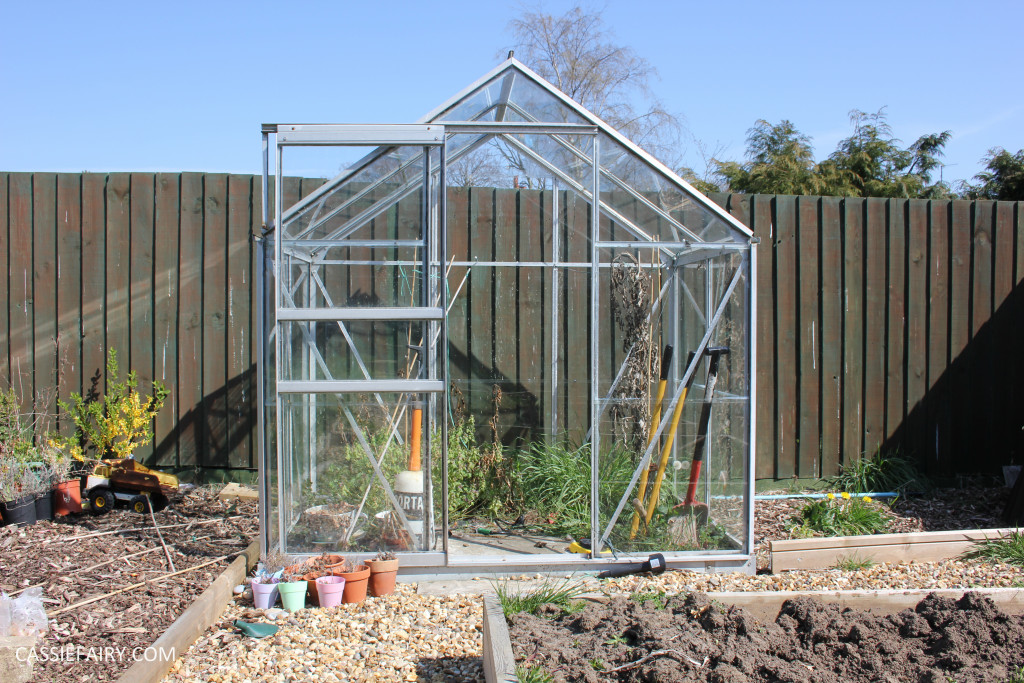
 The greenhouse had become a place where tools and pots were plonked during the winter so there was a lot of clearing out to do before I could even get started. I’m trying to think of a solution for storing the tools and compost etc, as I don’t have a shed, nor the budget to buy one. Any suggestions would be welcome!
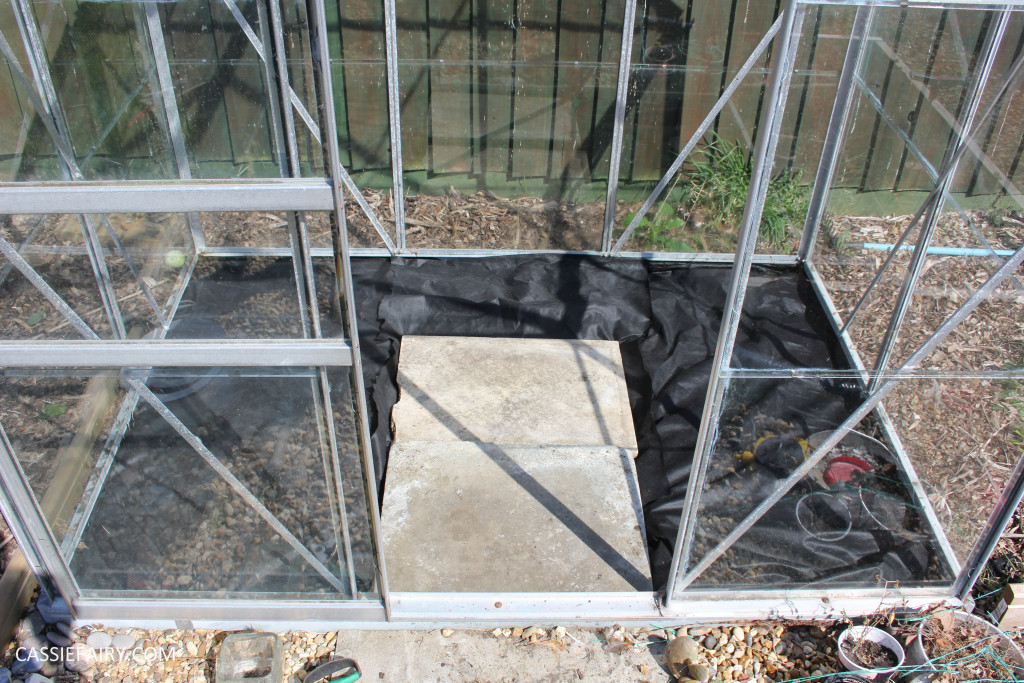
The weeding was dull and although I like the end result I’d rather never have to weed in the greenhouse again so this year I have laid down some weed-resistant membrane over the bare soil. I shovelled gravel on top of it and fingers crossed the weeds won’t be able to reappear this year.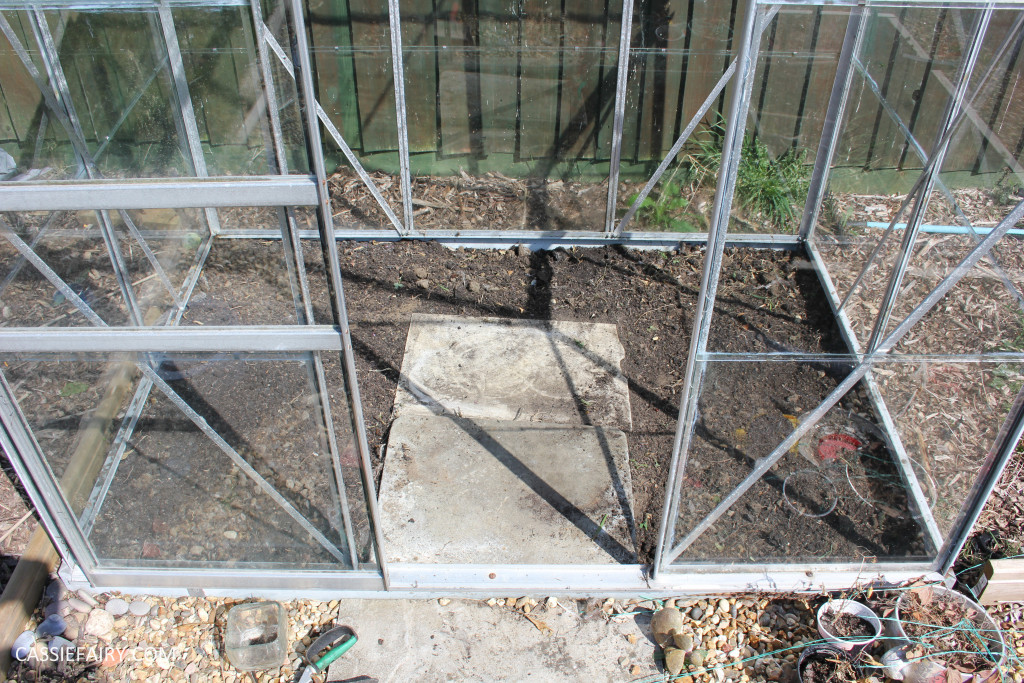
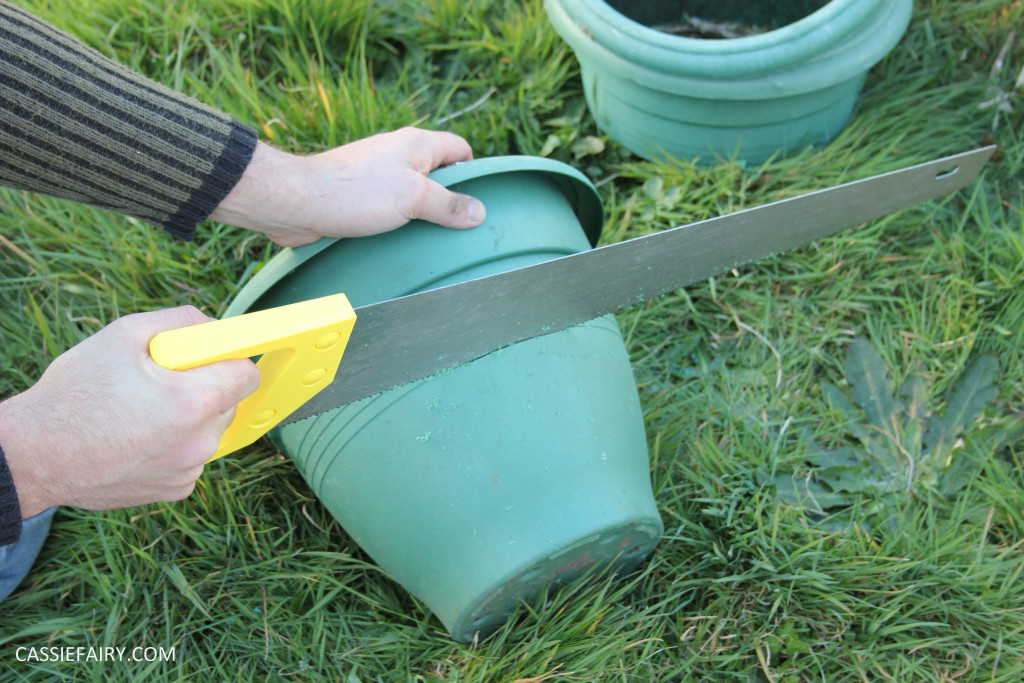
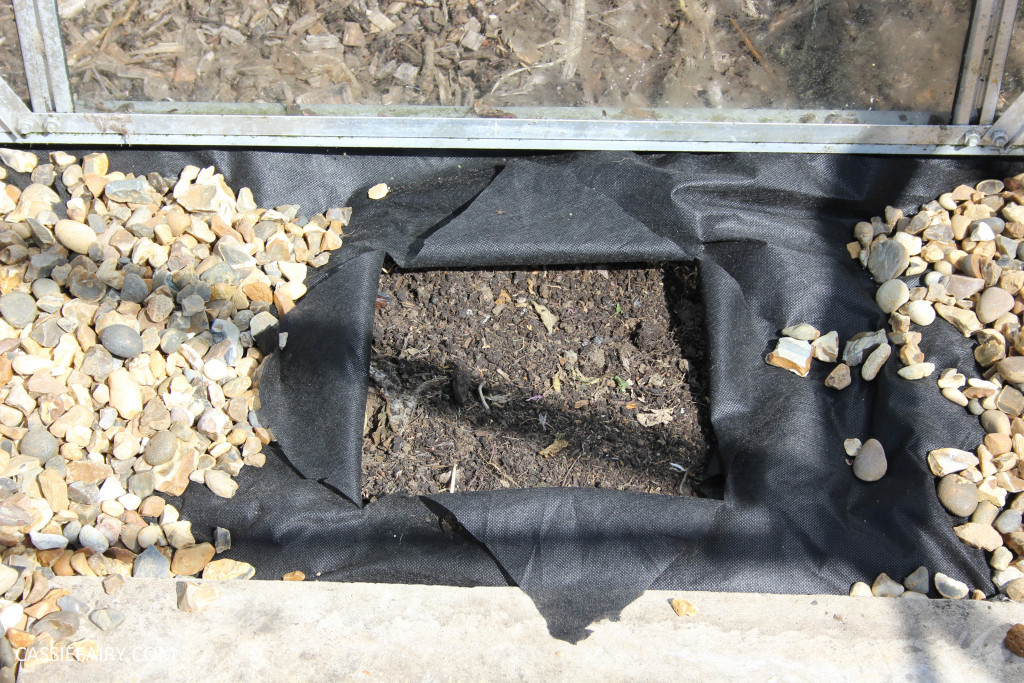
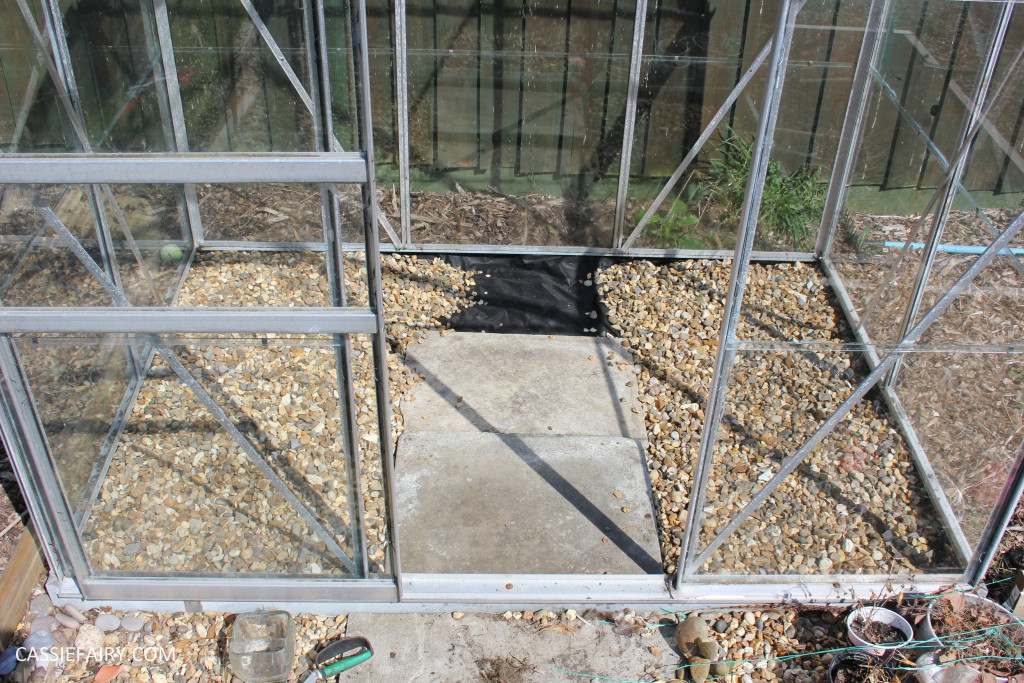 I decided to grow my tomato plants in pots this year rather than straight into the ground. I briefly considered using grow-bags but having already booked time away this summer I was worried about the tomato plants drying out if they were left unwatered for a few days. So I asked my husband to help me saw off the bases of some large plastic plant pots so that I could sink these into the ground (cutting a hole in the membrane so that the roots could grow through). This ensures that water in directed straight to the plant, yet if they were neglected for a few days (which they inevitably will be) the tomato plants would still be able to access the moisture in the soil below.
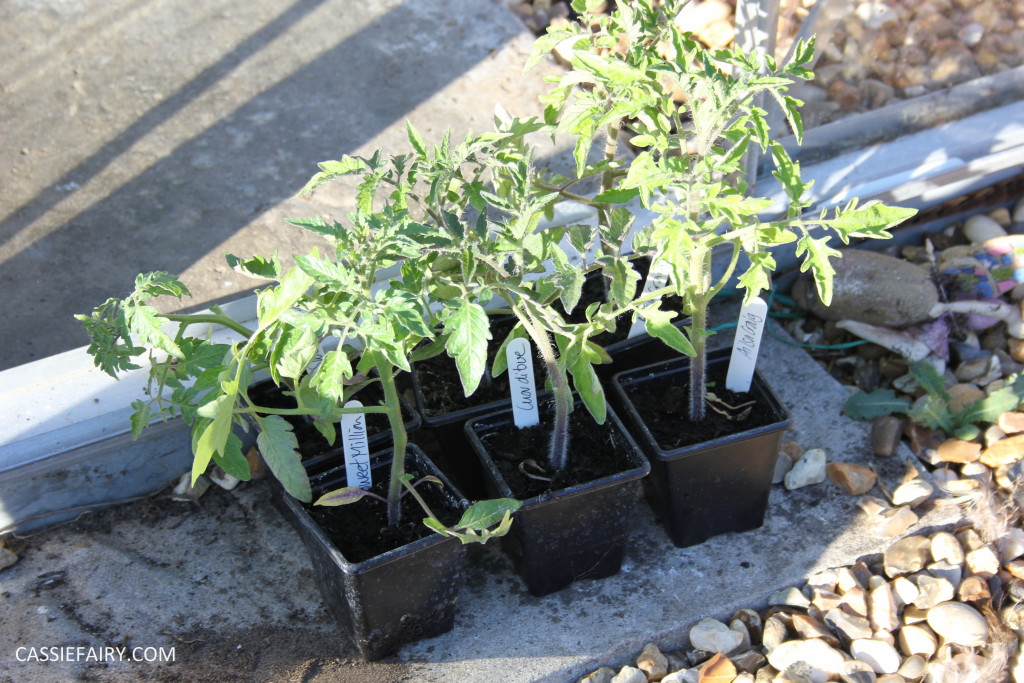
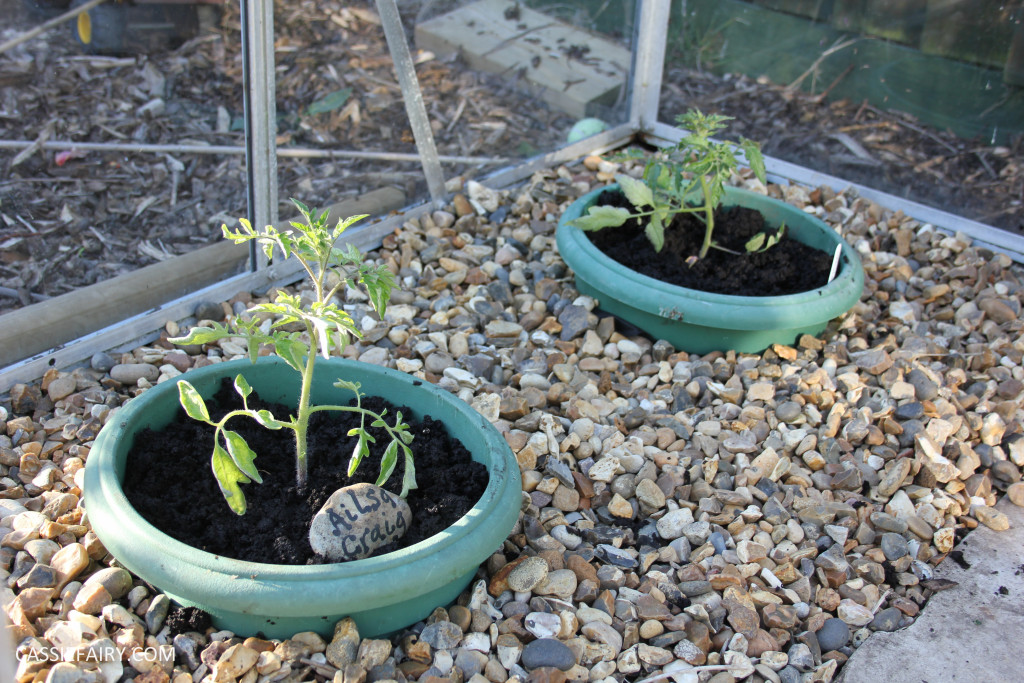 I chose some Alisa Craig tomato plants as this variety grew very well for me last year and produced massive crops of tomatoes. Alongside these we chose Sweet Million and I’m trying out an Italian tomato Cuore Di Bue this year too. Fingers crossed that they shoot up as well as last year’s selection did!
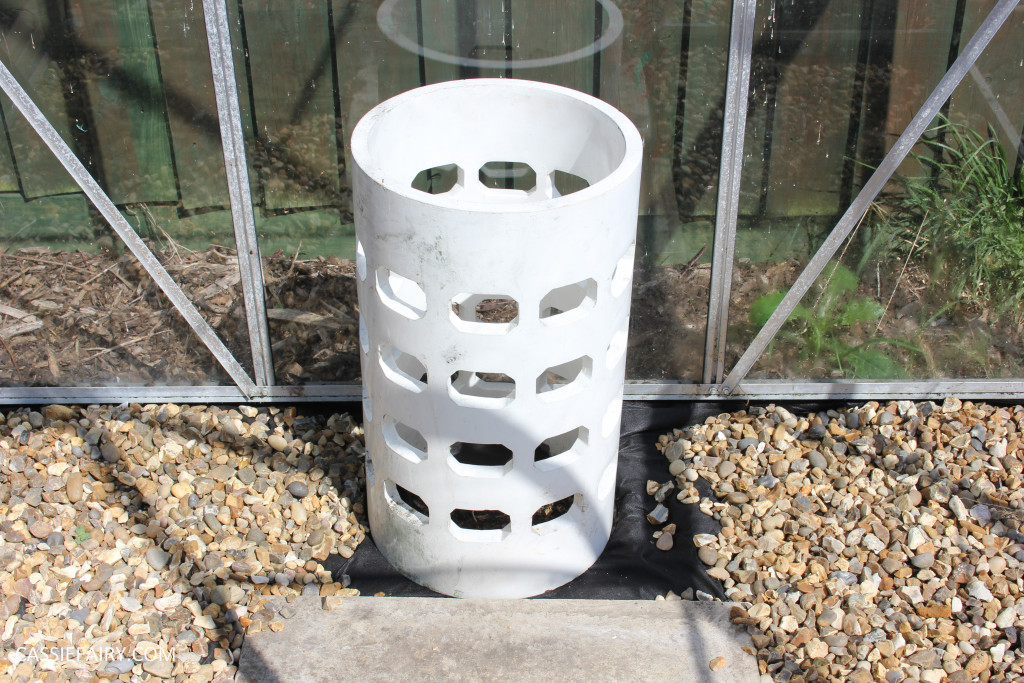
After finishing up with the tomato plants, I set to work creating a strawberry planter. This plastic ‘vent’ was found in a skip (I’m not sure what it was originally used for) and it’s the ideal size for a strawberry pot. Again, I cut a hole in the membrane so that the roots could access the soil and sat the ‘planter’ on top of the hole. I lined it with cardboard before filling with a mixture of garden soil and fresh compost.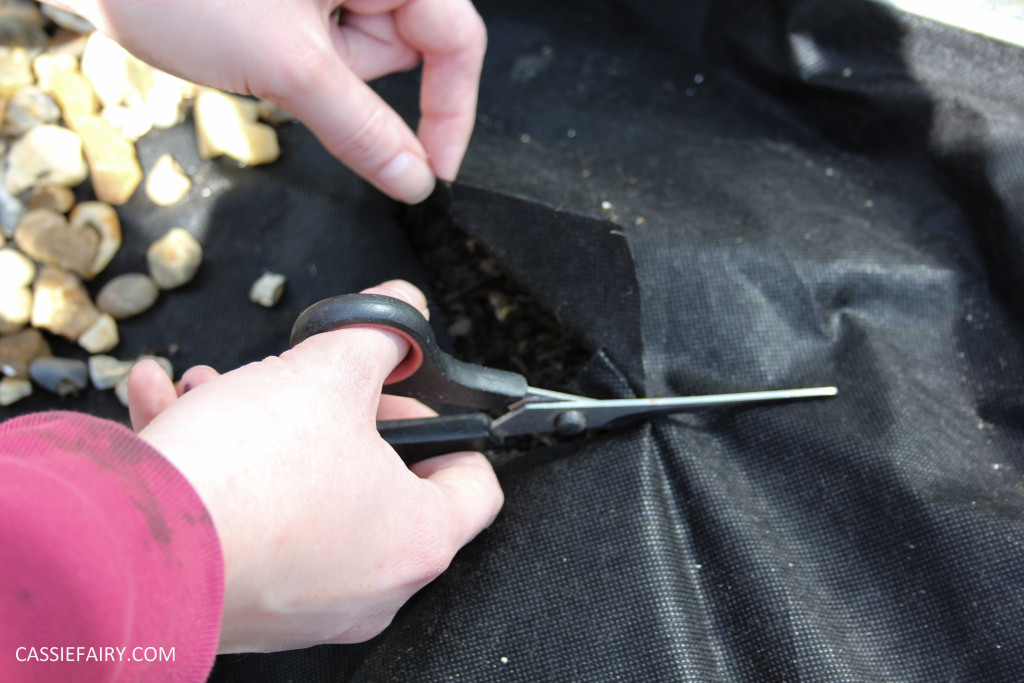
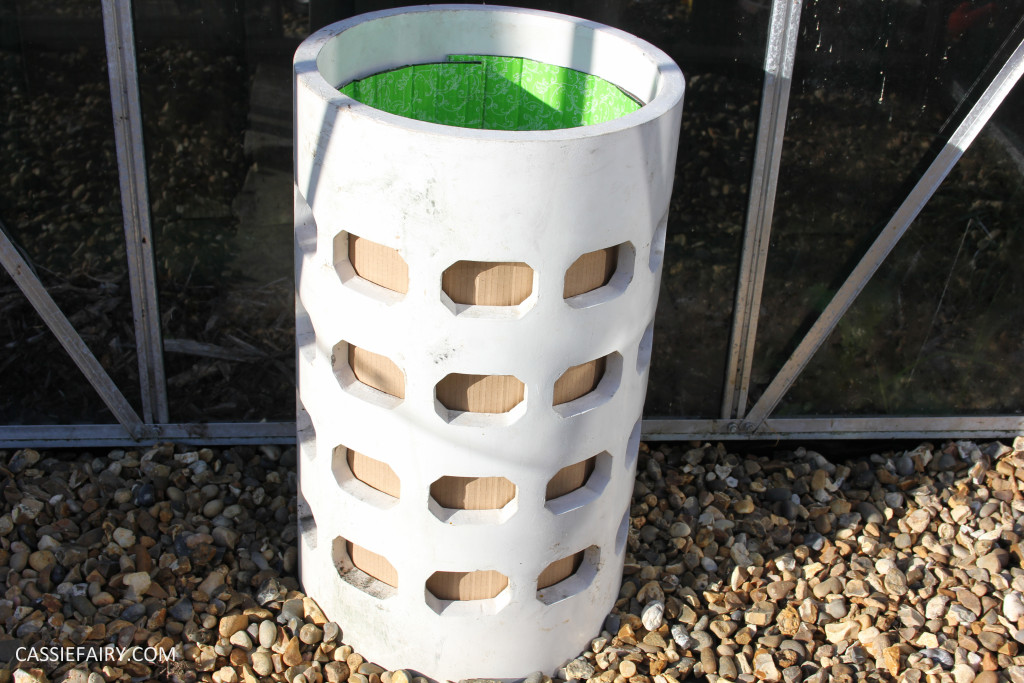
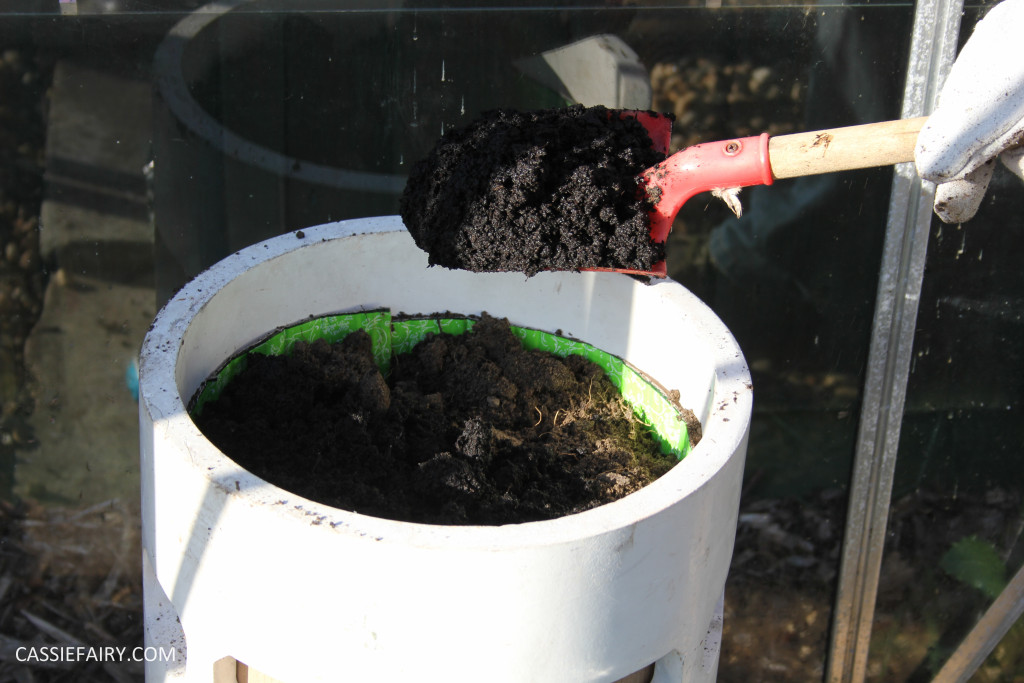 It was simple enough to plant the strawberry plants – I just cut a hole in the cardboard wherever I wanted to add a plant and pushed the roots into the compost. After planting strawberries all over my newly repurposed planter I watered them in and added another tomato plant on top – I hope they don’t mind sharing the soil. I think it’ll be okay though because after only a week’s growth we already have around 30 flowers on the strawberry plants (see my photo below), woo!
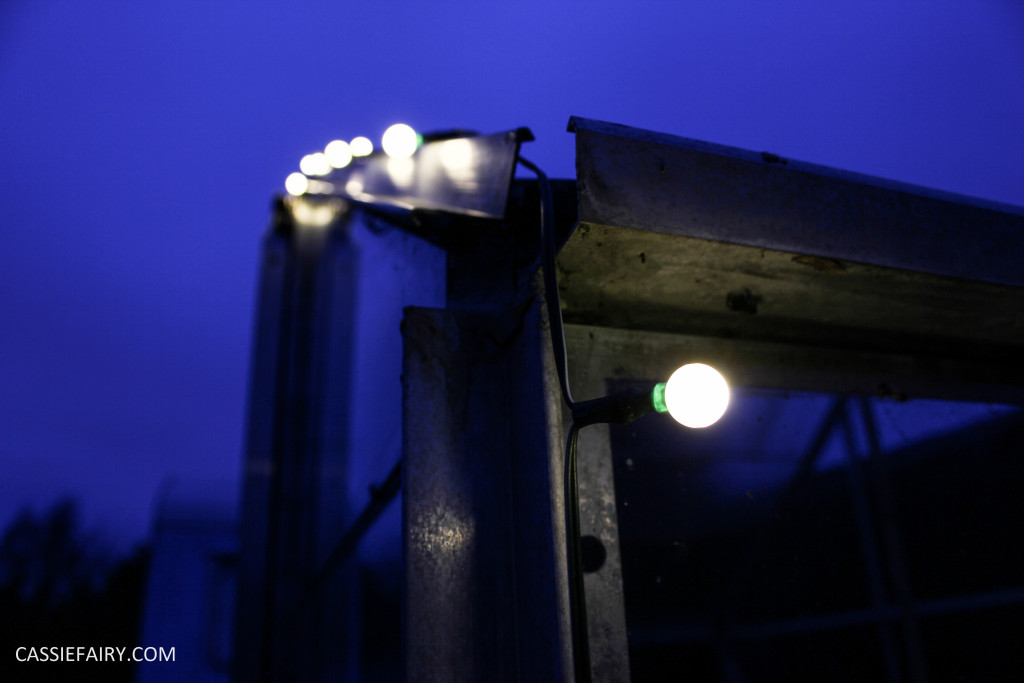
After finishing the planting inside the greenhouse I turned my attention to outside. I invested in some solar fairy lights and decided to outline the front of the greenhouse. Not only does this provide additional light if we are working in the garden later n the evening, but it also looks really pretty when I look out of my kitchen window at night.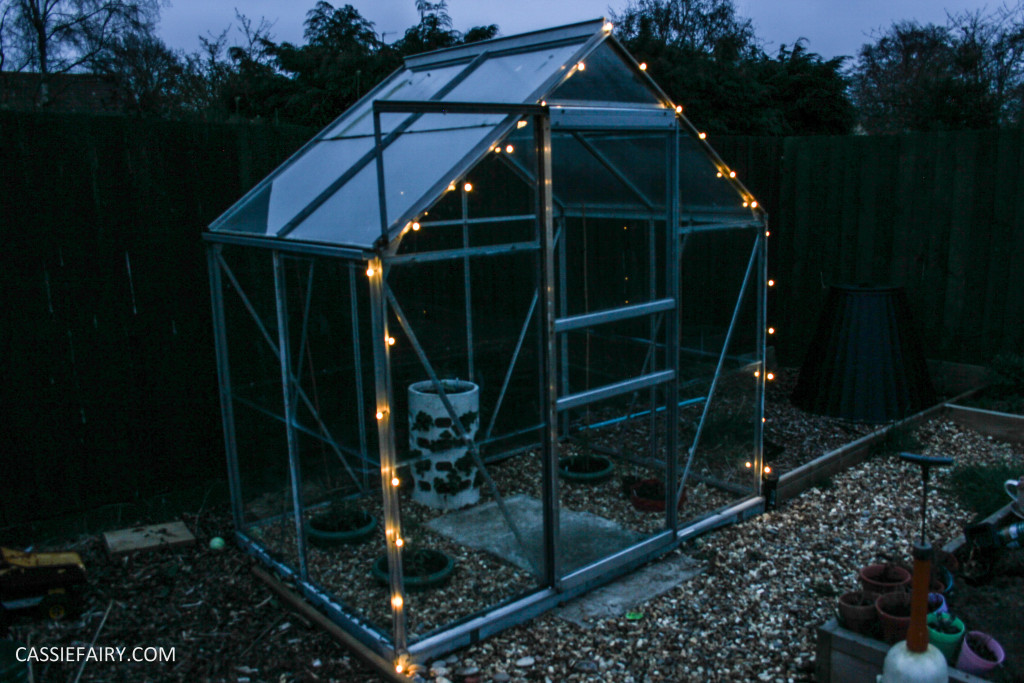
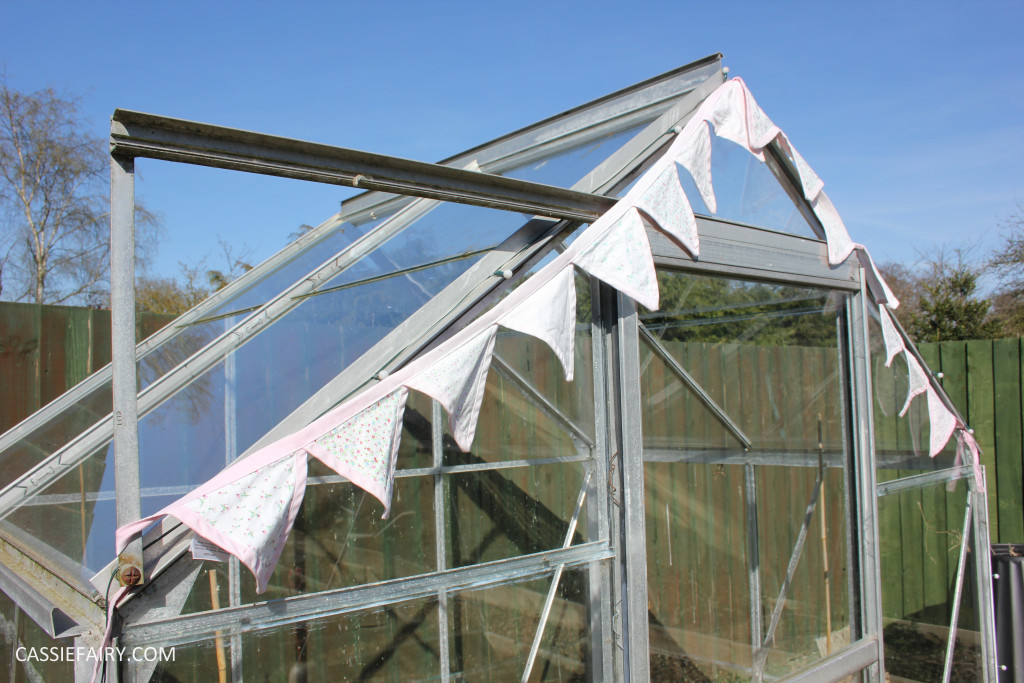
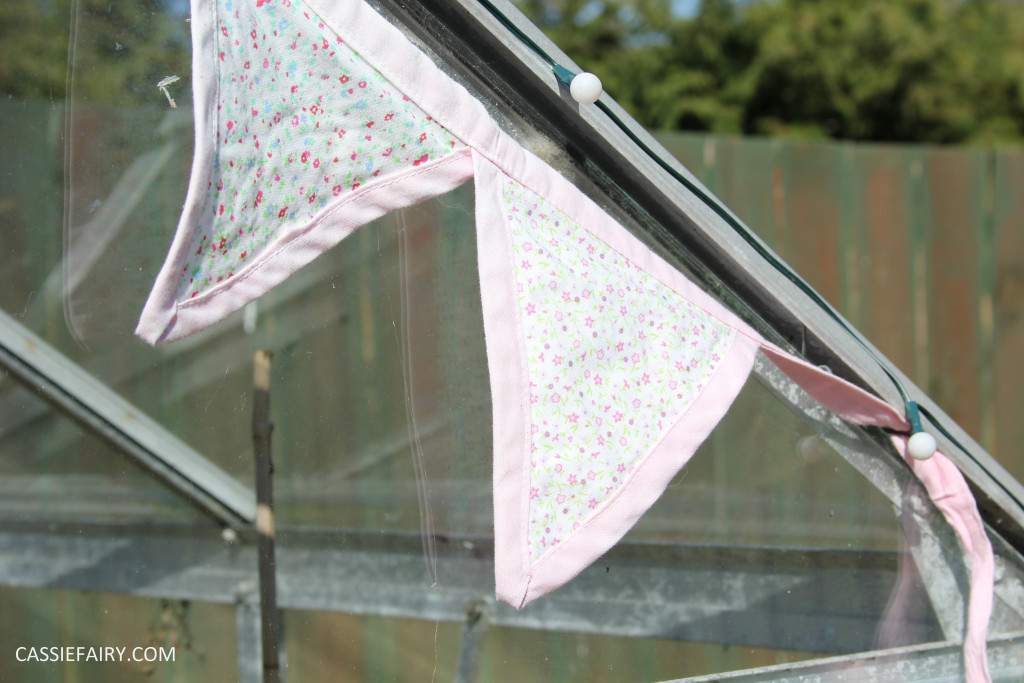 I also couldn’t resist adding some bunting around the apex of the greenhouse, although I do take it down if it looks like it’s going to rain over night. Tidying up the greenhouse has spurred me on and this week I’m planning to get the raised beds organised too.
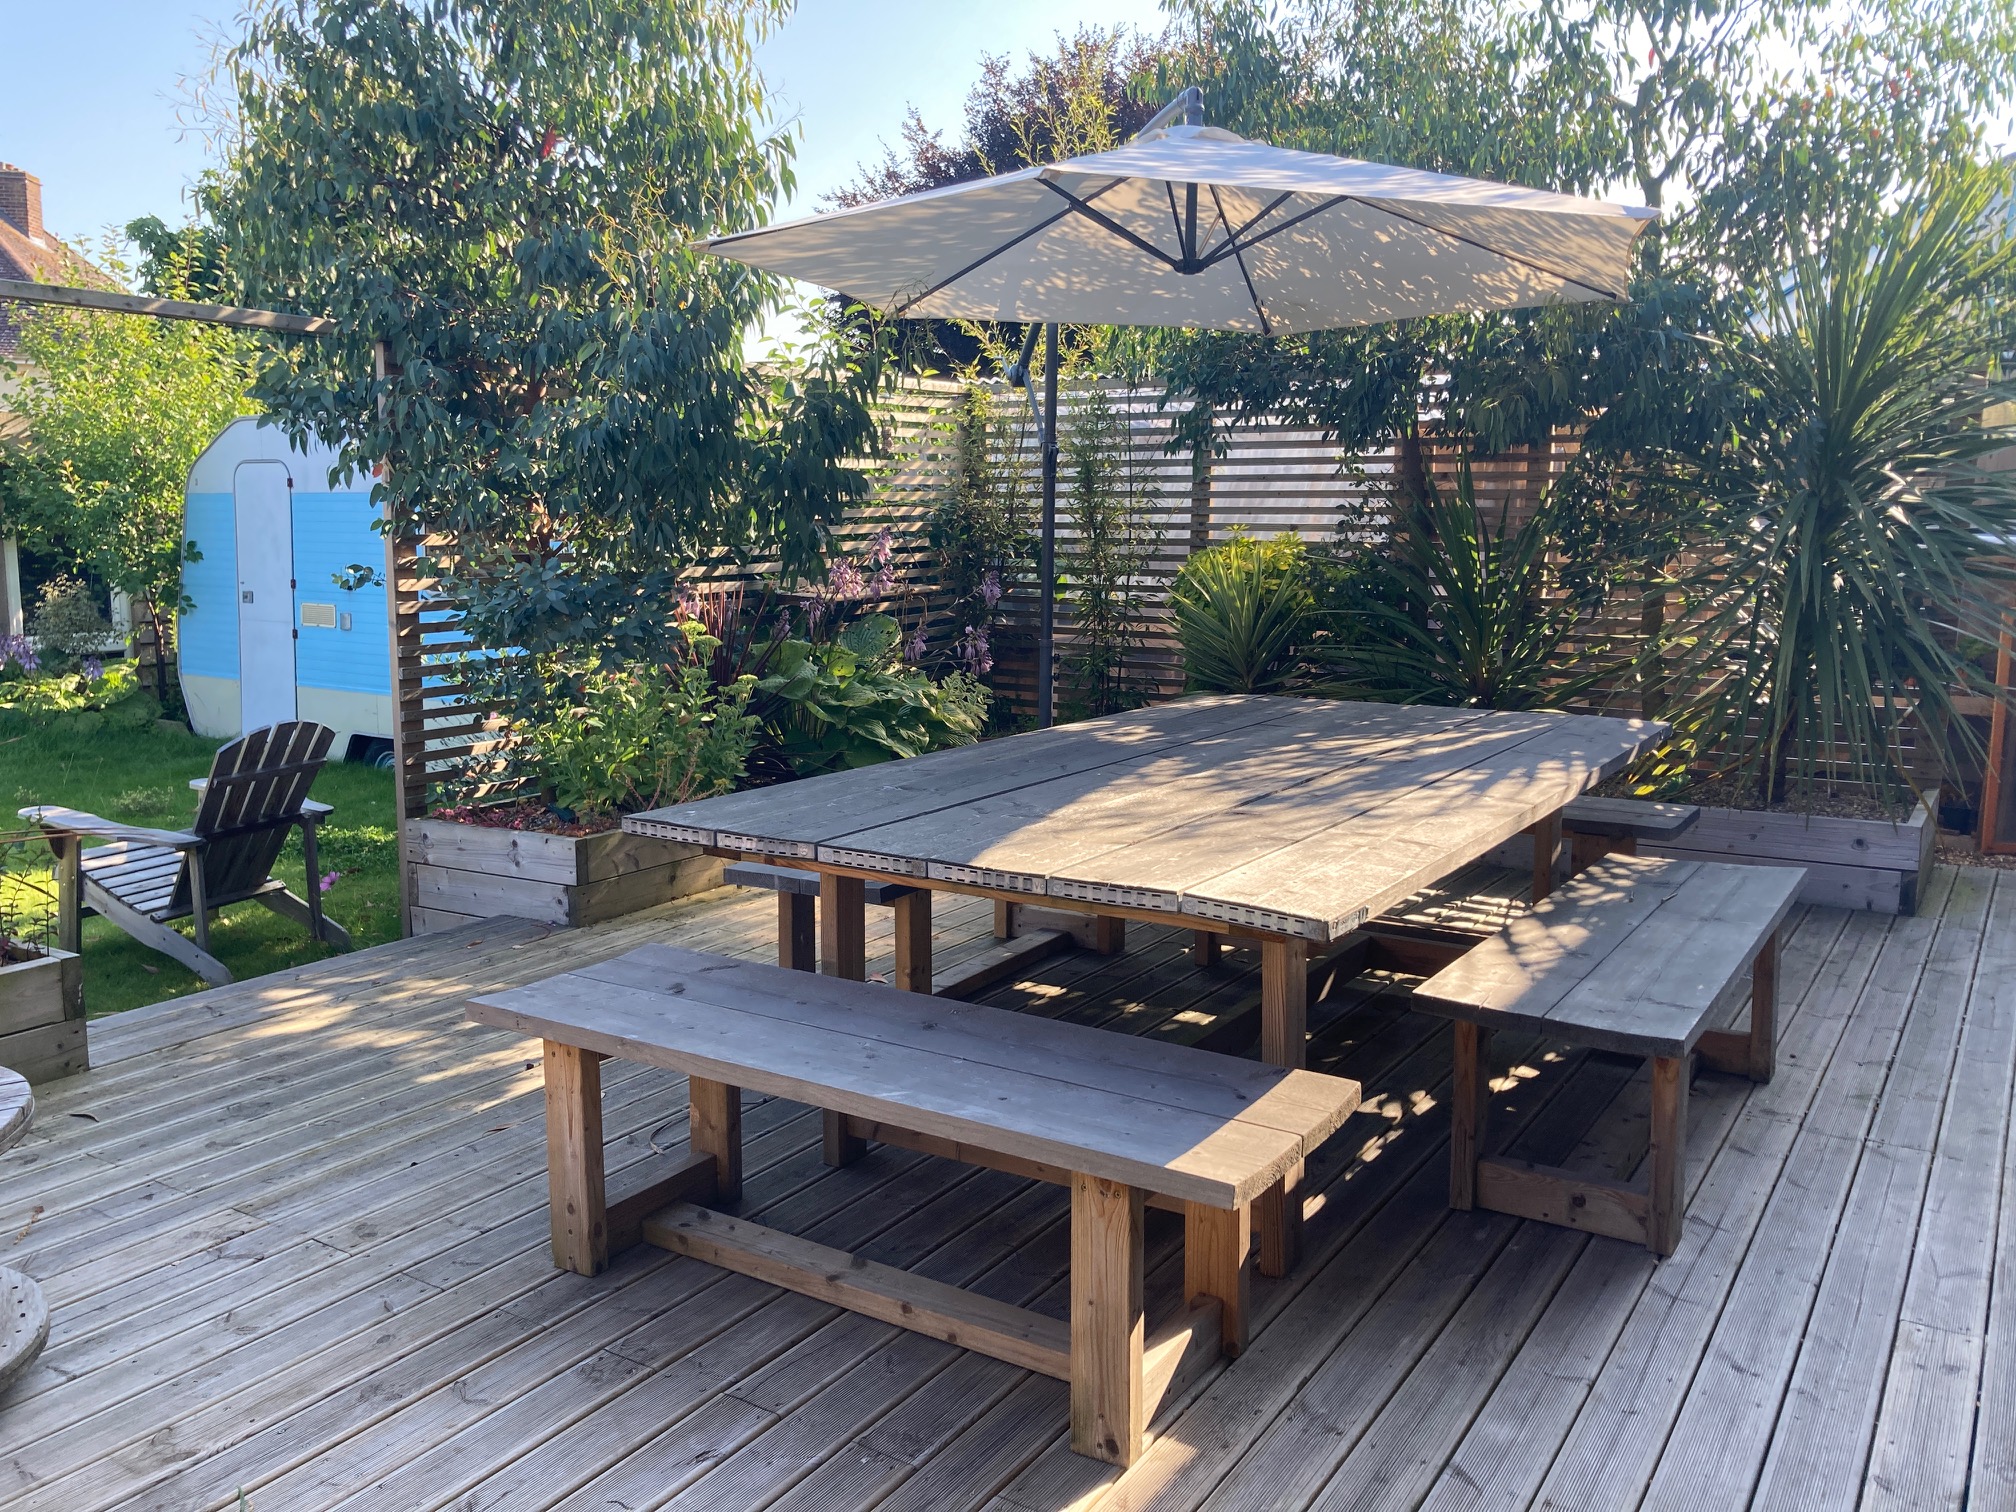
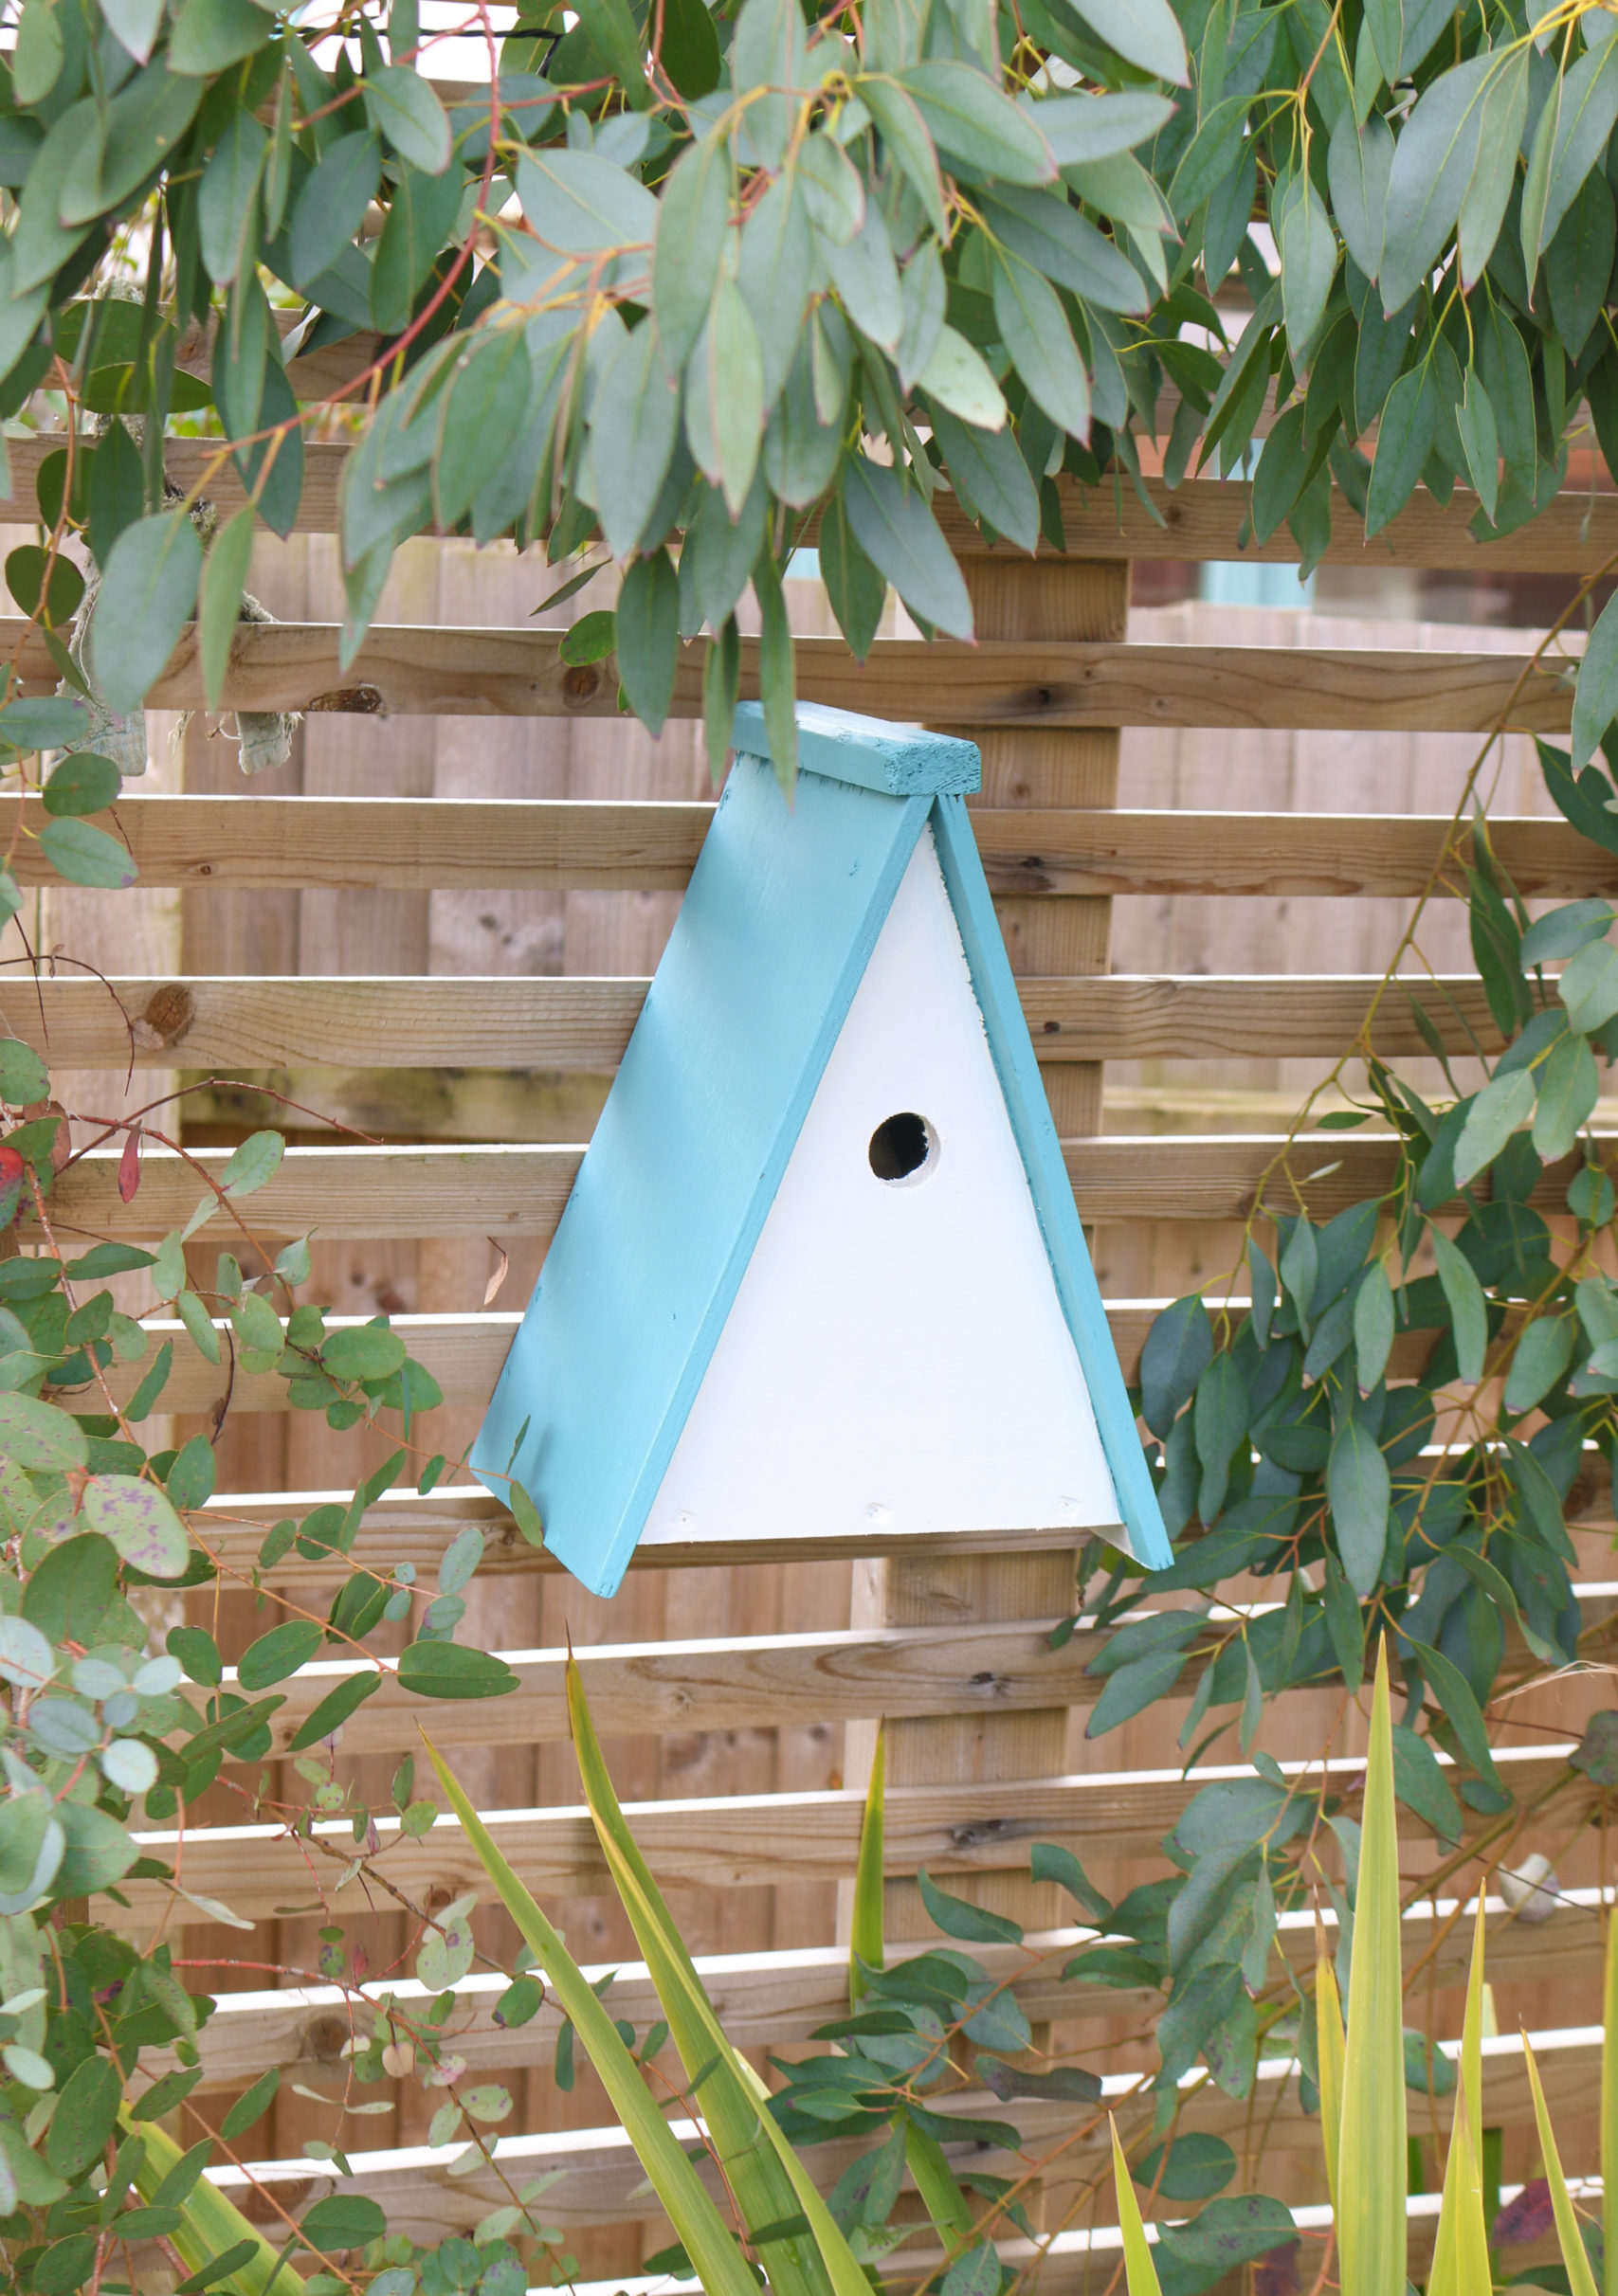
With the addition of a few new items, I’m well on my way to making my veggie patch look like a pretty kitchen garden now so watch this space for more updates! In the meantime, let me know what you’re getting up to your garden this Spring by leaving me a comment below or tweet me @Cassiefairy. Here’s a couple of photos I took this morning to show you how the greenhouse is looking today:
This article is a sponsored collaboration. The pink links in the content indicate a sponsored link or information source. The blog post reflects my own experience and the sponsor hasn’t had any control over my content 🙂




7 responses
weedblock that is sold in stores doesn’t normally work forever. eventually the weeds will come through. we use something like vinyl banner material (purchase used ones from your local graphic shops) to put under rock.
Thanks Sarah 😀 the tomatoes have doubled in size already! X
Wow, I love the planter! Great makeover 🙂
Pop over to my blog 🙂
Sarah
https://everydayconcepts.wordpress.com/
Thank you Anca 😀
That’s a great idea Lisa, I didn’t even think of putting it inside! I’m going to do it now 😀 thanks
The greenhouse looks so nice, lovely makeover x
This is so pretty, I love how you’ve transformed it! Would you be able to put the bunting inside the greenhouse so you don’t have to keep taking it down if it’s going to rain? Or can you not really see it as well then?