I’m taking glamping to the next level. Yes, I’m talking about camping indoors. Okay, maybe this playden for the little ones isn’t quite waterproof, so it’s not really festival-friendly. And it’s more a playhouse than a stayhouse. Even so, it’s something that my nephew really wanted – his very own campervan, just like daddy. One sunny afternoon I set about making a mini-version of a VW camper especially for him, and actually stitched it up in my own caravan workshop. How many caravans went into making this playhouse? At least two! Read on to find out how to make a mini camper den for your children, your friend’s little ones or your nephews and nieces.


The campervan den is actually a table cover. Its frame is created by the dining table so the first step is to take the measurements of the table you’re planning to use. It could be a fold out picnic table, a 8 person dining table, whatever kind of table you have at home is fine, as long as the kids can sit underneath it. The table will determine the side of the playhouse you’ll be able to make so measure the top and each side so that you have the measurements you’ll need to cut out a cover from fabric.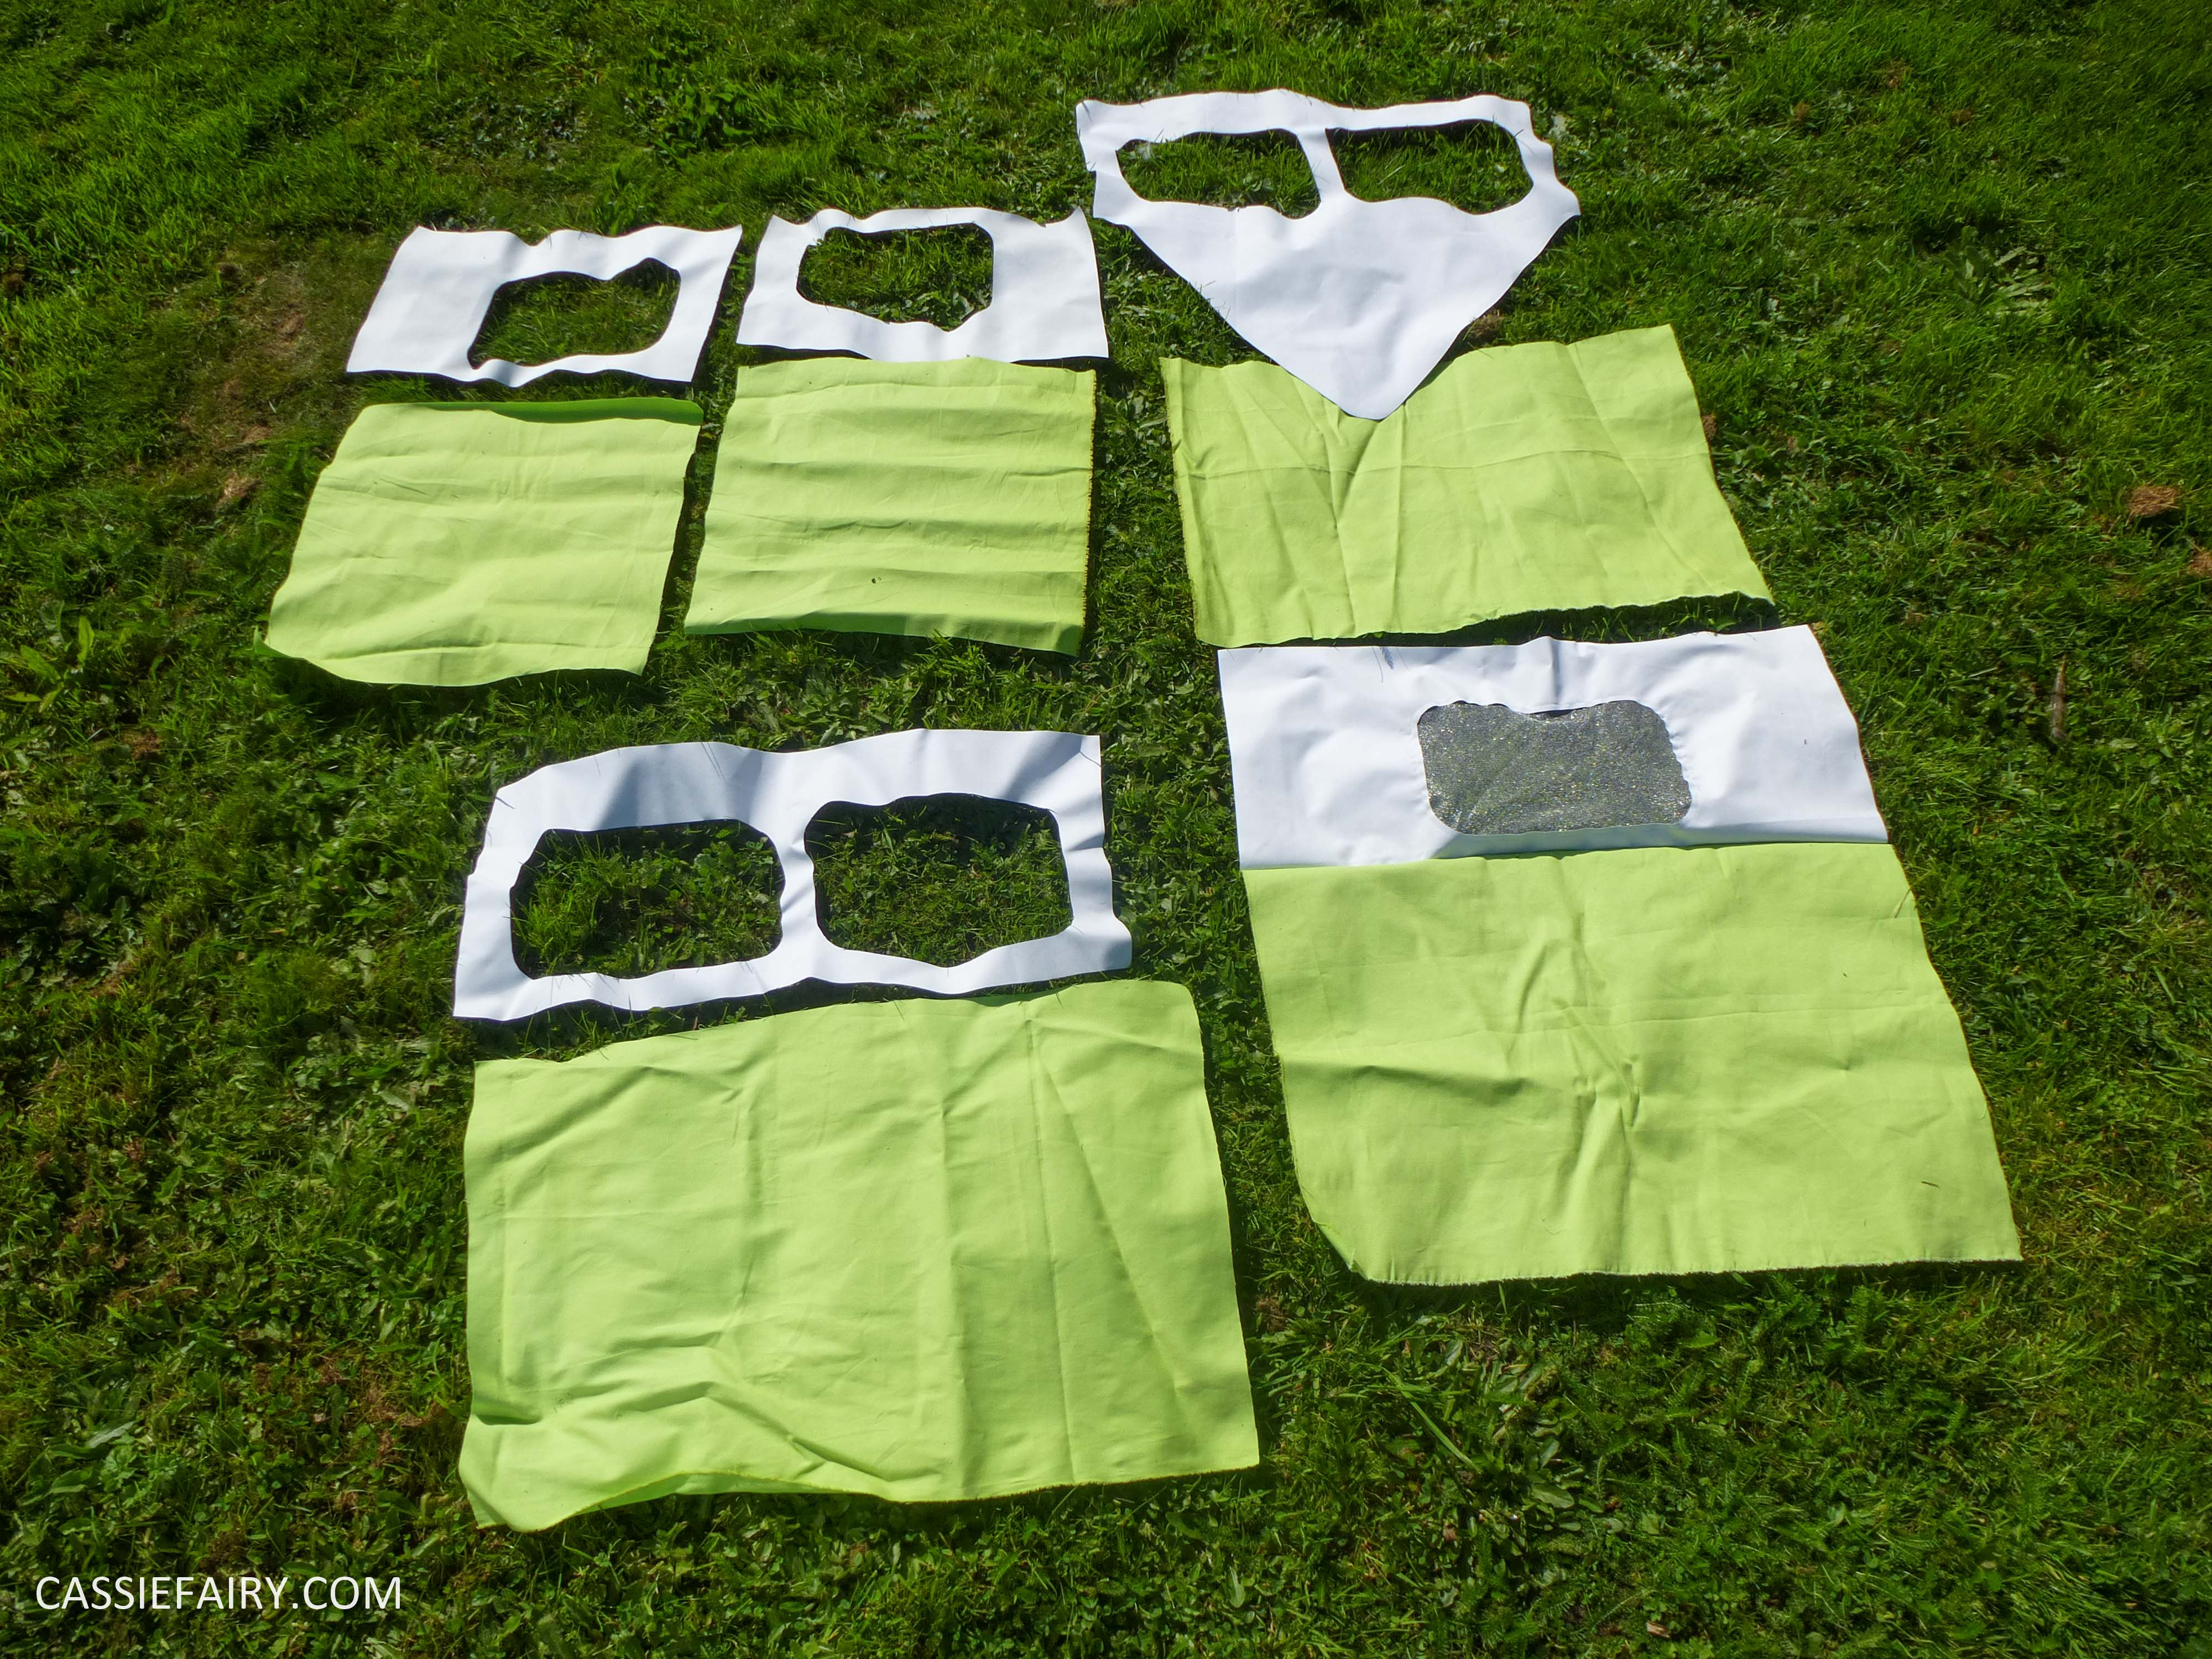 I used the measurements to make a paper template of all four sides and the top. I then divided the sides into thirds, cutting the top section out of strong white fabric, and the bottom two-thirds from green canvas. The top was the same white fabric and I simply cut one of the longer sizes in half to create a door entrance. If you want to create a VW campervan effect on the front of the cover, cut a ‘V’ shape at the bottom of the white fabric to extend into the green area. I drew the symbol on the fabric using a permanent pen, but you could sew on the shape at this stage if you prefer.
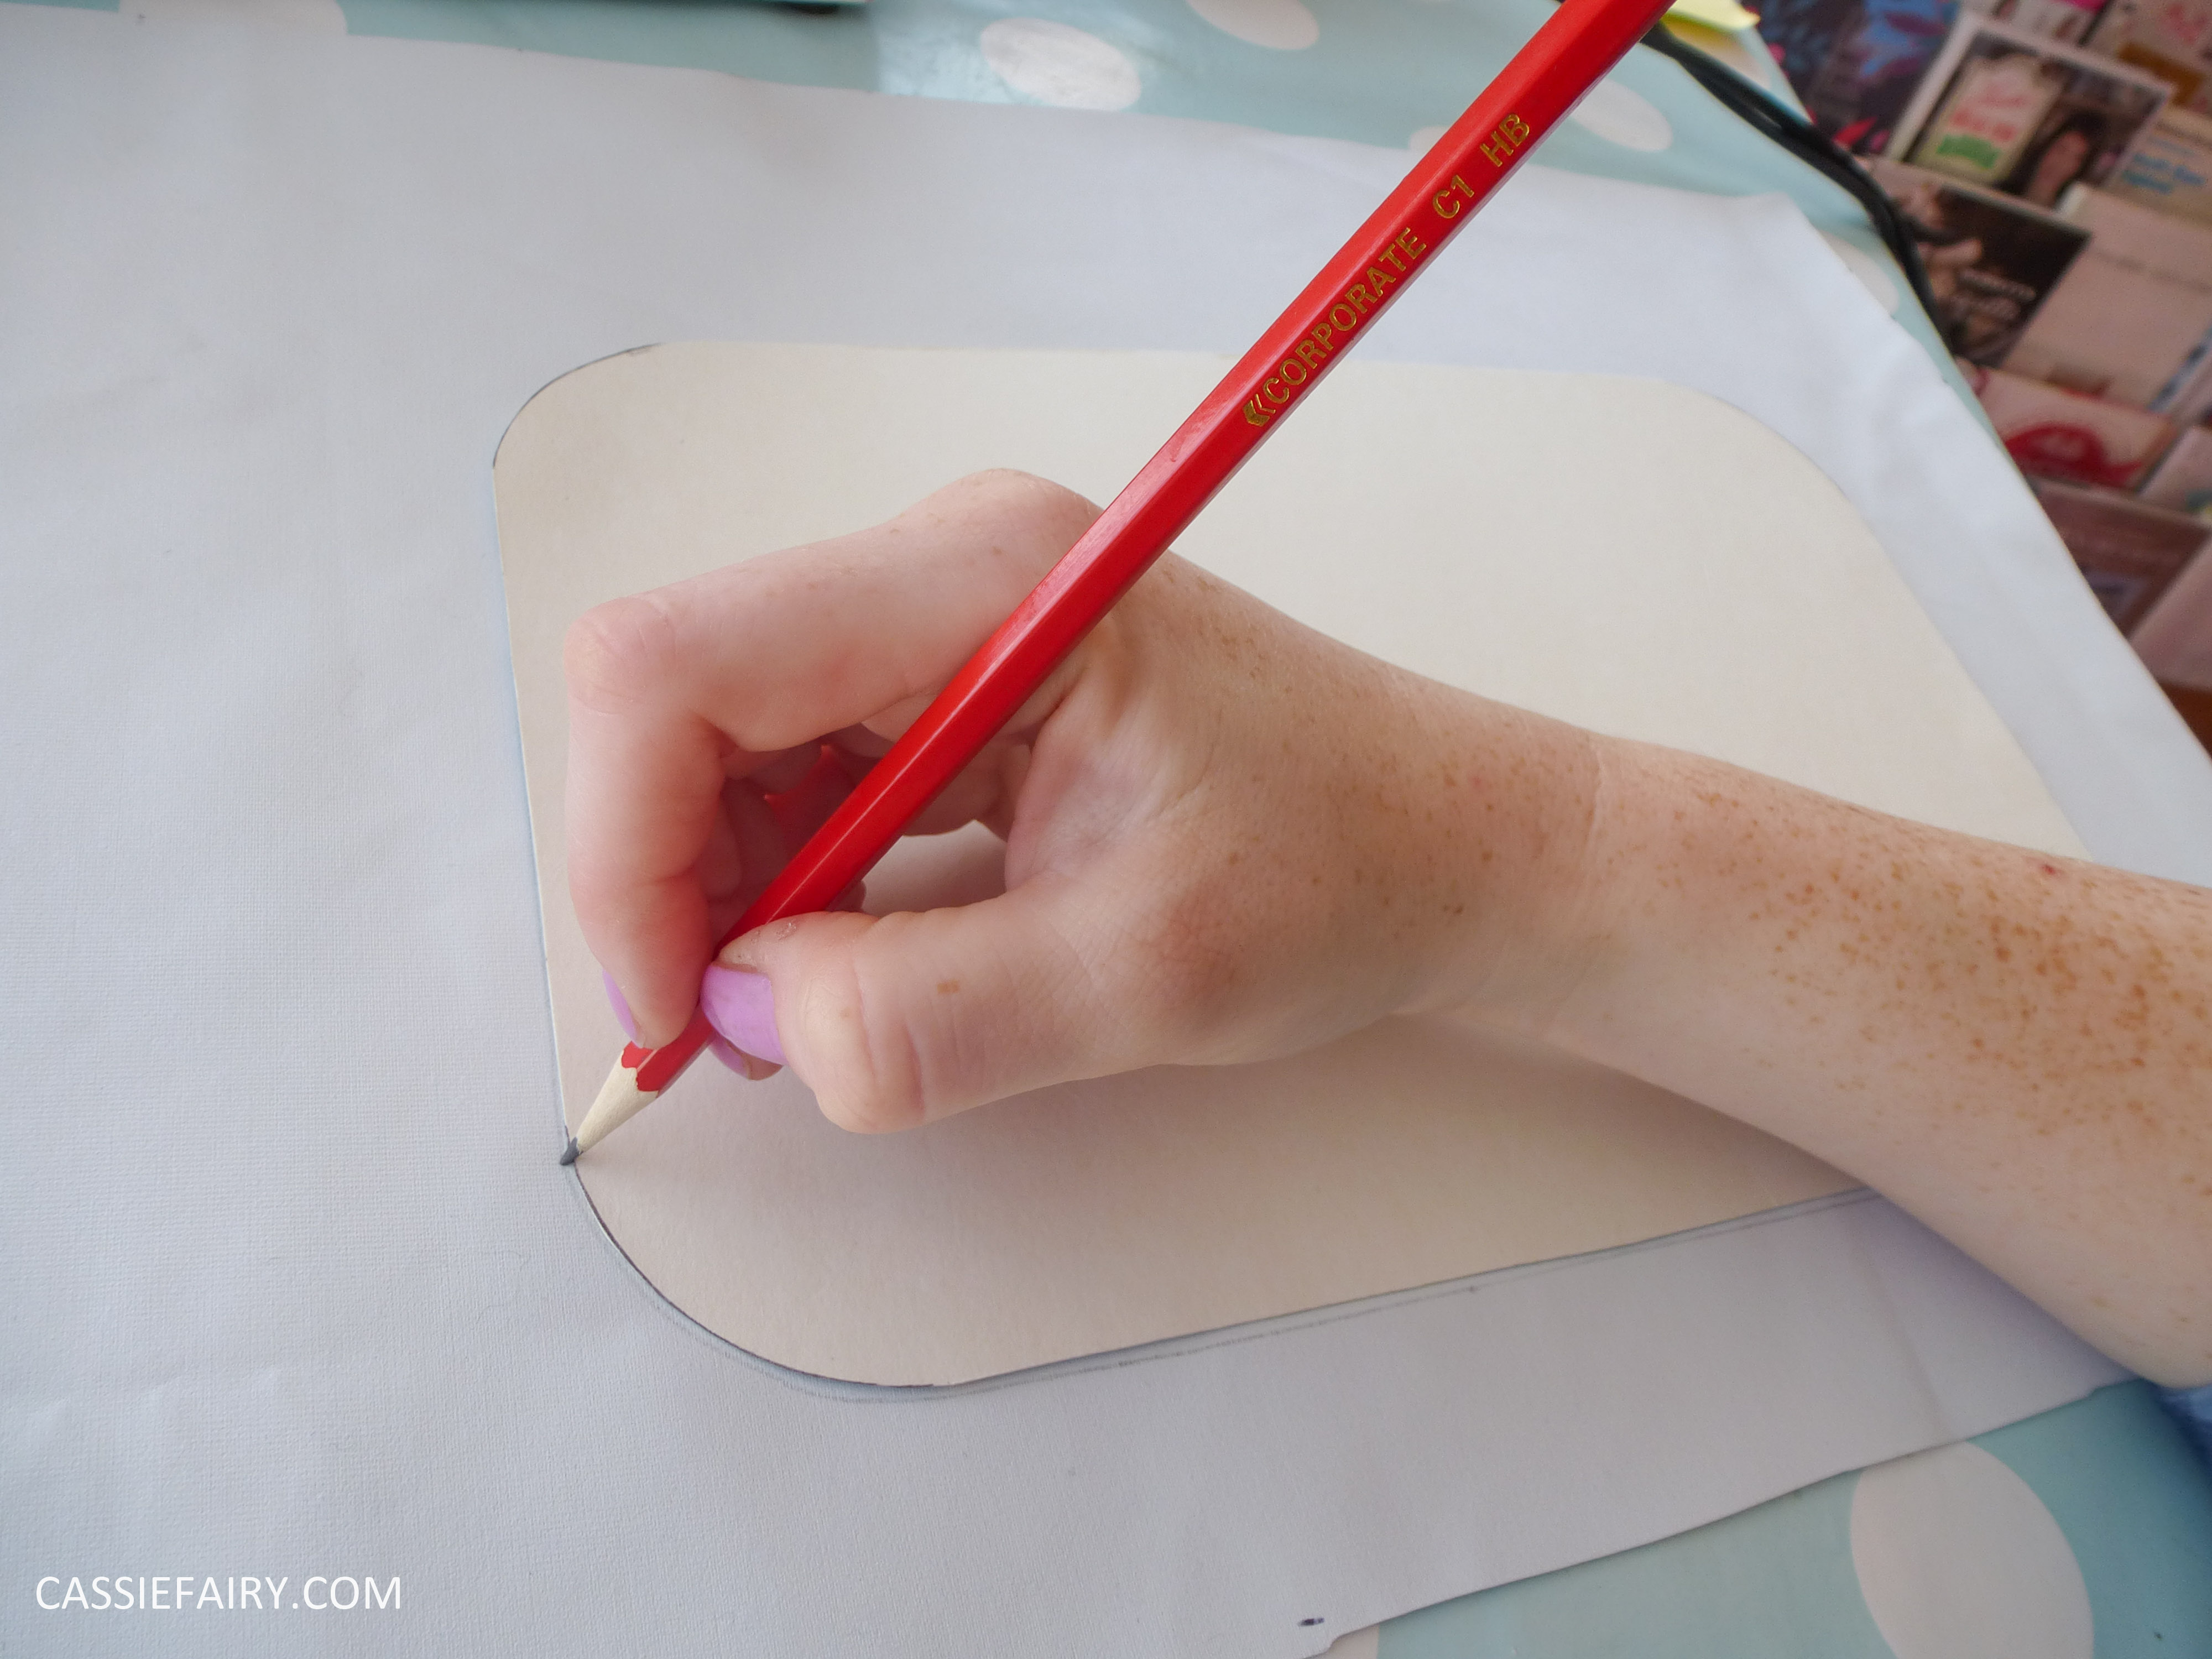 Use a cereal box to make a template for rounded window holes. When you’re happy with the size of the windows, trace two holes onto the front white piece of fabric, two on the side piece, one on each ‘door’ and one window on the back piece. Cut out the holes and then – the fun part – I used some sparkly silver tulle to cover the windows.
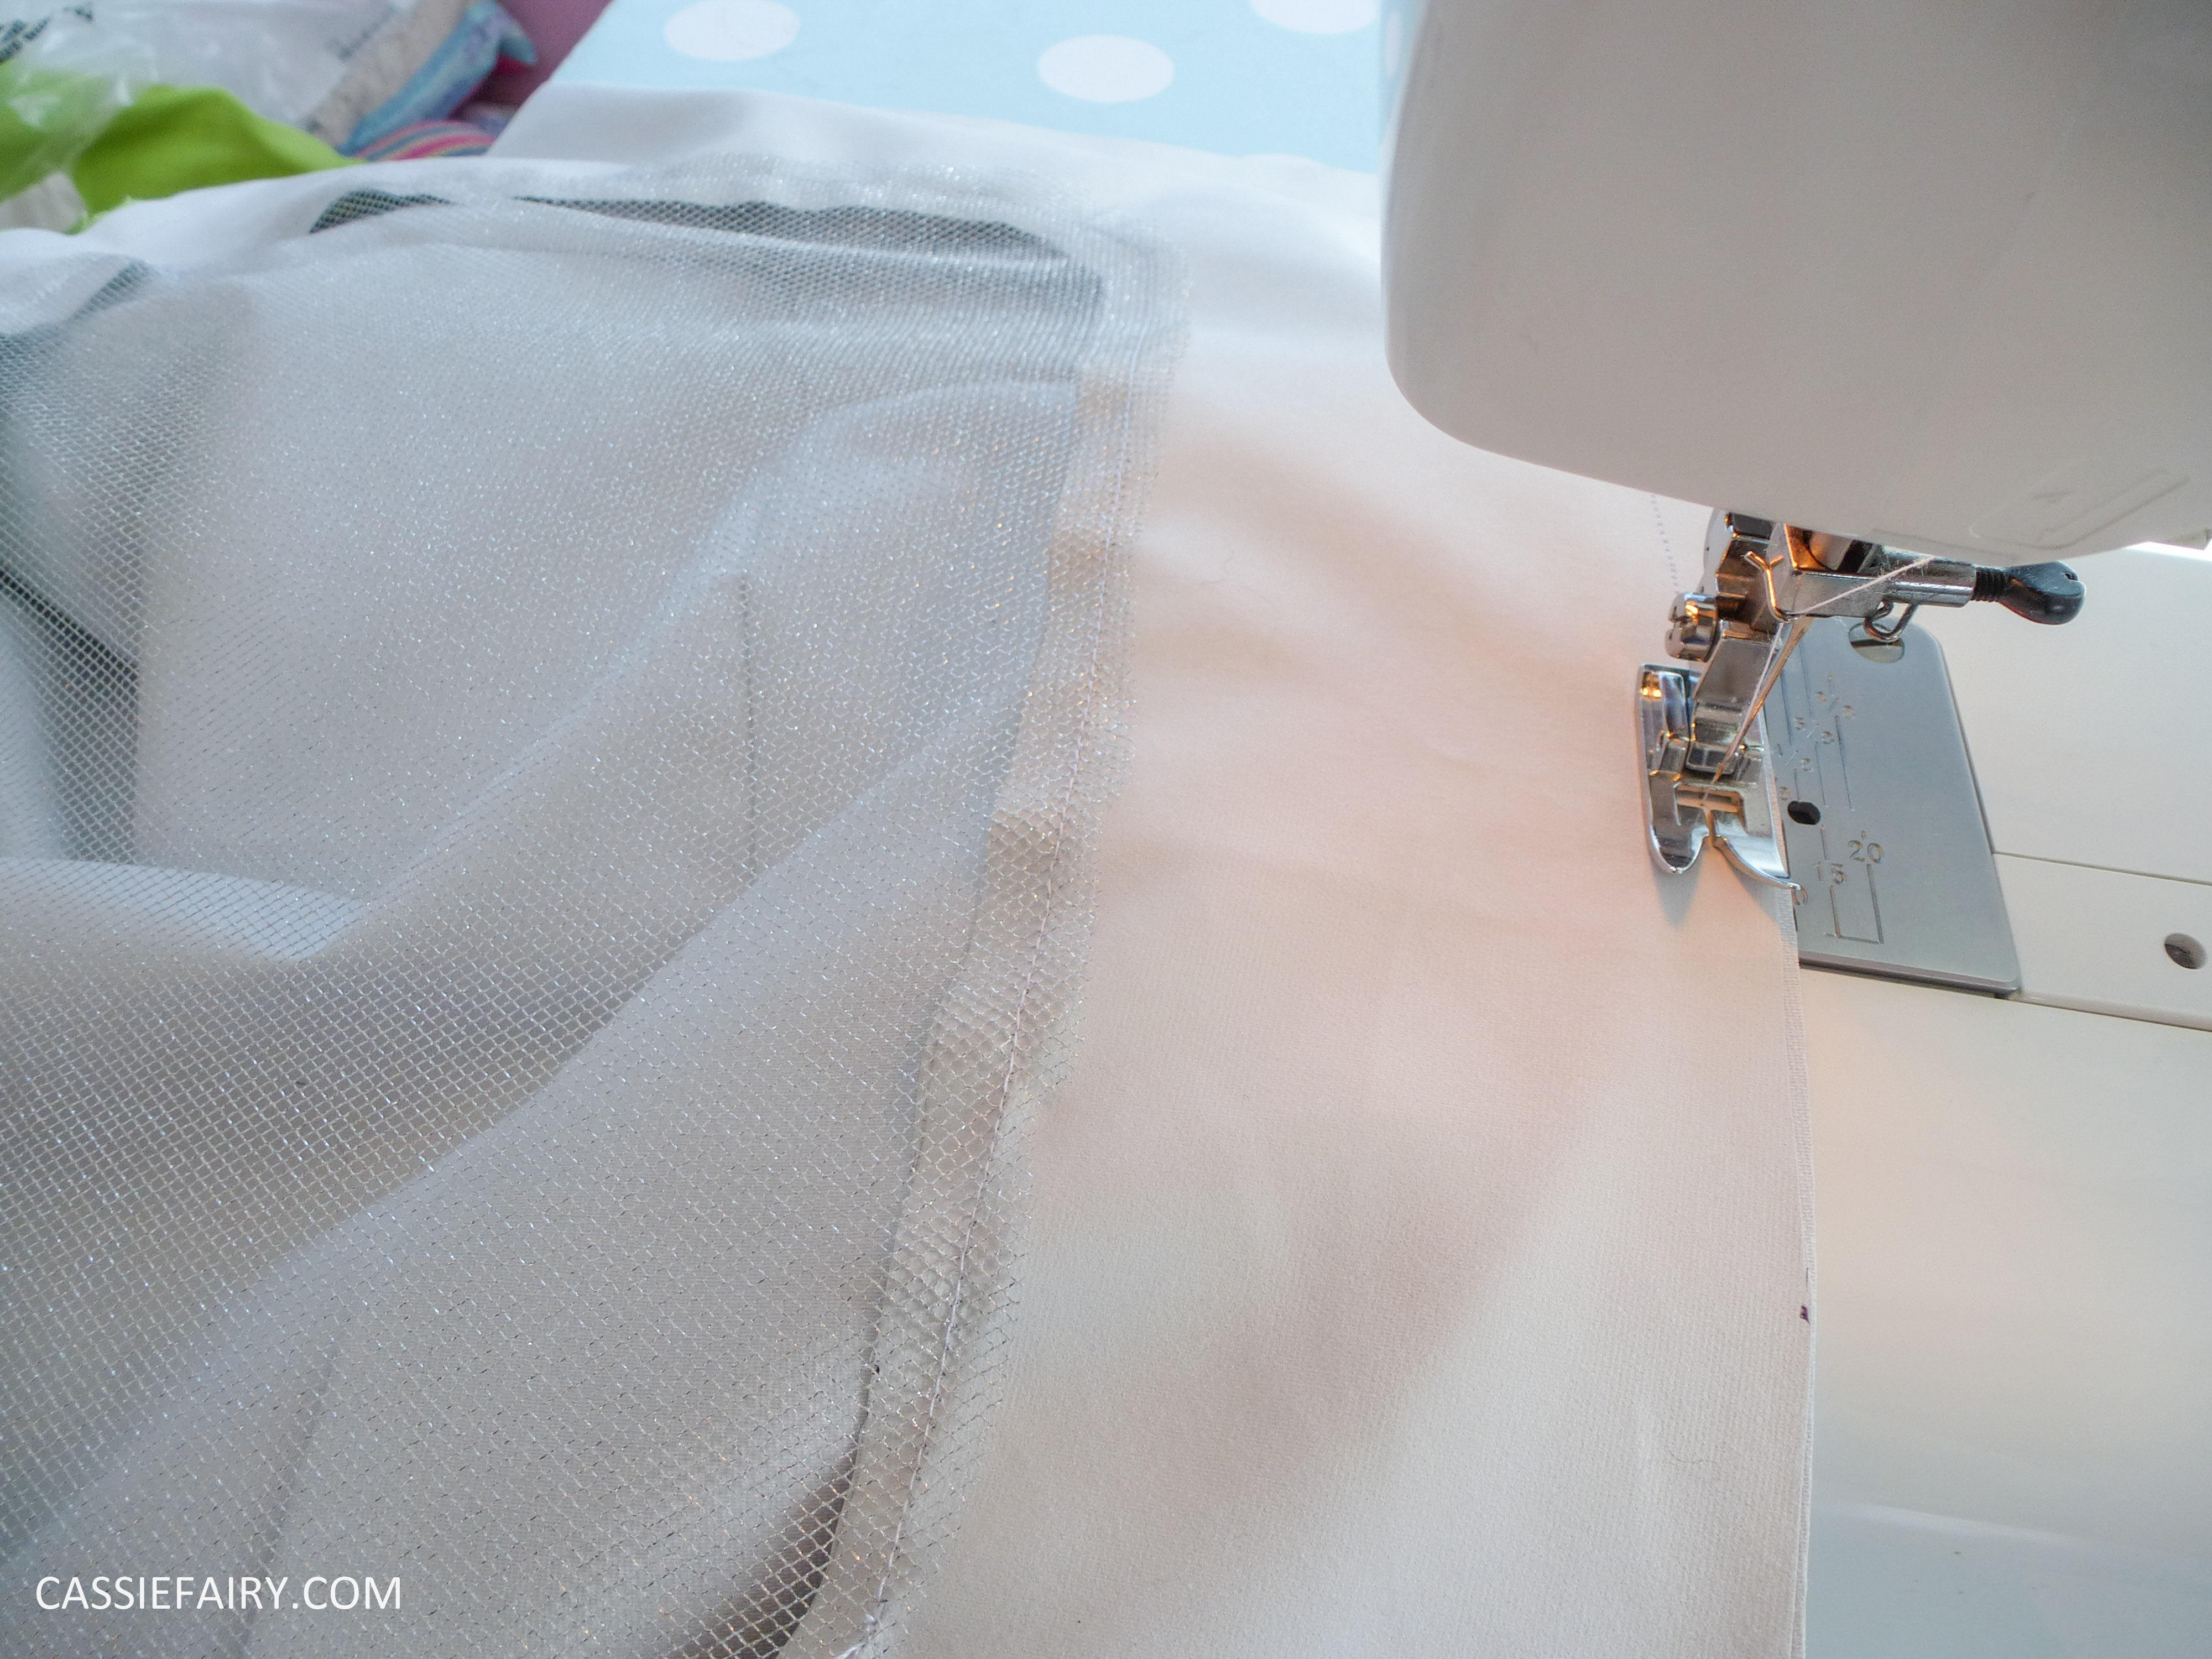
This gives stability to the fabric pieces even though it have large holes cut into it, and it allows your little ones to see out when they’re sat inside their new den. You could use white tulle, clear vinyl or even organza – anything sheer – to cover the windows. Stitch the fabric inside the window holes around the edges.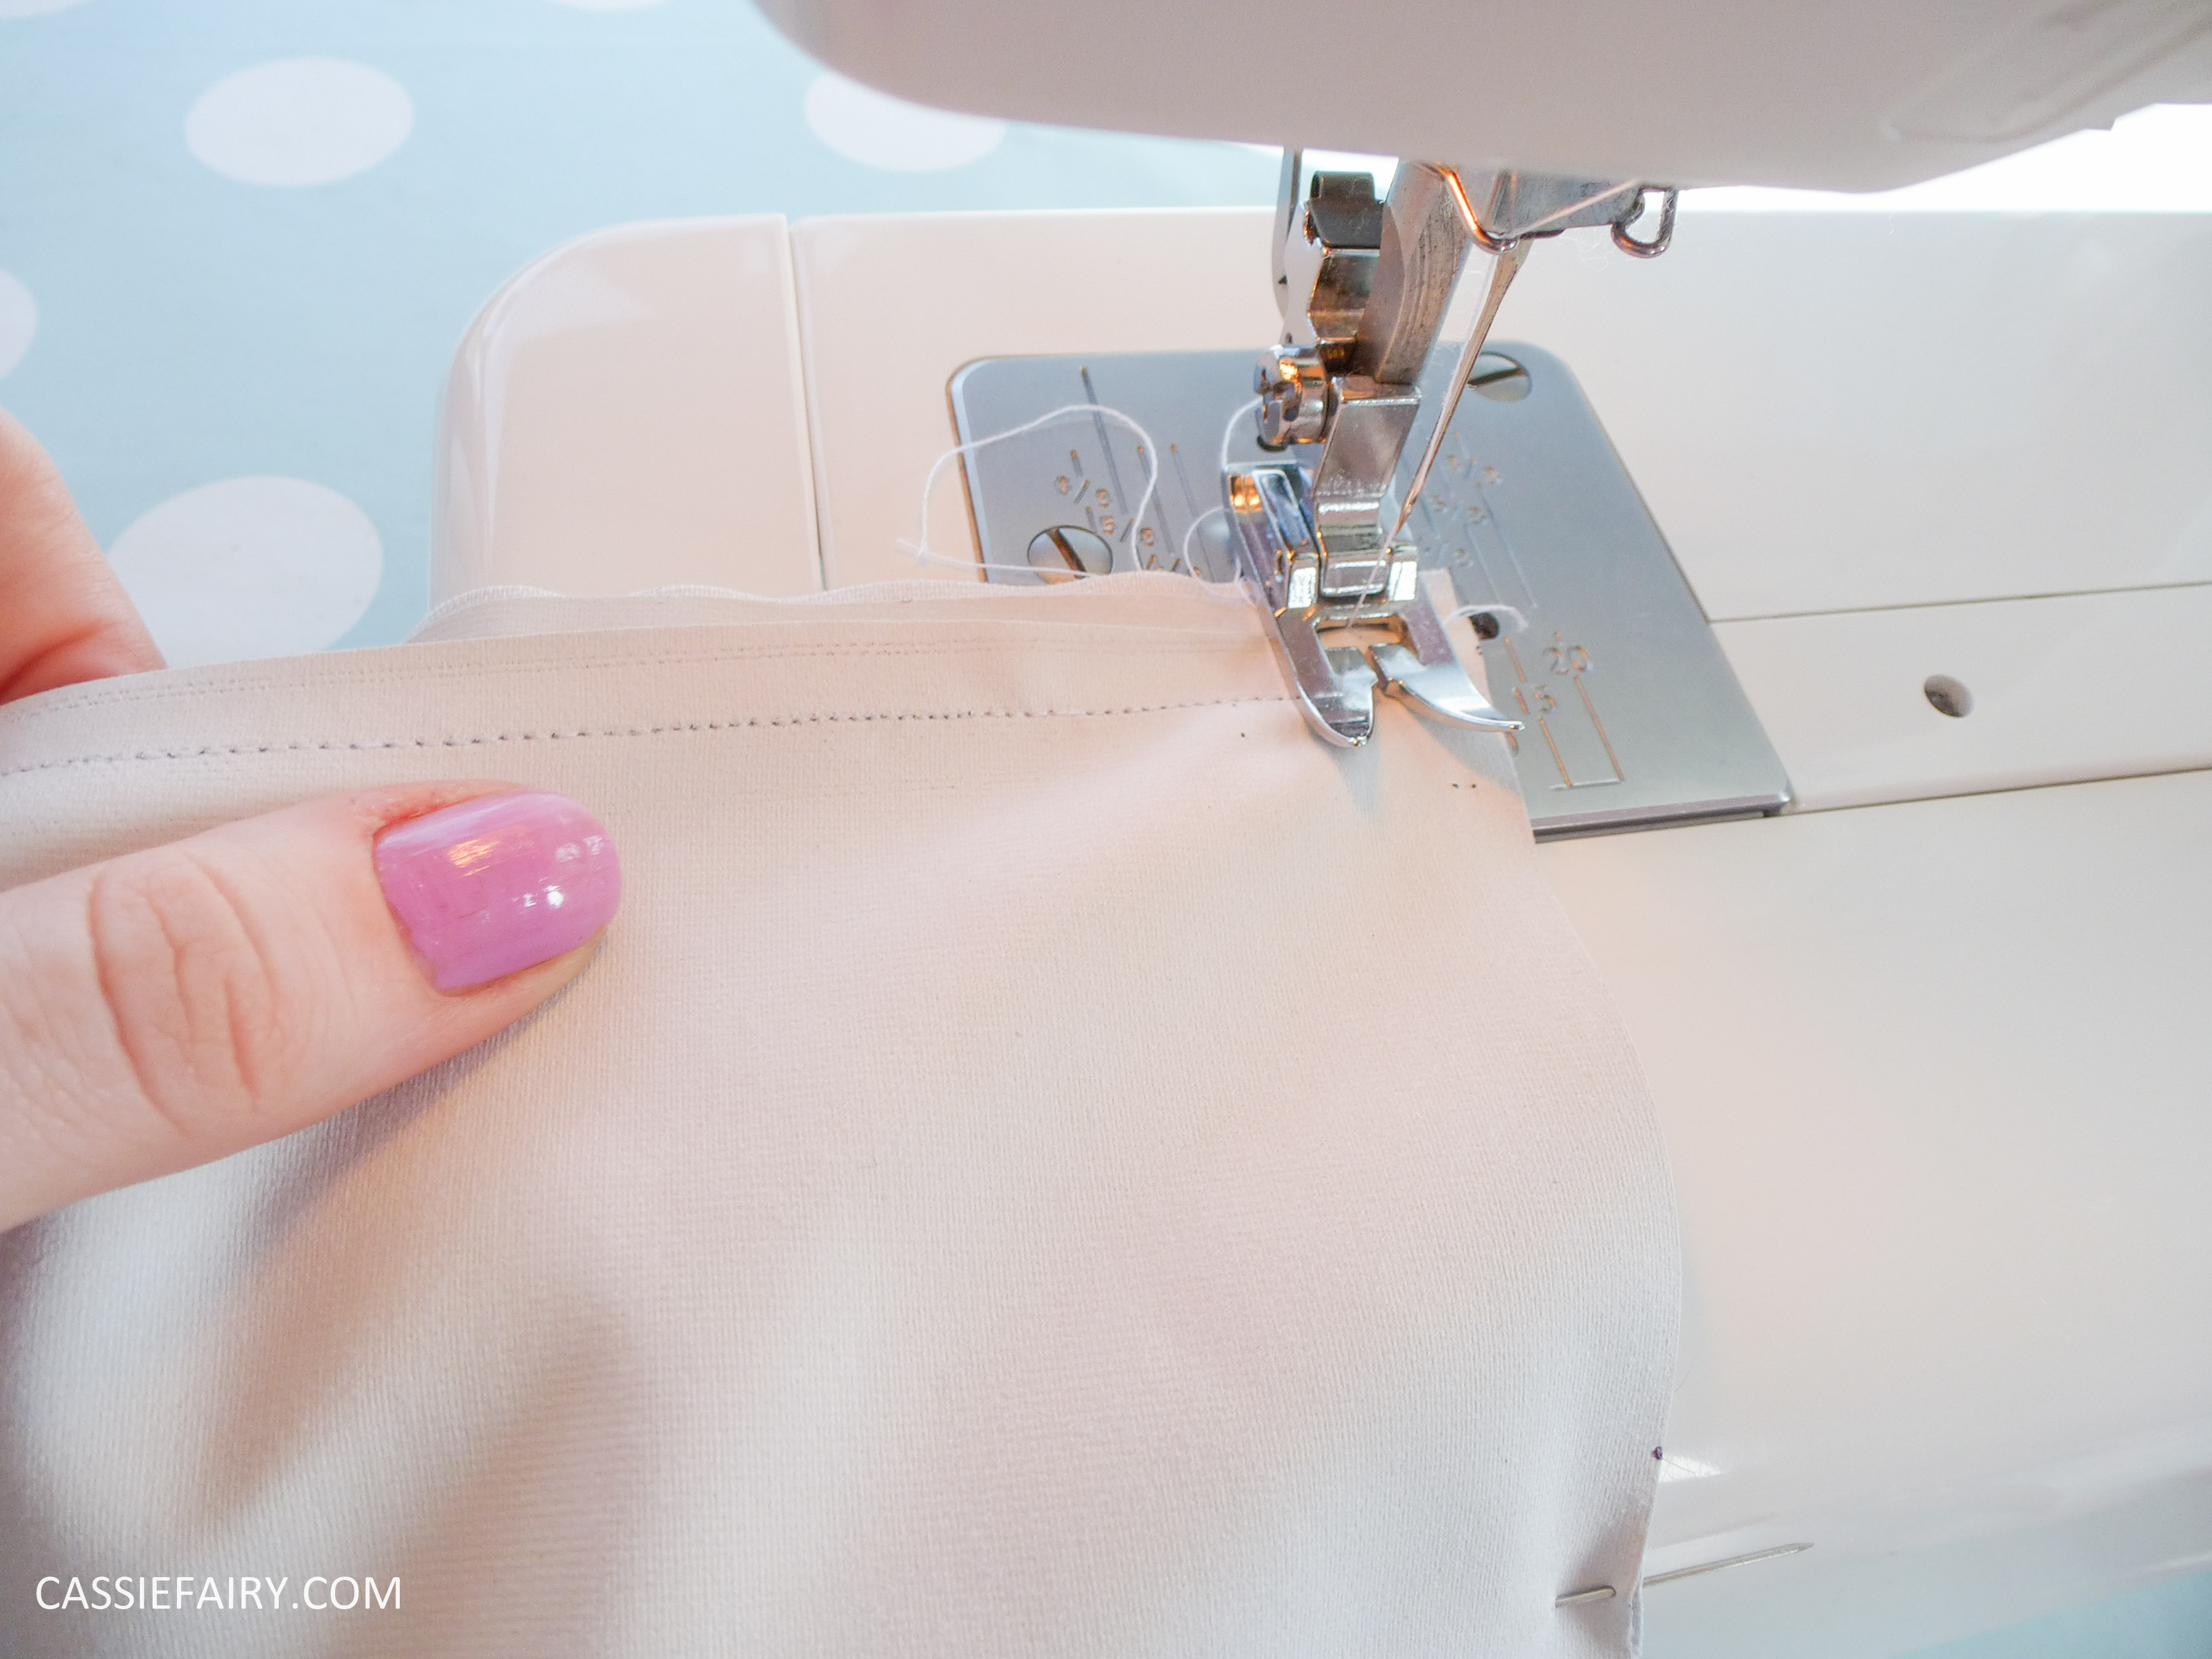 Attach the green bottom pieces of fabric to the corresponding top pieces of fabric with a straight stitch and hem along the bottom of each piece. For the door pieces, hem the edge where the doors meet and stitch a strip of velcro fastening to the inner edge, overlapping the pieces slightly, so that the kids can easily open and close the caravan ‘doors’. Stitch the ‘roof’ piece to the top edges of all four sides using a straight stitch.


To assemble the 3D shape of the caravan I propped up a piece of cardboard that was the same size as the top of the table and put it on top of two stools. Of course, if you’re sewing at home and have the table with you could use the actual table, but I was making it to fit the table in my brother’s house so I didn’t have it to hand. Turn the den inside out and drape the roof over the top of the table, allowing the sides to hang down. Pin down all four sides and take over to the sewing machine to stitch a straight line down each edge.


Turn the fabric the right side out and open the doors to slide it over the top of the table it was made for. Taadaaa! You have a campervan-inspired playhouse! My nephew was really surprised when he walked in to find his very own mini version of daddy’s big campervan and he started taking his toys and teddies into the caravan straight away, packing up a backpack with his holiday stuff. He wanted his playkitchen inside the den, just like a campervan interior. Very sweet.


Let me know if you have a go at making this project for yourself by leaving me a comment below and I’d love to see photos of your sewing projects so please tag me in your Instagram pics @Cassiefairy.


