I’ve recently laid laminate flooring in two rooms of my home and I can honestly say that it was a really easy process. I thought it would take days to install but we were finished within a couple of hours. As long as you have the right equipment – a saw, knee pads and a laminate flooring installation kit (including packers) you can easily lay this type of flooring yourself. Here’s how to do it, step-by-step: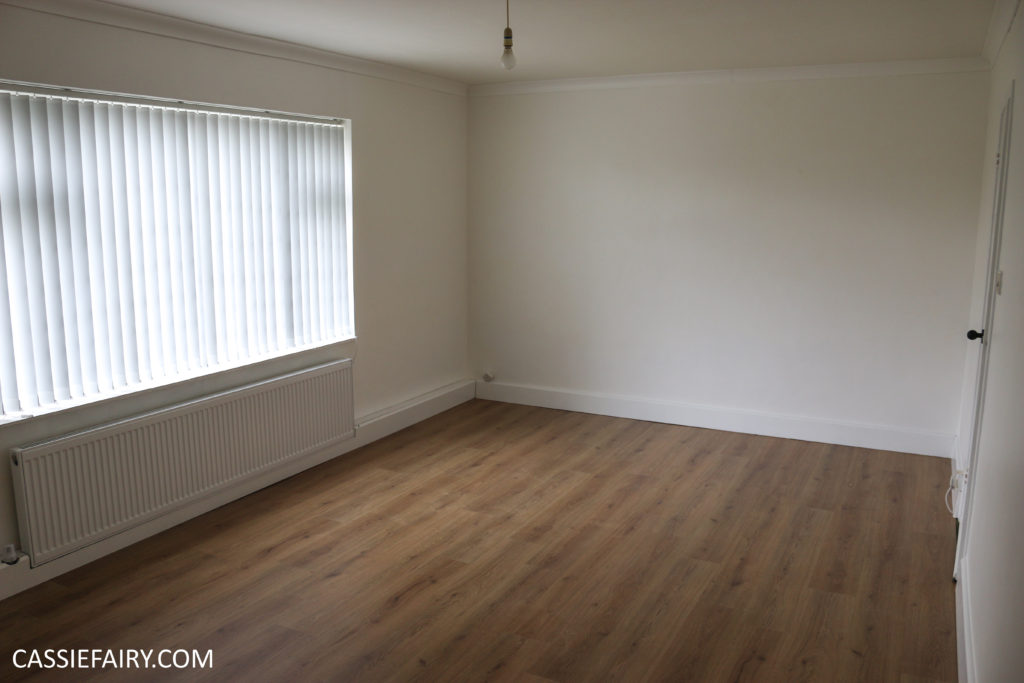
 Clear away any existing carpet, tiles or pieces of old underlay. Give the room a sweep to make sure you’ve cleared all the debris from the surface, and vacuum the floor to pick up the smaller pieces of dust.
 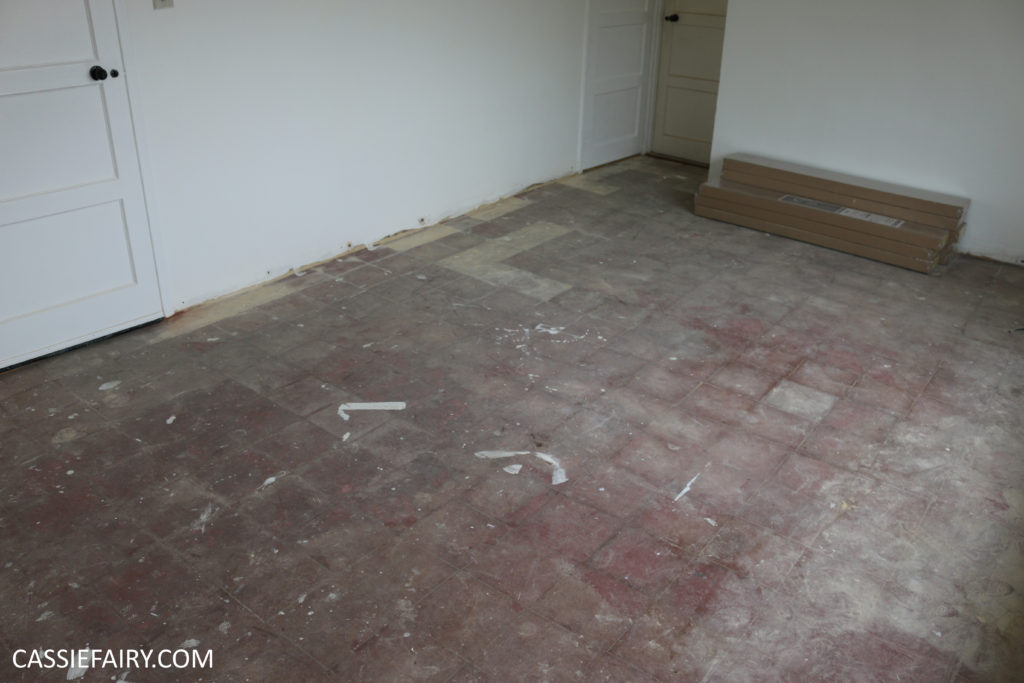 If you’re laying the laminate onto a concrete floor you’ll need to start with a damp-proof membrane before adding a layer of underlay.If you’re starting with a wooden floor, you can go straight to laying the underlay. There are plenty of options for underlay out there; foil-coated sheets that insulate the floor, rolls of foam to cushion the laminate or fibre boards – which is the option I went for.
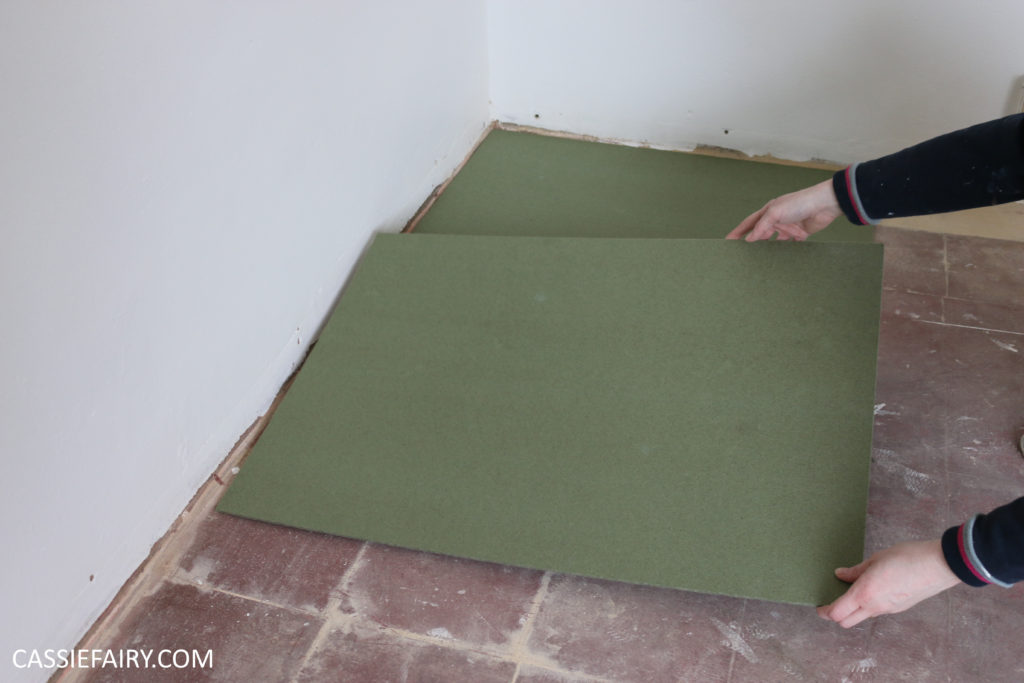
 This simply evens out the floor so that the laminate flooring will look perfectly flat when fitted. It also adds an extra layer of insulation and, if you’re using it on an upstairs room, it can add a little sound-proofing so you don’t feel like you’re walking about inside a drum, and causing a lot of noise in the rooms below!
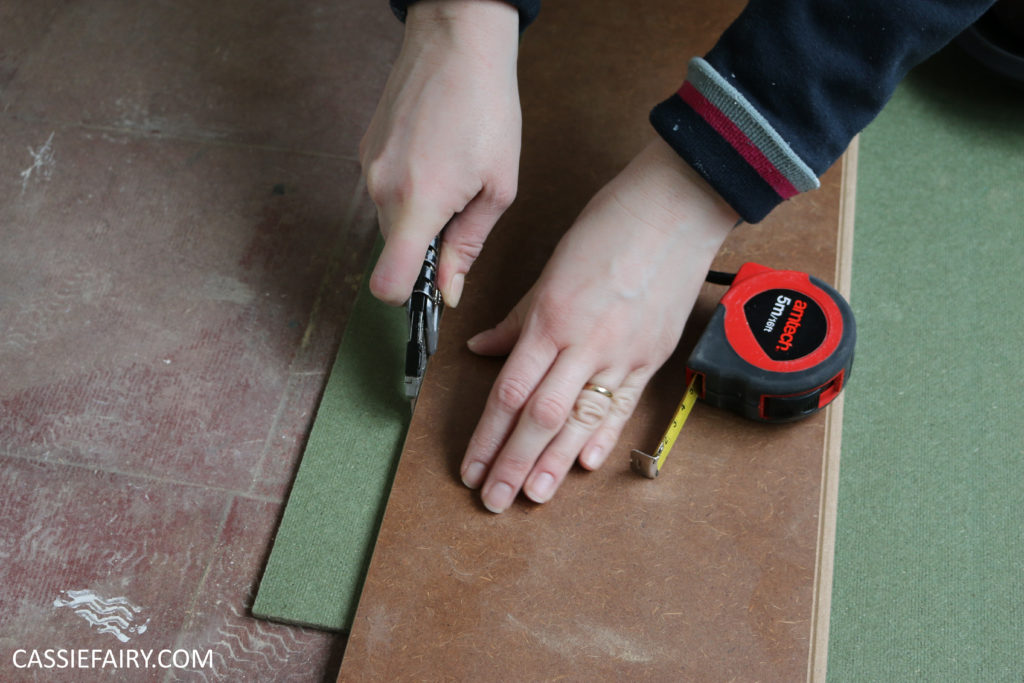
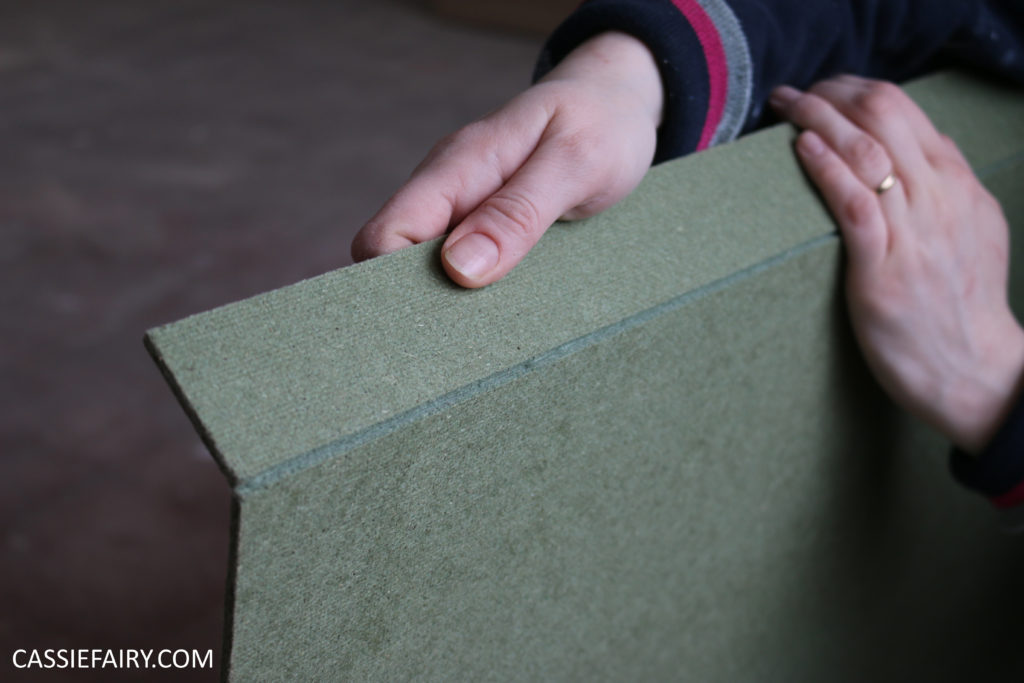
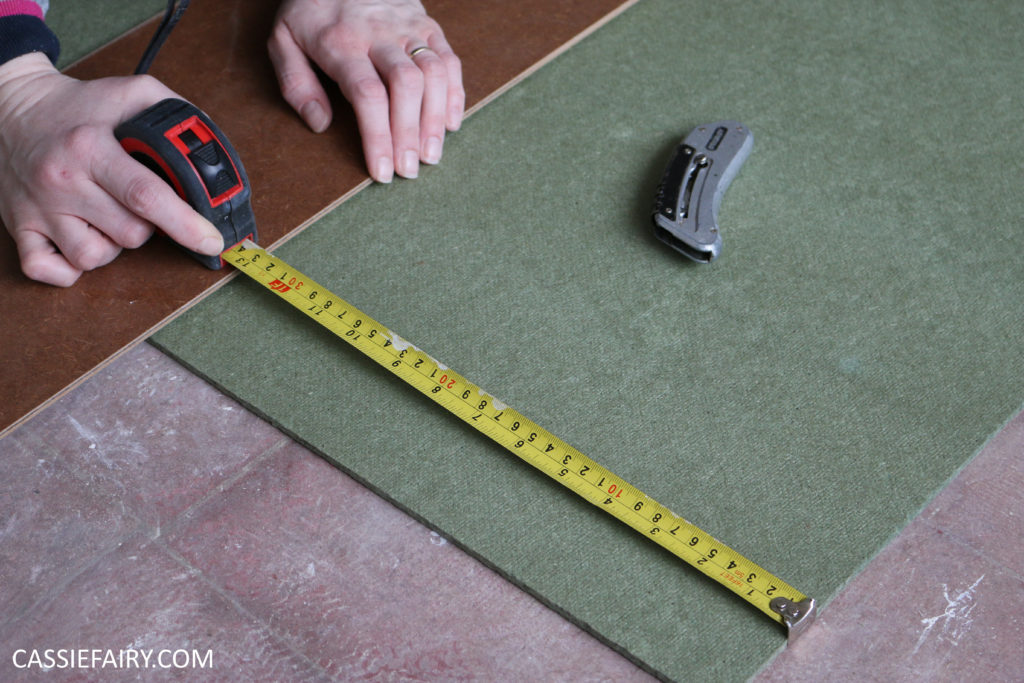
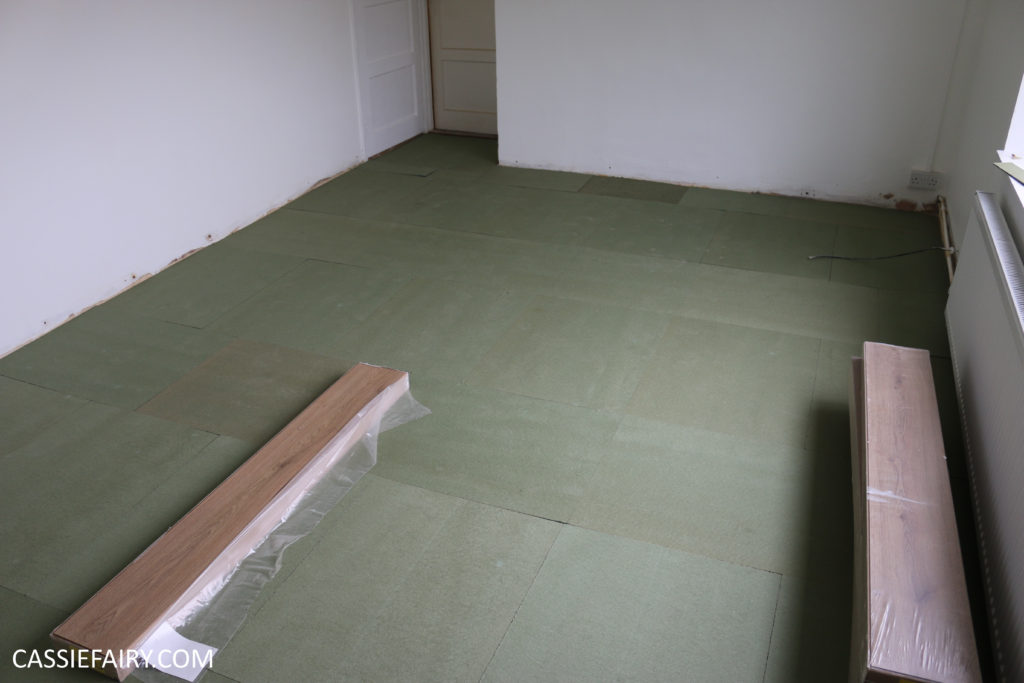
Cover the floor in underlay before moving on to fitting the laminate flooring. Cut pieces to fit any smaller gaps and cut around door frames or room features. Cutting is as easy as scoring a line and bending it back.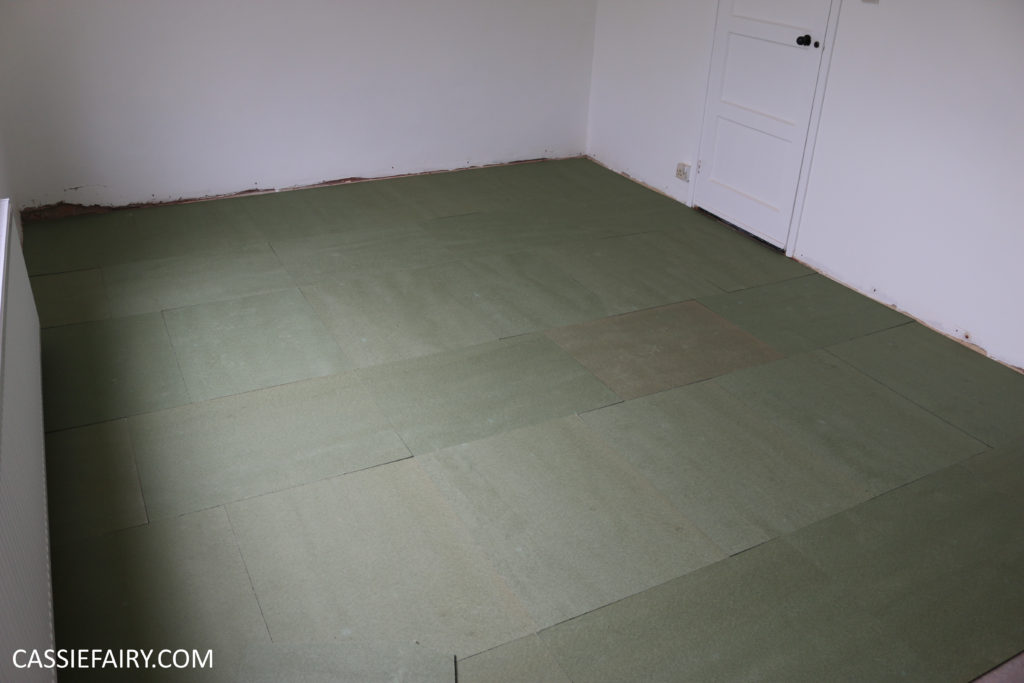
 Make sure you have wall spacers to pop around the edges of the laminate flooring to leave an even gap. This allows for a little movement and expansion, and will be covered up when you come to adding the skirting board.
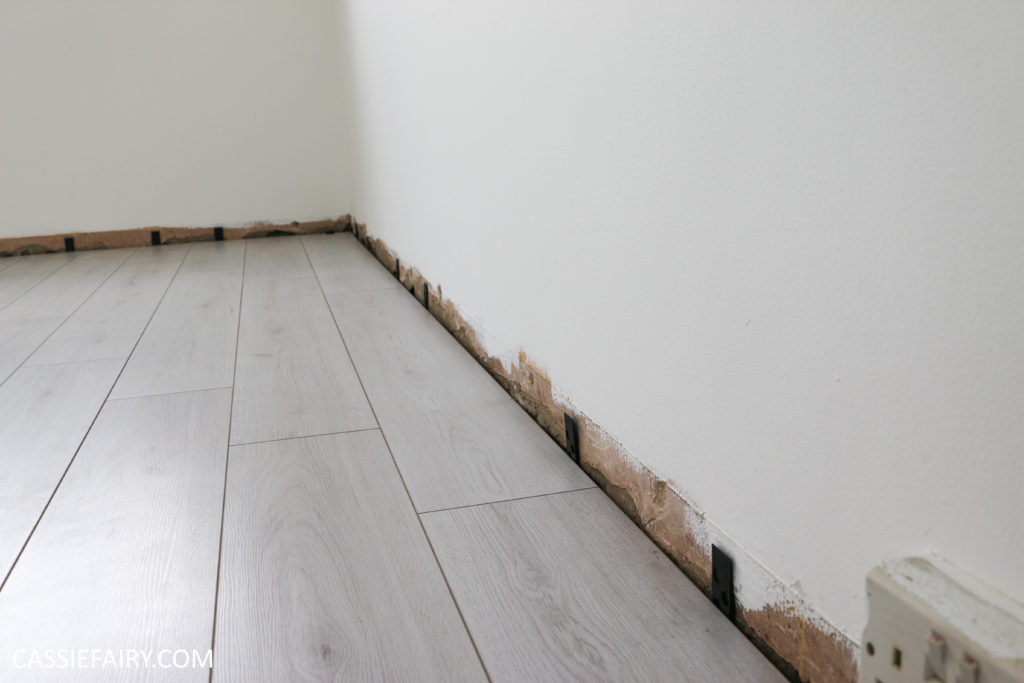
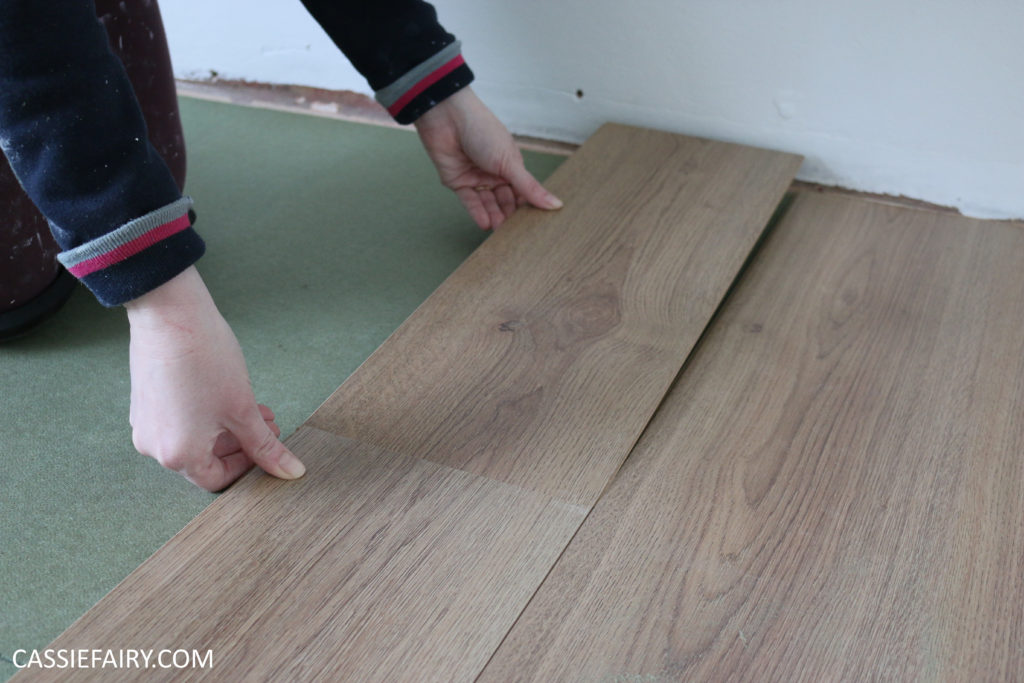
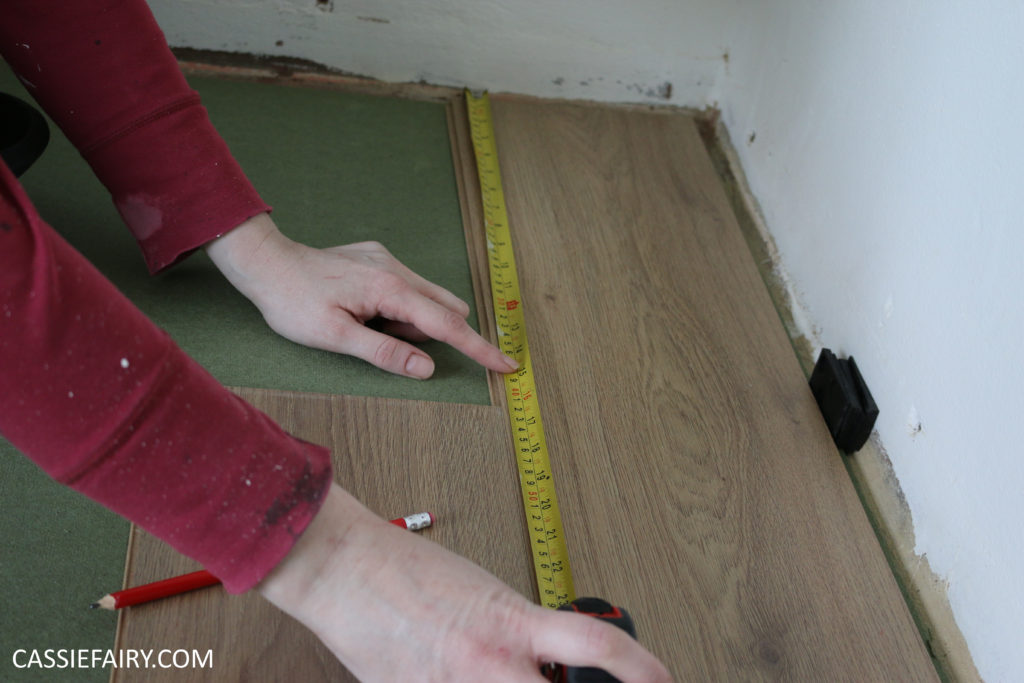 Lay the first few planks down the longest length of the room. I choose ‘Studio’ laminate in natural wood colour from DirectWoodFlooring.com for my living room. When you come to the last piece in the run, measure the size needed to fill the end of the run. Cut a piece from the laminate flooring plank to fit this space and clip it into place.
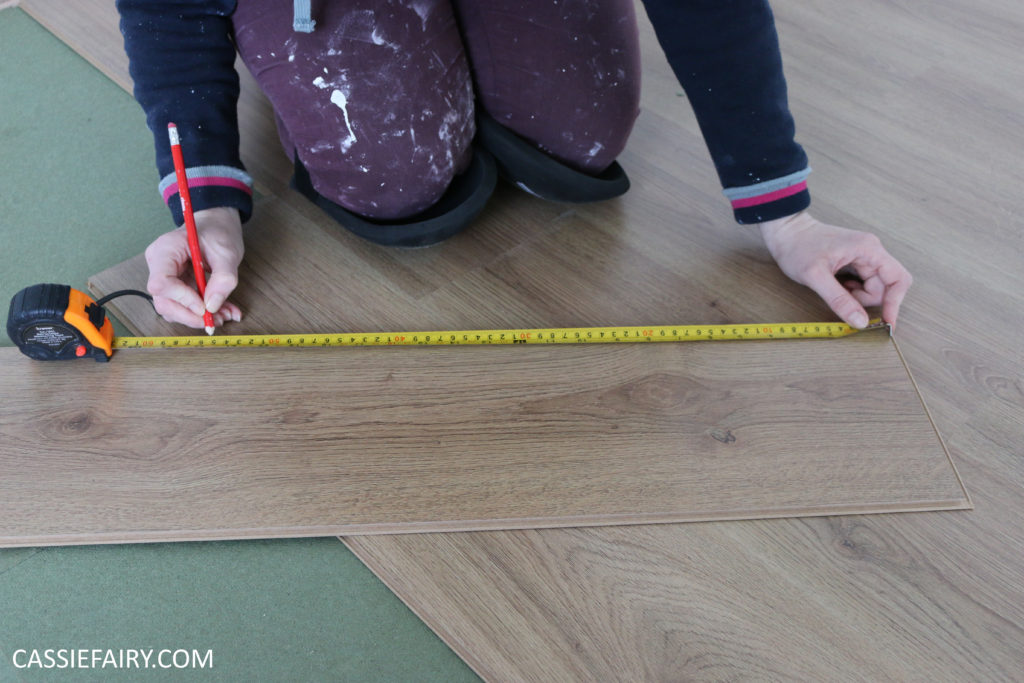 Use the remaining piece of the cut plank to start the next run of flooring. This will give you a staggered floor-board effect and makes sure that the floor doesn’t look too uniform.
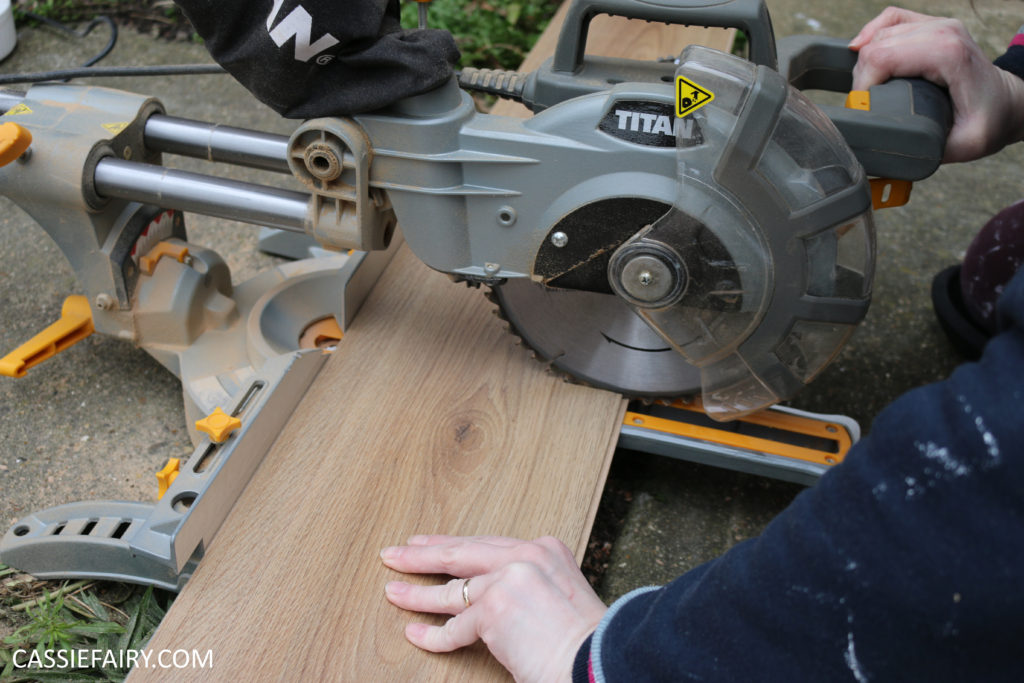
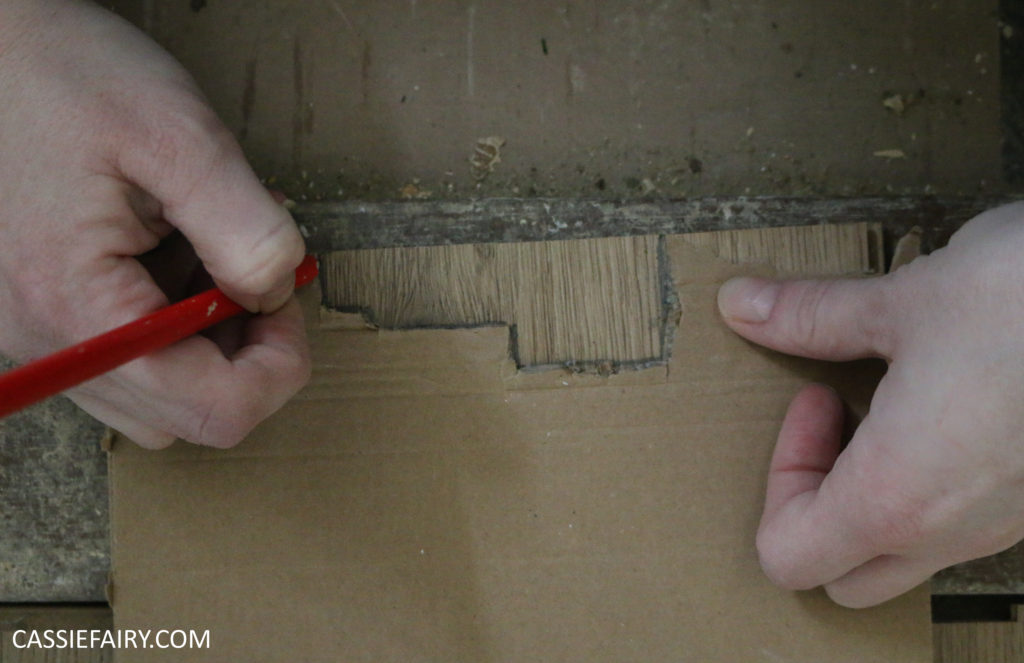
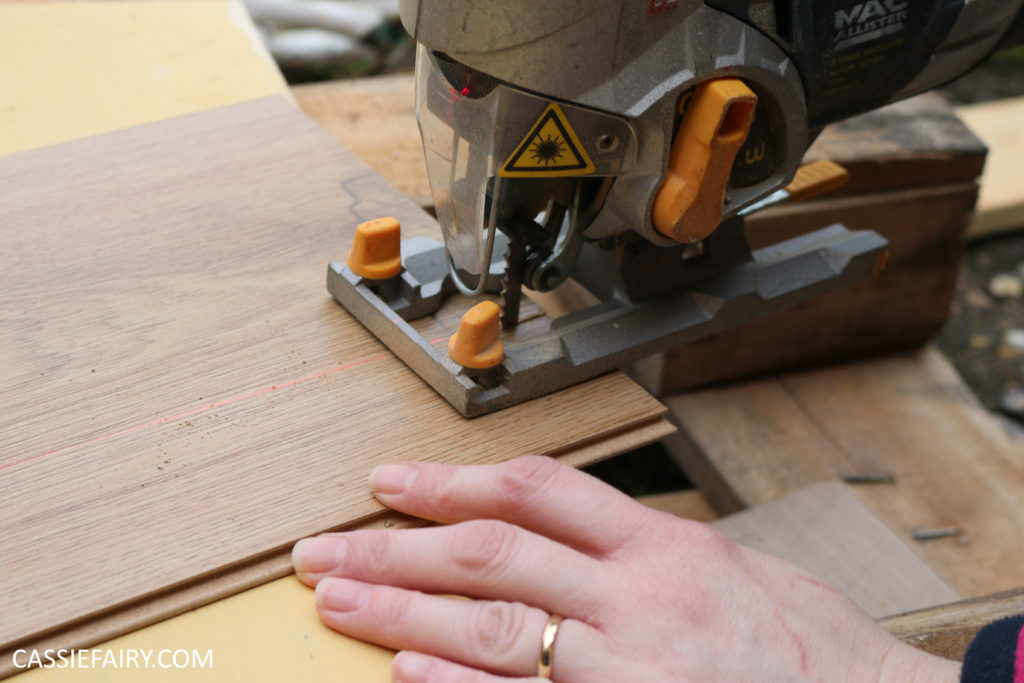
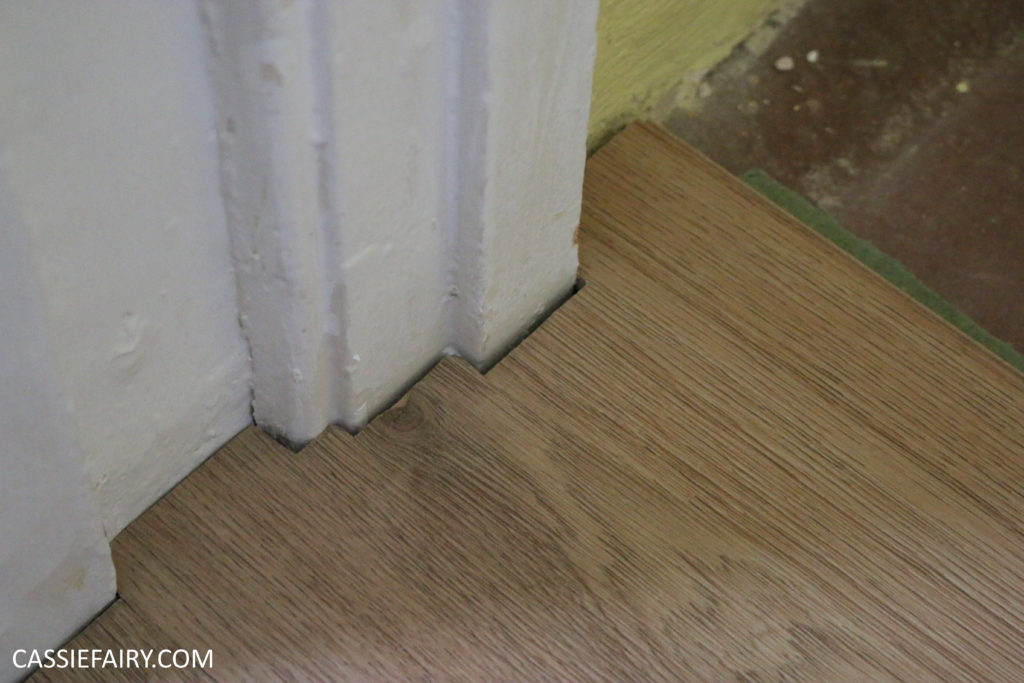
 If you need to cut a piece of flooring to fit around around the edge of a door frame, use a piece of paper or cardboard to trace the shape and cut it out of the paper to test the fit. Transfer the shape onto the piece of flooring using your template and cut it out using a jigsaw.
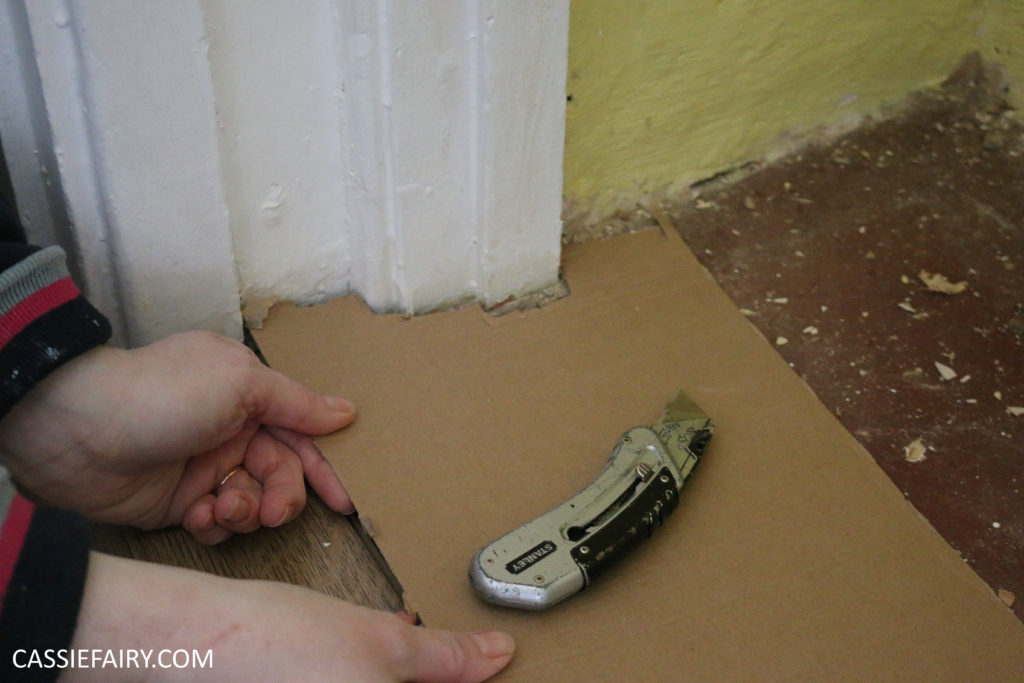
 If you’re trying fit flooring around a radiator pipe, drill a hole in the plank where the radiator pipe will be, using a drill-bit that is a slightly bigger size than the radiator pipe (usually about 15mm, so you’ll need a 16/17mm drill bit). Once you’ve drilled the hole cut across the plank, through the centre of the hole. Clip the plank into the rest of the run of flooring and place the end piece that you cut off around the back of the radiator pipe.
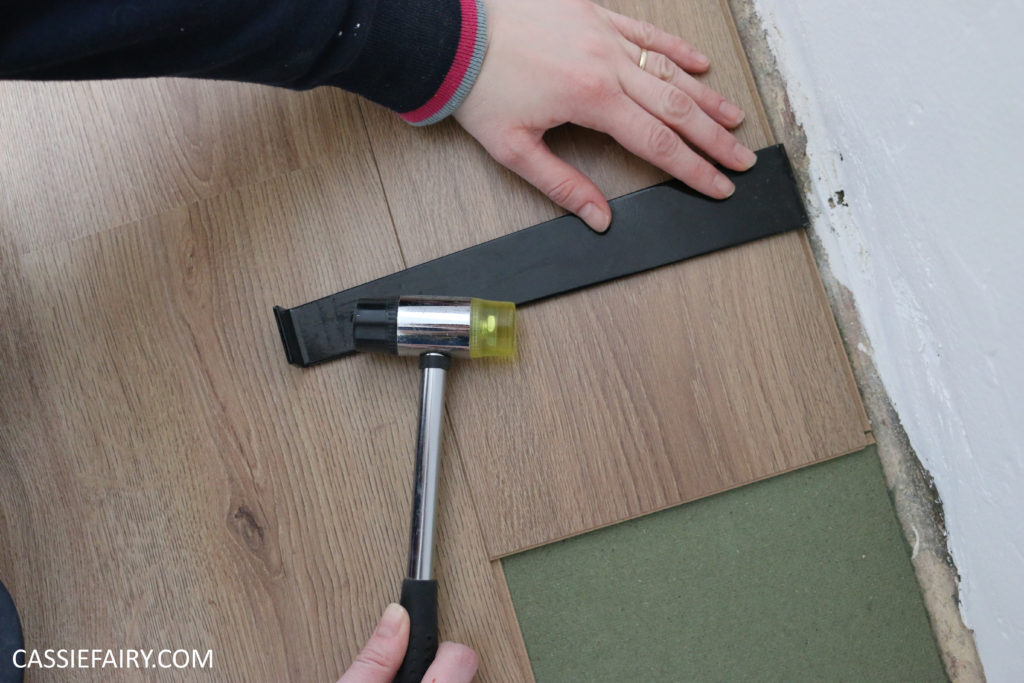 When you’re on the last run of planks it can be difficult to clip them into the rest of the floor. You can use a pull bar to hook over the wall-edge of the plank and ease it into the rest of the flooring. When the plank is in the right position, gently tap the pull bar with a small mallet to clip together.
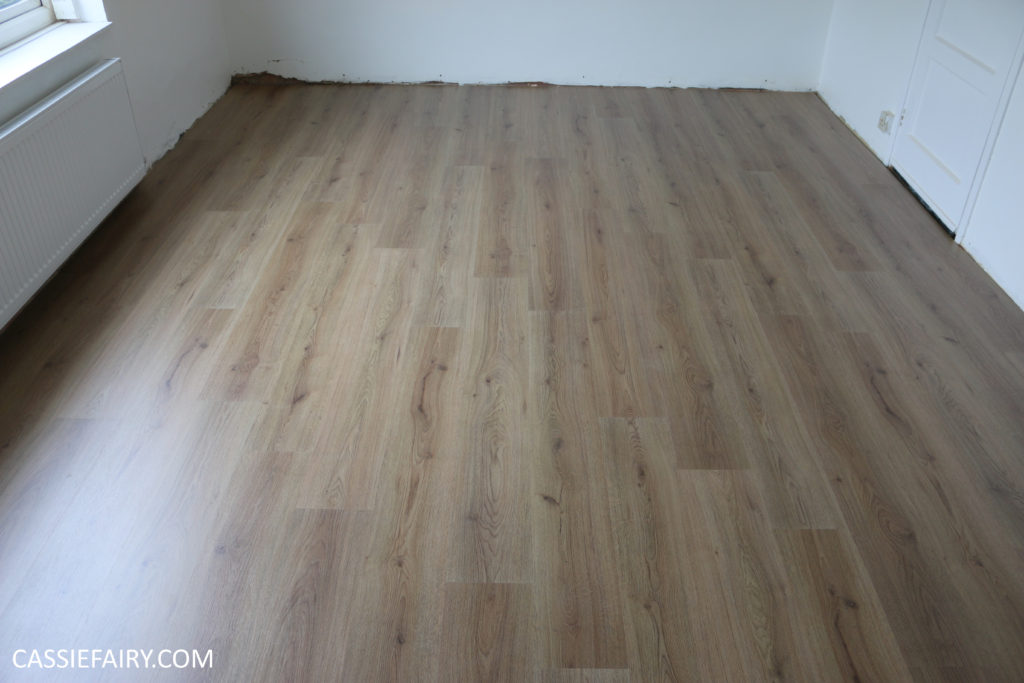
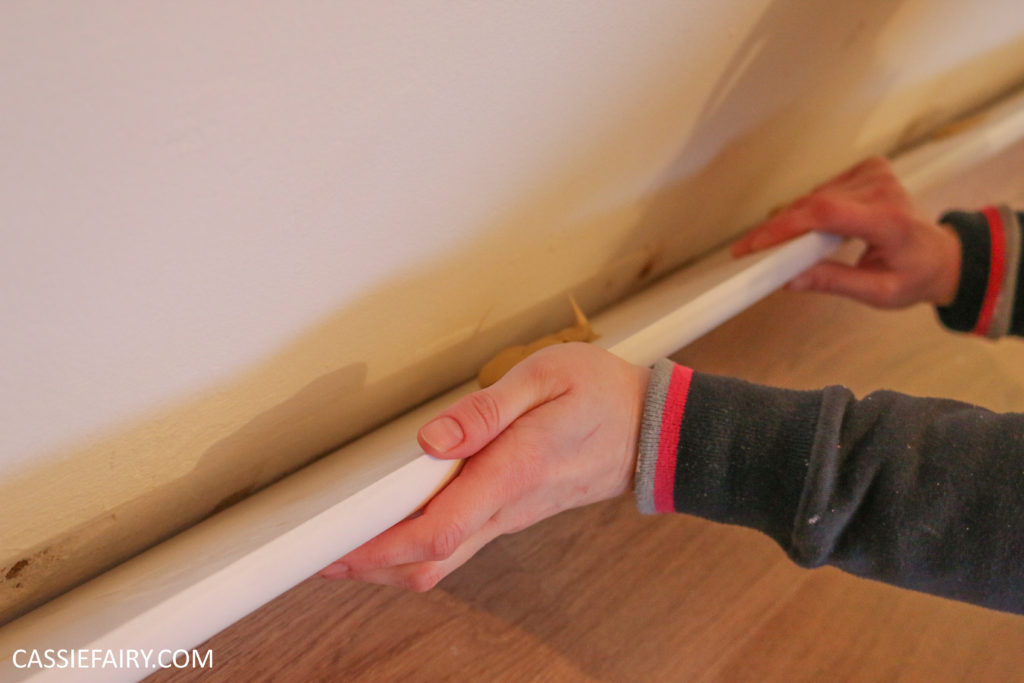
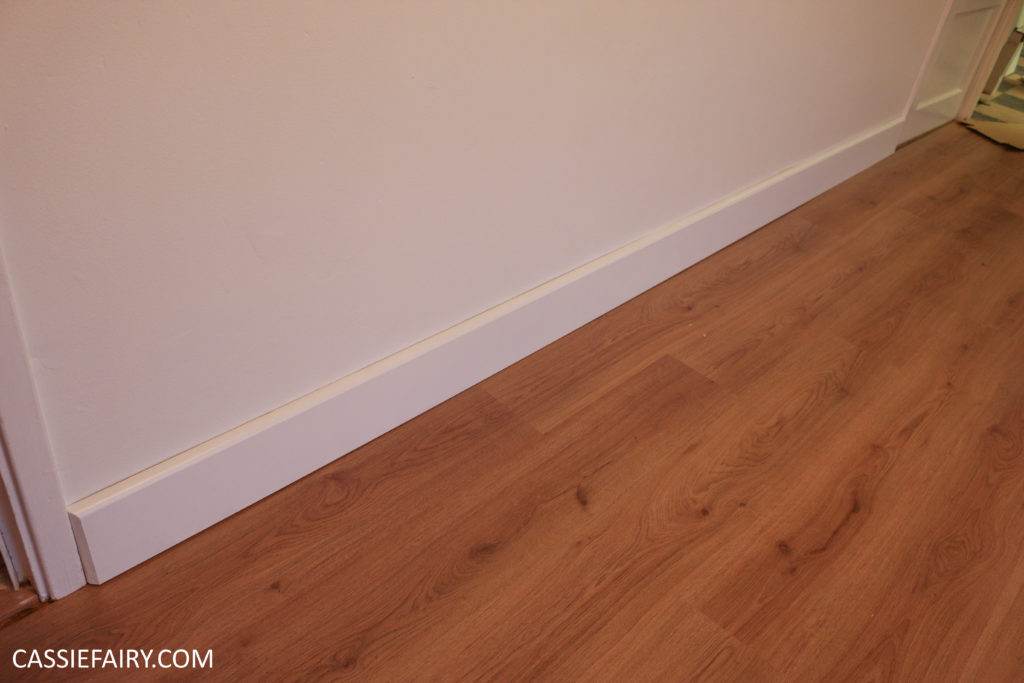 Remove the packers along the edges of the wall and and finish off the room by adding some new skirting boards to cover the small gap. I’ve shared a step-by-step guide to installing skirting board on my blog so have a look at my post for some handy tips.
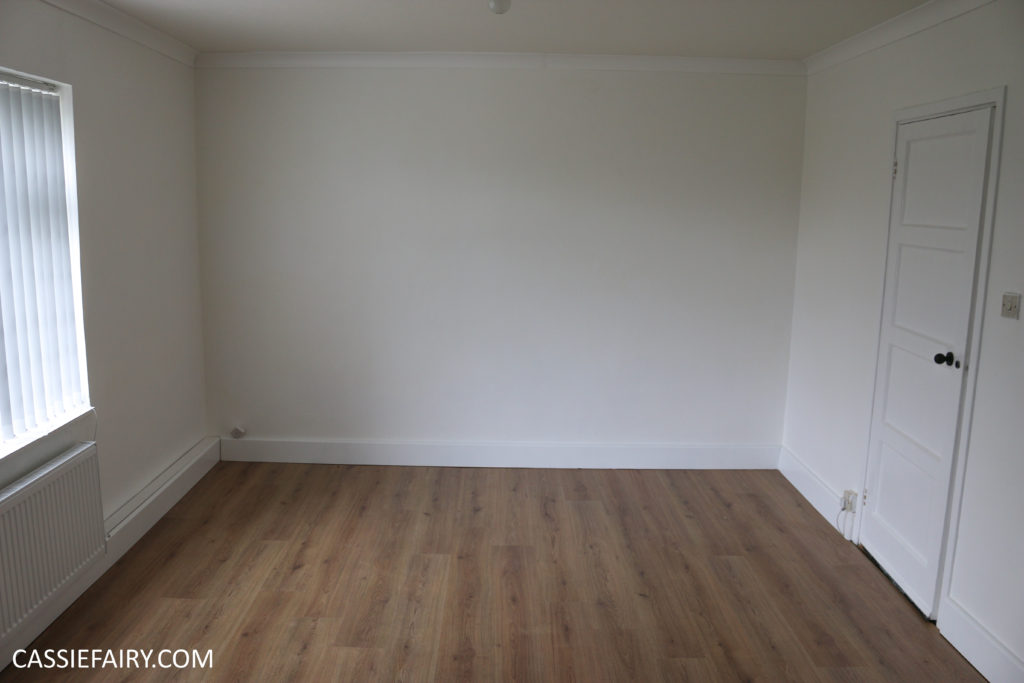 And here’s how it looks now! The whole room took just over 2 hours to fit and the fiddly bits inside the cupboard and around the radiators probably added 30 mins to this time. Let me know if you have a go at installing laminate flooring yourself and leave me your tips in the comments below 🙂
Some items in this blog post have been gifted to me and the pink links indicate a gifted product, affiliate link or information source. All thoughts and opinions in this post are based on my own experience and I am not responsible for your experience 🙂


