I think I can safely say that this is the biggest photo I’ve ever printed. And definitely the largest I’ve ever pasted onto a wall, that’s for certain. Sure, I’ve used a couple of posters to create a large-ish image on my bathroom wall in the past, but have never filled a whole wall with a mural before. So you can imagine how excited I was when my order from Murals Wallpaper was delivered last week.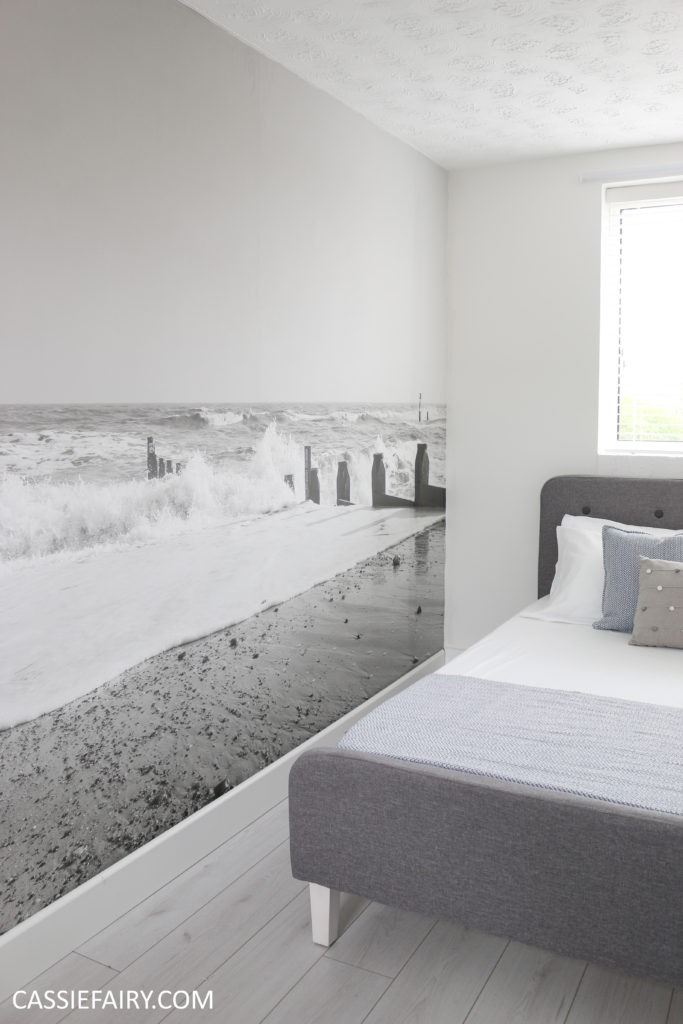 You may remember that I shared a blog post about choosing the image for my wallpaper last month. After a romantic stroll along the Suffolk coast on Valentine’s Day, my husband showed me the photos he’d taken on the beach. One image of a choppy water exploding over the sea defenses caught my eye and I knew it would look beautiful in black and white.
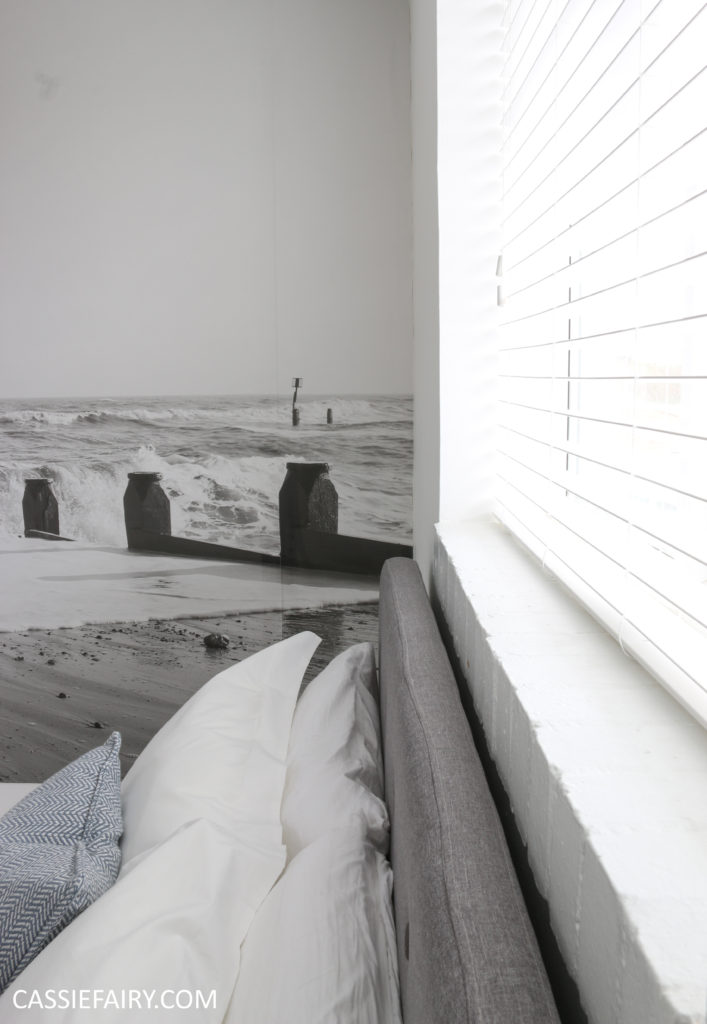 I emailed my husband’s photo to the designers at Murals Wallpaper in the JPEG and Raw formats and asked them if it would be possible to print it big enough to cover my bedroom wall. I almost couldn’t believe my eyes when they said yes! Even though it could be printed in colour, I asked them to convert the image to grayscale for me, as I think it would fit in with my monochrome bedroom well. They soon emailed over a proof for me to check and, after confirming that it was perfect, I eagerly awaited the delivery of my wallpaper. Here’s how the room looked before we started:
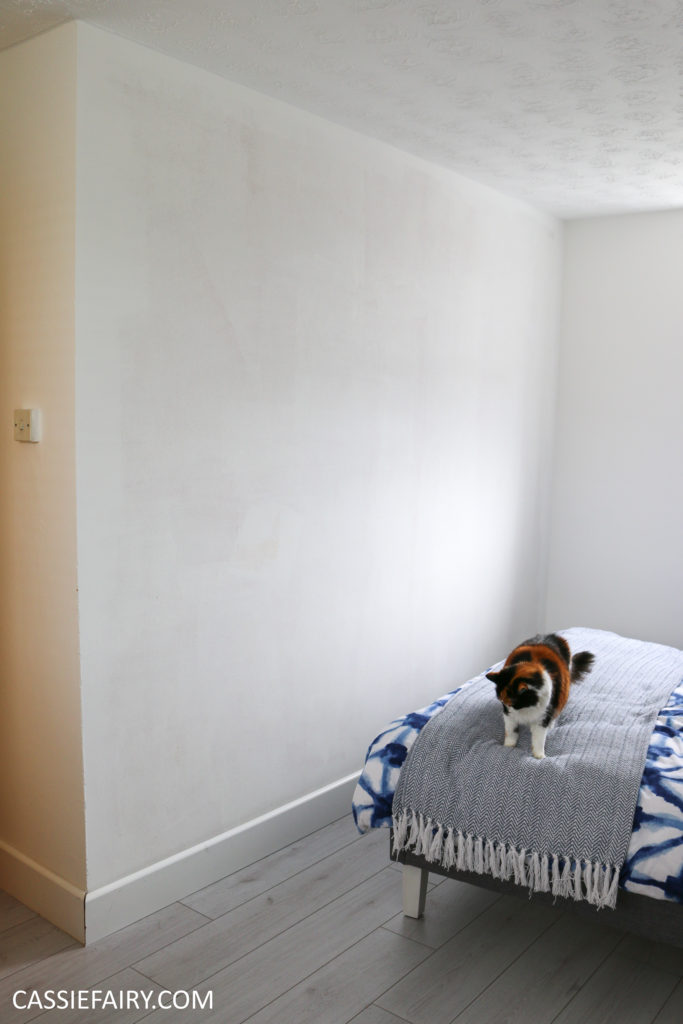

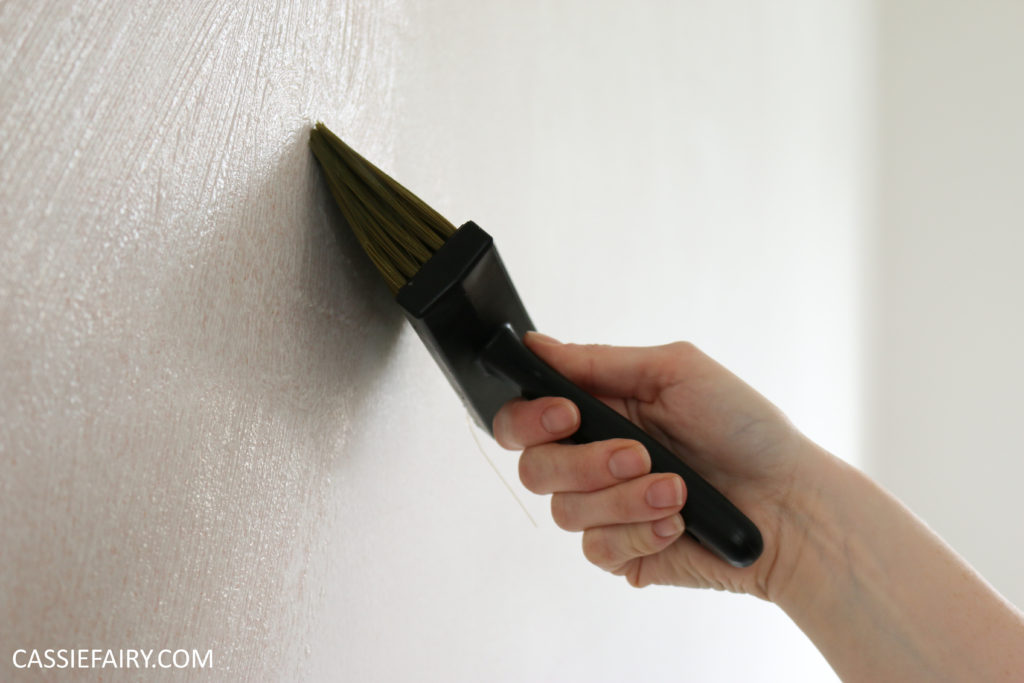
When a sturdy cardboard tube (as tall as me!) was delivered, I couldn’t wait to check out the finish of the wallpaper. The quality of the paper is second-to-none; really thick and slightly textured like artist’s cartridge paper. It’s a paste-the-wall paper, so it just needed to be lightly moistened with a damp sponge and left for ten minutes while I applied the paste to the wall. You know how regular wallpaper seems to rip and create as soon as you lift it up? Well, even all my flapping about while applying it didn’t leave any creases in this paper!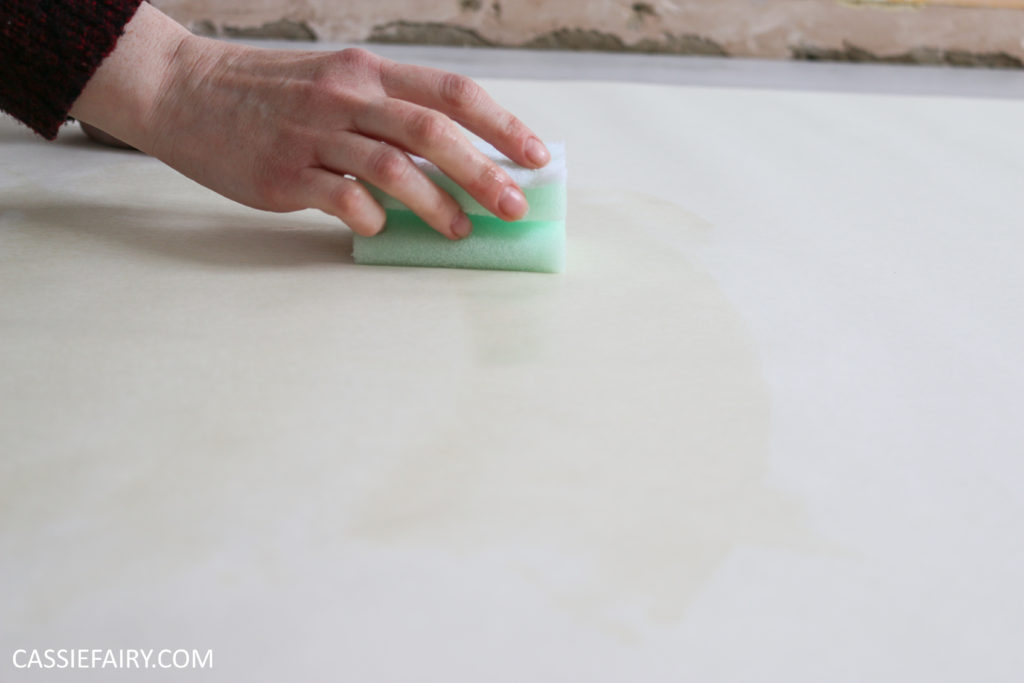
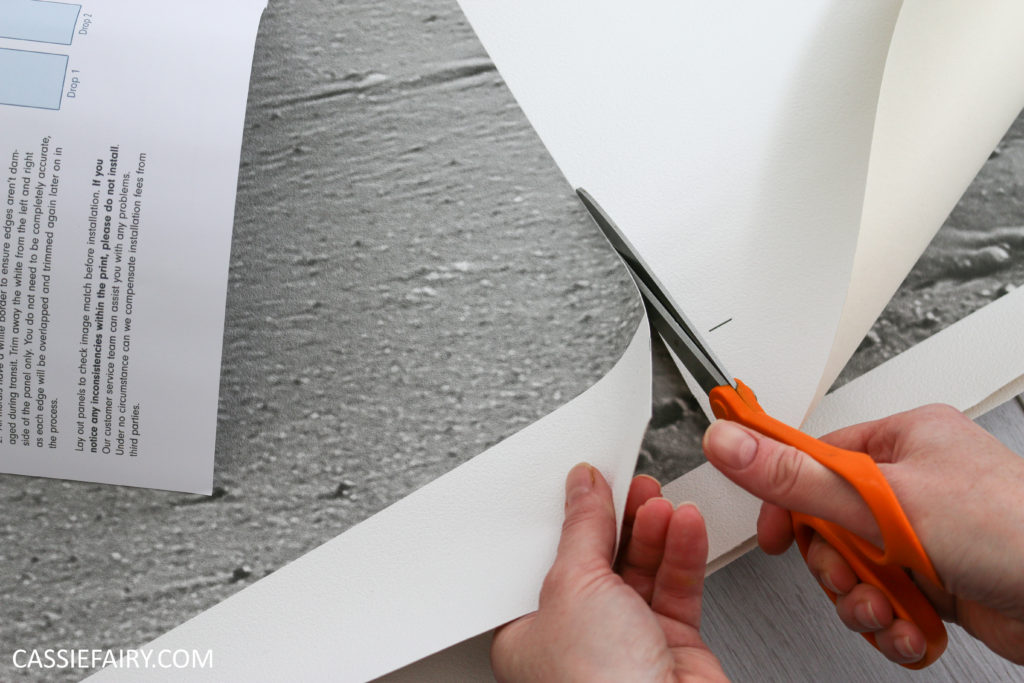
 The mural is printed over three rolls of paper and the photo need to be matched up at the edges. Each roll is slightly over-printed (and has a guide line at the top and bottom of the paper) so that you can overlap the image and match it up perfectly. The excess paper is then cut away – through both layers of paper, I might add – and a seam is created. This is an easy way to get the image to line up and create a seamless design on the wall.
 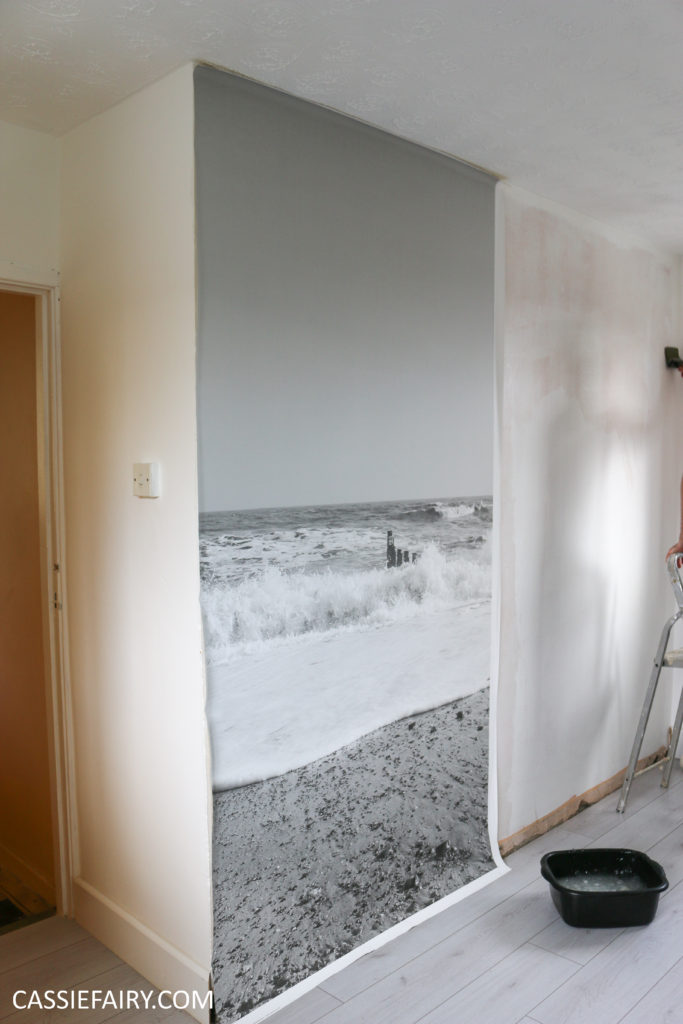 But, oh my goodness, I found the process difficult. I guess a more patient decorator wouldn’t have a problem with this, but after a few attempts at lining up the print, I was over it. Seeing as I’m the kind of slap-dash girl who’d just throw the wallpaper at the wall and hope it sticks, this level of precision was something I’m really not used to! In the end, my husband helped to line up the image while I held the top of the paper up.
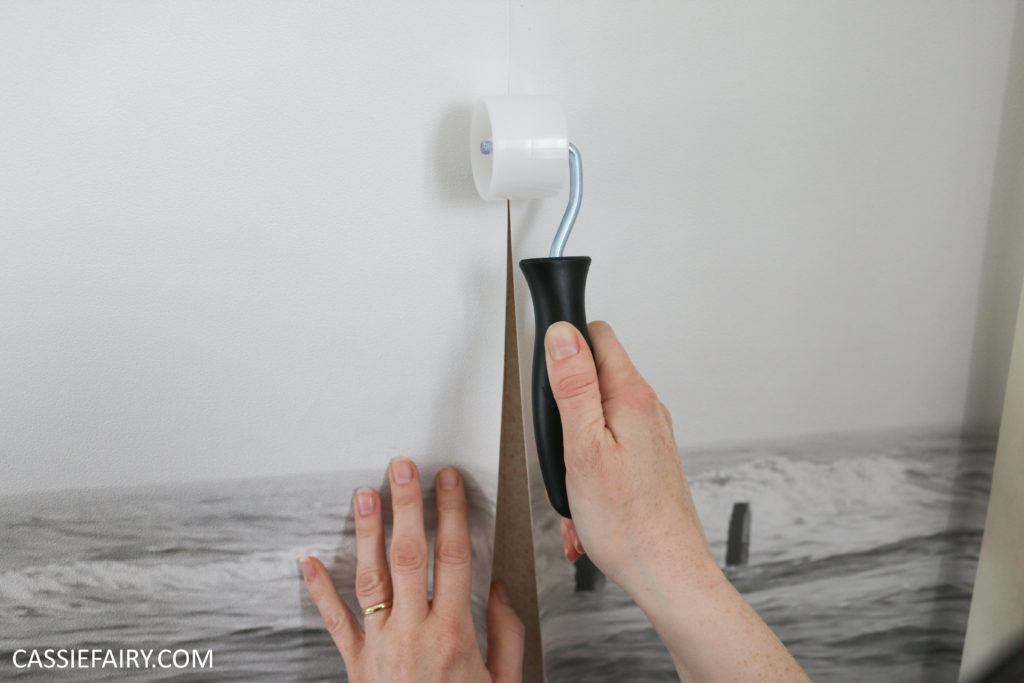
 With hubby in charge, it only took a matter of minutes to line it up, and soon we had cut the seam and had rollered over it to stick it down perfectly. Of course, seams always look worse when they’ve got paste oozing out of them, so I wiped it over and waited patiently for it to dry before passing judgement. The good news is, now that it’s dry, you can hardly see the seam at all. In fact, at the bottom of the image where there’s more texture in the photo, it’s completely invisible.
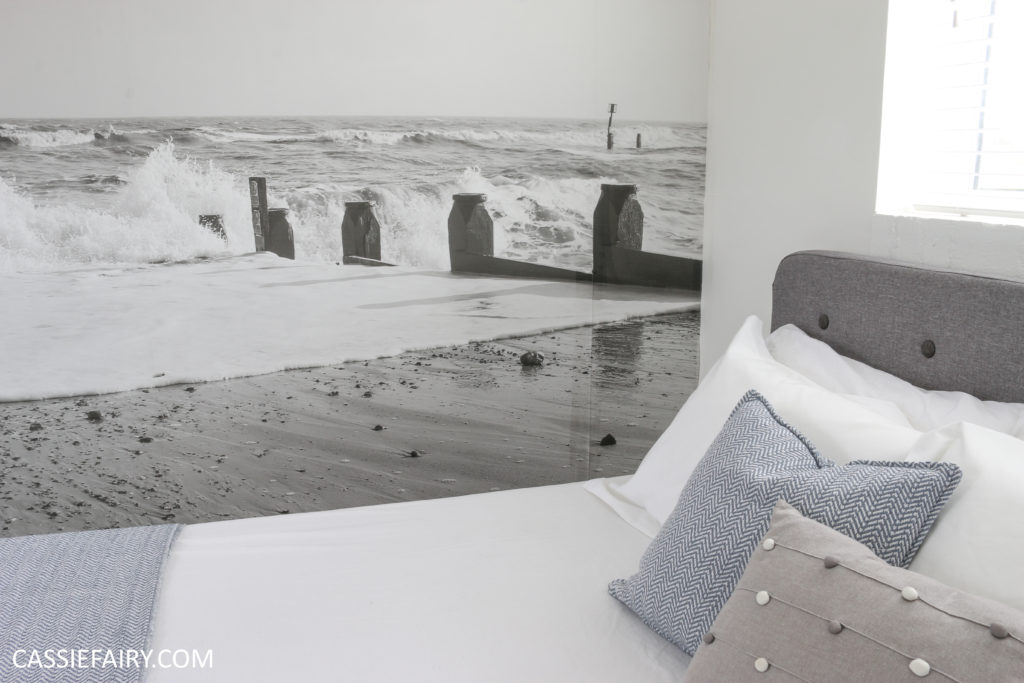 I’d definitely recommend picking a busy pattern, or a photo with plenty of different shades or colours as that definitely hides the seam even more. And I guess it would be a lot easier to match up the joins of a patterned image – seeing where the image matches up would definitely be a big help and make the process quicker. That said, I wouldn’t change my choice of image at all. I love how it looks on the wall – it’s so big that it’s practically life-size, just like being at the beach.
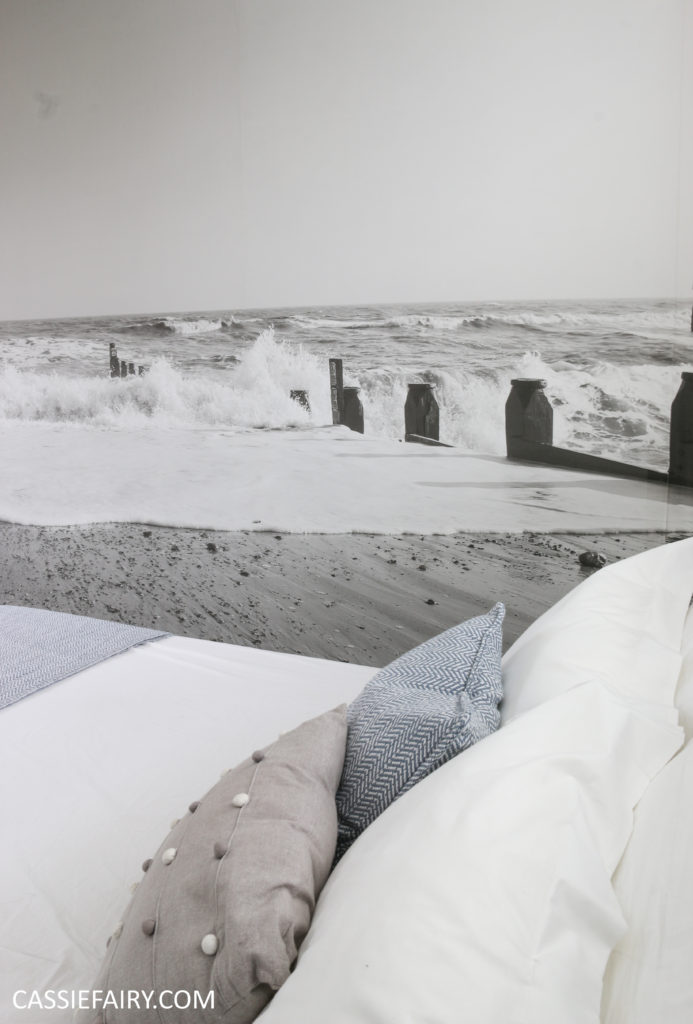 Before installing the wallpaper I was also a little worried that it would make the room appear smaller, especially compared to the white walls I’d just painted. But, interestingly enough, the image makes the room look bigger. You eye is draw to the horizon in the photograph and creates an optical illusion. It feels like all that beach is in front of you and feels really spacious. By the way, my soft touch pillows and the woven blue throw and cushion were on sale at Julian Charles. You can check out more of the bargains I got for my new bedroom in my ‘how to have a staycation at home’ blog post.Sure, when I ordered the mural I was fairly confident that I’d like this effect in the bedroom, but I never imagined that it would turn out so well. I can’t imagine the room without it now that it’s installed – it really is the ideal feature wall and finishes off the room perfectly. The only trouble is that I now want to decorate all my rooms with giant photos!
Some items in this blog post have been gifted to me and the pink links indicate a gifted product, affiliate link or information source. All thoughts and opinions in this post are based on my own experience and I am not responsible for your experience 🙂


6 responses
Hi Carol, sure thing – it’s from MuralsWallpaper.com and the photo was taken by a photographer – who probably has plenty of photos of the Essex and Suffolk coast that you could buy. That’s an amazing coincidence – I went to Walton on the Naze every year as a child for our summer holiday!
Hi can you please share with me the company that you used for the mural. And I know this is cheeky and if you would share the photo?
I live in Canada and have been here for 27 years but I lived on the east coast Walton on Naze whilst growing up. I live in Calgary very far from any ocean. And boy oh boy do I miss the North Sea. Particularly on a rough sea day. So when I saw your mural and because it was taken in Suffolk it was like it was meant to be.
Anyway here is hoping.
Regards Carol Edwards.
Hi Lisa, Thanks so much, I’m glad you like it! I think it works out at about £25 per sq metre but as every wall size and photo is different, I can’t be sure – you can get a quote before placing an order though, so that’s handy 🙂
Thanks very much, I agree! 🙂
Amazing!! fancy waking up to such a wonderful view….Inspirational….
Wow! Talk about visual impact! This is stunning!
(Do you mind sharing the cost?)