If you’ve been DIYing and gardening over the Easter holidays, you’re not alone; we too have made a lot of progress on our garden landscaping project over the past couple of weeks. Today’s blog post is all about how I upcycled a low-cost shed to make it look super-swish…

Storage in a garden is essential, isn’t it? Even if you only have a few plants and a lawn you’re going to need somewhere to store your spade, mower and hose pipe, right? I’ve certainly found it tough having to store my mucky tools in the porch for the past few months. So this week, I’ve done something about it.
I’d been on the look-out fora shed for a while, but it was only when I began collaborating with Wayfair that I found one that was the right size, the right design AND on a sensible budget. I was delighted when Wayfair offered to send me this 6 x 4 shed to review and my excitement reached new heights when, on Thursday, a big van pulled up outside our back garden and delivered the flat-pack shed.
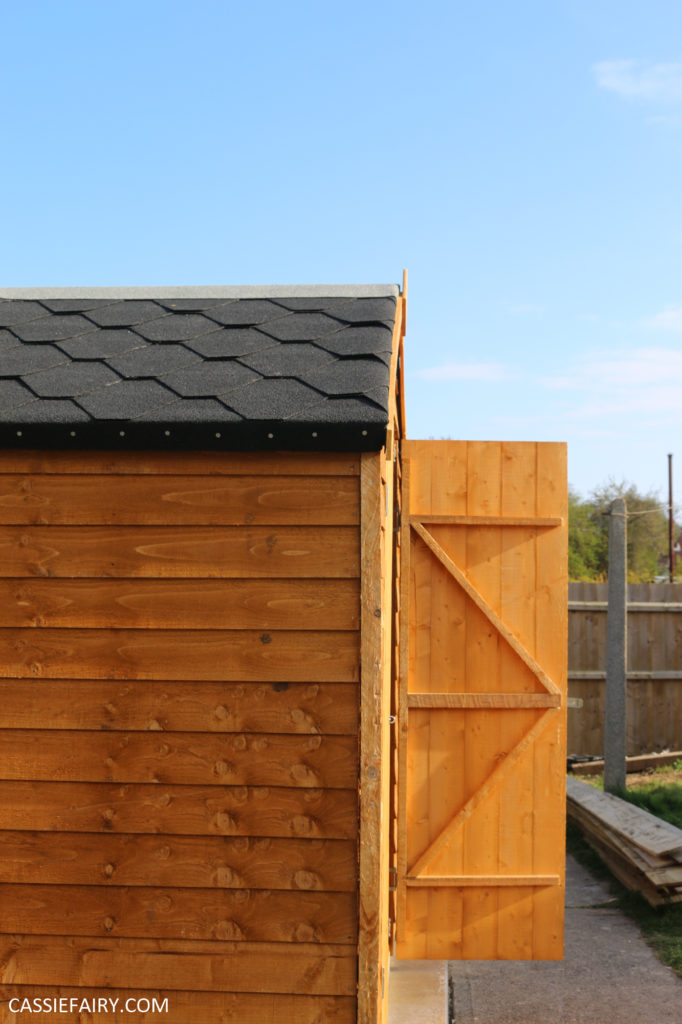
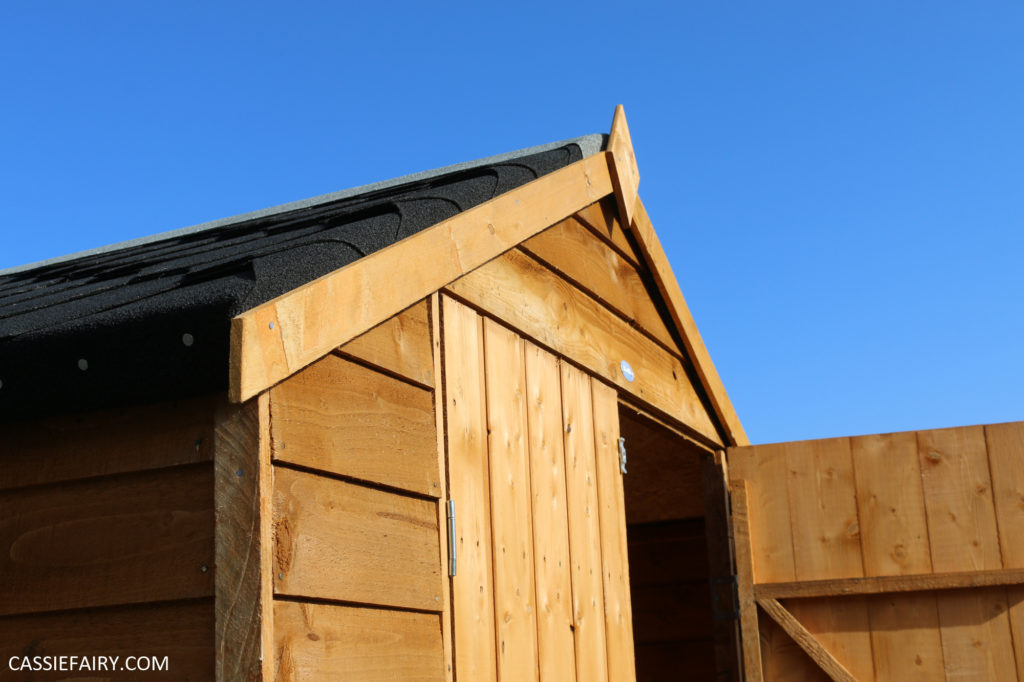
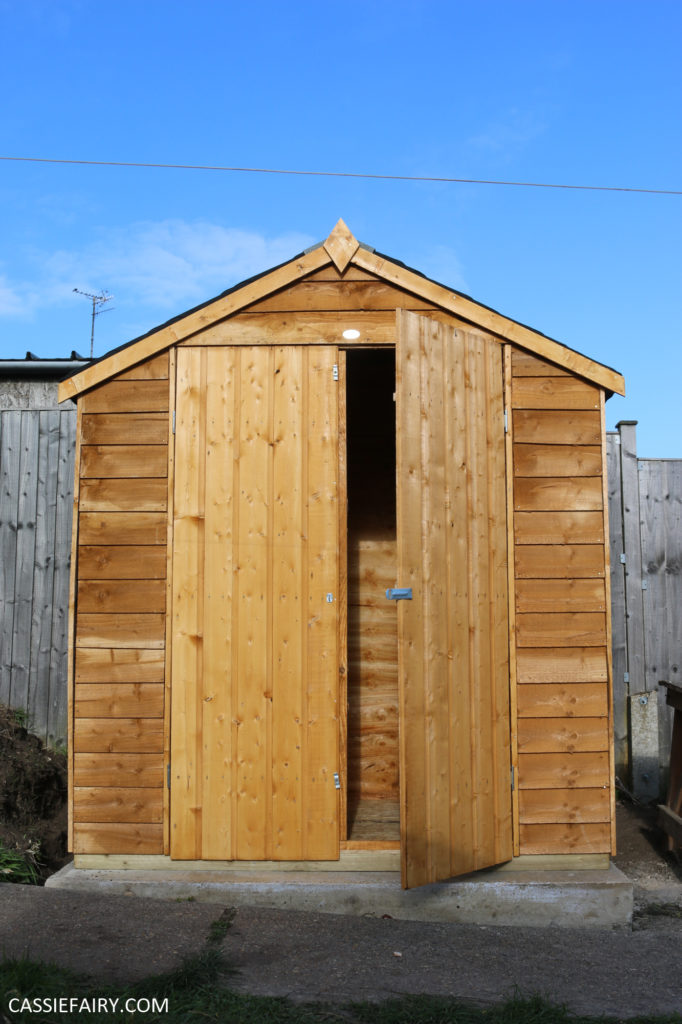
The shed I chose was this 6ft x 4ft overlap shed with double doors on the 6ft side. This size and orientation fitted into the space we have beside the path perfectly and, with a 7ft measurment to the ridge, the height was a little taller than other sheds I’ve seen. This meant that my 6ft husband could easily stand up inside the shed. Delivery is free and it was delivered right into my garden, on a day that suited me.
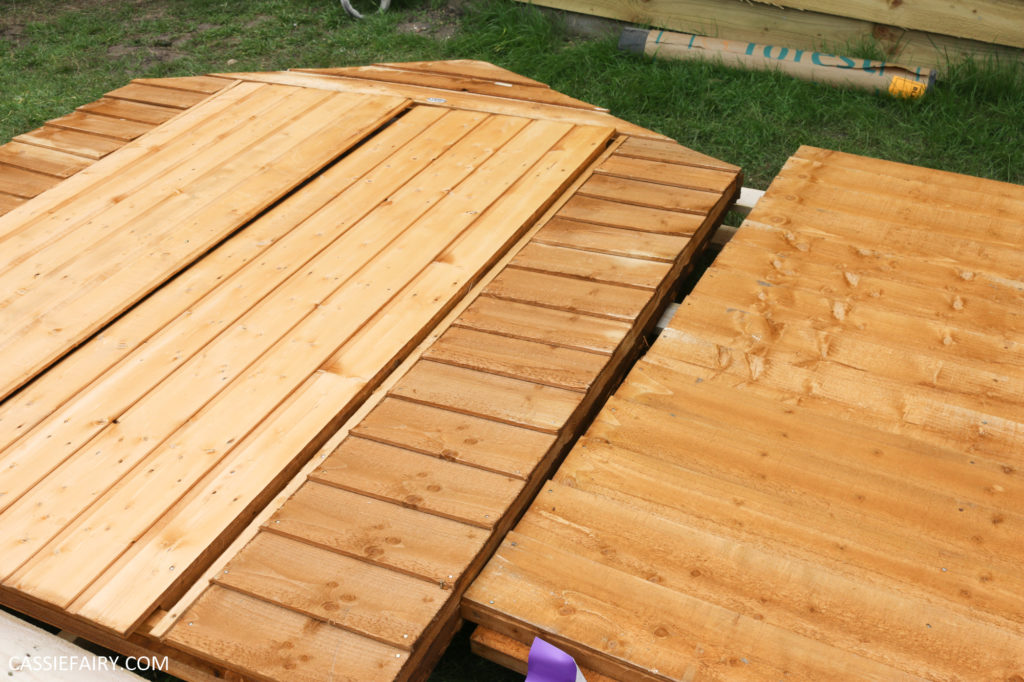
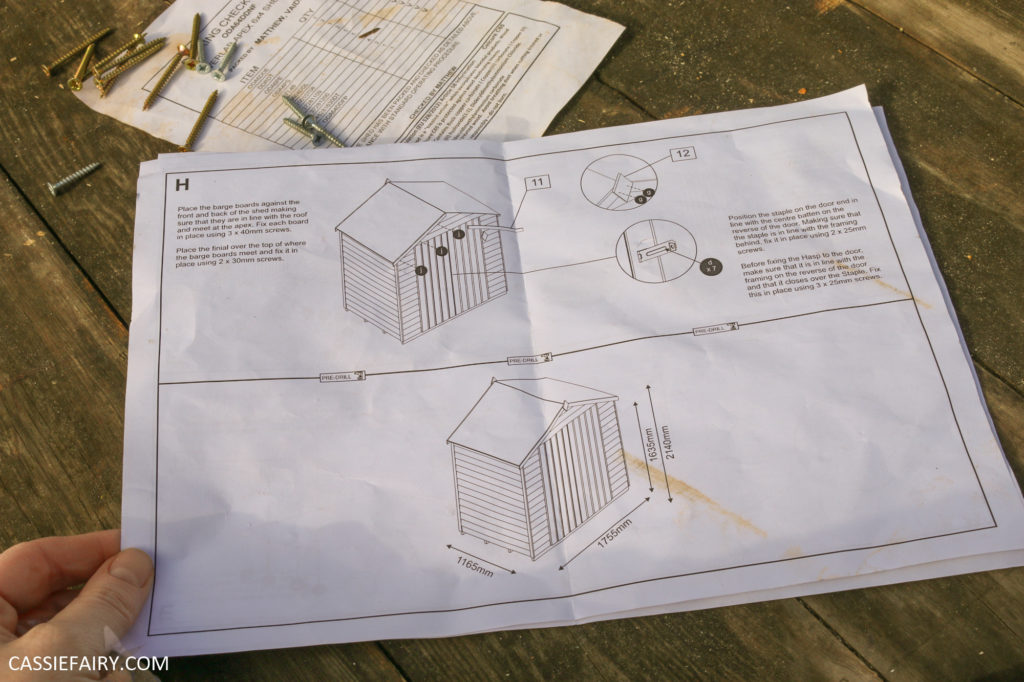
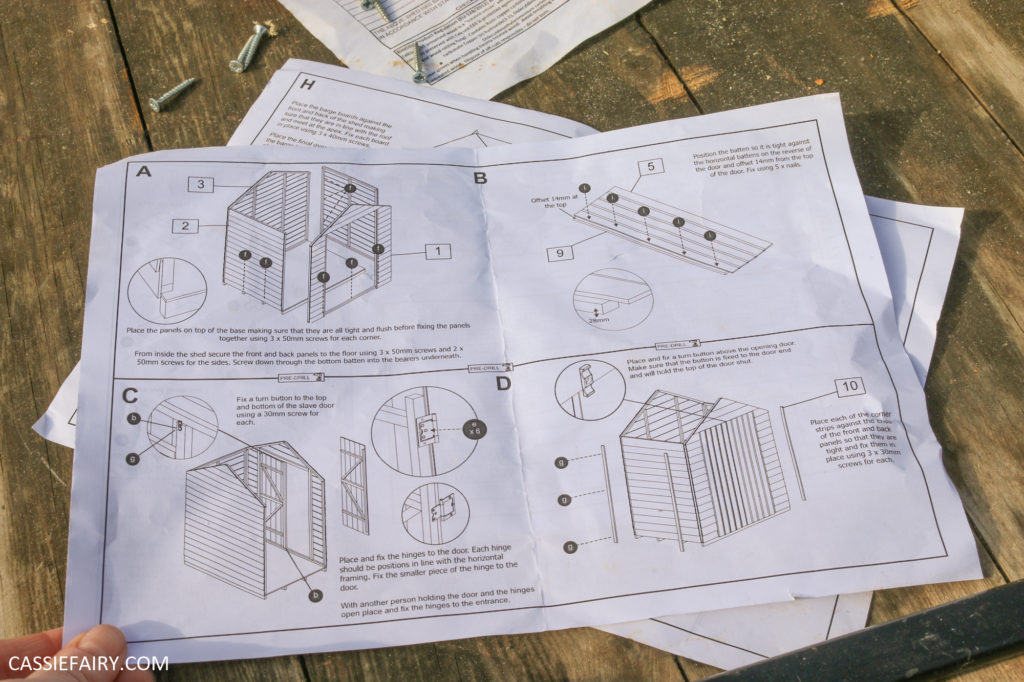
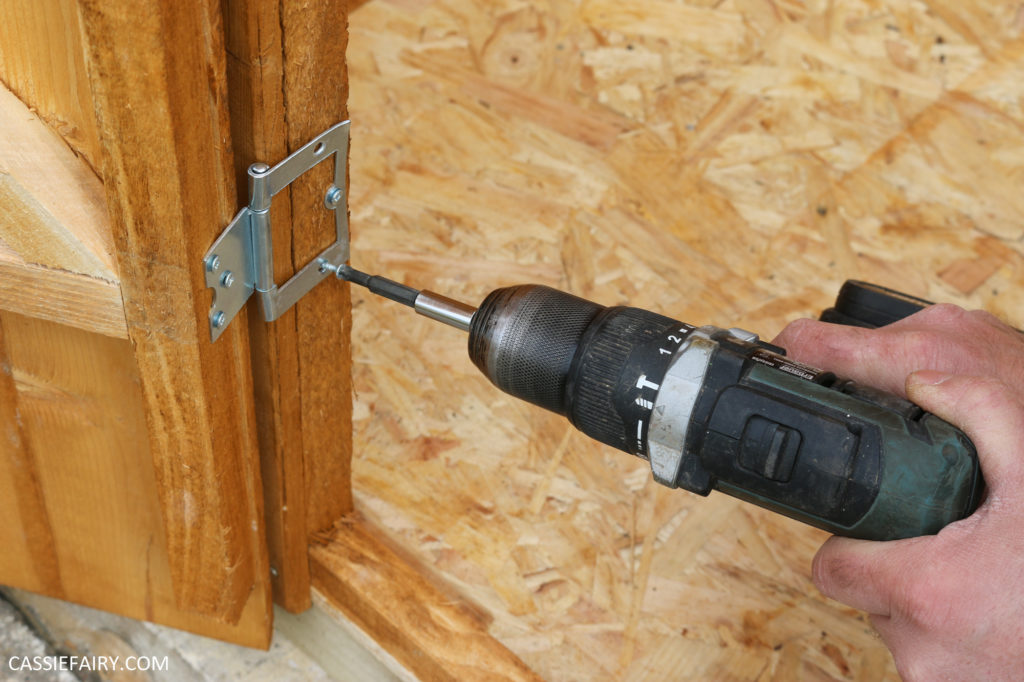
Now you might not think that a flat-pack shed is for you – heck, even some flat pack furniture can be too tricky for some DIYers – but this one was delivered with all the fixings, felt and very comprehensive instructions to get the job done. It’s definitely a two-person job, as there are times when you need to hold things together while someone else screws it, but between my husband and I, we had the whole shed erected within a matter of hours.
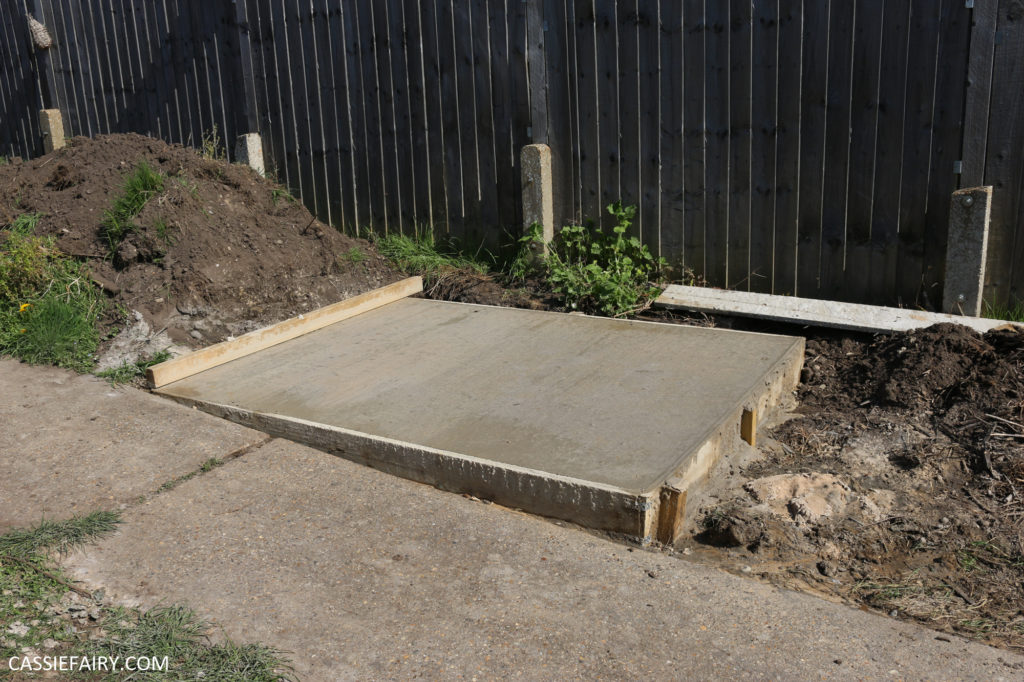
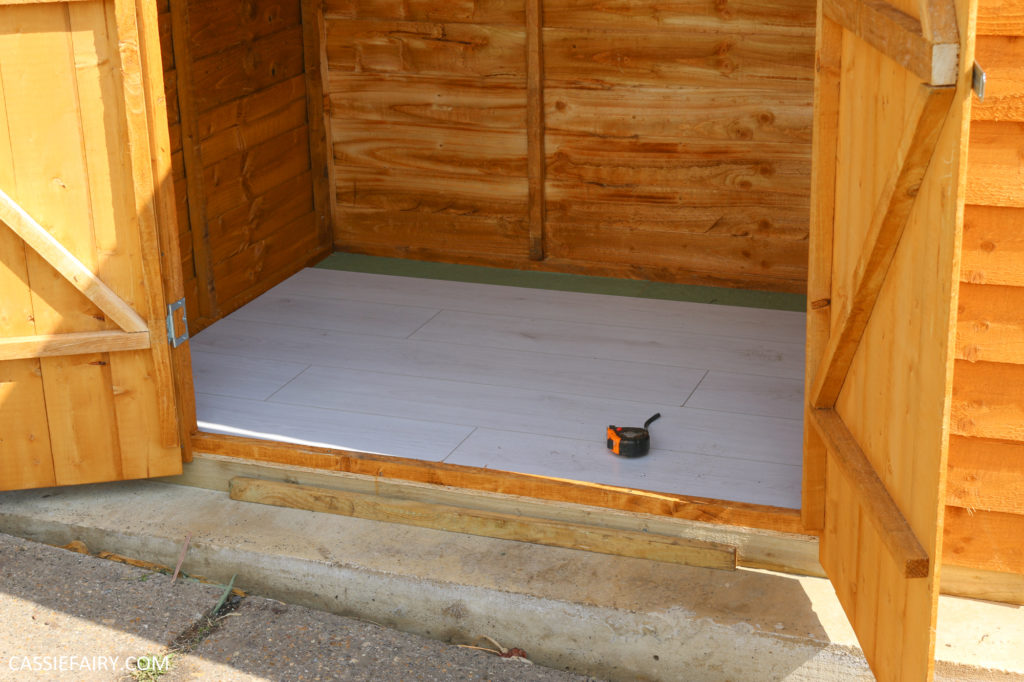
As our garden is on a steep slope, we’d already constructed a concrete base that was perfectly level. This gave the shed a good foundation, and meant that the supplied floor could be laid with ease and we popped the sides on in no time.
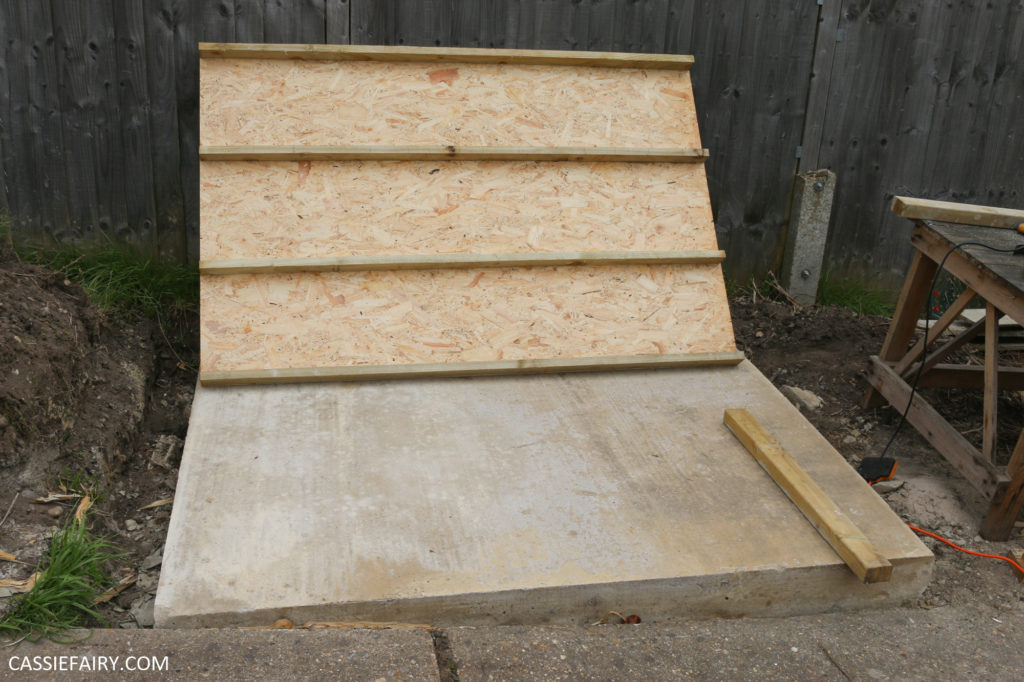
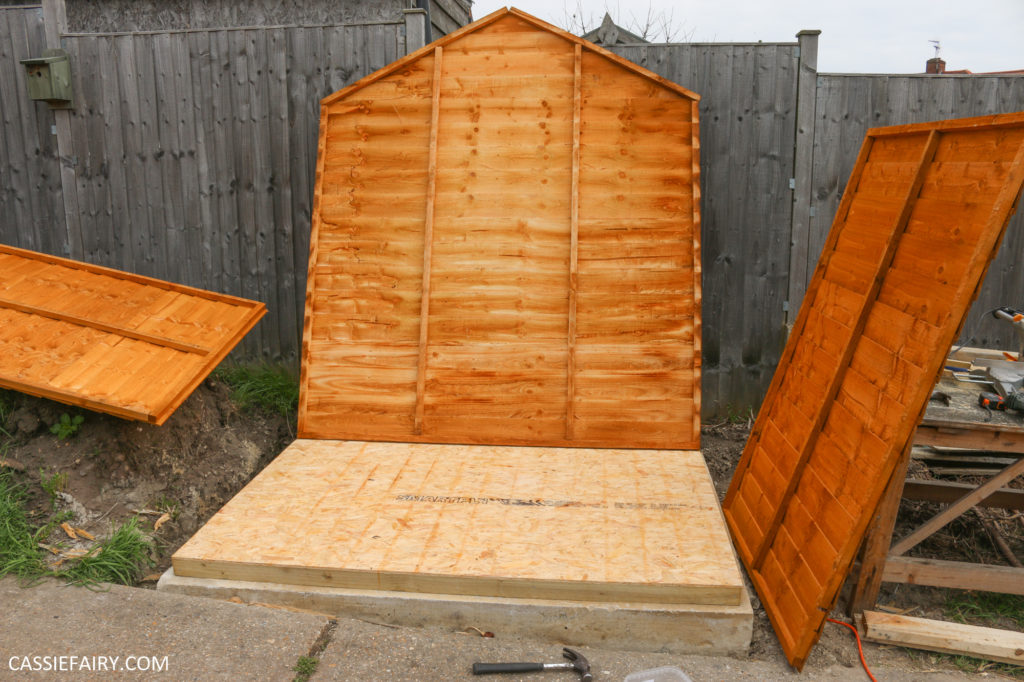
We decided to add a couple of extra lengths of pressure treated wood underneath the flooring for additional support, so that it could easily take the weight of the tools and the racking storage that I planned to fill it with. We added the doors and got to work on the roof.
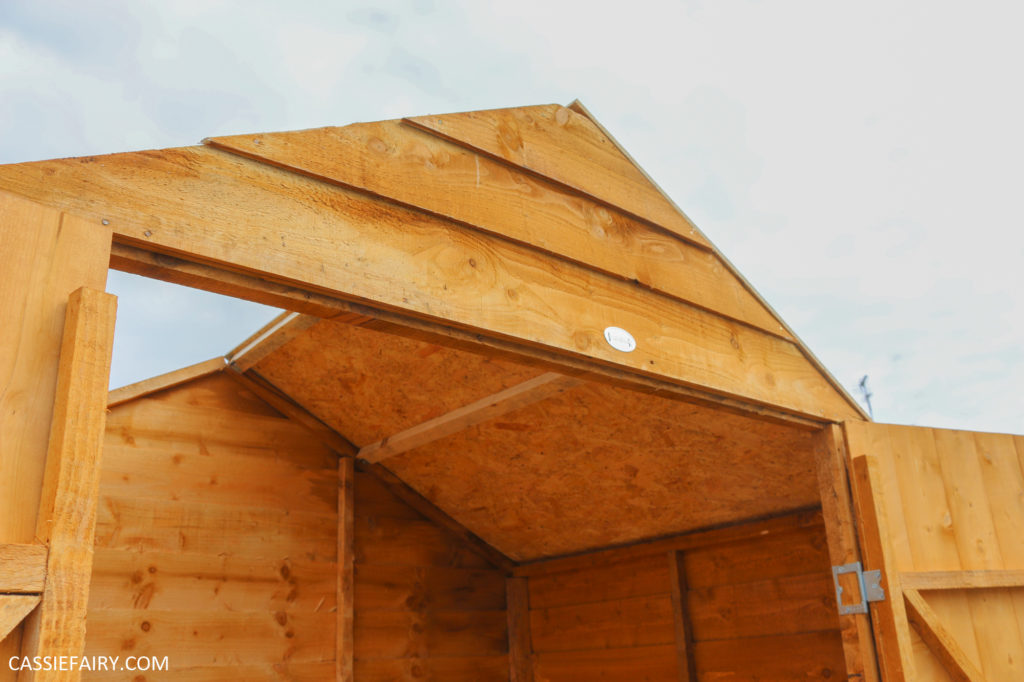
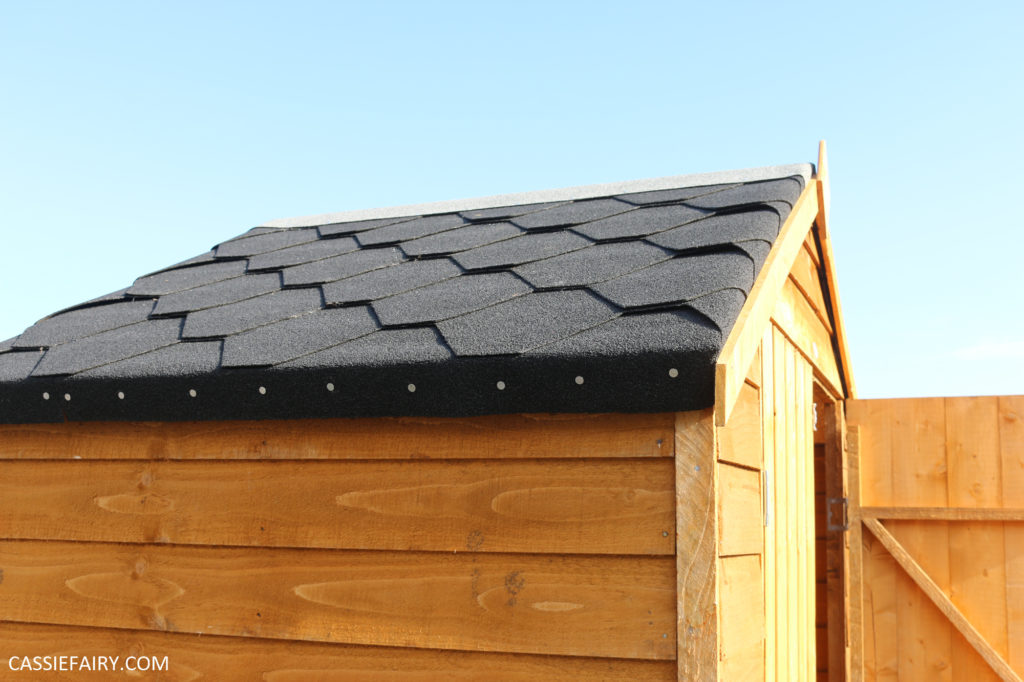
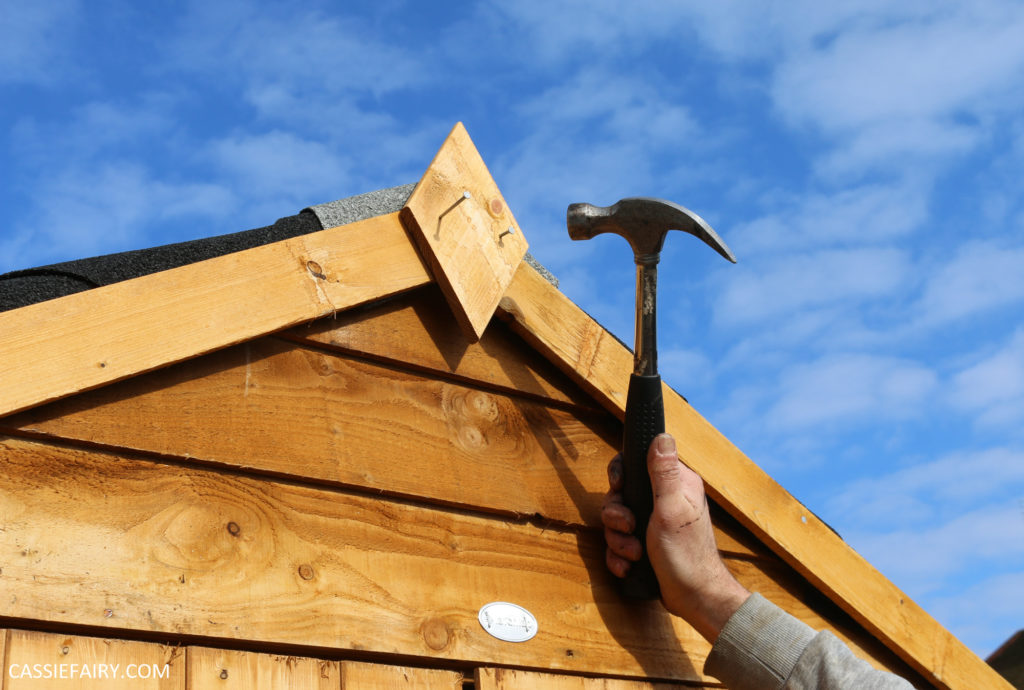
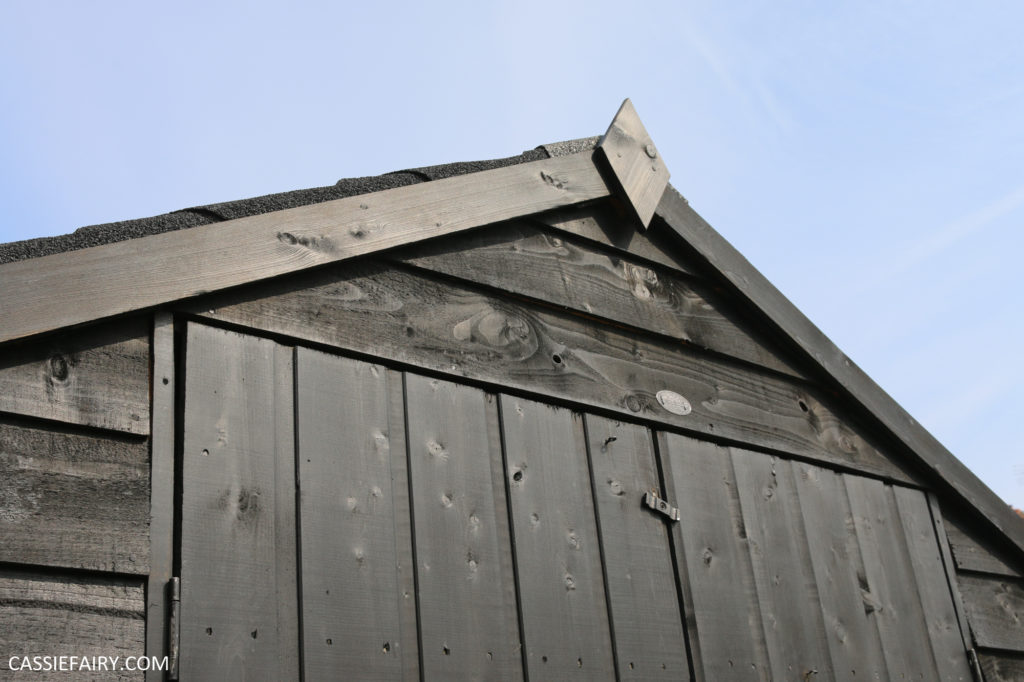
The shed was delivered with roofing felt and tacks, but we already had some felt tiles leftover from our parent’s build so we decided to use the thicker felt tiles to upgrade the roof and hopefully keep leaks at bay. We finished off the ridge with the supplied roofing felt and attached the trims to neaten all the edges.
It was really satisfying to see the shed come together in a matter of hours and I was ready to start storing my tools in it straight away. But my husband reminded me that we had some laminate flooring left over from our bedroom renovations. We decided to lay some left over underlay on the floor first and then my husband fitted the laminate flooring. Again, this reinforced the flooring a little more so it’s super-sturdy now.
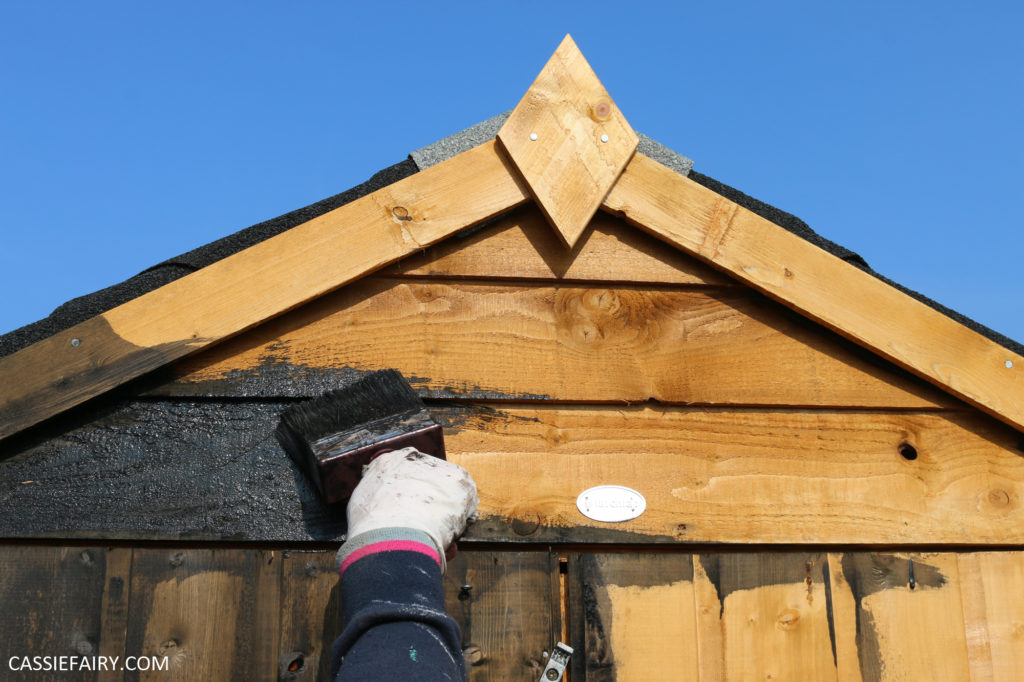
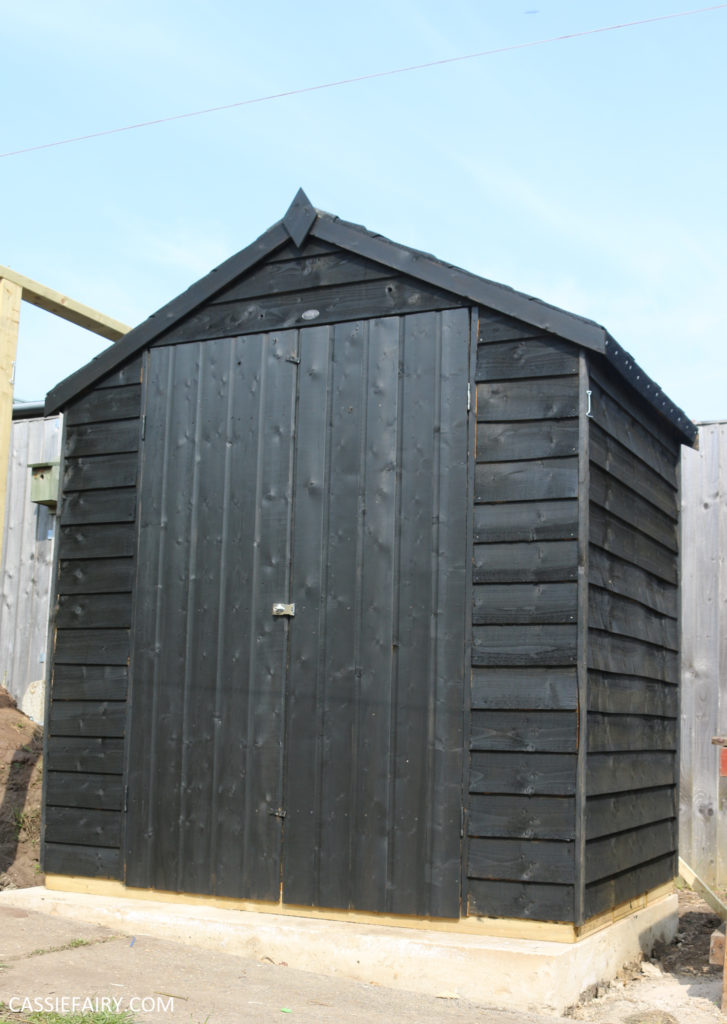
After reading Wayfair’s expert guide to garden sheds, I decided to take their advice to ‘pimp it up’ by painting the shed. When we gave our old tumbledown shed a makeover it looked great after a coat of black paint and in comparison, our new shed was looking a little too ‘new’. So while hubby filled it with shelving, drawers and hooks, I got out the paint brush.
I set about painting it with the same black paint that we had leftover from the old shed, and it took two coats (it’s very watery paint) to completely cover the wood. The doors are made from smooth shiplap wood rather than the rougher overlap wood so they needed a lot more coats to take the darker colour – I must have painted them 5 or 6 times!
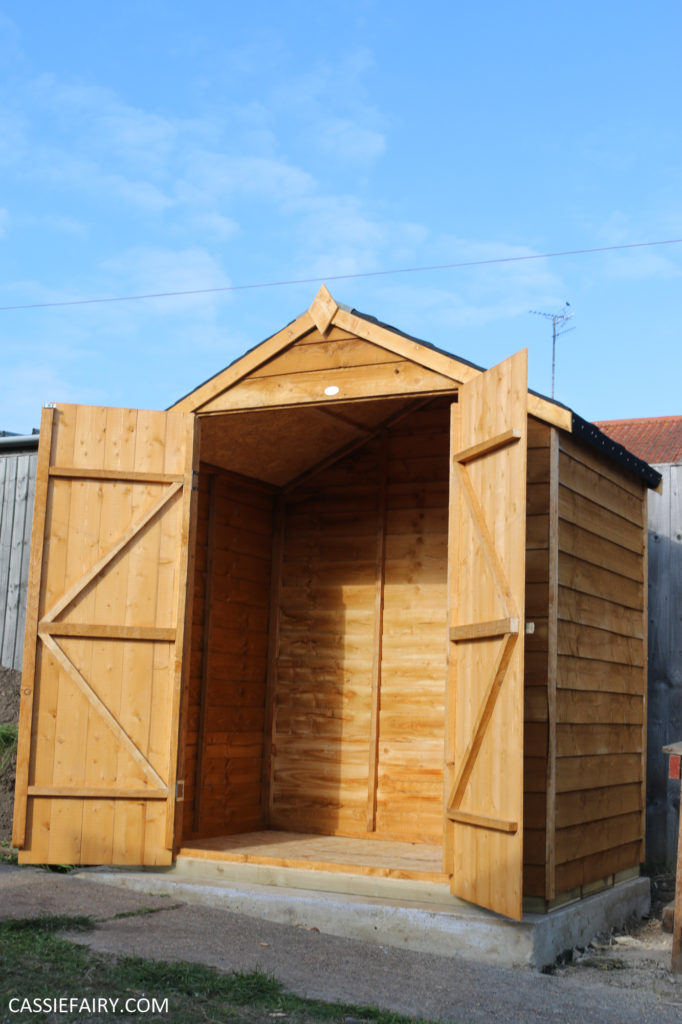
I’m really pleased with how the shed looks in our garden and I’m really impressed with how simple the flat-pack process was. It’s just the right size for our garden, and provides plenty of storage space to tuck garden tools neatly out of sight. The double doors are the best part, as you can open them up fully to allow the light to flood in, and they make it easy to access the mower. We just need some grass now..!
Some items in this blog post have been gifted to me and the pink links indicate a gifted product, affiliate link or information source. All thoughts and opinions in this post are based on my own experience and I am not responsible for your experience 🙂