The eagle-eyed of you might have spotted some elements of my new kitchen in the blog post I shared about adding personality to a kitchen with lighting and artwork in January – so you’ve already had a sneak peek at the cupboards and colours we went for.
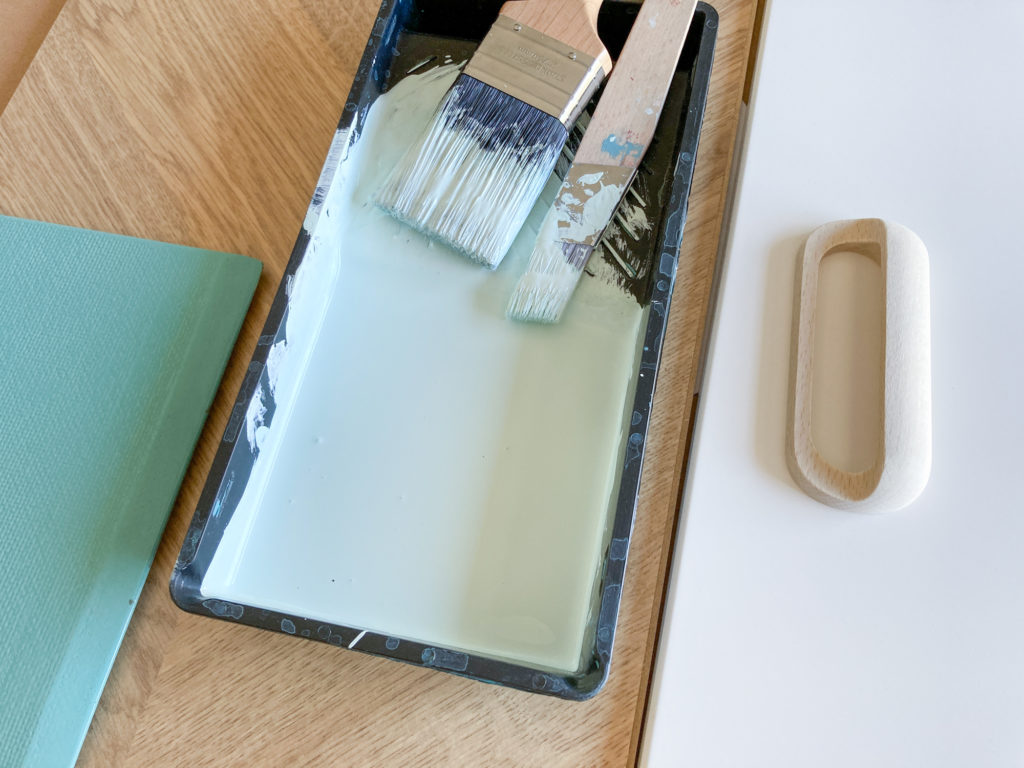
The whole kitchen is a creamy off-white colour – basically, the cheapest Veddinge range from Ikea – so we wanted to elevate the basic units with interesting finishes and textures in the handles, worktop and flooring.
By installing the lowest cost kitchen cabinets ourselves, we managed to save £1000s of the usual price of a kitchen, which meant that more of our budget was available to spend on the practical appliances we really needed.
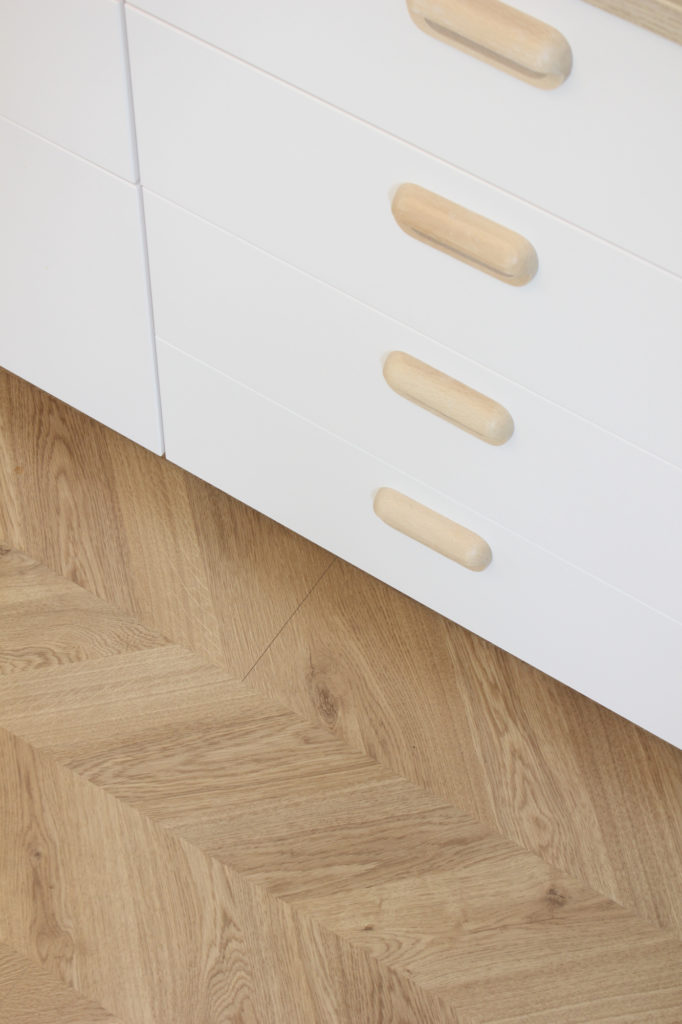
But that doesn’t mean that we didn’t make some aesthetic choices along the way. I knew that I wanted wooden handles, and had managed to source some unfinished ones from The Handle Studio that I could stain or varnish myself.
As such, I was reassured that whatever worktop or flooring I chose for my kitchen would coordinate with the handles, as I could colour-match the wood tones myself. In the end, all that was needed to blend in the handles was a few coats of polycarbonate finishing spray, which brought up the richness of the wood grain nicely.
Expensive wooden parquet
So, with the freedom to select any wooden flooring I liked, I started to research the options. The dream was to have a parquet floor, as it would fit into our 1950s house seamlessly and look like it was always meant to be there.
However, the cost of installing a solid wood parquet floor – even if I sourced old secondhand planks – would have sent us spiralling over budget straight away. This led me to start searching for other options to get that panelled wooden floor look at a much lower price.
Practical luxury vinyl tile
The first stop on my journey was to check out Luxury Vinyl Tile flooring. This type of floor has the realistic appearance of wooden planks but is maintenance-free, with a spill and stain-resistant surface.
It’s easy to cut and install, and often has an integrated underlayer (one less thing to buy!) that will help to even out imperfections on the existing flooring.
I considered achieving a similar patterned wood look with sheet vinyl, but I didn’t like the idea of using lots of adhesives to attach the flooring, preferring instead to find a click system that does away with glues altogether. Vinyl click flooring is hassle-free to fit, simply clicking together in super-fast time, which makes it a great flooring option for DIYers like me.
Low-cost laminate flooring
I decided to compare the costs of LVT with laminate flooring in a herringbone design and with a traditional oak colour. Depending on your choice of product, the prices are similar so it comes down to personal choice – if the colour you want isn’t available in LVT, you could use laminate instead and it will be installed just as quickly and easily.
One thing to consider is that some laminate planks aren’t waterproof so be sure to choose a product that’s suitable for kitchens or bathrooms to get that water-resistant finish. That said, if you have a big leak or floor, laminate flooring will probably swell or blow apart, so be aware of this.
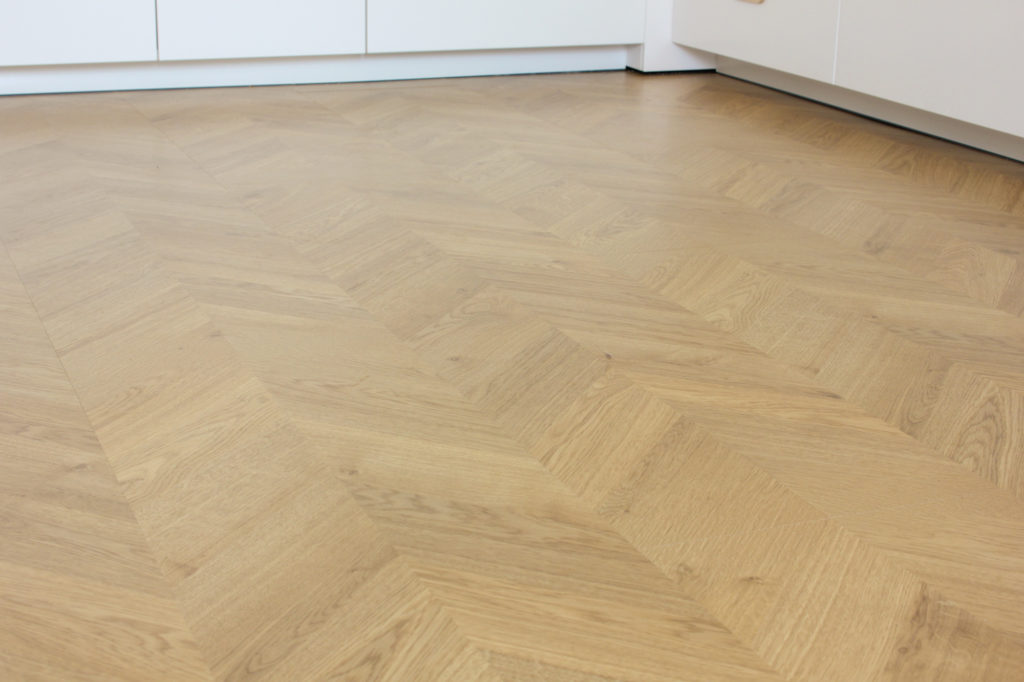
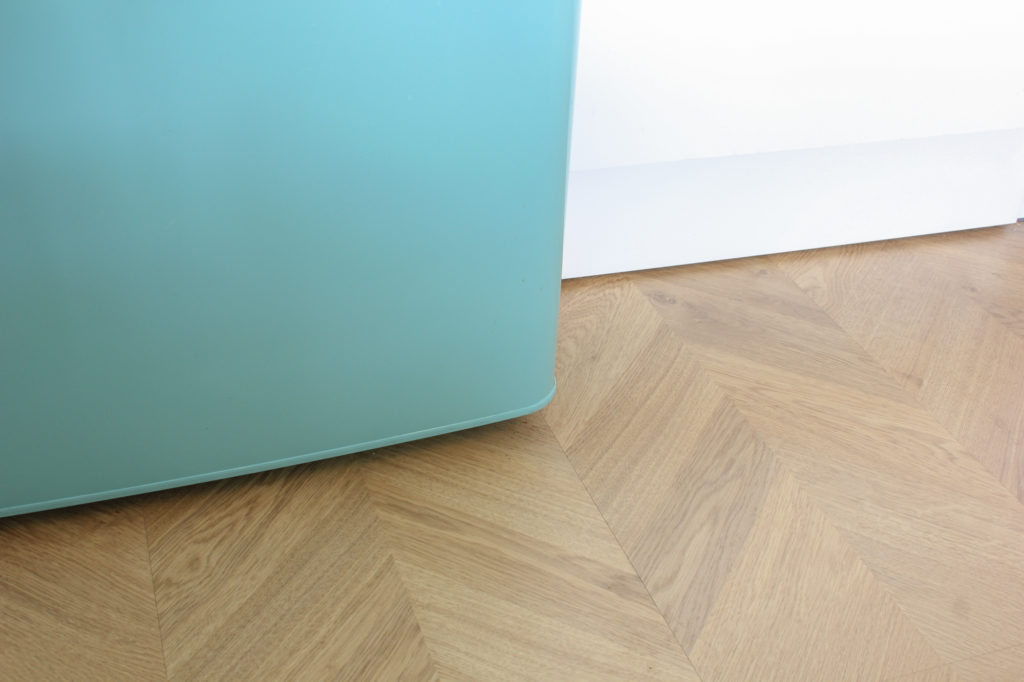
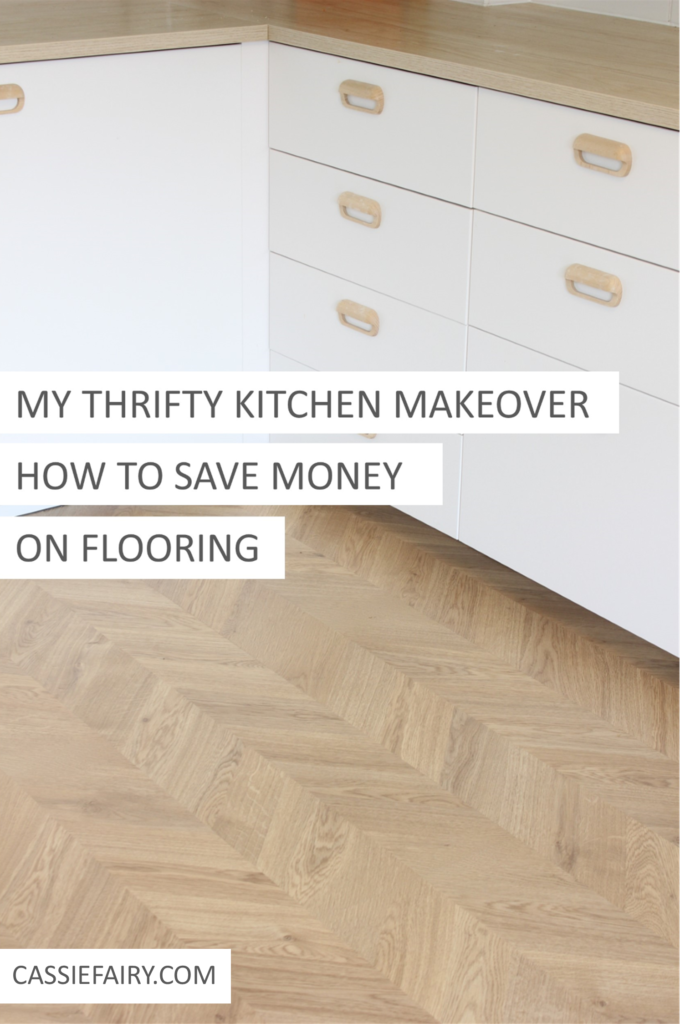
Chevron design click-fit planks
As soon as I discovered the planks in a chevron design, I was sold. It would help me to achieve a vintage vibe in the kitchen and it was available in the mid-oak tone I was hoping for. I compared a sample with the worktop and thought the woodgrain finishes worked well together.
The installation process was a breeze. We kept the old 80s vinyl tile floor beneath and laid the click planks directly on top. This saved time (and lots of mess!) compared with pulling up the old floor, which was perfectly flat and sturdy anyway.
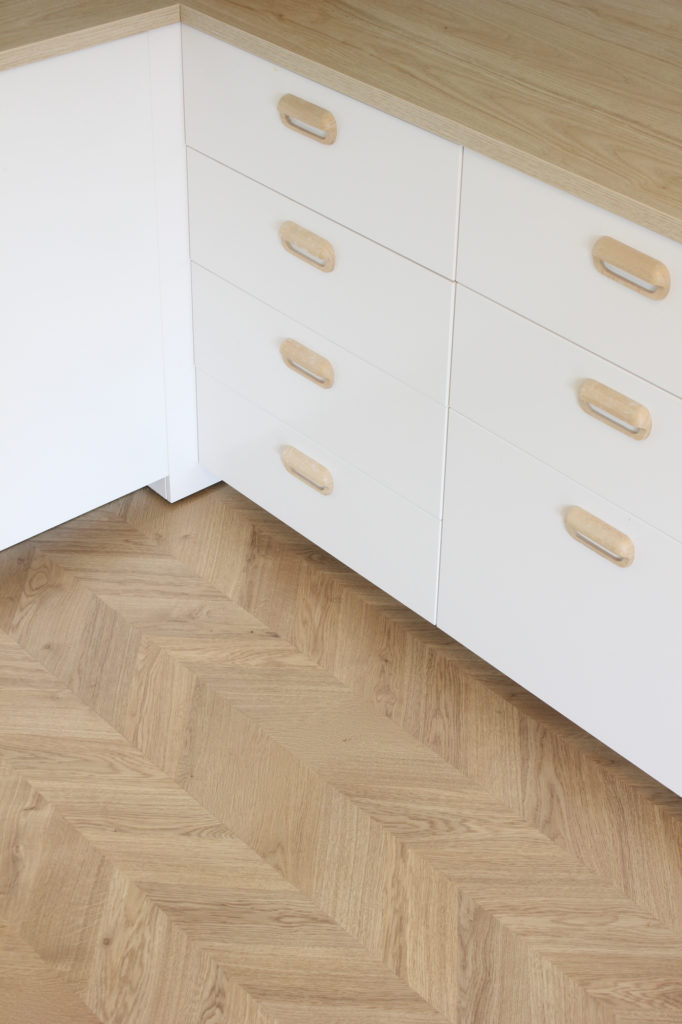
Just one cut for each length was needed and the planks lay side-by-side yet still create that chevron pattern. Each piece clicked into the next and it was easy to cut around corners and doorframes when needed. We finished off the edges with a bead of wooden trim and a threshold strip in a matching wooden colour.
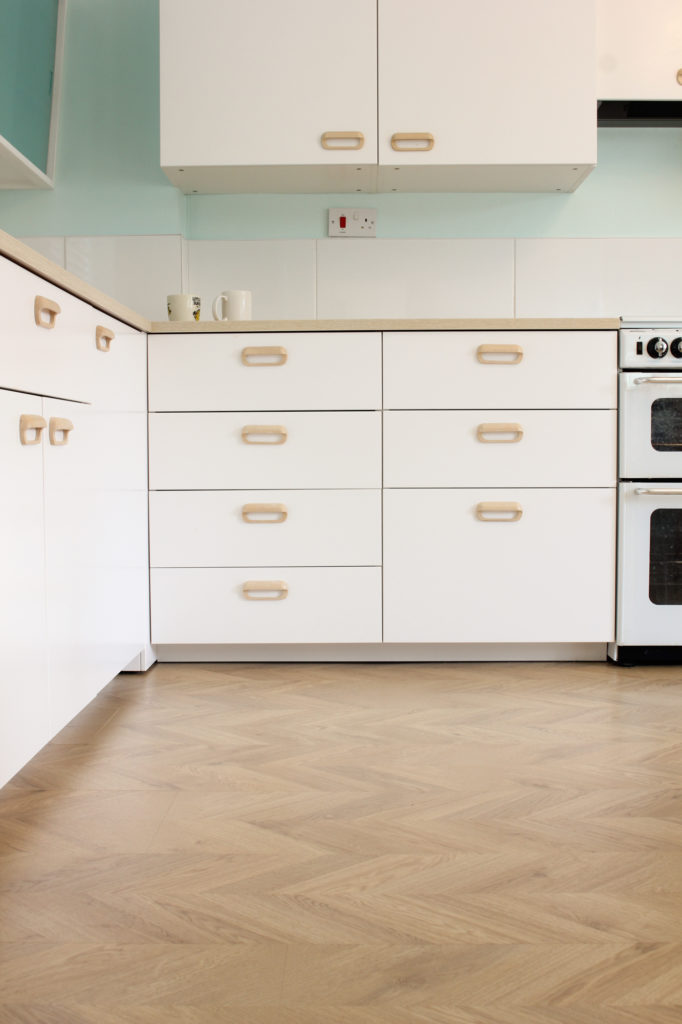
I love how textured and natural the wooden flooring, handles and countertop look alongside the white cabinets. I think the wood finish really lifts the basic cabinets to look like much more expensive units. Plus, the wood grain of the flooring brings warmth to the room, which was feeling rather cold before it we installed it.
Let me know if you’ve saved money on your kitchen makeover in the comments below, I’d love to hear how you cut costs and what you did to DIY your room. 🙂
Pin it for later
This article is a sponsored collaboration. The pink links in the content indicate a sponsored link or information source. The blog post reflects my own experience and the sponsor hasn’t had any control over my content 🙂