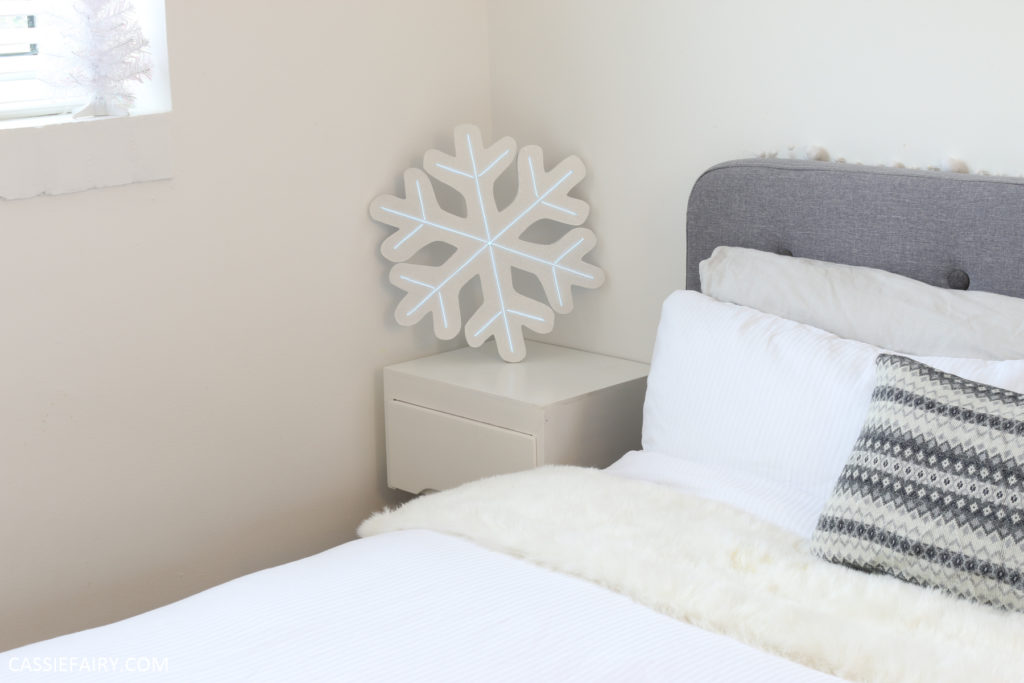
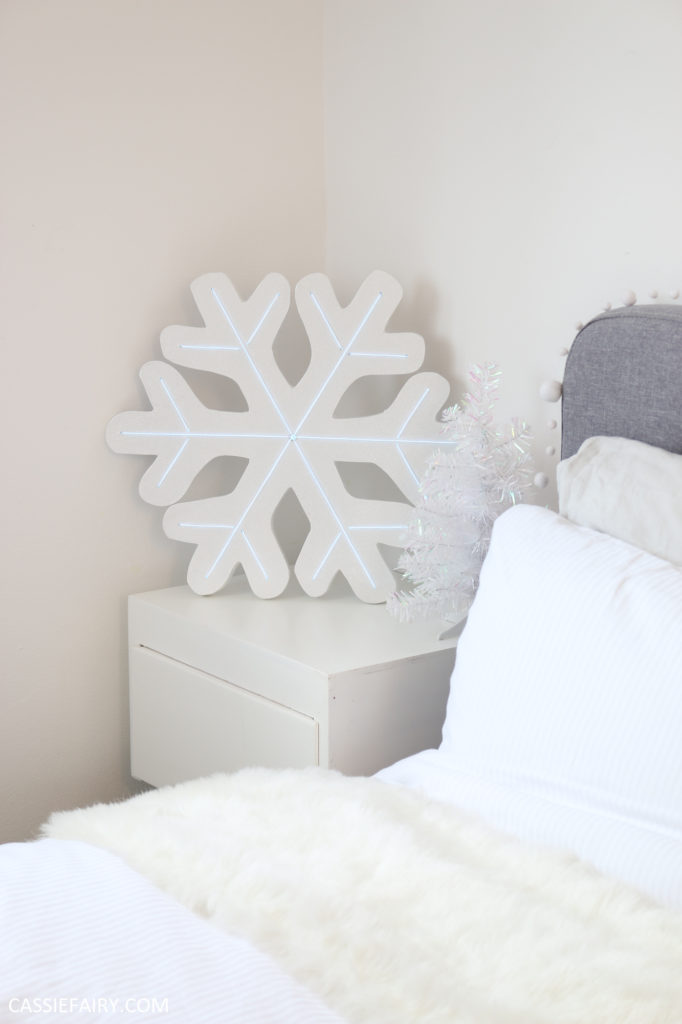
If you’ve ever wanted a neon light but can’t justify the cost, this project is for you! Thanks to the invention of electroluminescent wire, it’s now possible to DIY a neon-effect light in any shape you like. Seeing as Christmas is approaching, I decided to create a white neon snowflake, with a sprinkling of glitter for added sparkle.
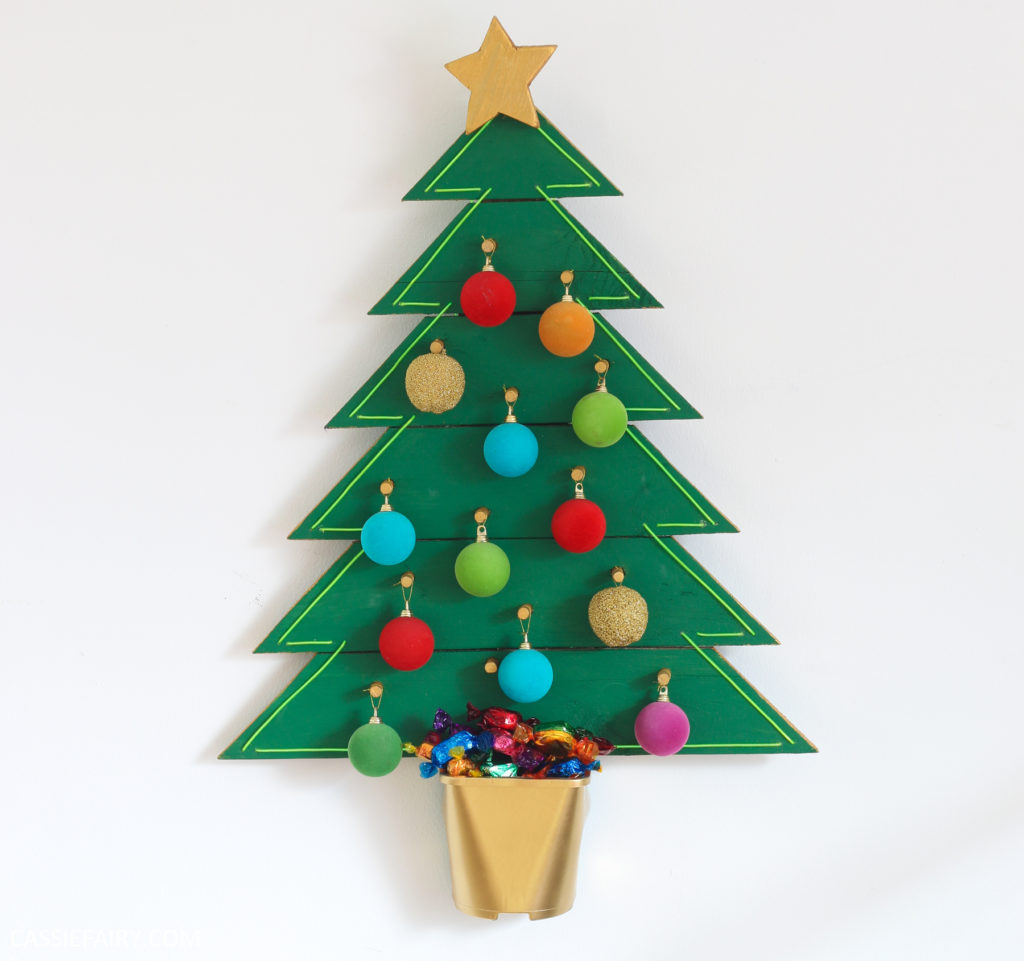
Although this project focuses on making a snowflake light, you can use the same technique to make just about any shape or sign you like. I’ve previously made a space-saving, wall-mounted light-up Christmas tree from pallet wood and a neon ‘Candy’ sign for parties or weddings.
Read on to find out just how easy it is to create a neon light of your own:

What you’ll need
- Jig saw
- Palm sander
- Drill with drill bits
- 1 small piece of MDF
- Block of wood
- Assorted sandpaper to fit your palm sander
- Ready-mixed fine surface filler
- Quick-dry primer and undercoat paint in white
- Rust-Oleum Sparkling Glitter spray paint
- EL Wire in white with battery pack
- Hanging hook
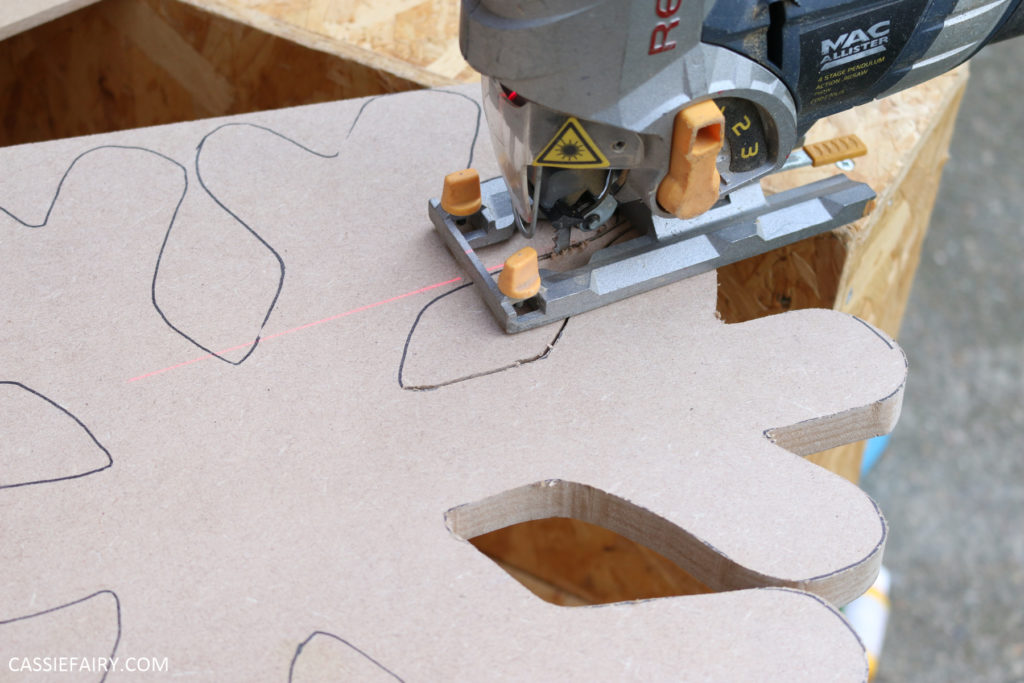
Step 1
Print out a snowflake shape to the size you want your finished neon light to be. Use this as a template to trace a slightly larger shape onto the MDF board. Use a jigsaw to cut out this shape.
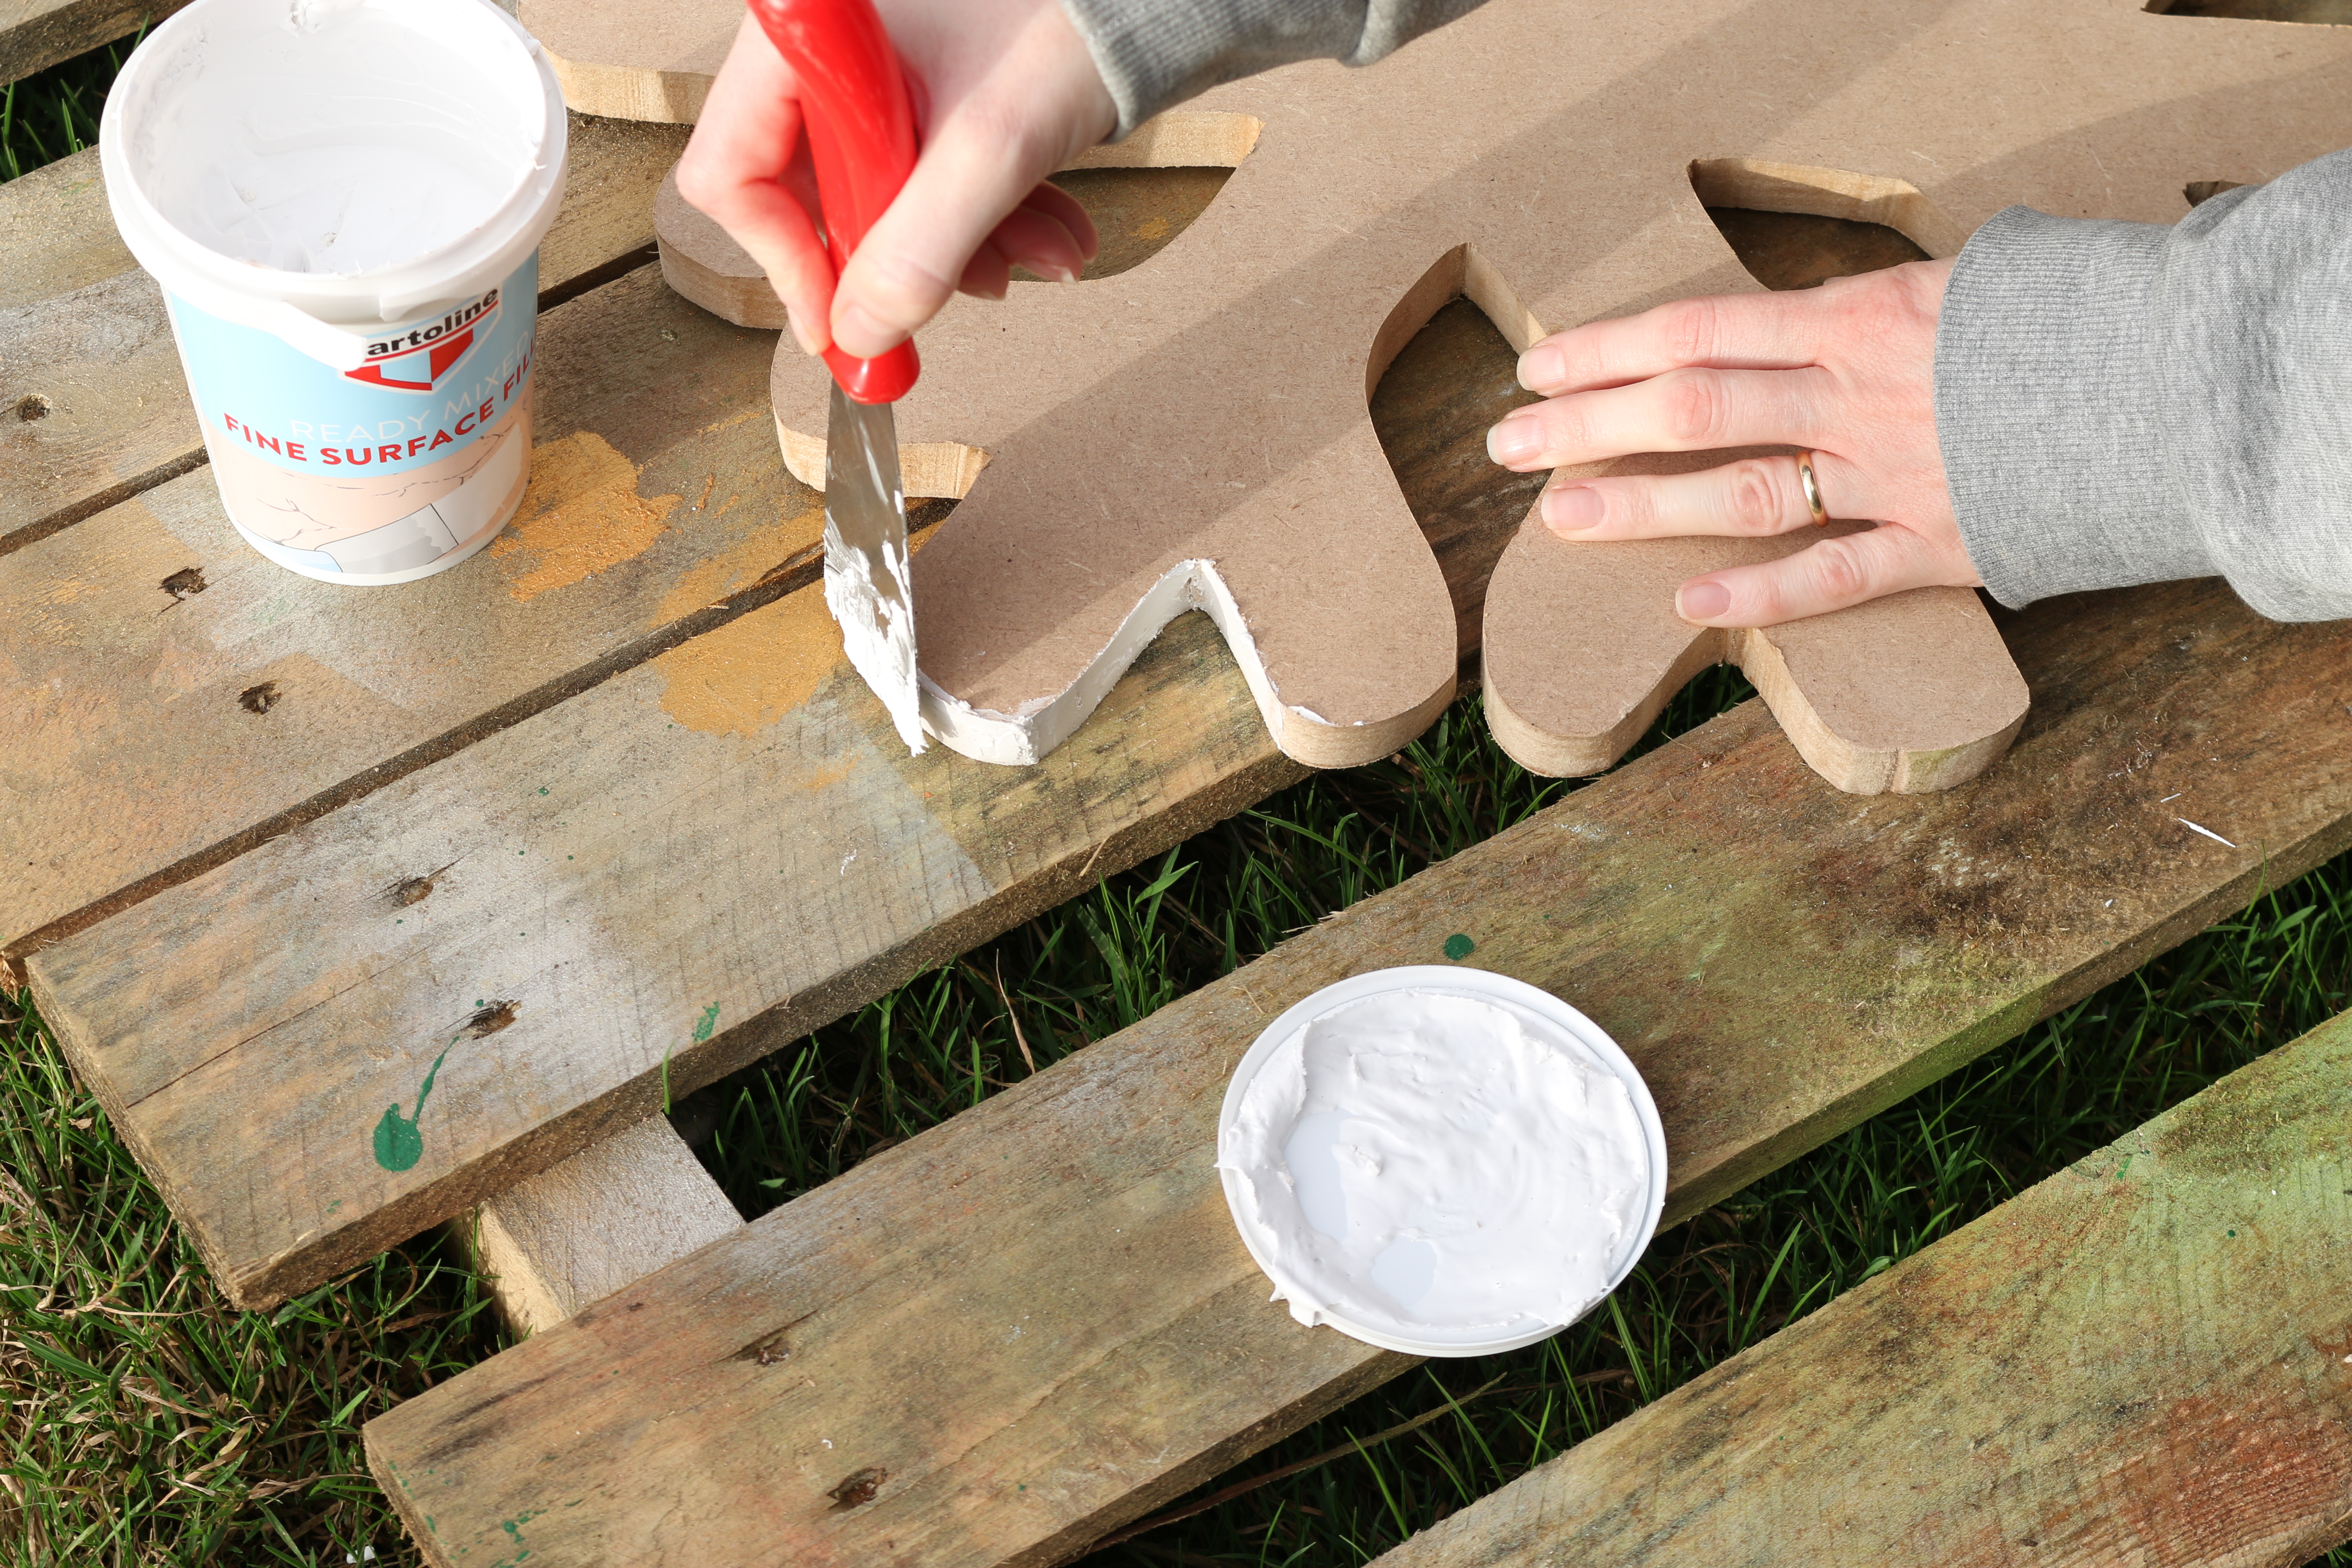
Step 2
Cover the edges of the snowflake with quick drying surface filler. This will prevent the edges of the MDF board from absorbing the paint too much. Allow to dry thoroughly before using a palm sander with sandpaper to smooth any rough edges.
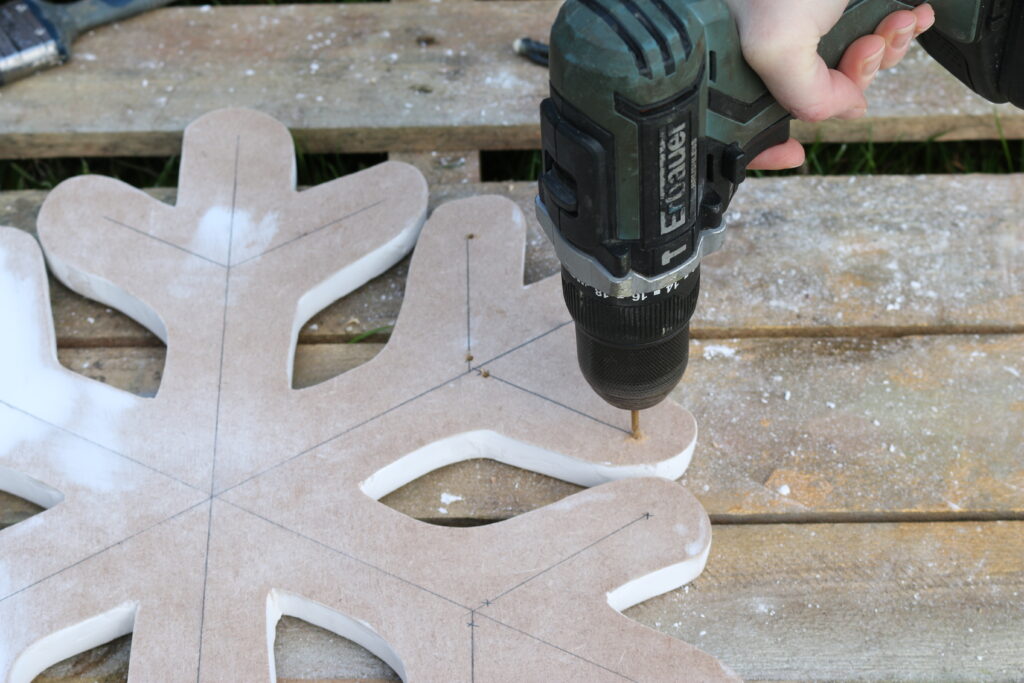
Step 3
Mark out where the EL wire will be positioned on the snowflake shape. Mark a cross at the points where the EL wire will need to be pushed through to the back of the shape. Use a drill bit with a slightly larger circumference than the EL wire and make holes at these points. Add one larger hole in the centre to fit multiple pieces of EL wire through.
Step 4
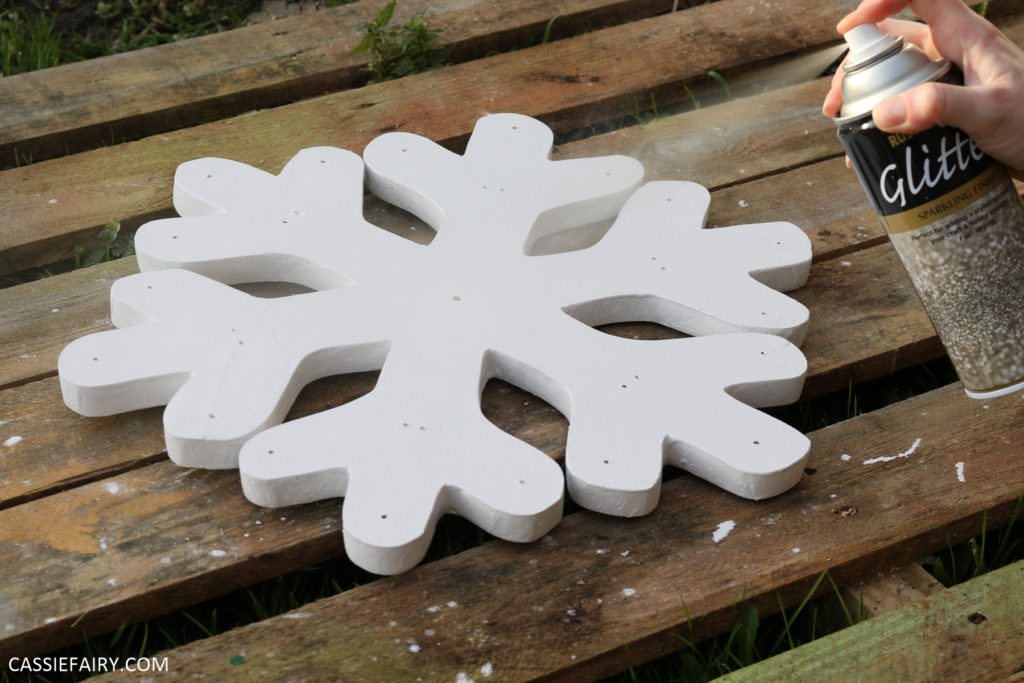
Paint the whole snowflake shape with a primer and undercoat paint in white. You may need two coats, so allow to dry between layers. Once the final coat is dry, for extra glitz you can use glitter spray paint to cover the whole shape in glitter, I got mine from Rust-Oleum. This also provides a protective clear top coat to seal the paint.
Step 5
Cut a block of wood the same depth as the battery pack and screw this into the back of the snowflake in the centre. Add a hanging hook to the block. Tape the battery pack to the back of the snowflake beneath the block.
Step 6
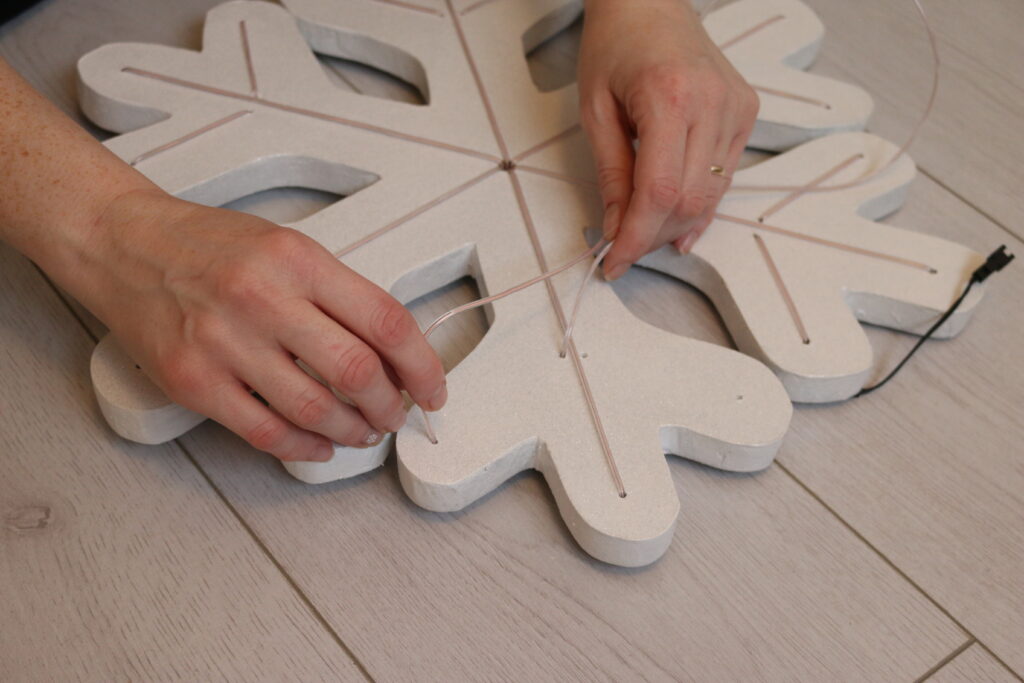
Feed the EL wire through the central hole from the back and weave it into the hole at one of the tips of the snowflake. Feed it through the ‘branches’ of the snowflake on either side of the line. On the reverse, take the wire back to the centre and repeat until all the arms of the snowflake have an EL wire design. Tape any remaining EL wire to the back of the snowflake.
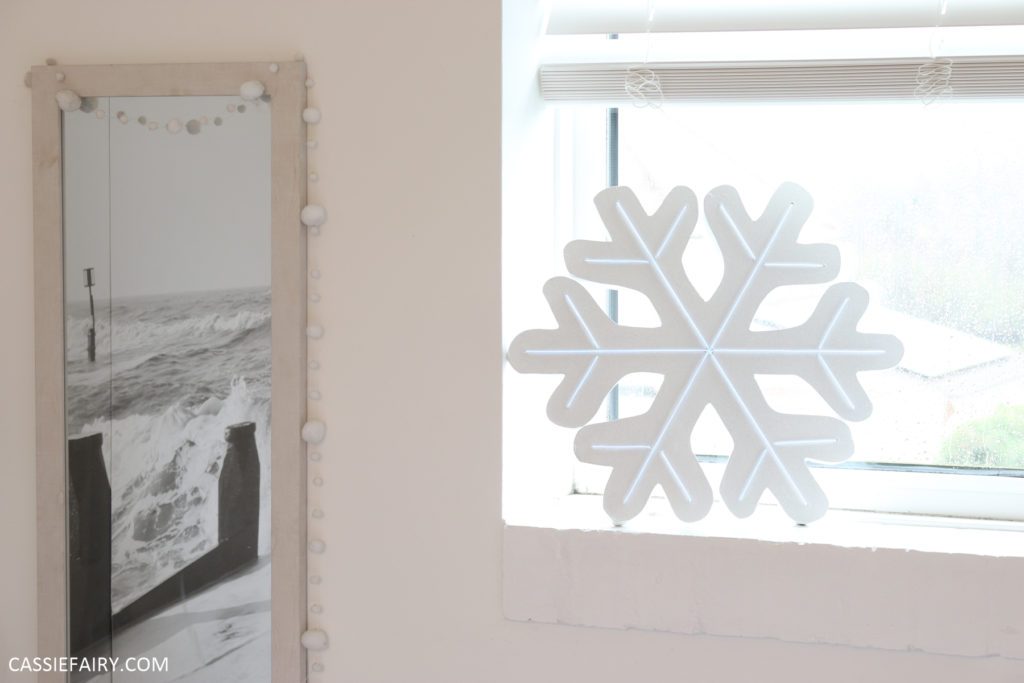
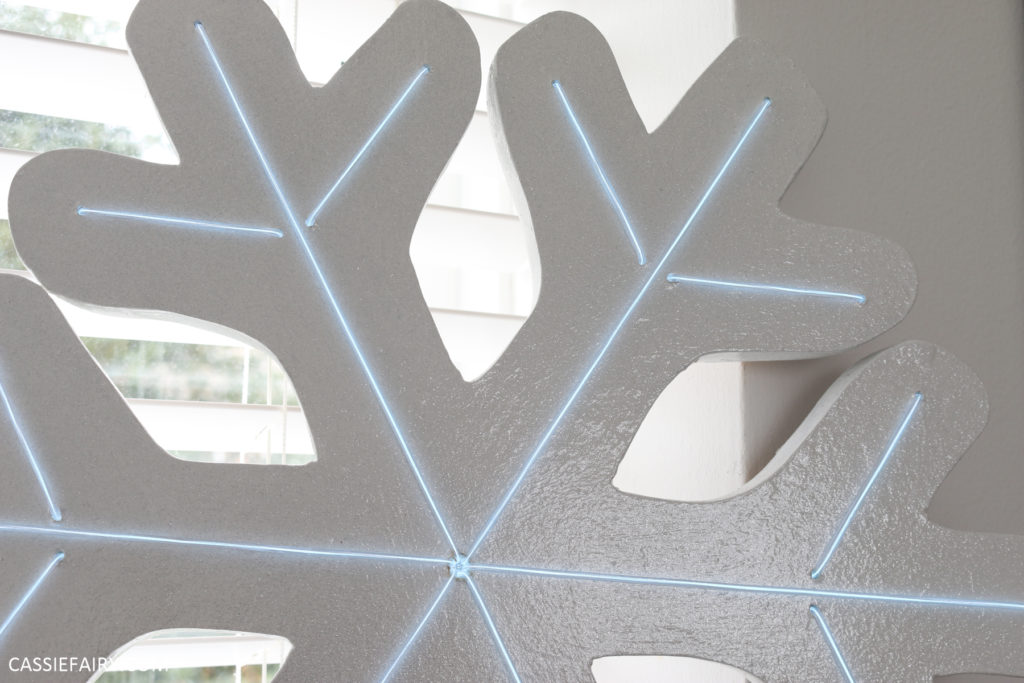
And there you have it, a DIY neon-style light! Turn on the EL wire and proudly position your snowflake decoration on a sideboard or hang it on a wall to add an eye-catching feature to your festive decor. If you want to create a different design to decorate your home all year round, simply trace out the shape onto MDF and follow the same steps to outline the design or write out a phrase.
As with all my projects, please take care while using tools, materials and equipment. Check out more of my Christmas DIY projects and be sure to let me know if you have a go at making this neon project for yourself – I’d love to see your pics!
Pin it for later

The pink links in this blog post indicate an affiliate link, sponsored link or information source. All thoughts and opinions in this post are based on my own experience and I am not responsible for your experience.