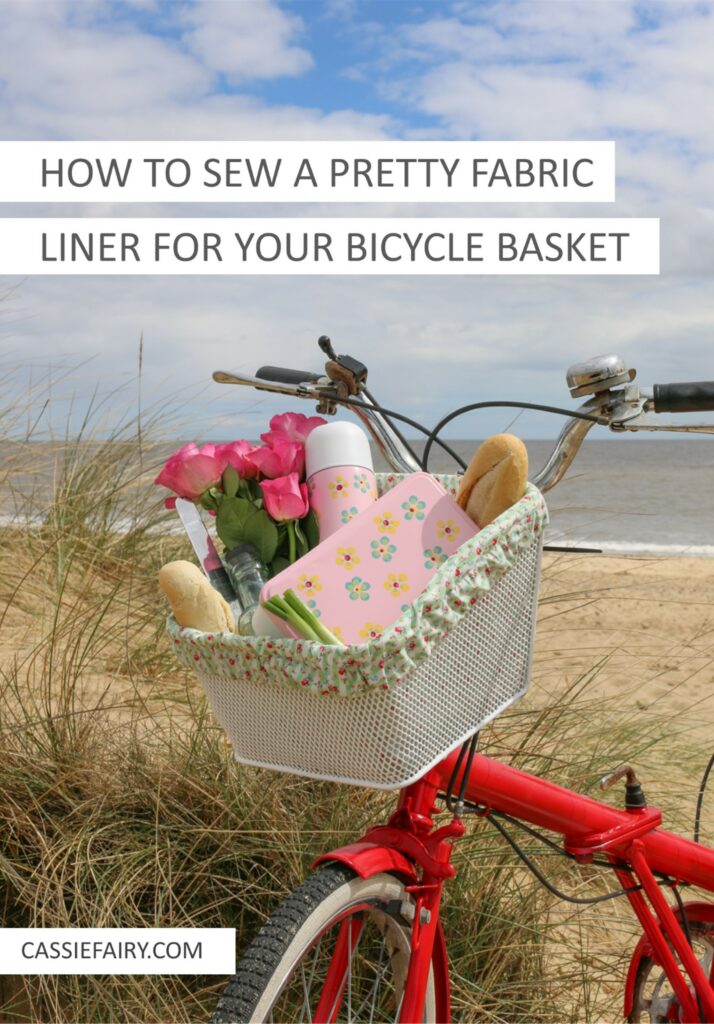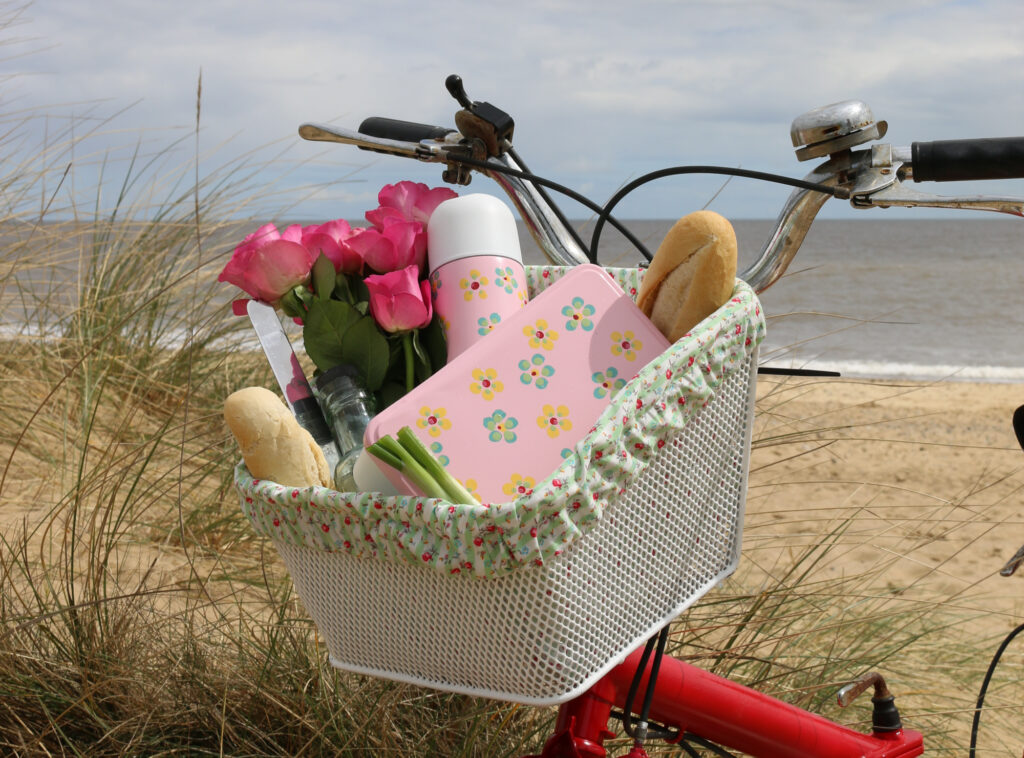
It couldn’t be easier to make a basket liner for your bike. Even if your own sewing skill is straight stitching you’ll be able to do this project. Plus, you could even use fabric glue or hemming tape on the seams if you really can’t sew at all!
You will need:
- Sewing machine or a needle and thread
- A piece of fabric that covers the size of your basket
- Elastic or ribbon
- Scissors
- Safety pin
Step 1
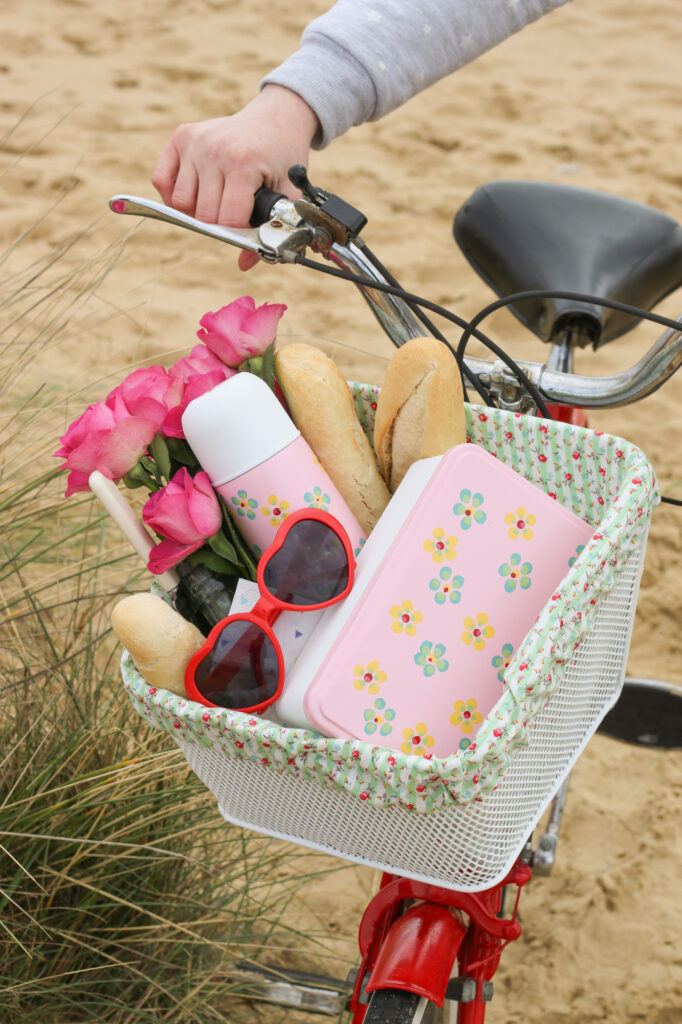
Simply turn the basket upside-down and drape the fabric over the bottom, with the right-side of the fabric facing down. Leave plenty of excess fabric on all sides.
Pinch and pin the corners together to create a 3D shape and remove the basket. Then, place the pinned fabric inside the basket to check the fit.
Step 2
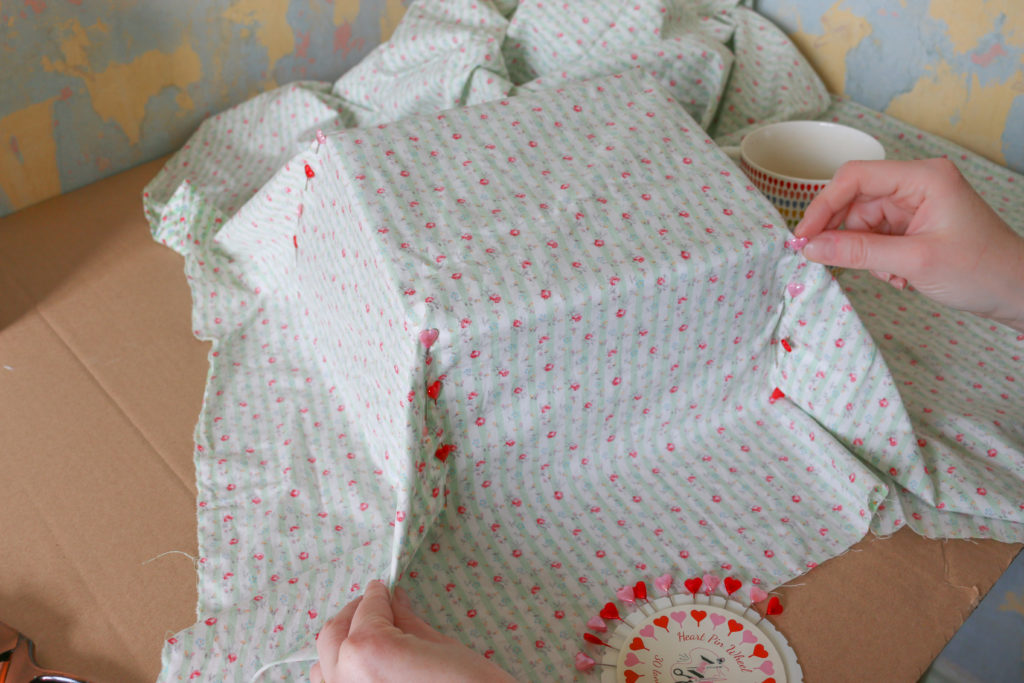
Use a sewing machine or hand-sew a straight line alongside the line of pins. Turn the fabric right-side out and place it into the basket again. If the liner is too loose, take it out and stitch another line alongside the first line, an extra 1 cm in from the edge.
Once the liner fits perfectly, trim off the excess fabric at the corner seams and zig-zag stitch over the edges to neaten them and prevent fraying.
Step 3
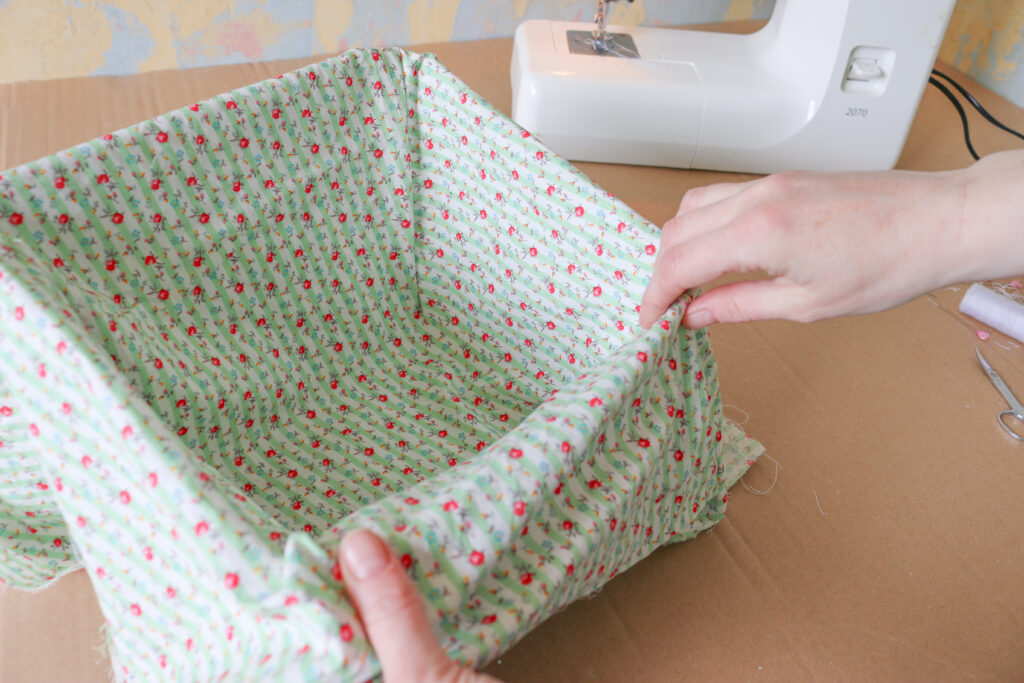
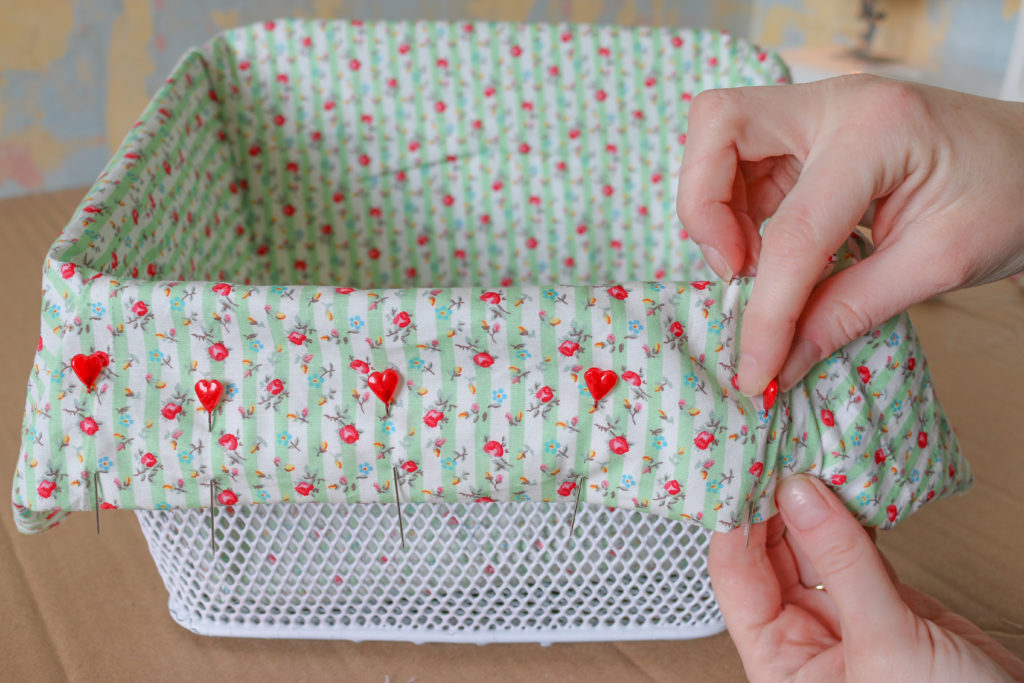
Place the liner inside the basket and fold the excess fabric over the top edge of the basket. Trim the fabric to the length of the bottom of the basket and then fold it under twice and pin to create a ‘channel’ around the top of the liner. Stitch the channel in place, leaving a small gap at the back of the basket liner.
Step 4
Wrap a piece of elastic around the basket and pull it tight enough that it stays in place but can still be taken off. Cut the elastic at this length and thread it through the channel at the top of the basket liner. You can attach a safety pin to one end of the elastic to help you keep track of the end as you thread it through the channel.
Step 5
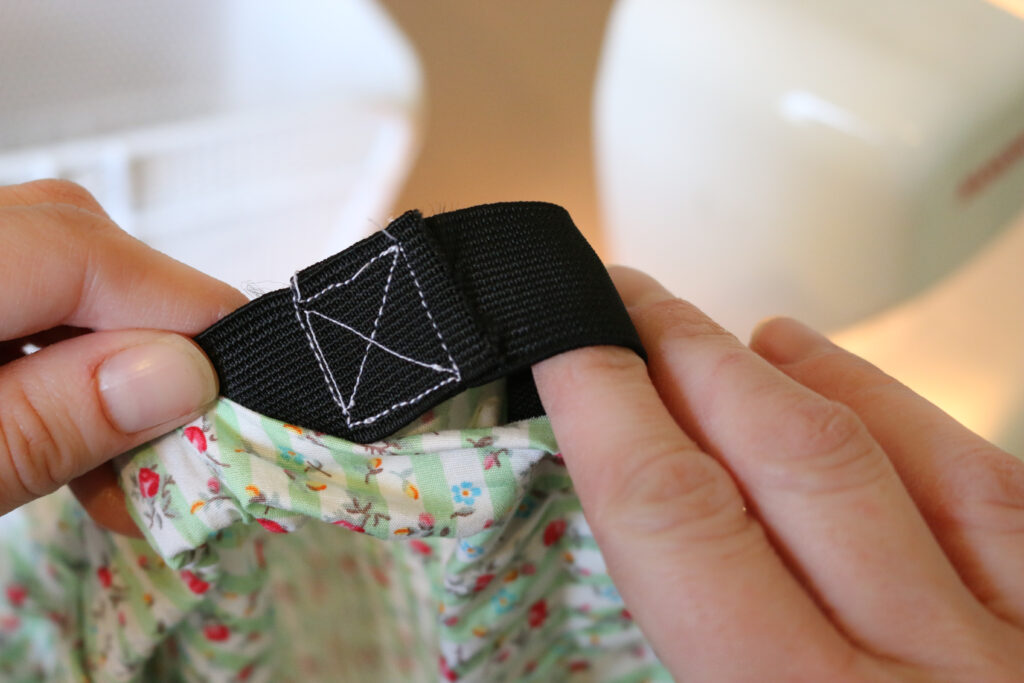
Sew the two ends of elastic together by stitching a square and cross shape across the elastic. Sew up the gap and pop the liner into your bicycle basket, arranging the pleats around the top.
Alternatively, If you don’t have elastic for the top of your basket liner, you could add a long piece of ribbon instead and tie it into a bow when the liner is in place. In this instance, it might be a nice touch to have the join and the bow at the front of the basket!
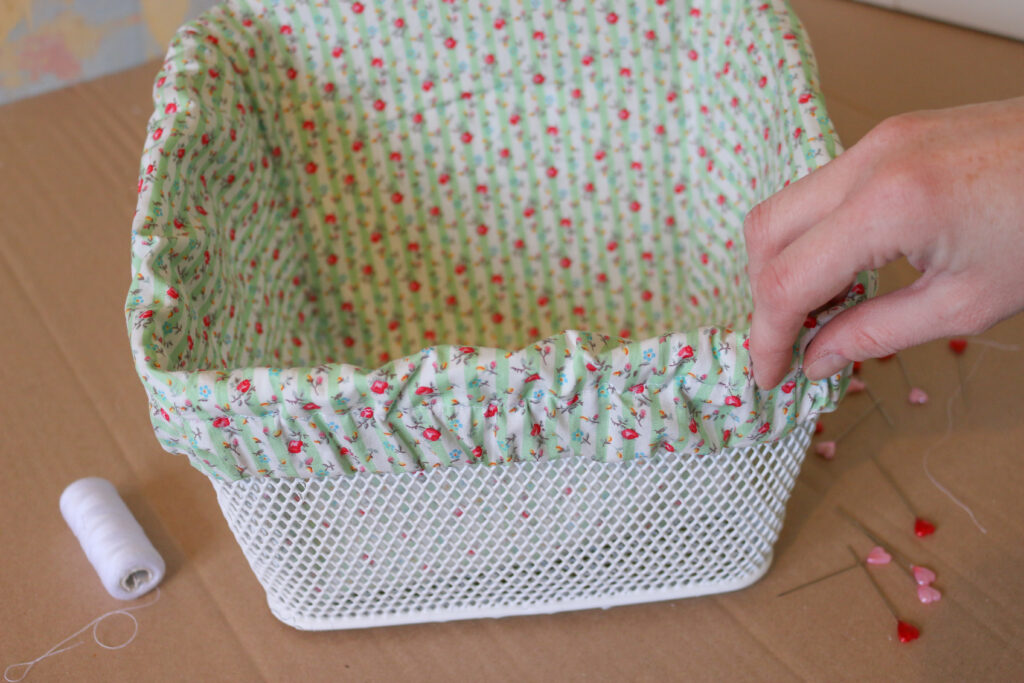
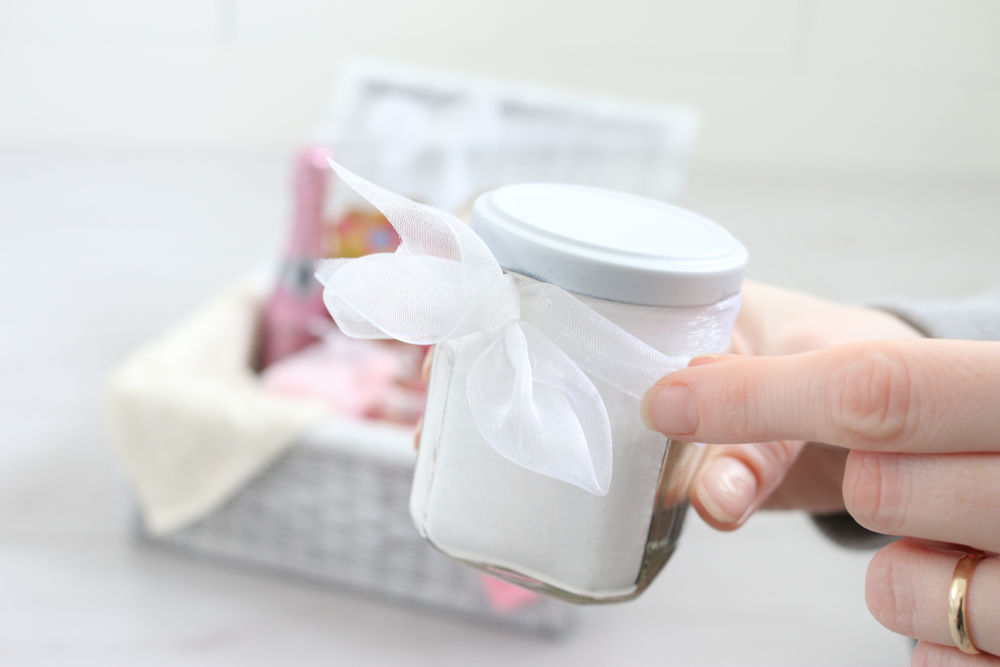
You can use this same technique to make a fabric liner for any kind of hamper or basket and it’s easy to remove and wash as needed.
I’ve used a pretty vintage-inspired fabric for my project but you could choose a colour to coordinate with your bicycle. If you don’t have any fabric, you could even upcycle an old cotton pillowcase or duvet cover and turn it into a basket liner.
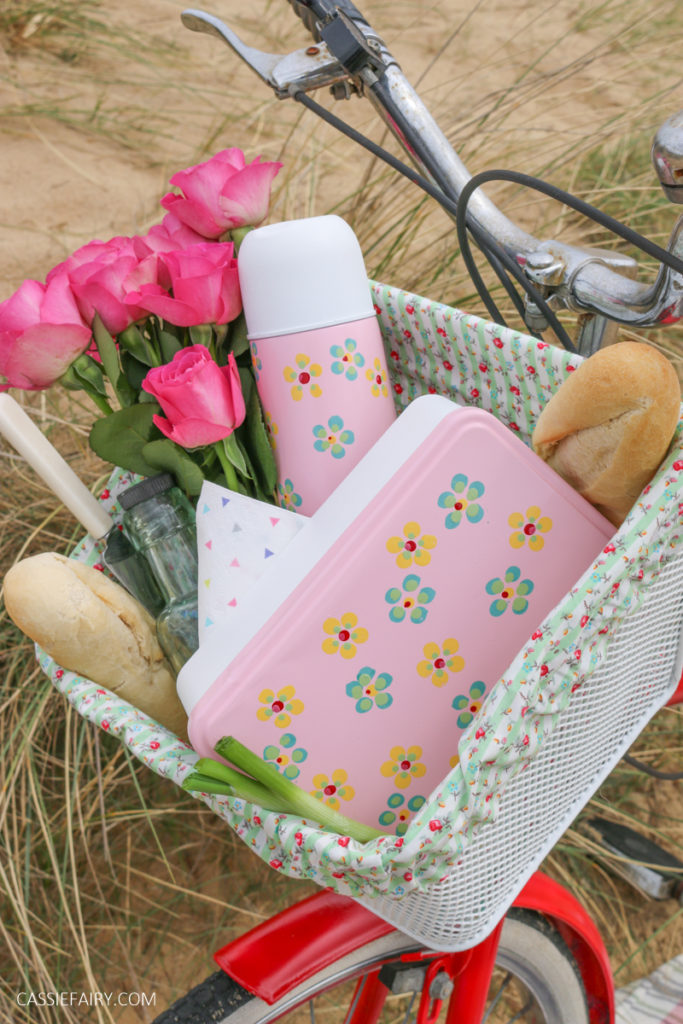
Let me know if you have a go at making a lining for your own bicycle basket. I’d love to see your sewing projects so please tag me in your photos on Instagram @cassiefairy.
Pin it for later
