Okay, I admit it. I’ve already started wrapping my Christmas presents. If you follow me on instagram you’ll have seen my piles of presents, neatly wrapped and ready to go. I’ve been in a wrapping frenzy this week but it’s not because I’m super-organised, it’s simply down to the fact that I am seeing my best friends today and we are exchanging gifts this weekend because (as we live at opposite ends of the country!) we probably won’t get another chance to see each other again before Christmas. So I’ve taken this opportunity to get started early this year, rather than the usual Christmas eve rush!, and I’ve even tried out a few new decorating techniques that I wanted to share with you today. 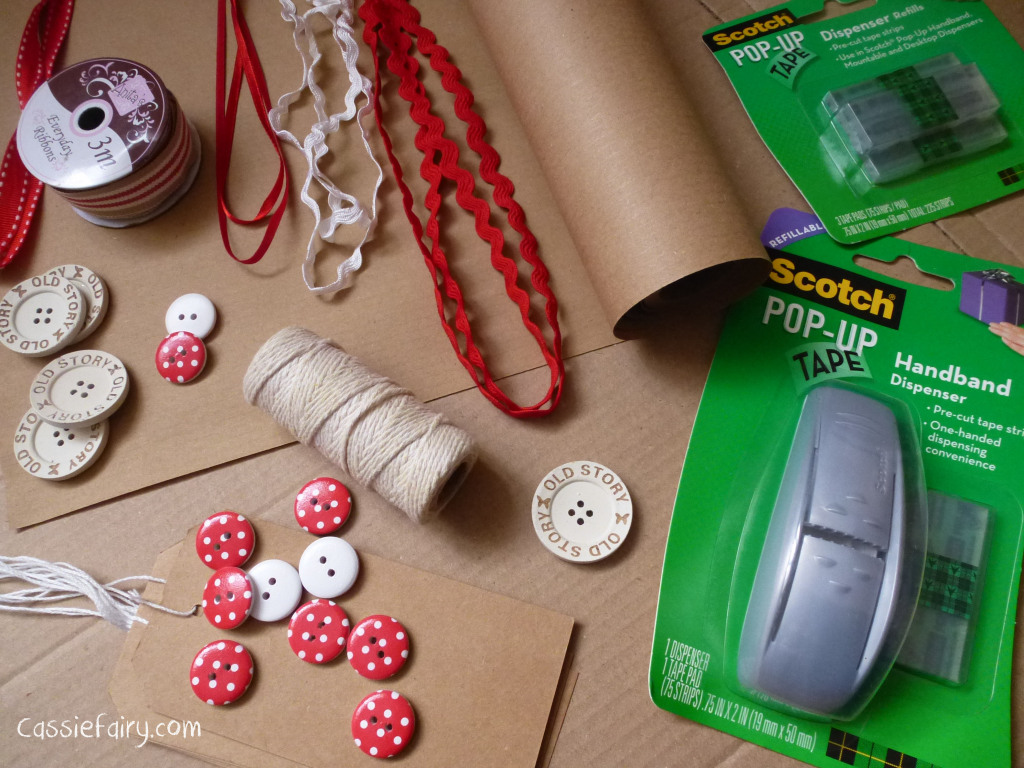
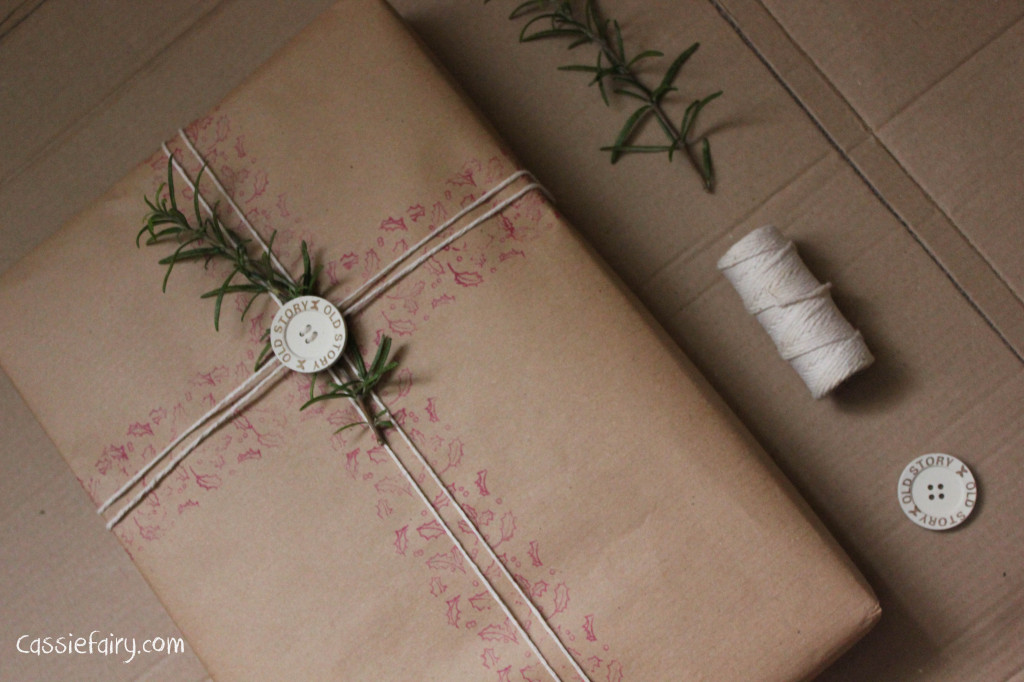
I like to start by gathering together everything that I will need for the wrapping process, including scissors, Scotch Pop-Up tape dispenser, paper, ribbons, buttons, string, stamping kits, ink, tags, paint, pens, ric-rac and even sprigs of rosemary which look similar to pine needles and will make your gifts smell lovely too! 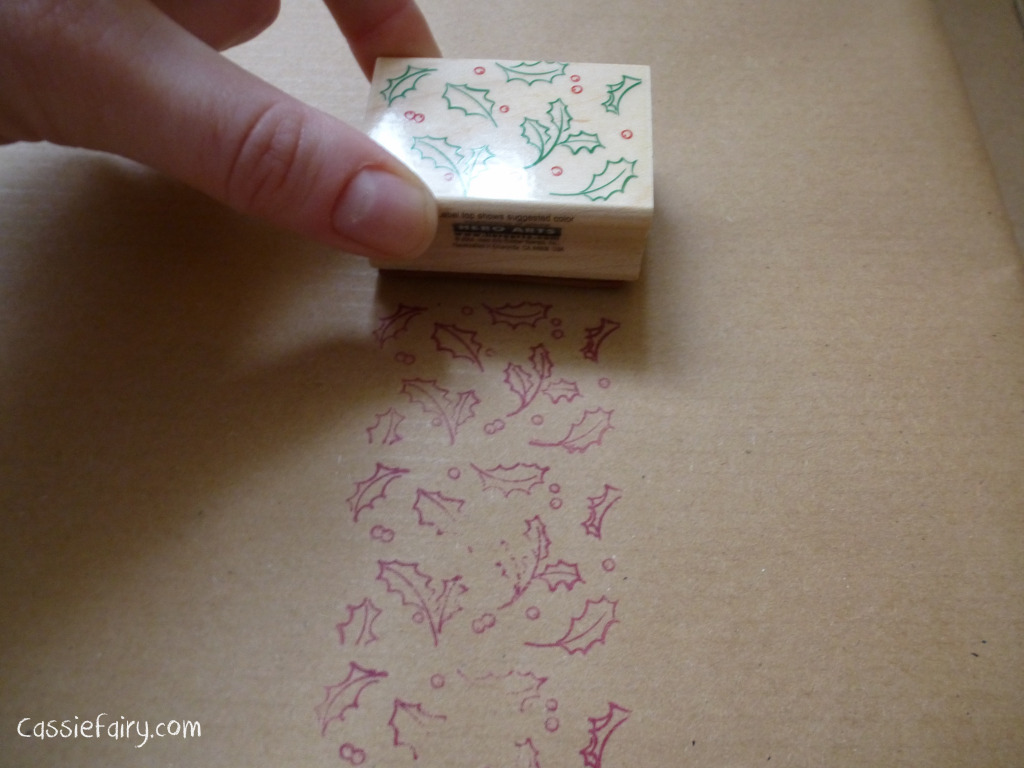
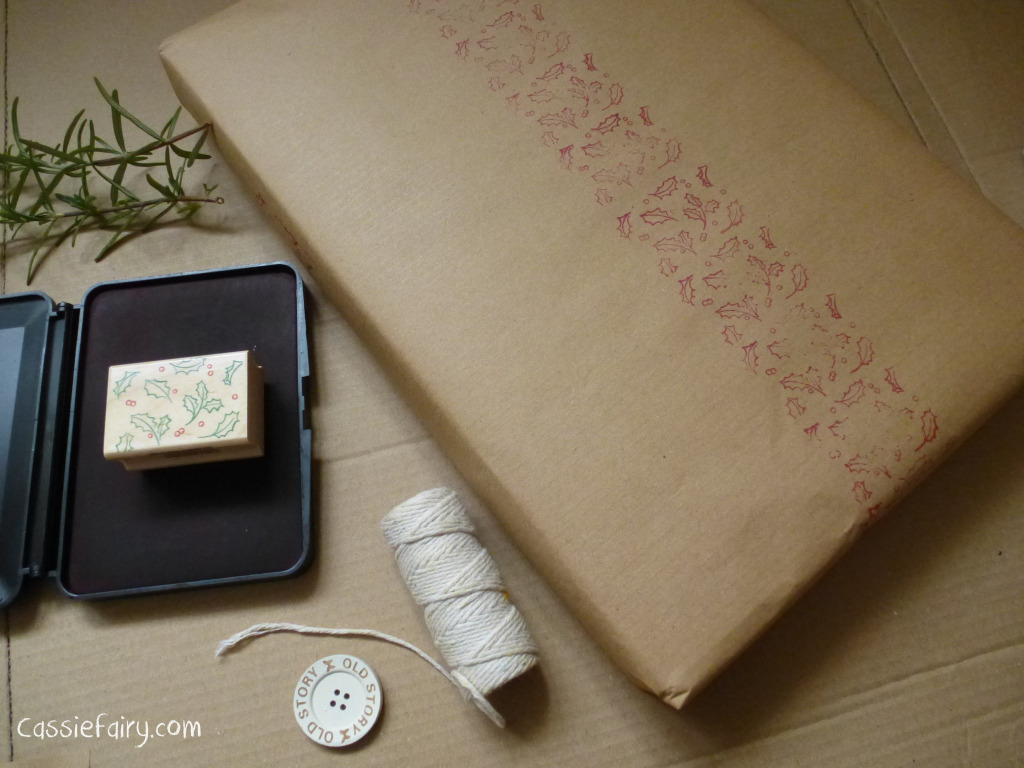
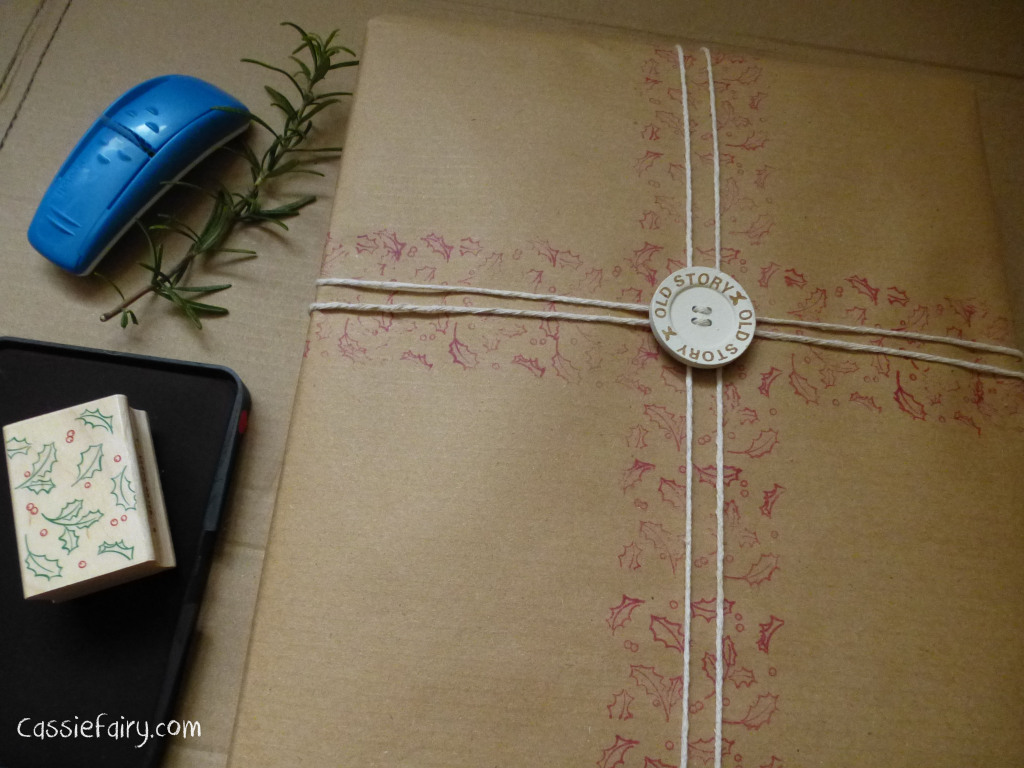
This year I’ve decided to use brown parcel paper – not because it’s necessarily any cheaper than wrapping paper, but because I want to put in a little extra effort to create home-made wrapping paper and make my gifts really stand out under the Christmas tree. I’ve used a holly leaf pattern stamp on one parcel to make a stamped ‘ribbon’ effect, which I have then decorated with parcel string tied through a chunky wooden button.
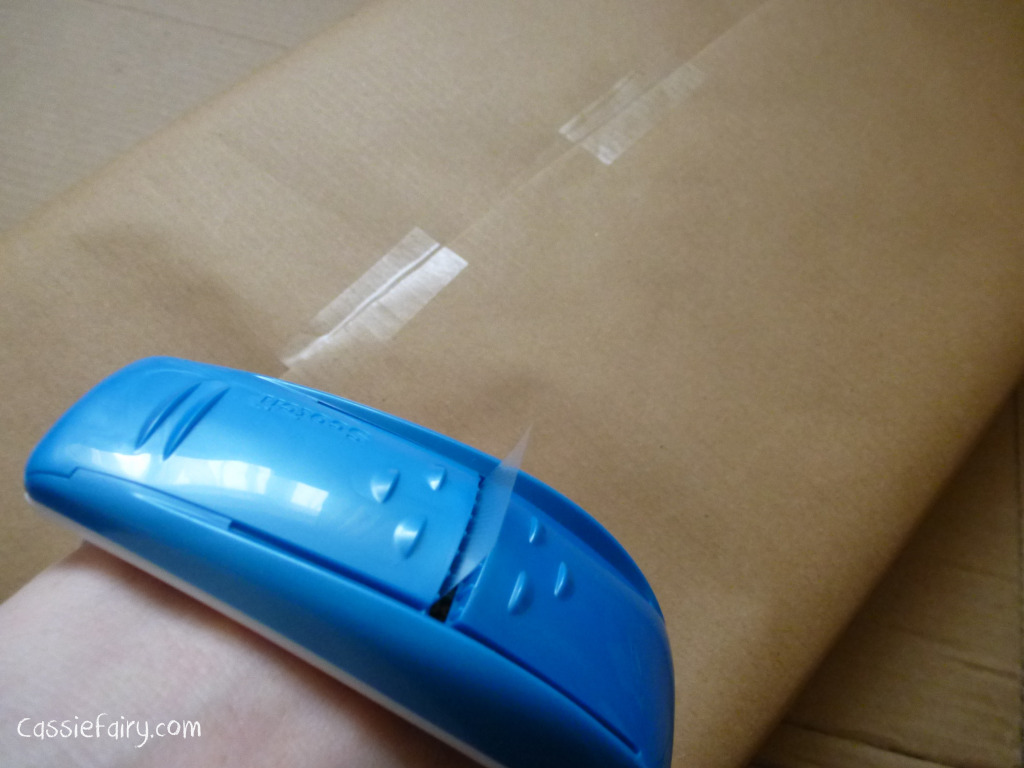
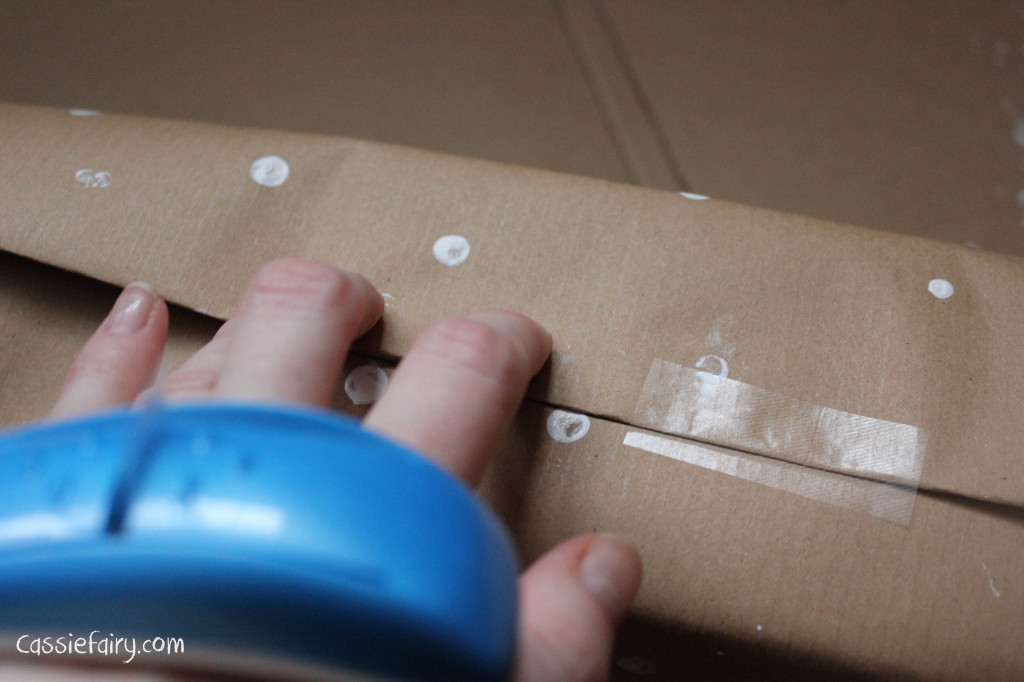
Wrapping 20 gifts for this weekend wasn’t the chore that I expected it to be because this year I’ve been using a Scotch tape “Pop-up Handband” which dispenses pre-cut tape strips. I usually waste most of my wrapping time struggling to find the end of the sticky-tape and biting the tape off when there’s no scissors to hand, so having ready-cut tape strapped to my left hand really sped up the mammoth task! No longer will I be getting tape tangled and stuck to itself, nor those annoying creases in the paper when the tape doesn’t land flat. I am very happy with how hassle-free the handband made the task and I’m can’t imagine going back to old fashioned tape-on-a-roll now! Check out the facebook page www.facebook.com/ScotchUK to see the product. 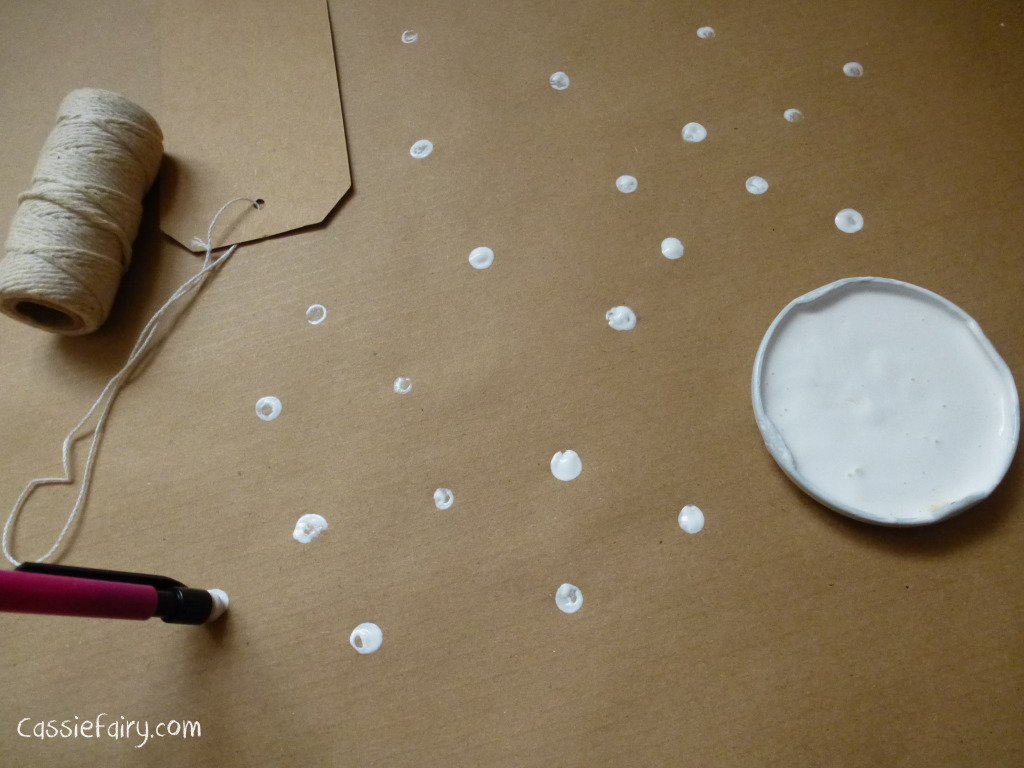
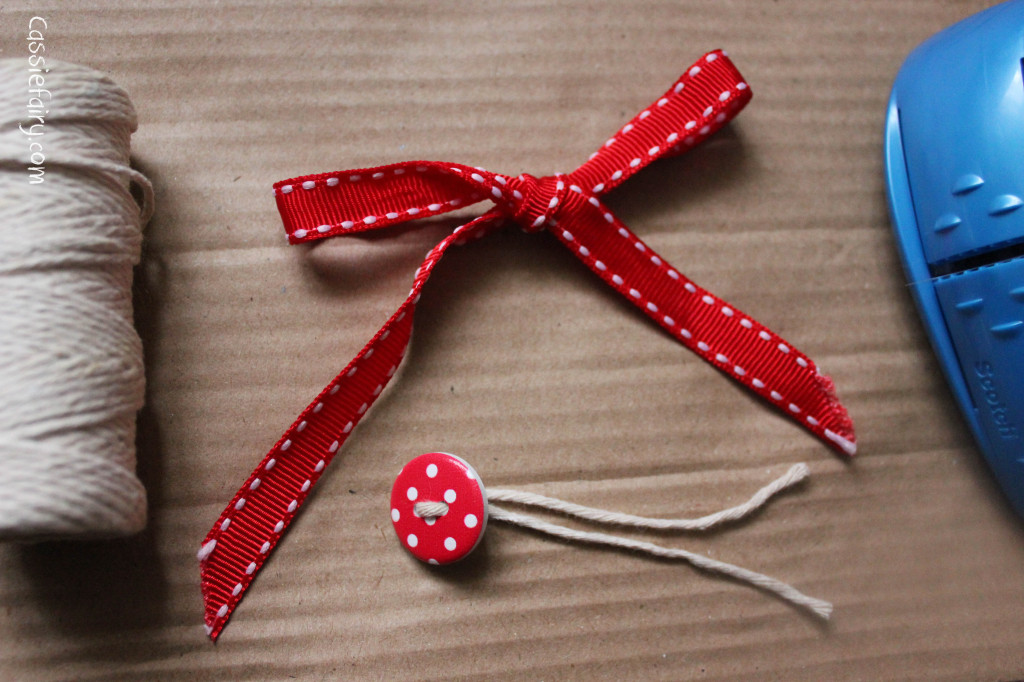
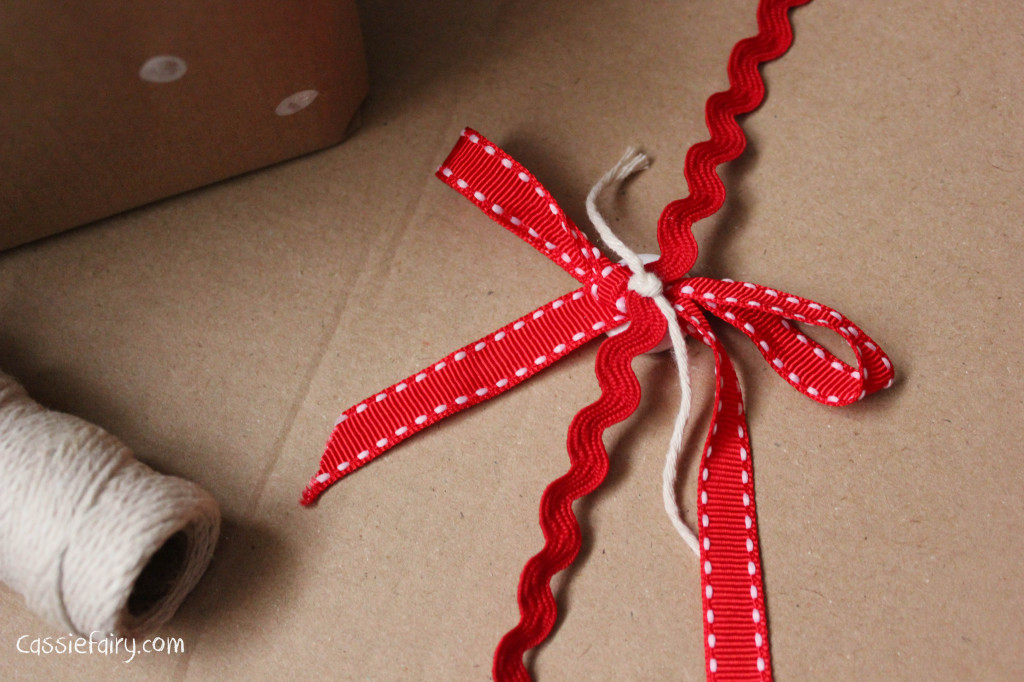
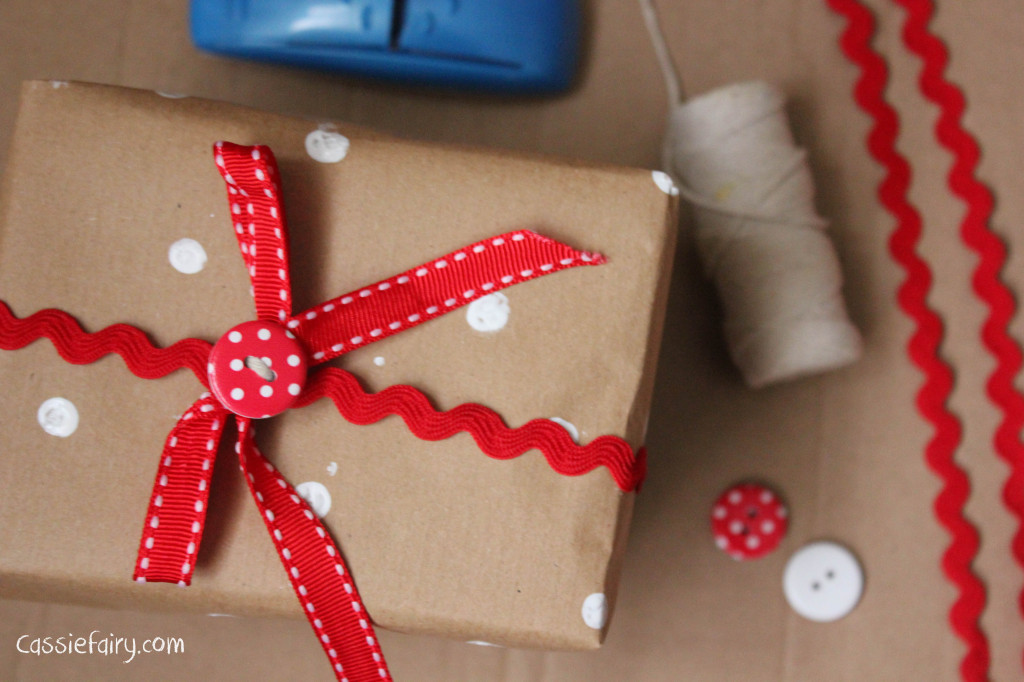
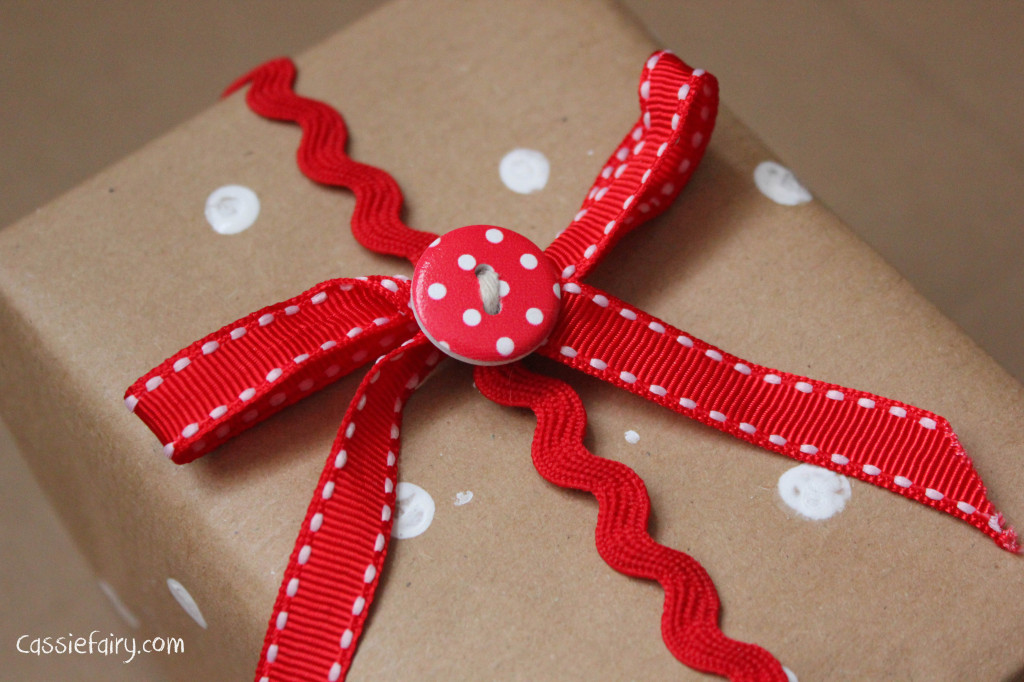
Another simple way to funk up the brown paper is to print a snow pattern onto it using the rubber end of a pencil dipped in acrylic or poster paint – or in my case left-over emulsion! Dot random snow balls all over the paper and allow to dry before using. I made my own bow decoration by tying a piece of ribbon into a bow before threading a button onto a small piece of string. I then tied this around the centre of the bow and used the loose ends of the string to tie the decoration onto a strip of red ric-rac trim from the haberdashery. I stretched this around the parcel and taped it at the back.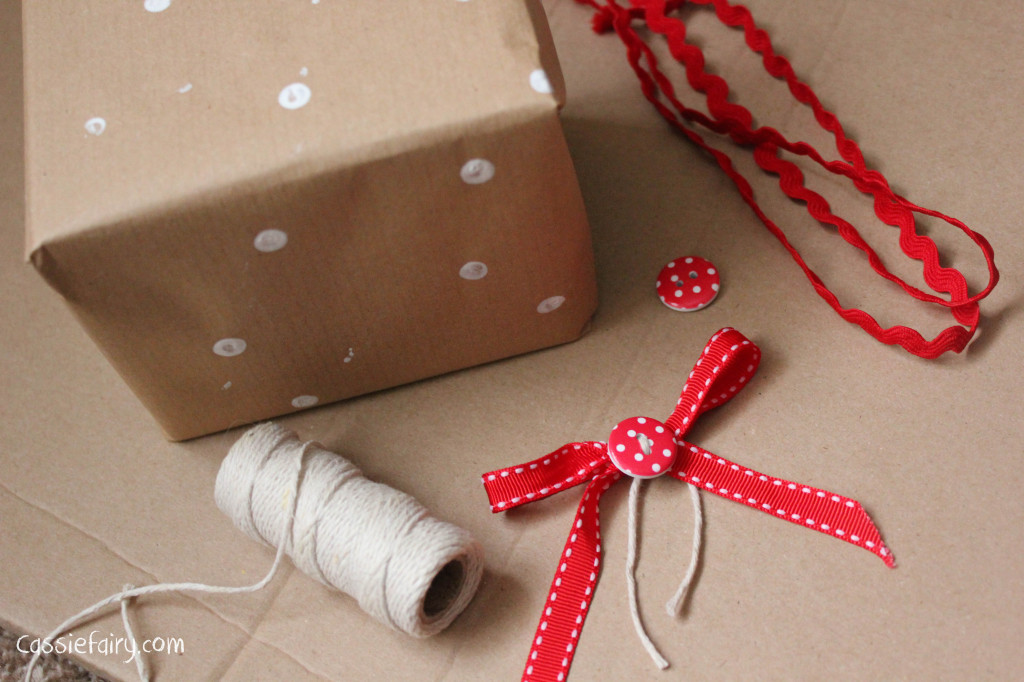
Did you know that there’s actually a “National Wrapping Day” here in the UK? It’s on Sunday 14th December and I can see why; that will probably be the day when most of use will have bought a lot of our Christmas gifts (on the Saturday) and won’t want them hanging around the house unwrapped where recipients can easily discover them! The decorations will already be up so the presents can be wrapped and put straight under the tree. I’ll definitely be putting National Wrapping Day in my calendar and I’ve already been watching tutorial videos on the event’s website to get help with wrapping difficult items! 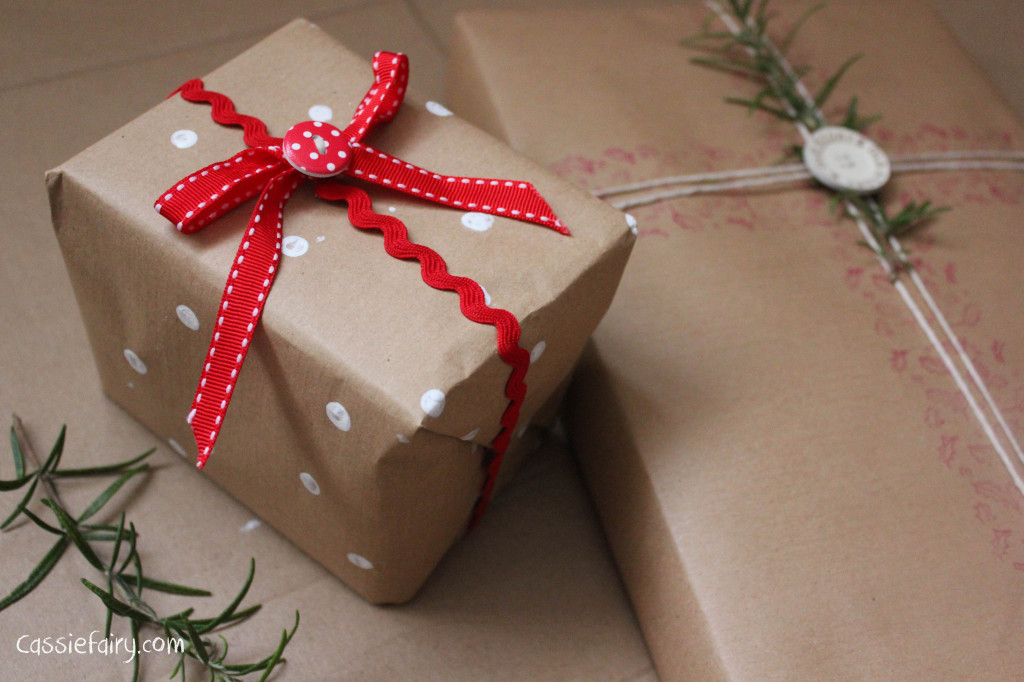
Let me know when you’ll be starting your festive wrapping and I’d love to see your gorgeous gifts (especially if you try out any of these decorating methods!) so tweet me your photos to @Cassiefairy.
Some items in this blog post have been gifted to me and the pink links indicate a gifted product, affiliate link or information source. All thoughts and opinions in this post are based on my own experience and I am not responsible for your experience 🙂






11 responses
Thank you so much! It’s my fave too, I’m going to add buttons to all my bows this christmas! 🙂
Glad you like them! I’d love to see pics if you give it a go 🙂
Thanks Llinos, I’m even thinking about getting a white ink-pad to do my dots so that i dont have to wait so long for it to dry 🙂
Thanks so much, glad you liked my post! 🙂
Love the packaging! keep up the good work.
Your presents look great! I am really tempted to try this this year.
These look amazing! I will definitely be trying some of these out
xoxo
http://www.randomindistilling.blogspot.com
These ideas are so creative and they look amazing 🙂 The last one is my favourite 🙂 x
| Life as a Petite || Fashion, Crafts & Lifestyle Blog |