I’ve been working on turning my tiny kitchen into a more habitable room for a couple of months now and if you’ve been following my progress you’ll know just how miniature my kitchen actually is! Firstly, I chose a bright colour scheme inspired by the Great British seaside and, in particular, my visit to Southwold Pier. After painting the room a refreshing coastal duck-egg blue, I enlisted my husband’s help to hang a new blind and put up some extra storage solutions including a retro display unit and a bathroom cabinet. After adding a bright new rug and trying out some magnetic chalkboard paint on the walls, the mini kitchen makeover was almost complete. So today I’m sharing the kitchen sewing projects that I’ve just finished; a peg bag made from a small coat hanger, and a carrier bag dispenser.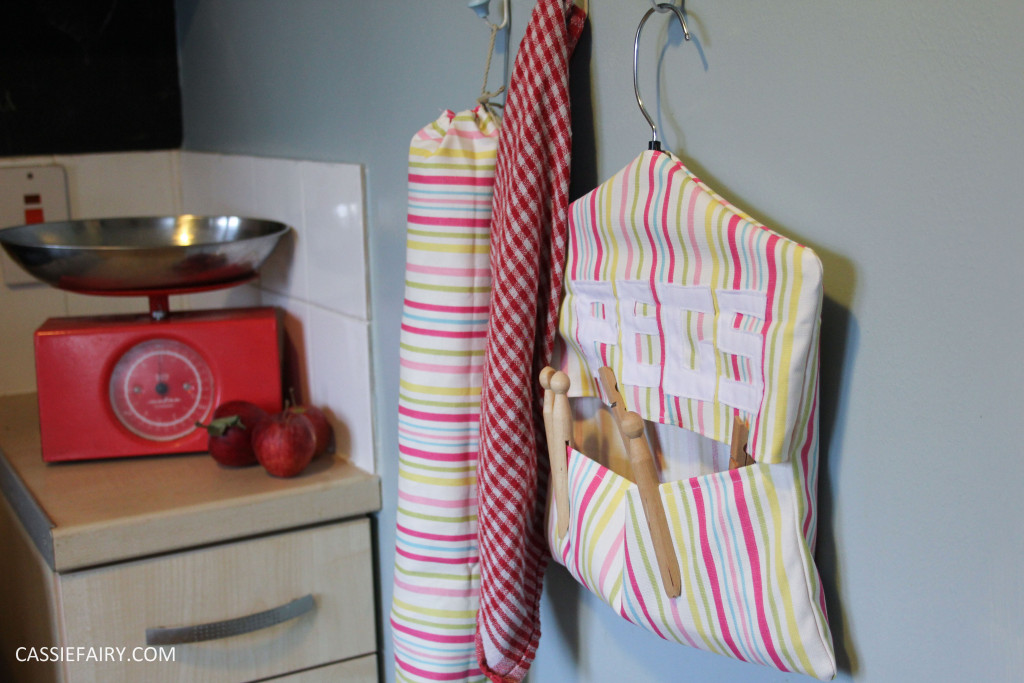
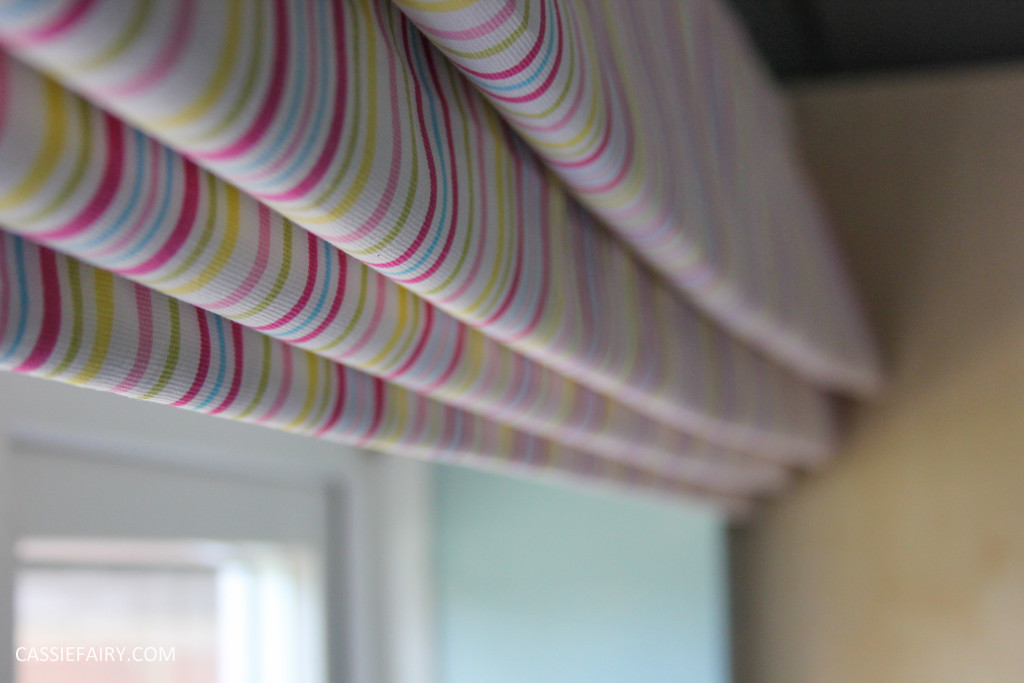 When I was gifted my small custom-made roman blind from Blinds-Supermarket.co.uk, I also picked up a length of matching Clarke and Clarke fabric in the same sugar stripe pattern. I knew that I wanted to create some sewing projects for the kitchen so it made sense to track down the same fabric to create a coordinated look throughout the room. It’s important not to use too many patterns in a small space as it can easily become over-busy so sticking to just the one type fabric makes the room feel less cluttered and more ‘pulled together’.
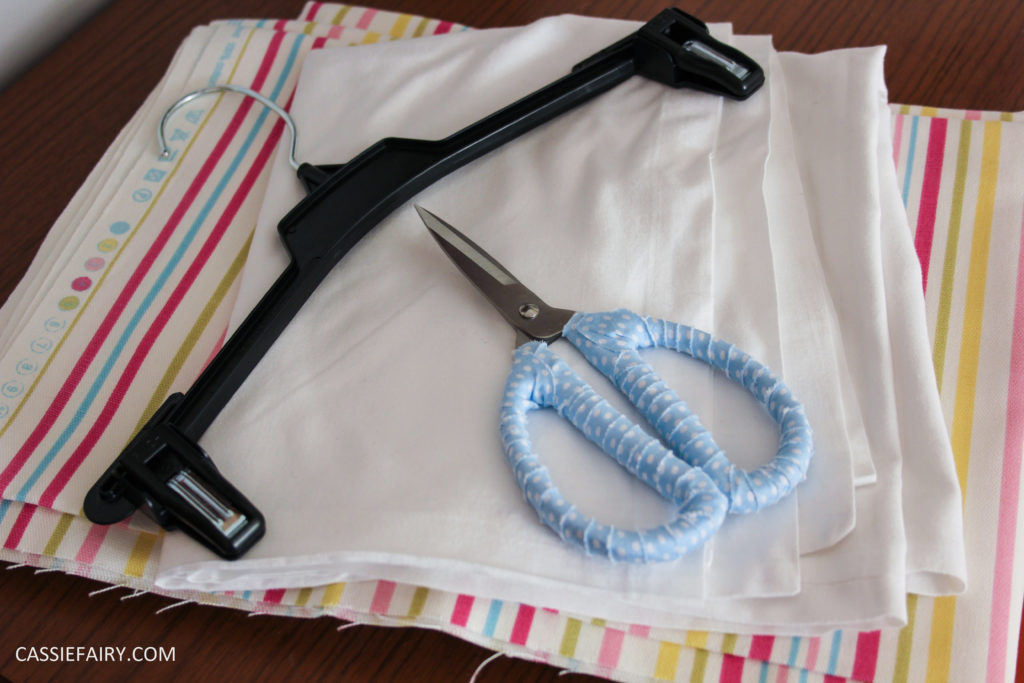
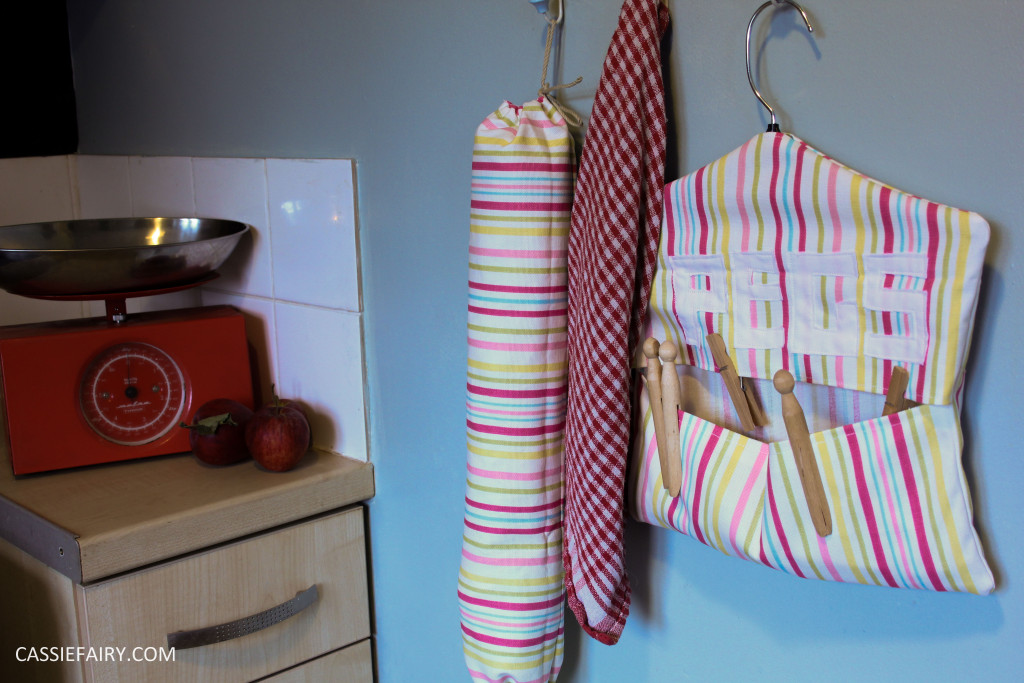
 The most essential project for me was a peg bag. I’ve actually been storing my pegs in an oven glove for the past 3 years and it’s not been ideal, to say the least! It was such a simple project to do, so I really don’t know why I hadn’t already made one, but at least I’ve made one now. I used the striped fabric, plain white sheeting, white thread and a coat hanger to create the peg bag and here’s how I did it:
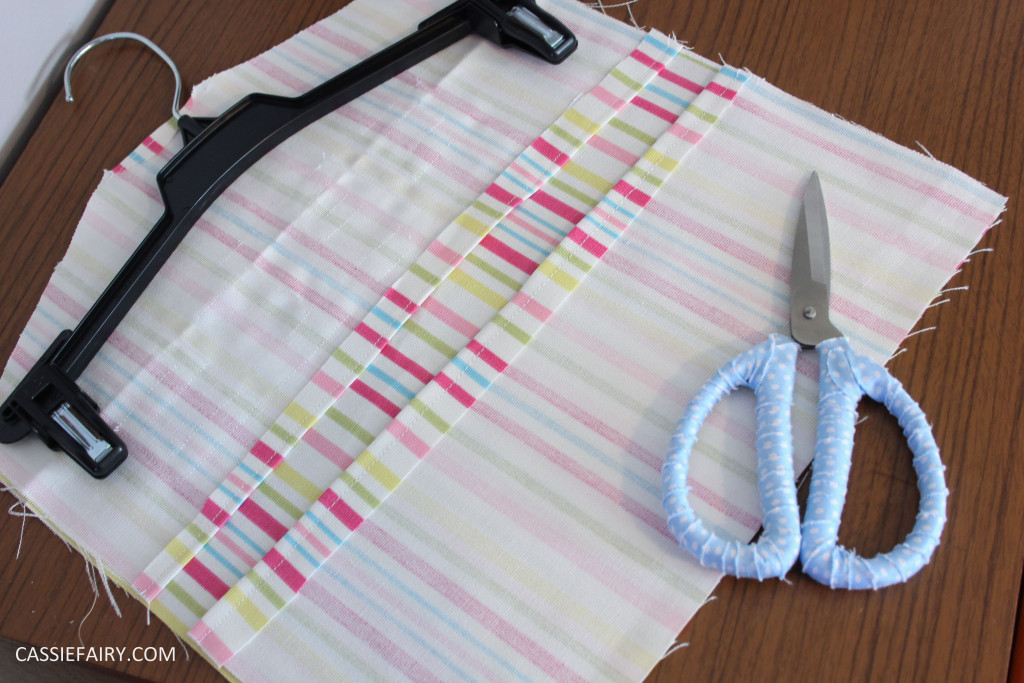
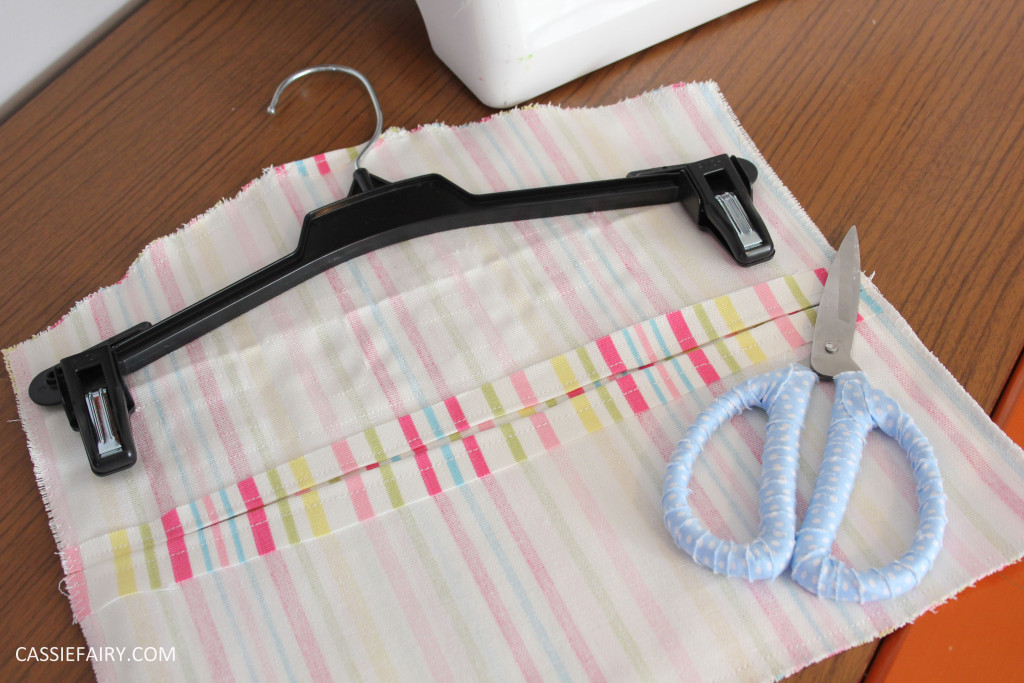
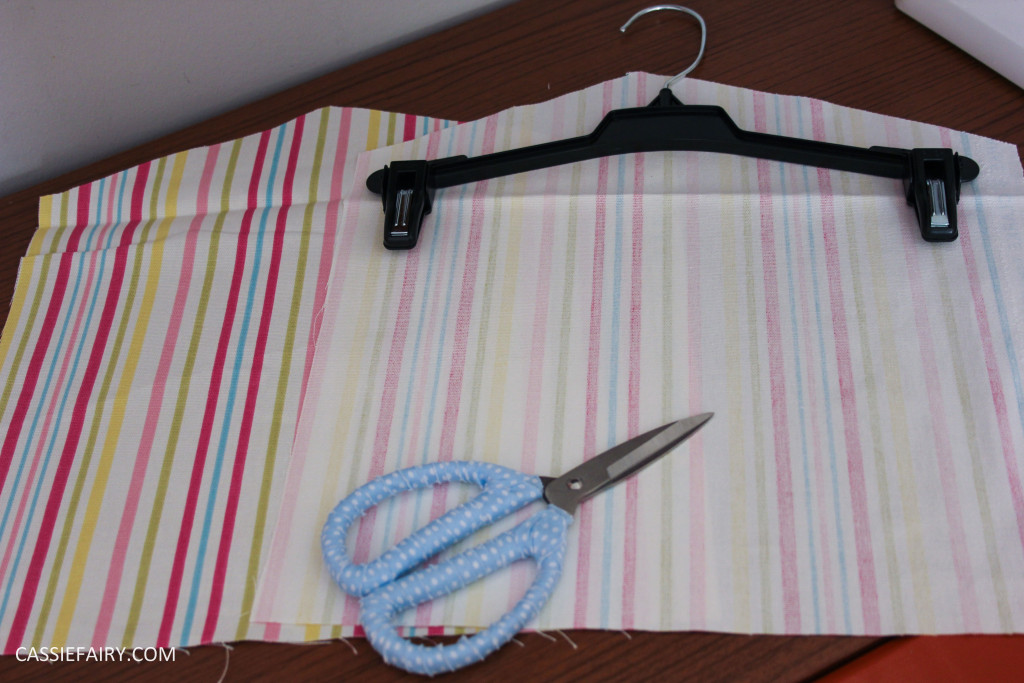 1. Place a small hanger (a child’s hanger works best, although I’ve used a hanger that came with some swimwear for my project) on back of the fabric at approximately the height that you’d like the bag to be. Draw around the top of the hanger to get the right slope of the top edge and then cut out two of these ‘house’ shapes from the fabric.
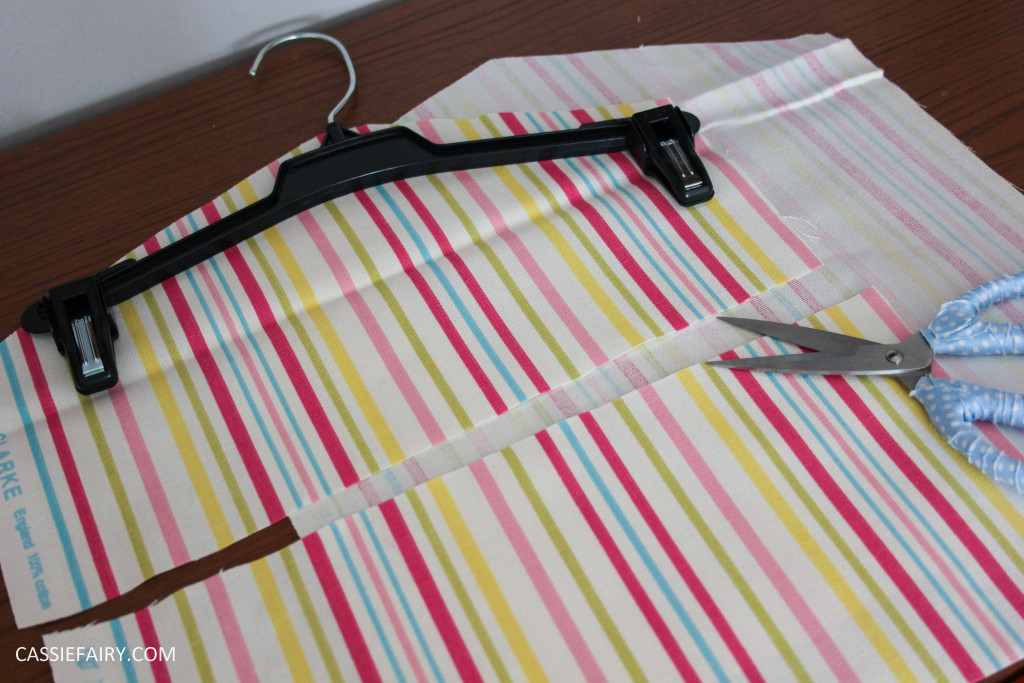 2. Fold the fabric down by 1cm across the top of the ‘point’ at the top of each piece and hem. Cut one of the pieces in half – this will be the front piece and will provide the opening to store the pegs in. Hem both of the cut edges with a straight stitch to neaten.
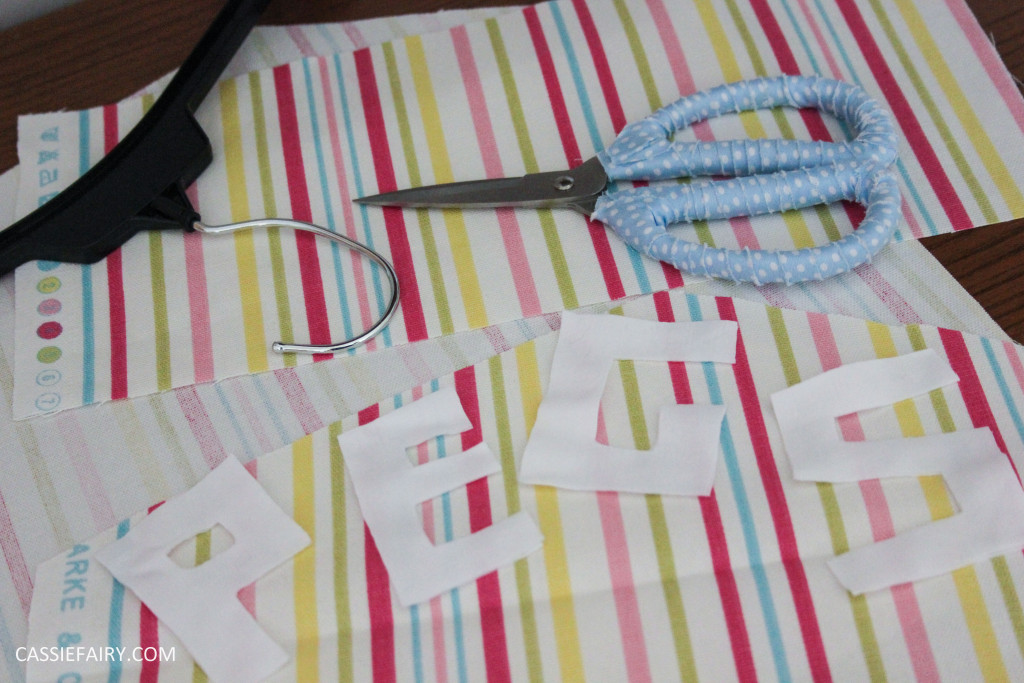
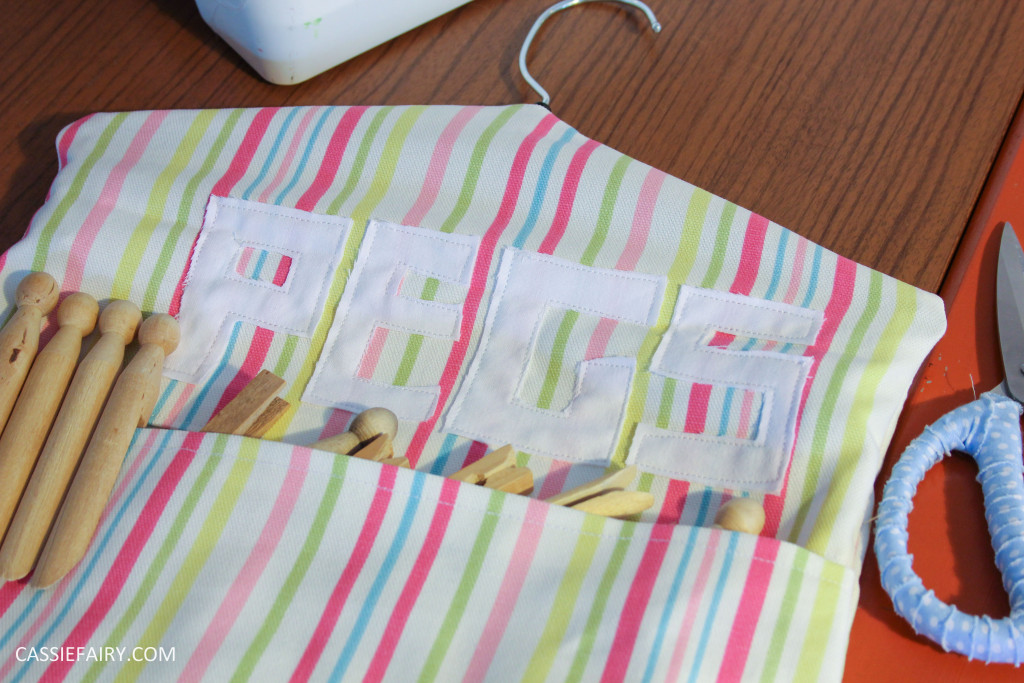
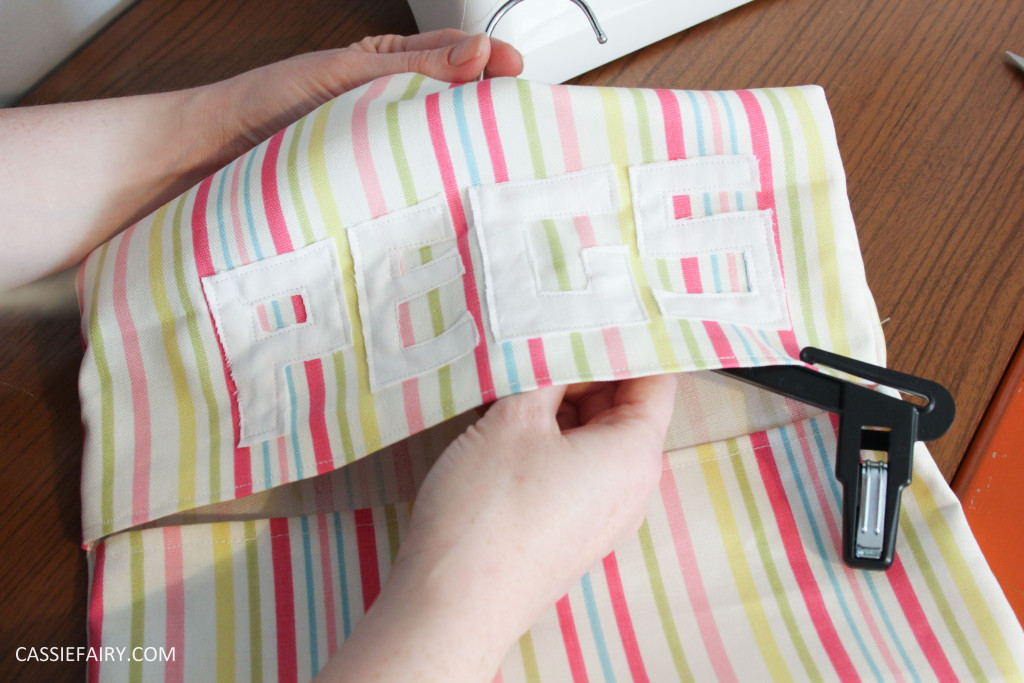
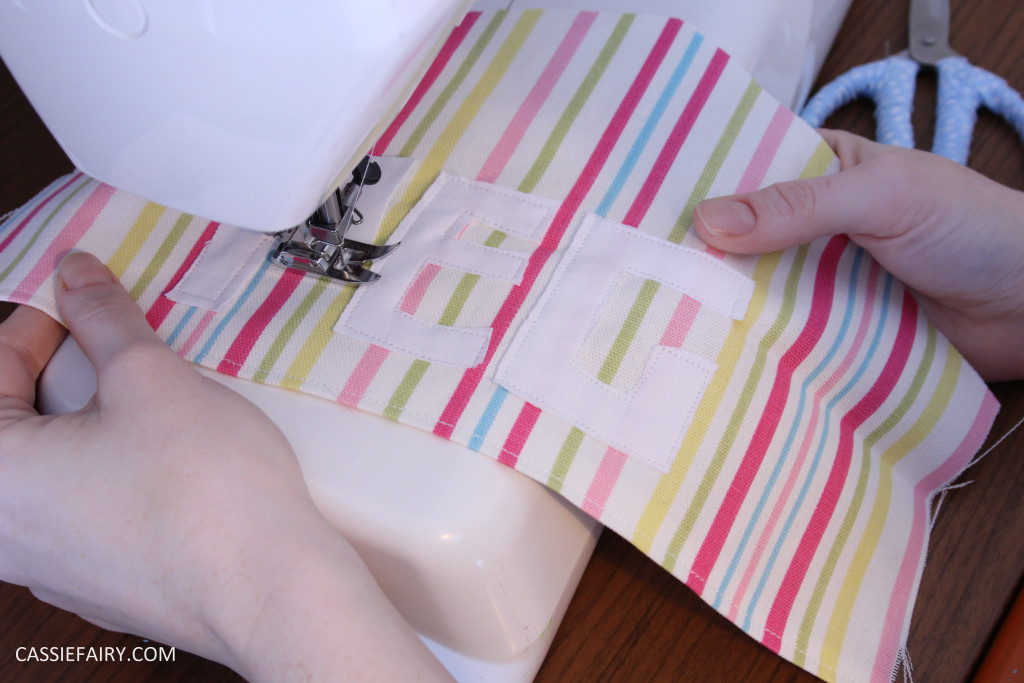 3. If you’d like to include the word ‘pegs’ on the front of your peg bag, simply cut the letters out of white fabric and stitch onto the top section of the front of the bag before joining the bag together.
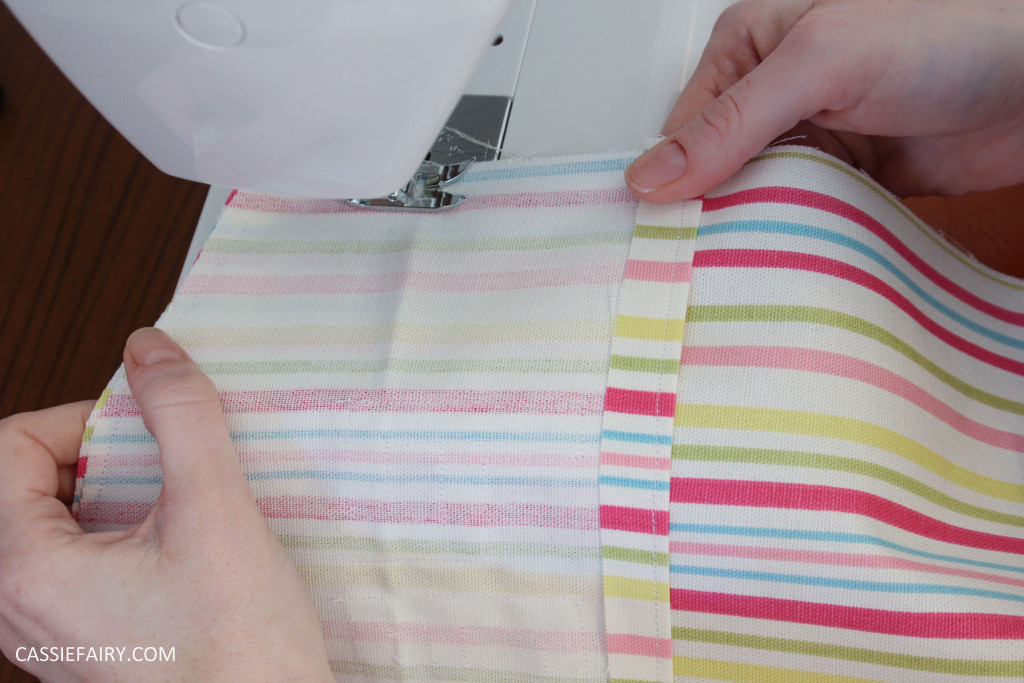 4. Line up the top edges with right sides of the fabric together and sew around the top, leaving the hemmed opening at the point. Next, place the hemmed bottom piece up against the top piece and match the pattern if you can. Pin and sew around all three sides at the bottom of the bag.
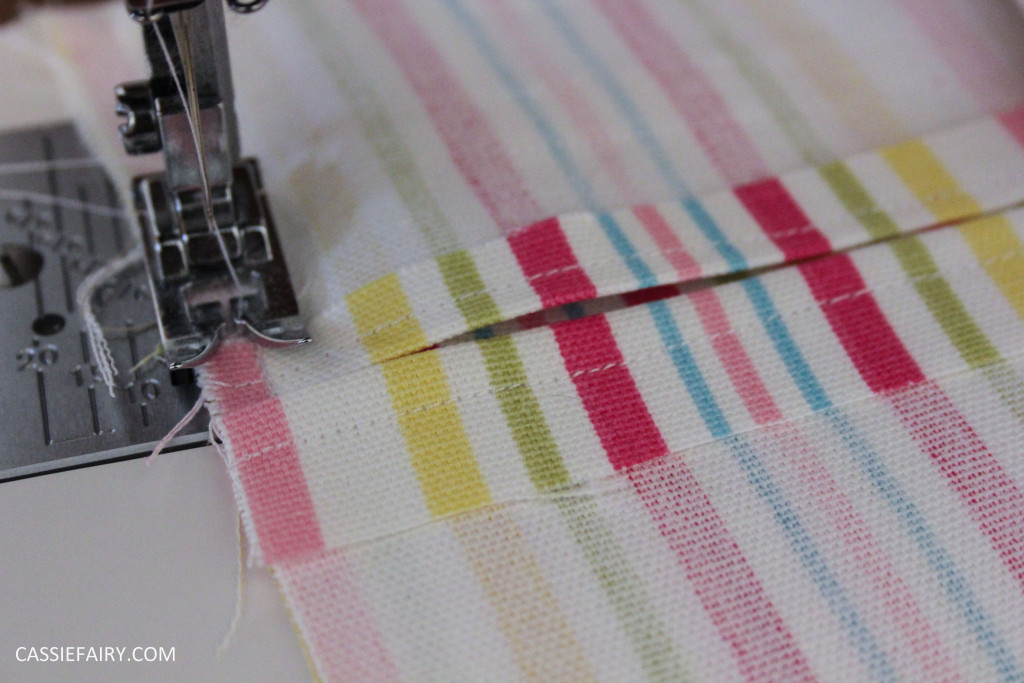
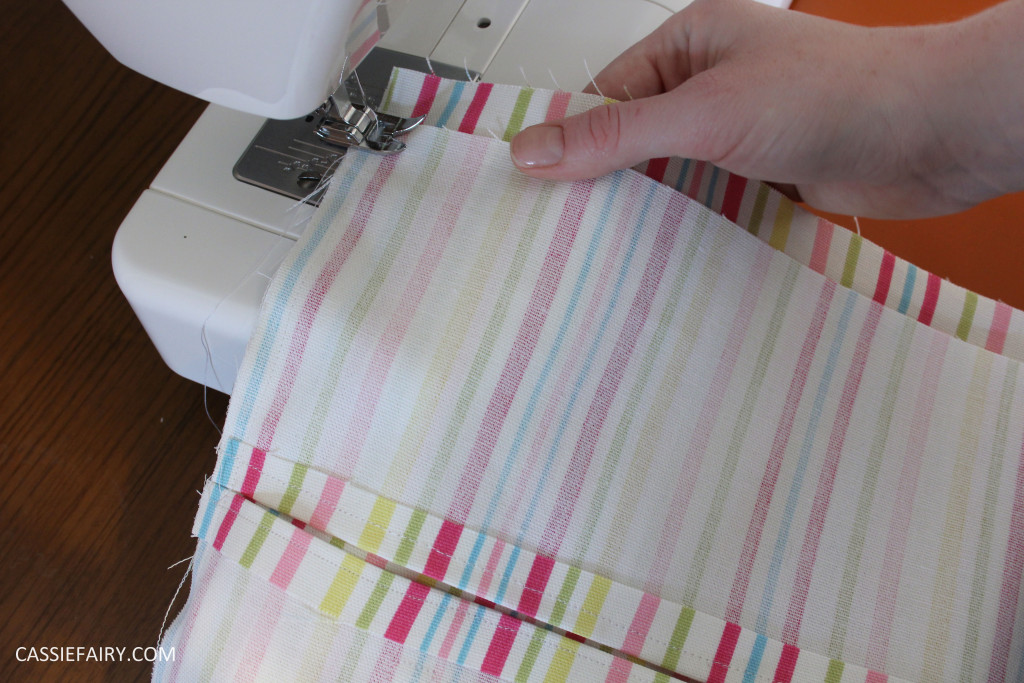 5. At this point I used a zig-zag stitch around all the edges to prevent fraying. Then turn the bag right side out and slip in the coat hanger. The hang is ideal for hanging the peg bag in your kitchen or utility room and for hanging on the washing line while you’re hanging out clothes.
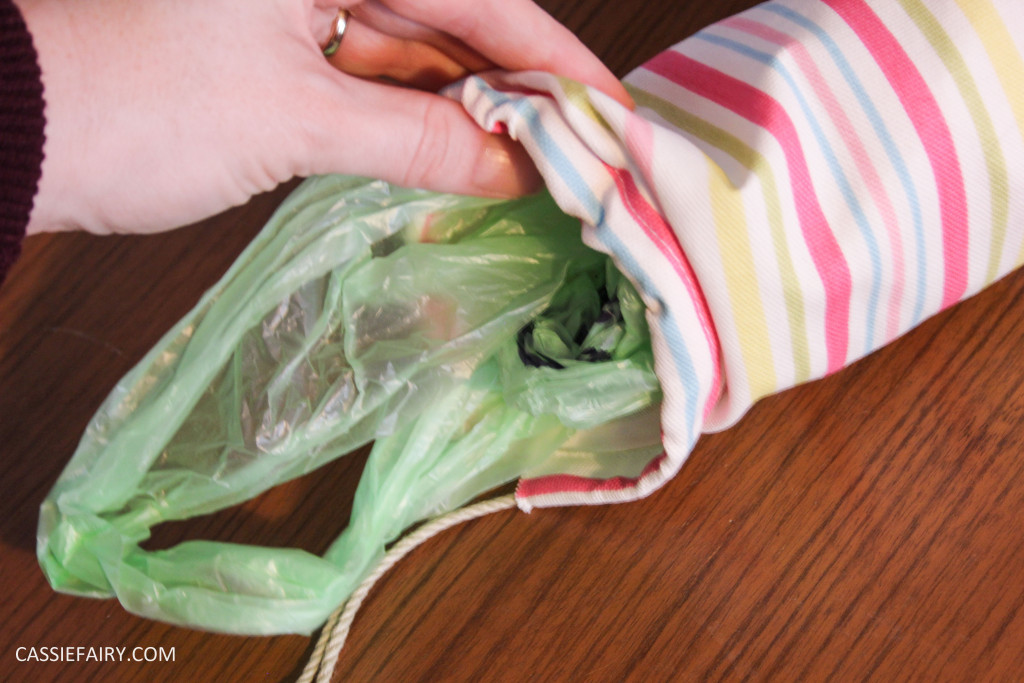
 The second project was even more simple: Now that supermarkets and large retailers are charging per carrier bag (since the 5th Oct this year) it makes sense to keep hold of the carrier bags you get and stash them away together, which is why I wanted to make a retro carrier bag ‘dispenser’ tube. It keeps them all in one place, it’s easy to pull them out of the bottom of the tube and means you’ll always have a few bags to reuse and take with you when you go shopping. I remember this being the kind of thing everyone had in their kitchen in the 90s but I wanted to brighten up the retro design – basically just a tube with gathered ends – with a brighter colour and matching pattern.
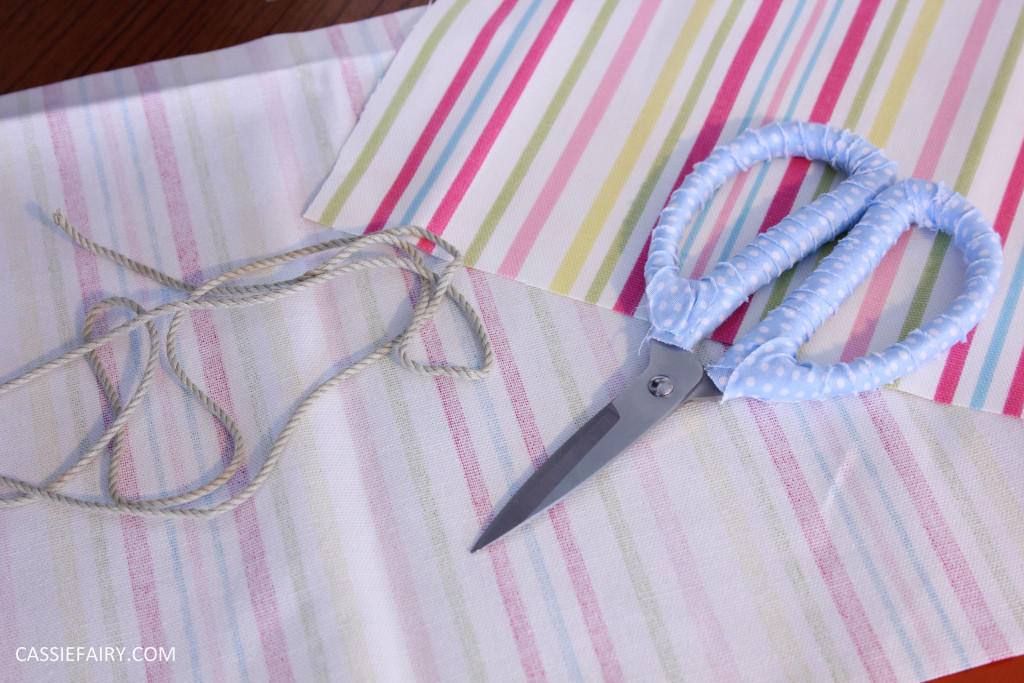 1. Cut a piece of fabric to the desired length of your tube, and double the width.
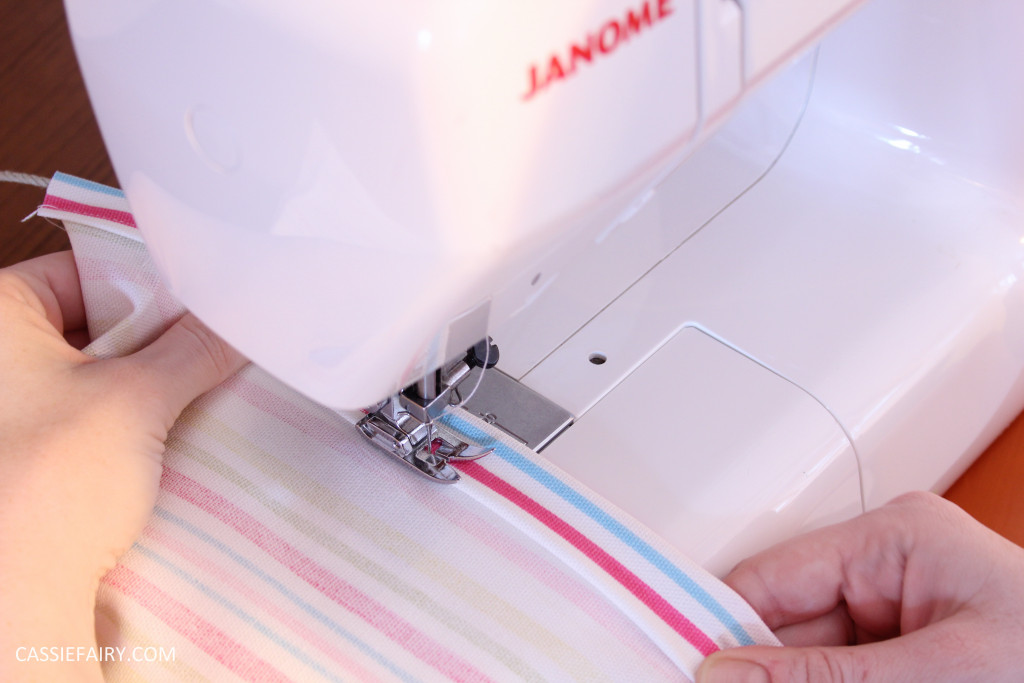 2. Fold the top and bottom ends over an hem to create a channel at both ends. Thread a piece of string or ribbon through the channel at each end.
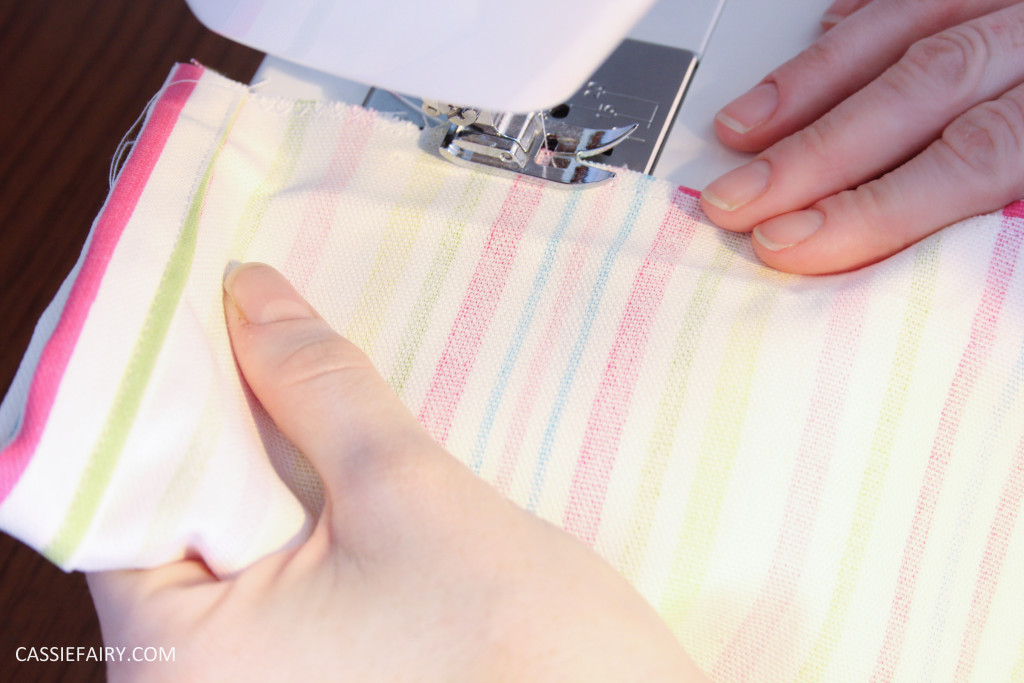 3. Fold the tube in half along it’s length, with the right side of the fabric facing inwards and stitch the two long sides together, being careful not to sew over the string/ribbon – start sewing just above the channel.
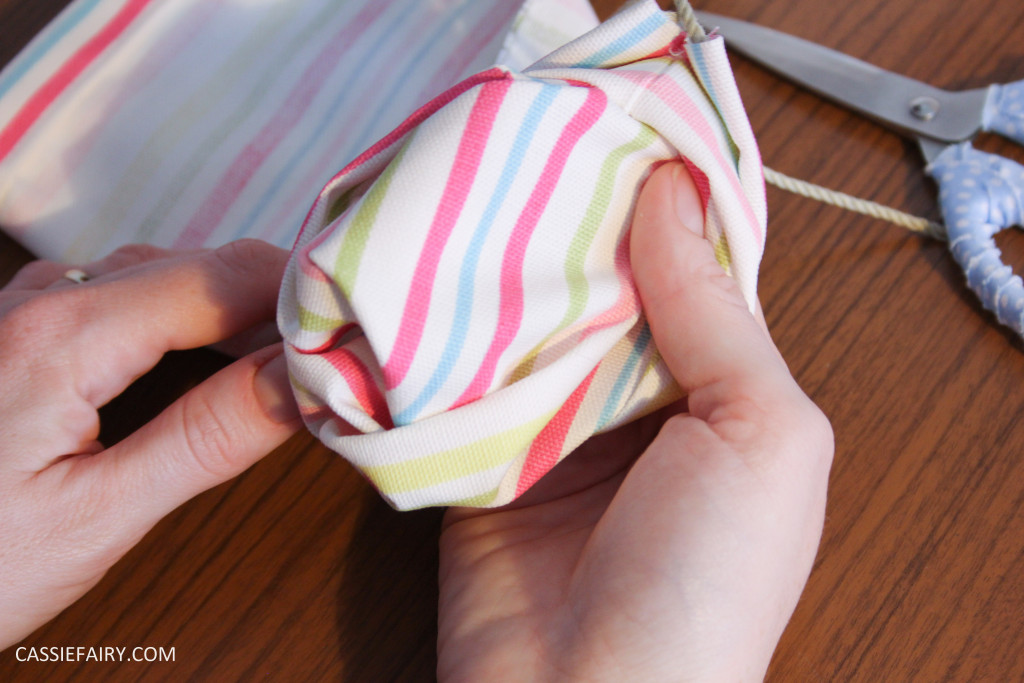
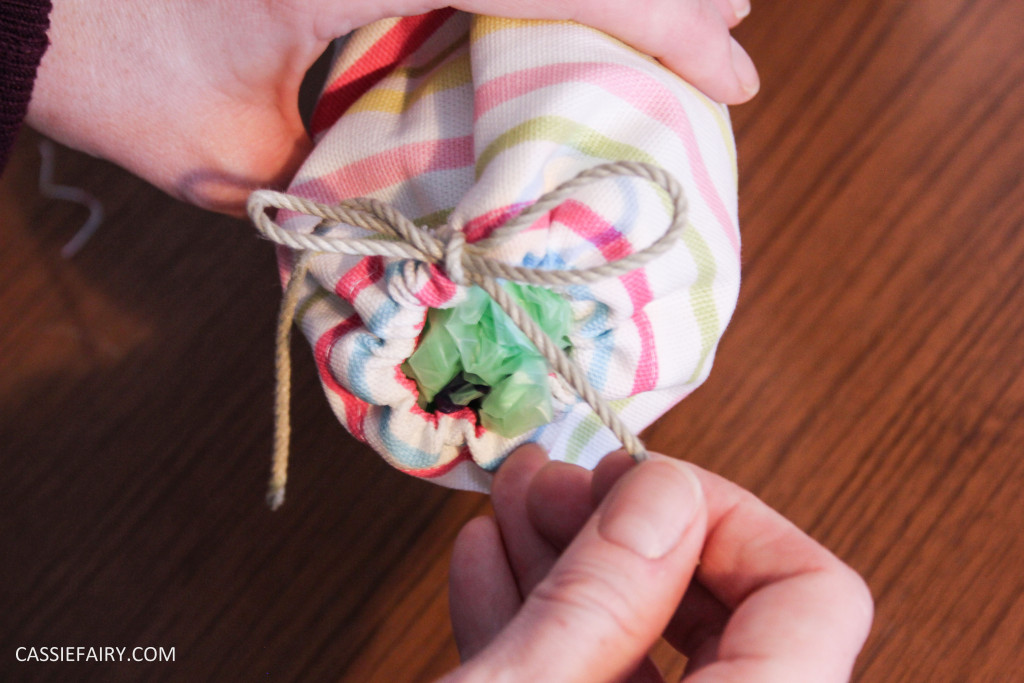
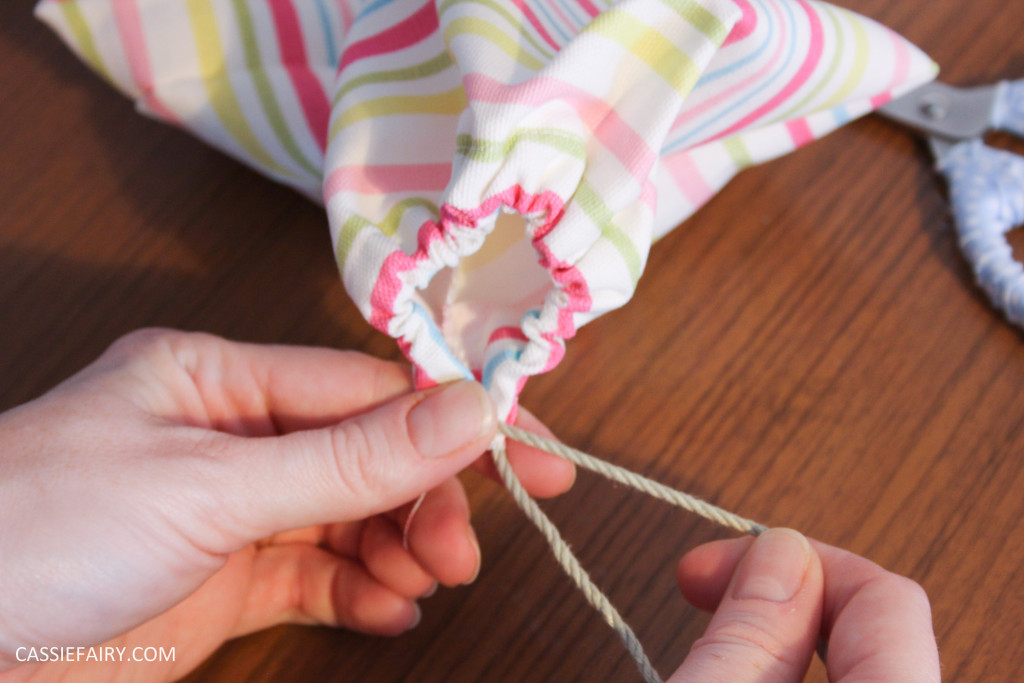 4. Turn the tube right side out and gather the ends together by tying the string in a bow. Fill with carrier bags and hang in the kitchen or utility room.
 Of course, there’s more I’d like to do to my tiny kitchen, such as adding pictures to the walls and possibly a new floor, but that will all come in time. I’m not planning on moving any time soon so there’s no hurry! Let me know if you have a go at making either of these simple sewing projects – I’d love to hear from you. Leave me a comment below or tweet me with your photos @Cassiefairy.
Some items in this blog post have been gifted to me and the pink links indicate a gifted product, affiliate link or information source. All thoughts and opinions in this post are based on my own experience and I am not responsible for your experience 🙂




One Response
A great job! I think all housewives should have a piece of your creative talent.