I’ve made a few bears over the years for my nieces and nephews. The first one I made was for my firstborn nephew and I didn’t even know if I’d be able to sew a whole bear when I started. However, I got a pattern and gave it a go.
I’d previously worked at The Bear Factory as a weekend job when I was a student but, if you’ve ever been to Build-A-Bear (as it’s now called) you’ll know that it’s more bear-stuffing and a small bit of stitching rather than actually making a bear from scratch.
But at least I knew the anatomy of a bear, I had an idea of how squishy I’d need it to be and had the knowledge to finish it off, so I figured I would have a go at making the limbs, body and head too. I chose some secondhand material including offcuts from an old shirt and got to work.
Long story short, I loved making the bear and grew quite attached to it through the making process. The only thing that made it easier to let go of him was the knowledge that he was going to my nephew.
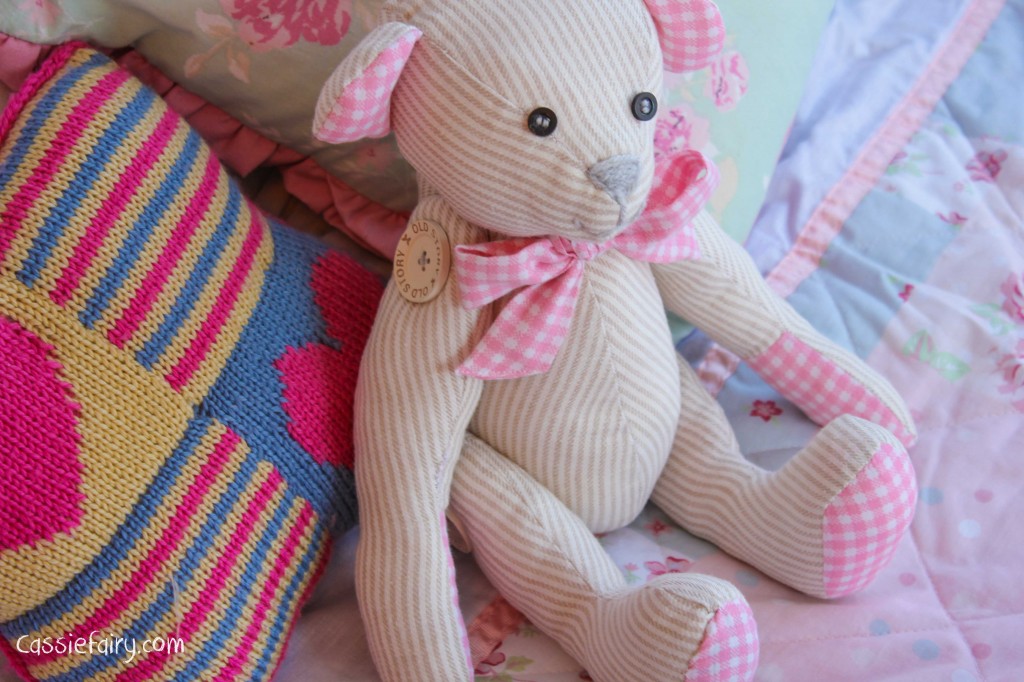
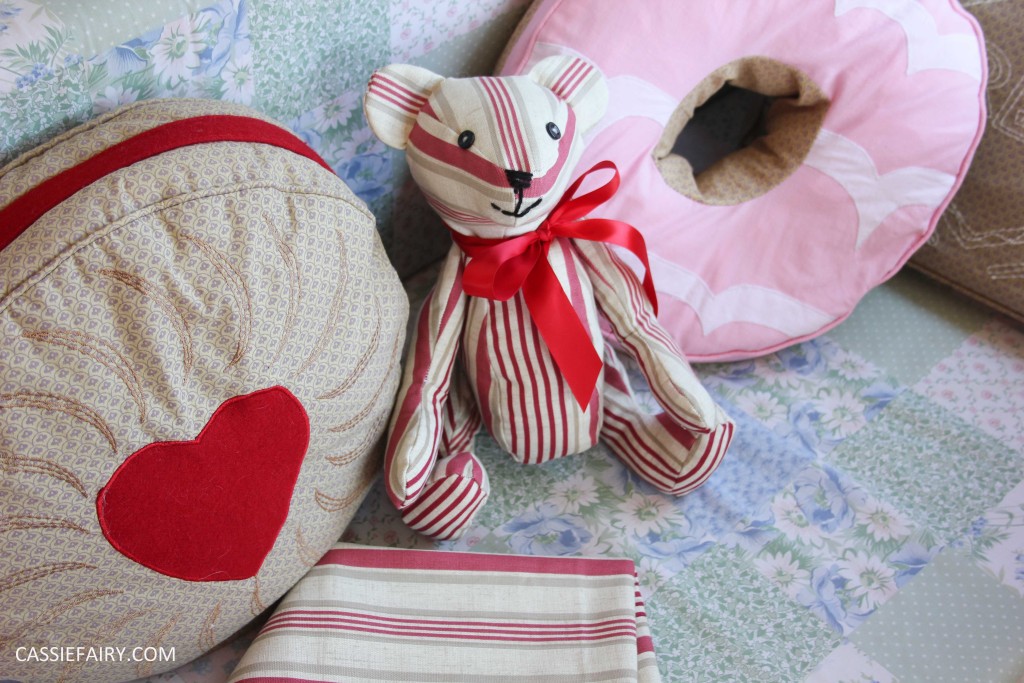
I’ve since made another similar bear for my niece using a slightly smaller version of the same pattern. I’ve also made Red Ted, (pictured at the top of this blog post) who still lives with me.
For my next two bears, I used the Bear Making for Beginners Charlie Bear pattern. As the pattern pieces for bears are only small, I was able to upcycle the baby clothing of my other niece and nephew to create memory bears for them.
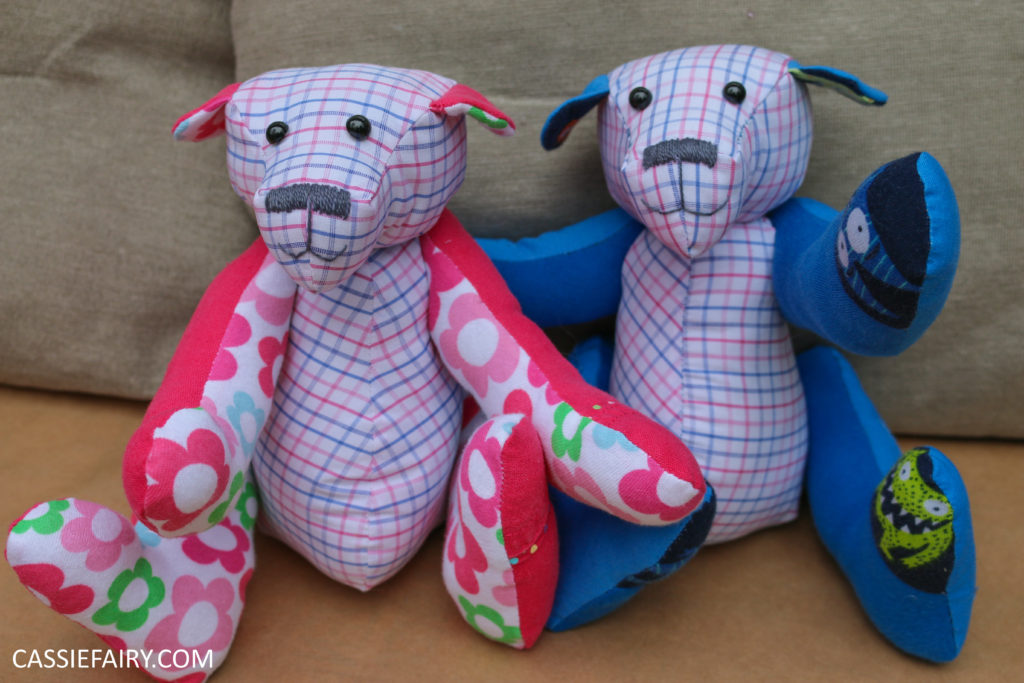
Most recently, I’ve made the Sophia Rabbit pattern for another niece. This is a much smaller pattern, which makes it more intricate to sew but it’s adorable! I’ve also moved on to using safety eyes and joints – which brings me on to the reason I’m doing some bear repairs now.
When I made my first bears, I didn’t have any of the bear-making equipment that I now have, so I didn’t have any eyes or joints, extra strong threads or a doll/bear-making needle. I had just used wool to stitch the limbs onto the bears and I’d used buttons for the eyes. Therefore, the bears were not suitable for playing with by children and were purely decorative.

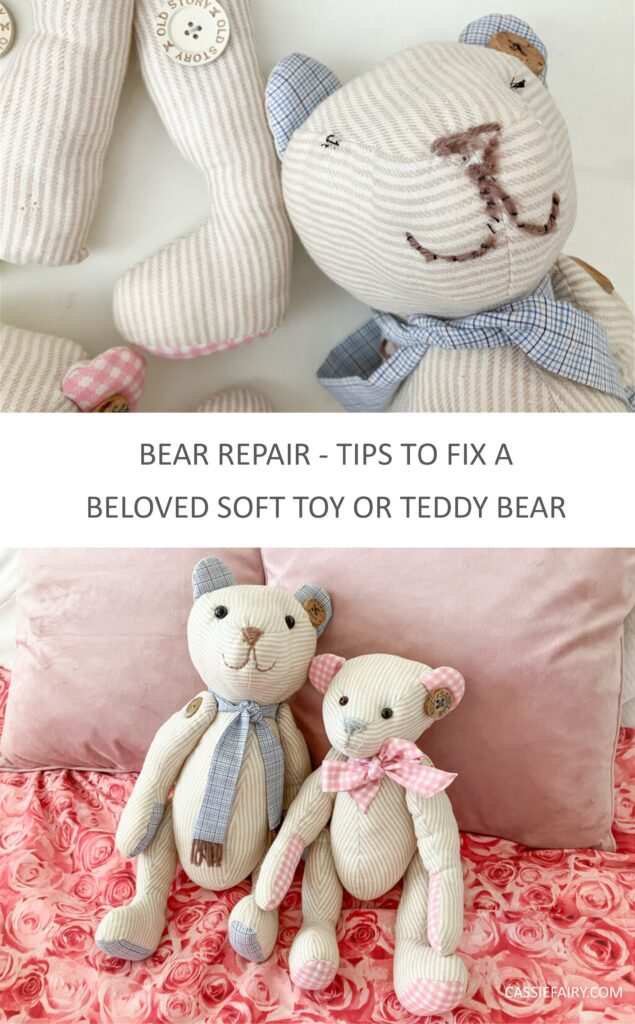
Even though they hadn’t been played with, after 12 years of the bears just sitting in the nursery on a shelf, the wool had degraded. The poor little bears had each lost some limbs, their faces were frayed and some of the eyes had popped off.
So my niece and nephew brought the bears back to me for a ‘bear repair’. I was rather happy about this because it gave me the chance to use the skills I’d learnt since making more bears. Plus, I could replace the eyes with real glass eyes rather than buttons and embroider the face properly.

You will need
- 5-inch doll/bear needle
- Extra-strong thread
- A pair of glass eyes
- Embroidery thread and an embroidery needle
- Buttons
I ordered my supplies from Amazing Craft, which has been my go-to shop for bear-making items since I met them at The Handmade Fair ten years ago.
I choose dark smoked topaz eyes, which gives them a gorgeous expression – more so than black buttons. I also picked up extra-strong thread for the joints, some embroidery thread for the faces and a second doll needle.
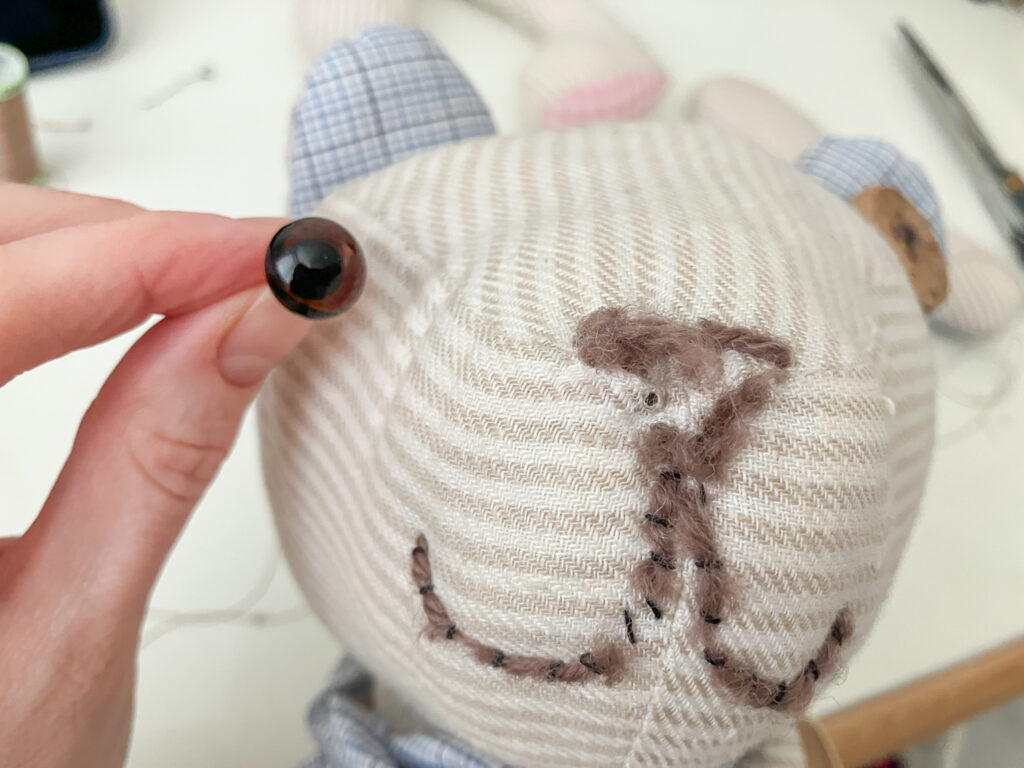
Once you’ve got a big 5-inch doll needle, it becomes really easy to repair old bears and cuddly toys – so easy in fact that I enlisted my niece to help me. After a safety briefing (of course!), she was able to follow along with the instructions as I showed her how to insert the new glass eyes.
There’s a really handy video on how to insert glass eyes on the Amazing Craft YouTube channel, which is where I first learnt how to add eyes to the soft toys I make.
My niece had some more cuddly toes in need of eyes, so we also repaired her fluffy zebra toy and koala bear. This gave her a great sense of achievement and it was fun to do a craft together.
When I’m making bears nowadays, I always use safety joints and safety eyes. These have to be clipped in inside the pattern pieces during the making process and ensure a safe connection for these little parts. They also allow the limbs and head to move, as do cotter pin joints, which is a sweet touch.
However, because my niece and nephew’s bears are already constructed, I would’ve had to cut open the limbs and body and remove the stuffing to be able to use safety joints and eyes – basically, I’d be almost starting over and I don’t think the fabric would have survived this.
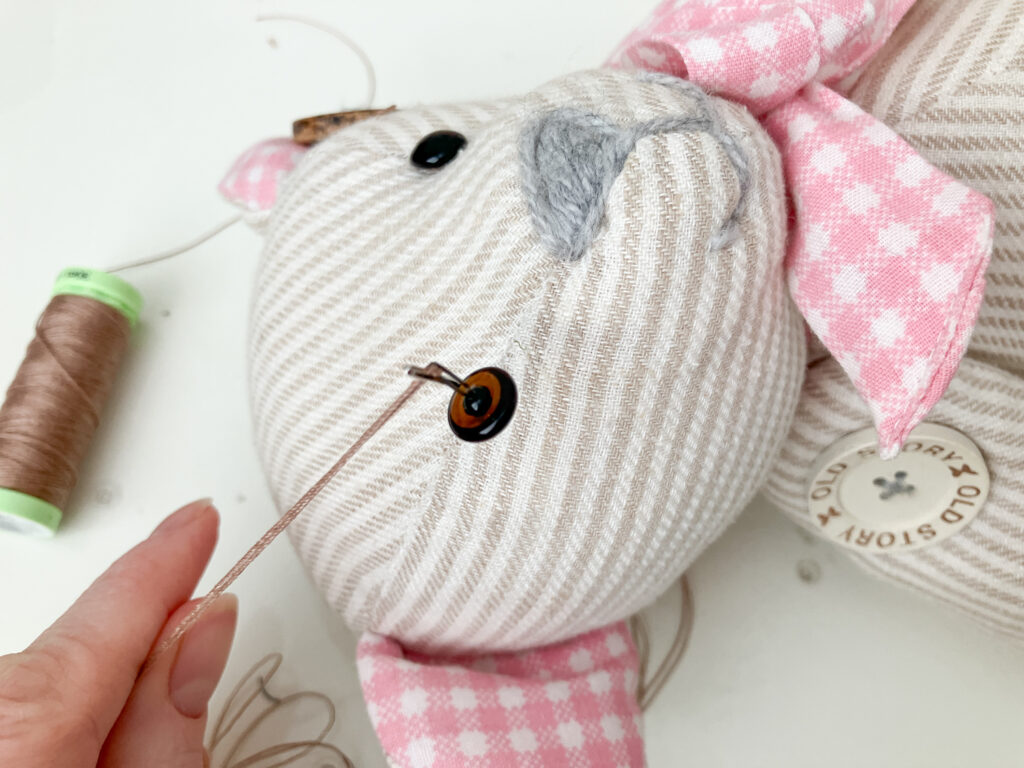
So, I decided to use the same extra-strong thread that I’d used on the eyes to create button joints to make sure the limbs won’t fall off again. Again, a 5-inch bear-making needle is essential as you need to be able to pass the needle all the way through the body of the bear.
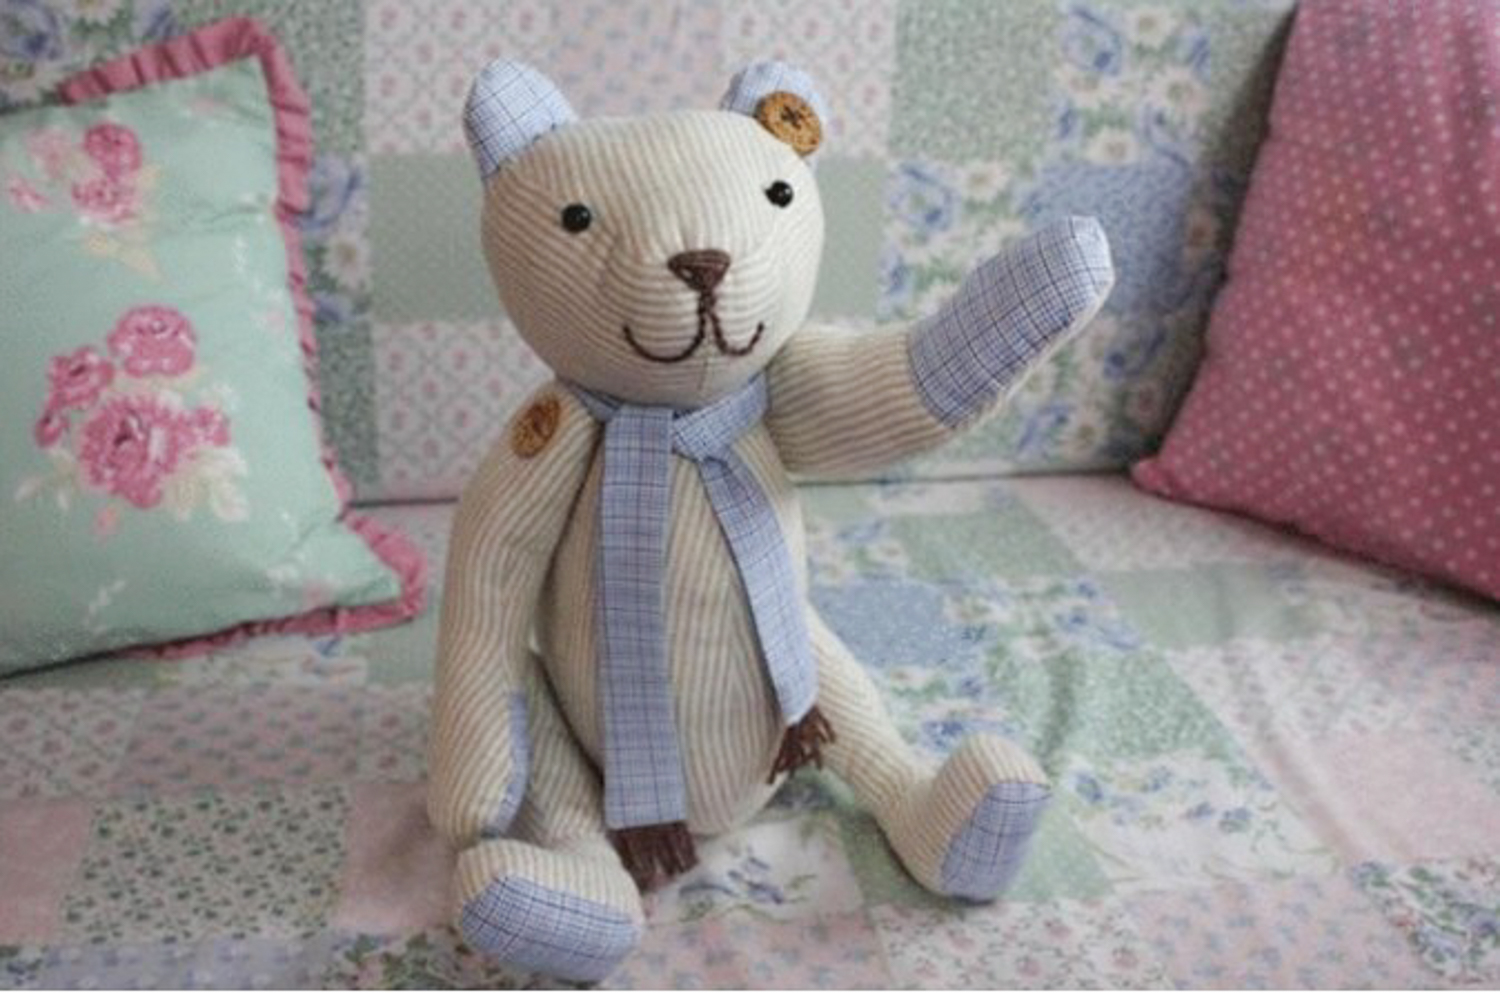
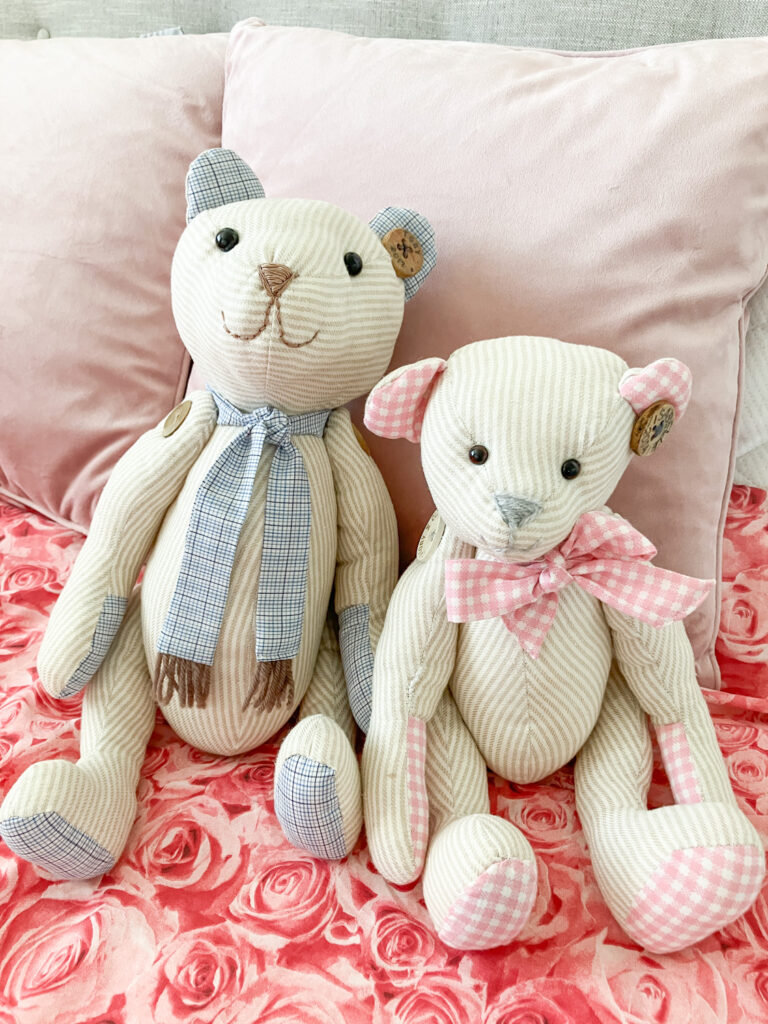
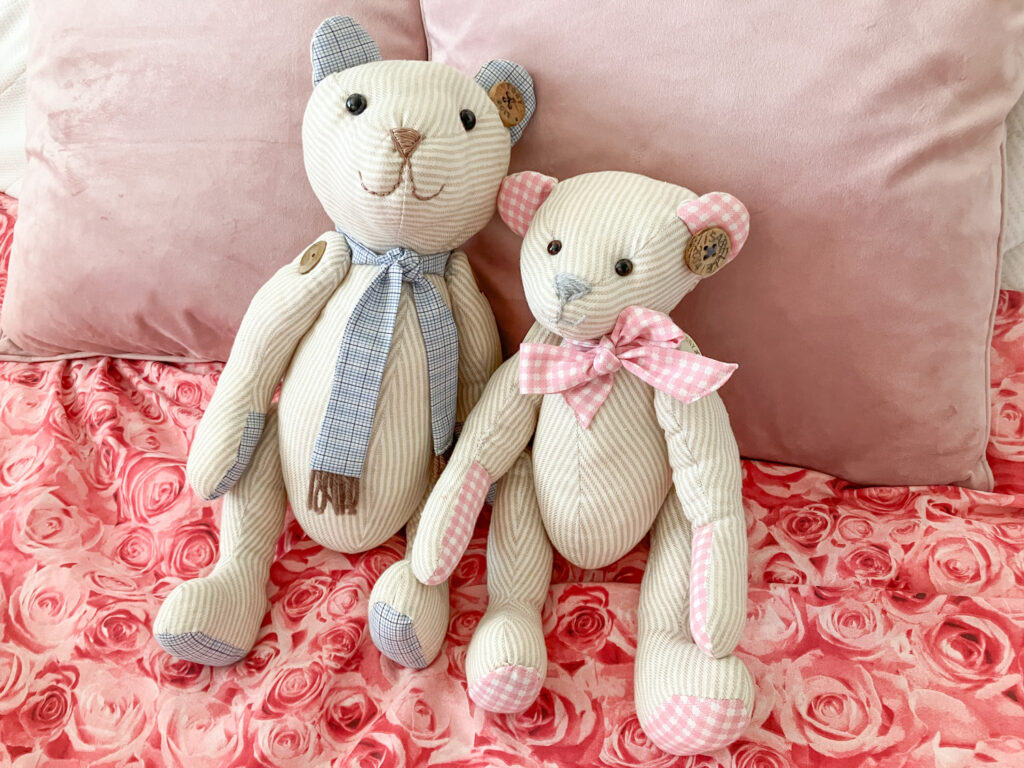
Now, both bears are back to their best, with beautiful eyes and a newly embroidered smile.
The glass eyes mean the bears are still not suitable for young children to play with, but my niece and nephew are now high-school age so I was able to brief them about the safety of the eyes, which are now attached with the extra-strong thread, so they should be secure enough.
Let me know if you’re a fan of bear-making in the comments below, I’d love to hear what cuddly creatures you’ve made. Plus, please let me know if you’re thinking of taking up bear or doll-making yourself. I hope this blog post will have inspired you to give it a try.
Pin it for later