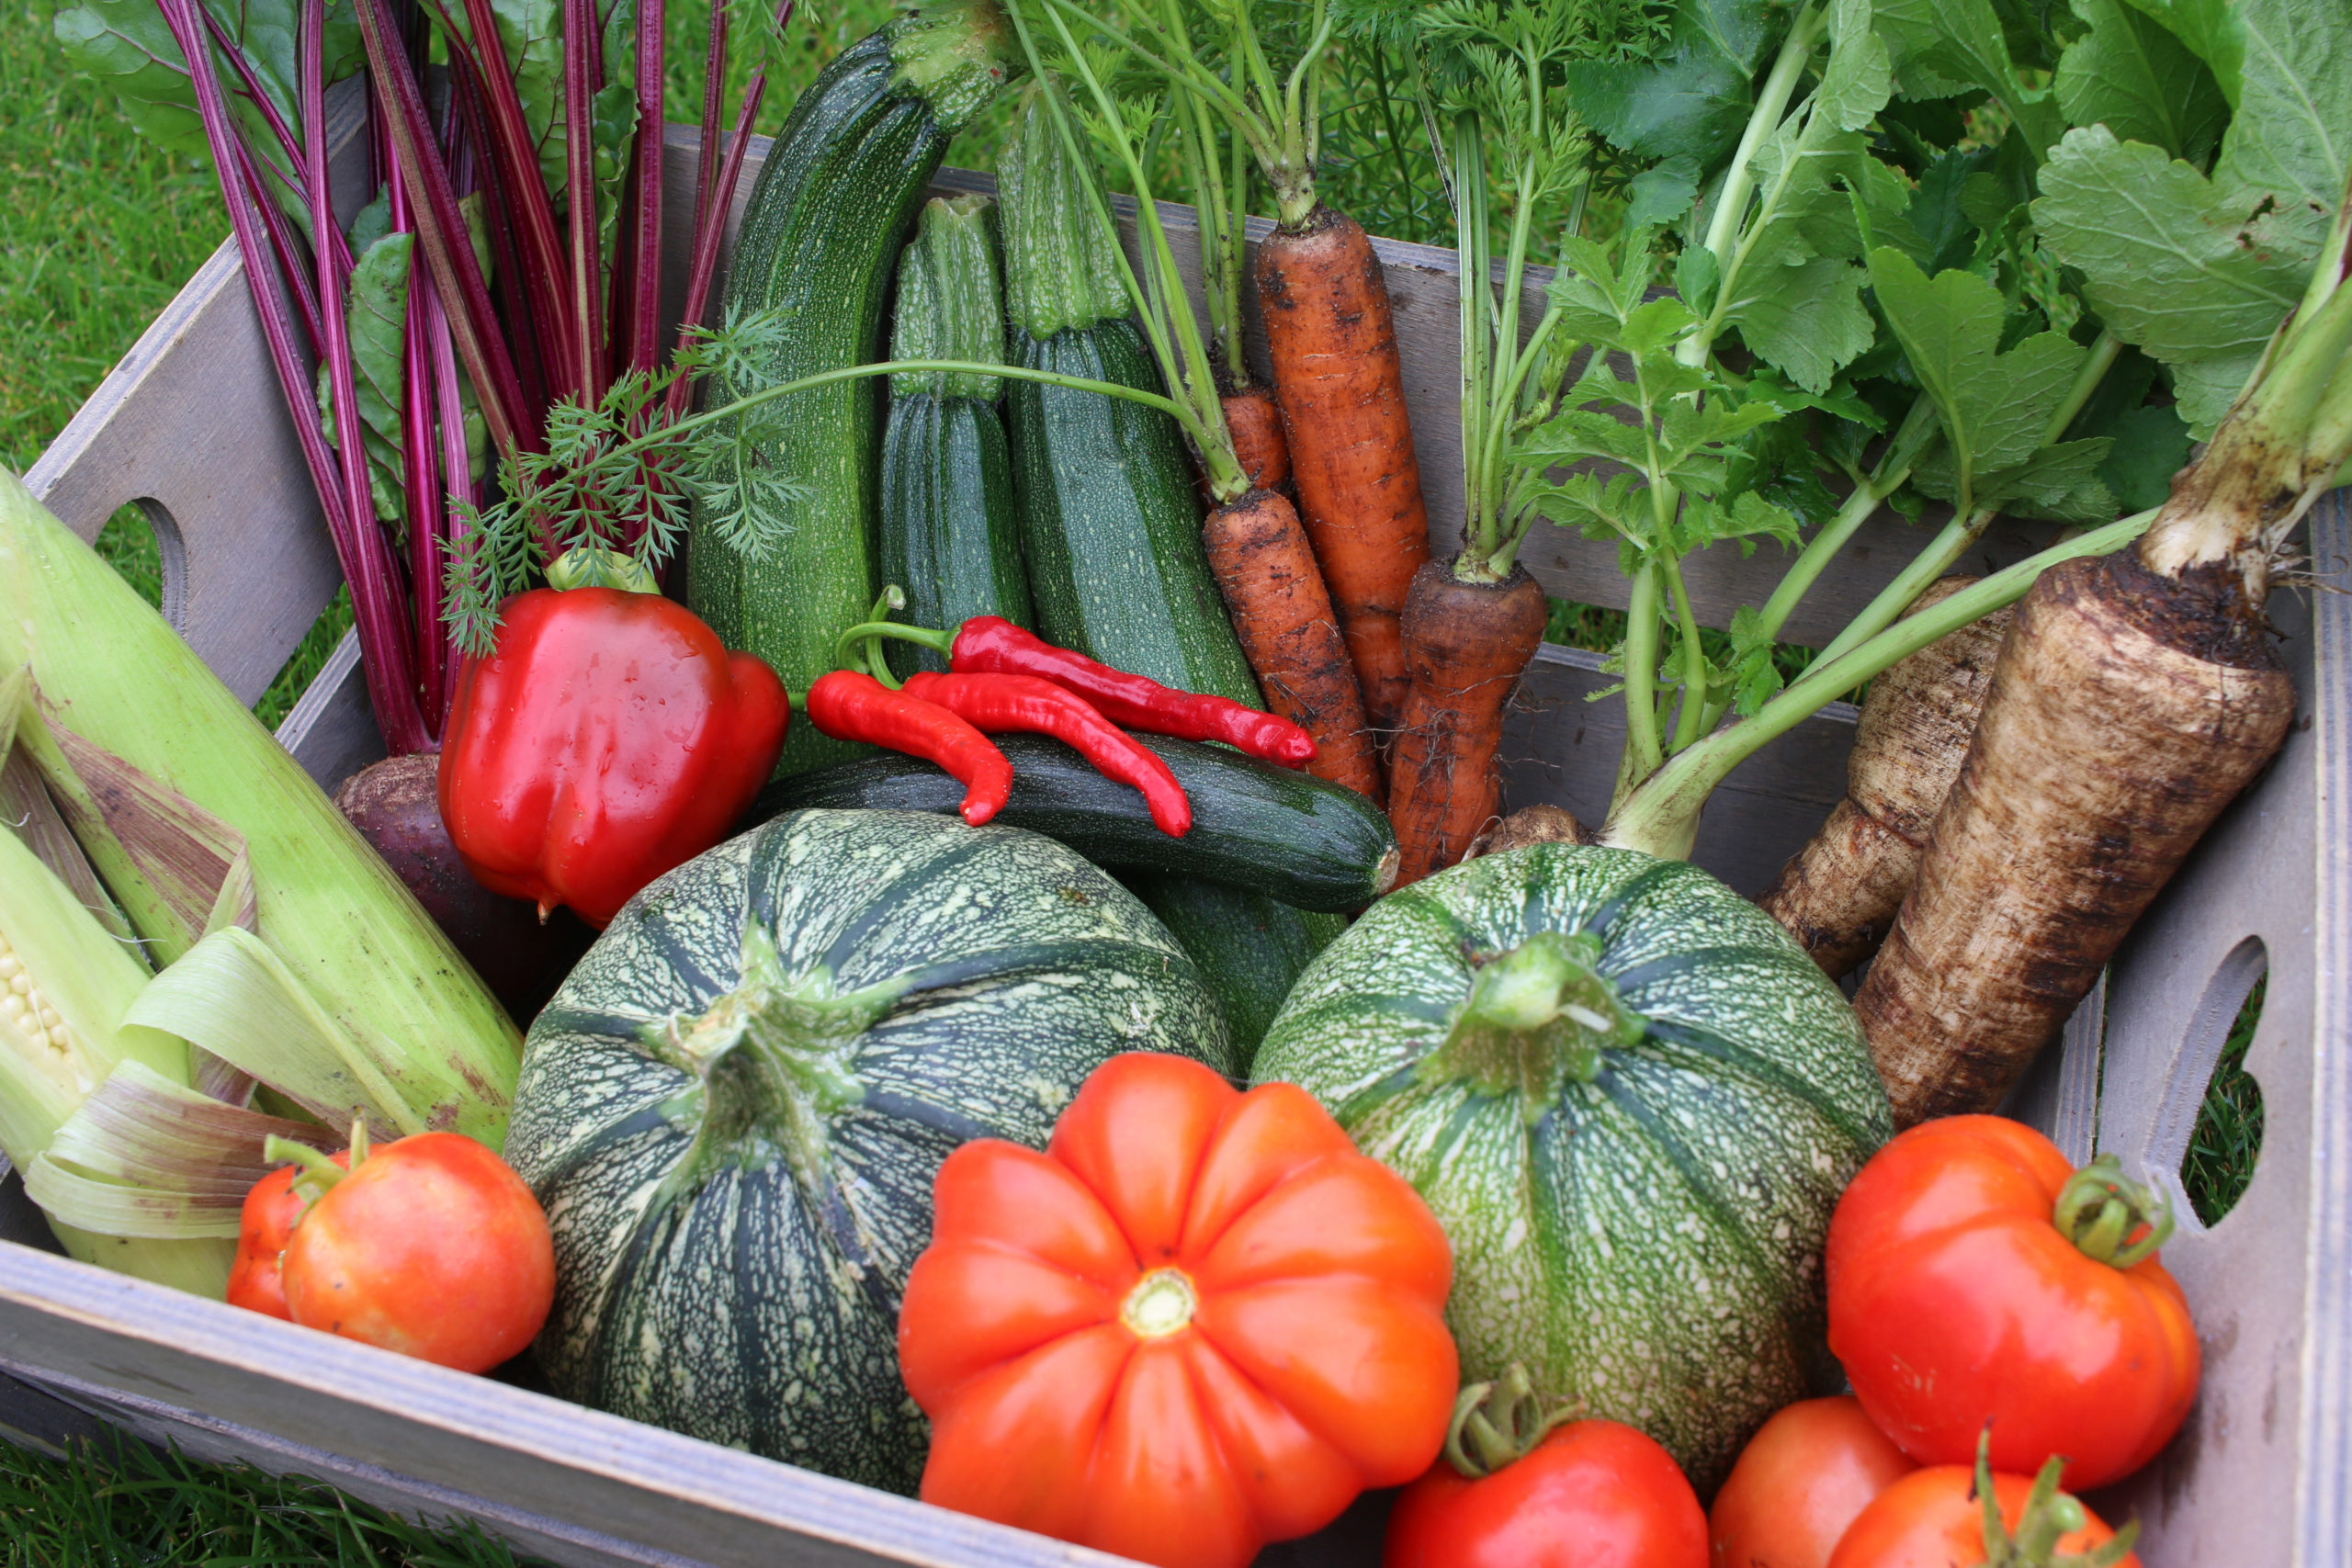
While I love to grow my own vegetables at home and on my allotment, I was rather disheartened when I tried growing brassicas last year. I lost them ALL to caterpillars. Hundreds of stripy little wigglers munched the leaves until there was nothing left but a bare stalk. It was almost enough to put me off ever growing brassicas again.
I had tried to cover my cabbage, sprouts and broccoli with a net to stop the cabbage white butterflies from getting to the leaves to lay their eggs. But, what this actually did was trap the butterflies inside the netting. I couldn’t believe it when I saw a dozen or so butterflies stuck inside the net!
I guess the holes in the net were just large enough for them to sneak in but too small to easily let them back out. Typical! I’d created the perfect home for those little flutterers.
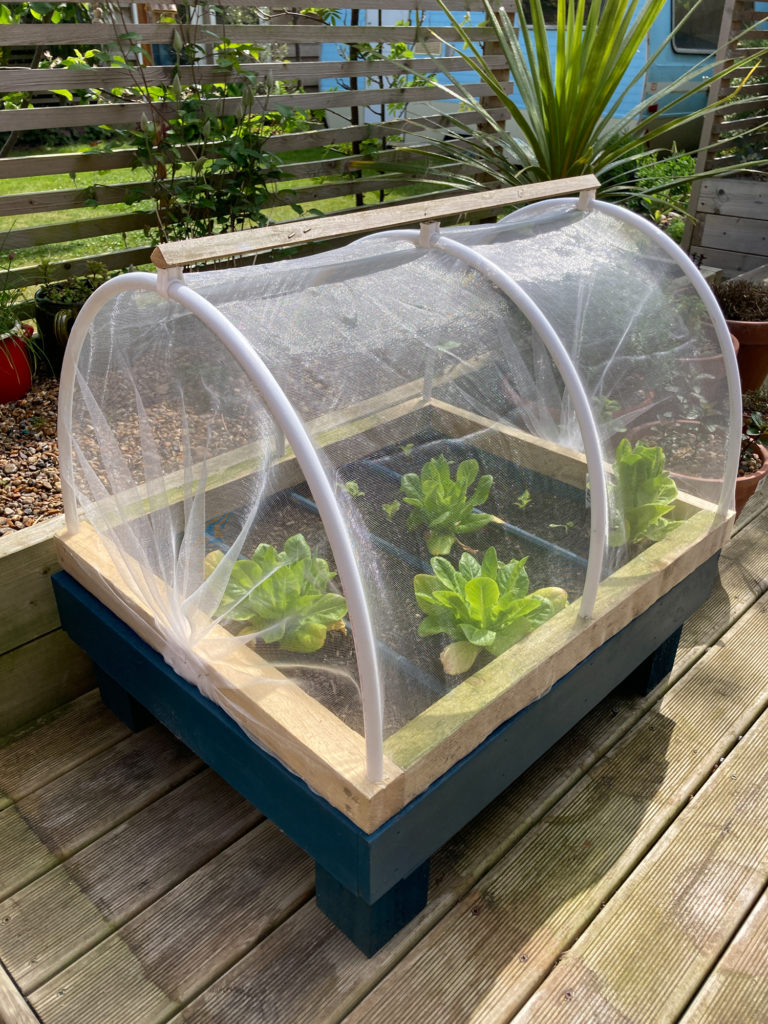
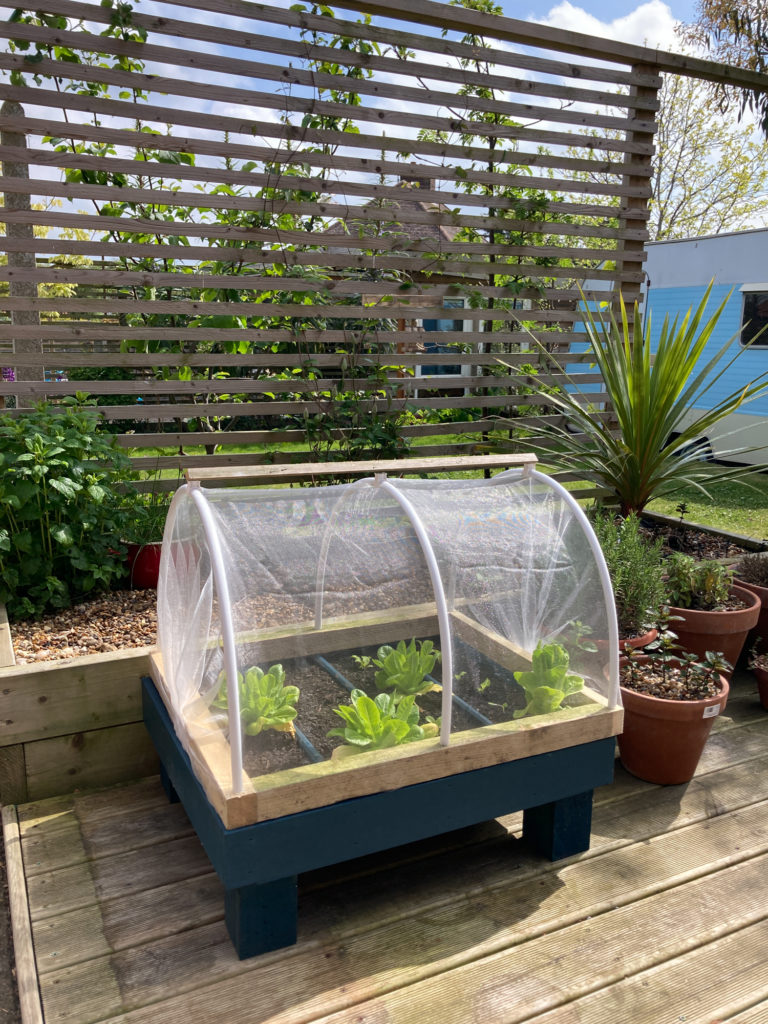
So, this year, I knew I had to take extra precautions if I wanted to try growing brassicas again. So, I built this little mesh tunnel for my raised bed at home, using insect mesh to protect the growing plants from butterflies AND birds.
You can scale up this tunnel to fit your own raised beds or to cover a line of cabbage on your veggie patch – I’ve since made bigger ones for my allotment, too. It just depends on how much spare timber and old water pipe you can get your hands on as you’ll need considerably more supplies to make a bigger one.
You will need:
- Pressure treated timber, or even just old pallet supports.
- Old water pipe
- Pipe clips
- Insect-proof mesh
- Hole saw, forstner drill bit or a flat drill bit and drill
- Pipe cutter
- Saw
- Wood screws
- Staple gun and staples
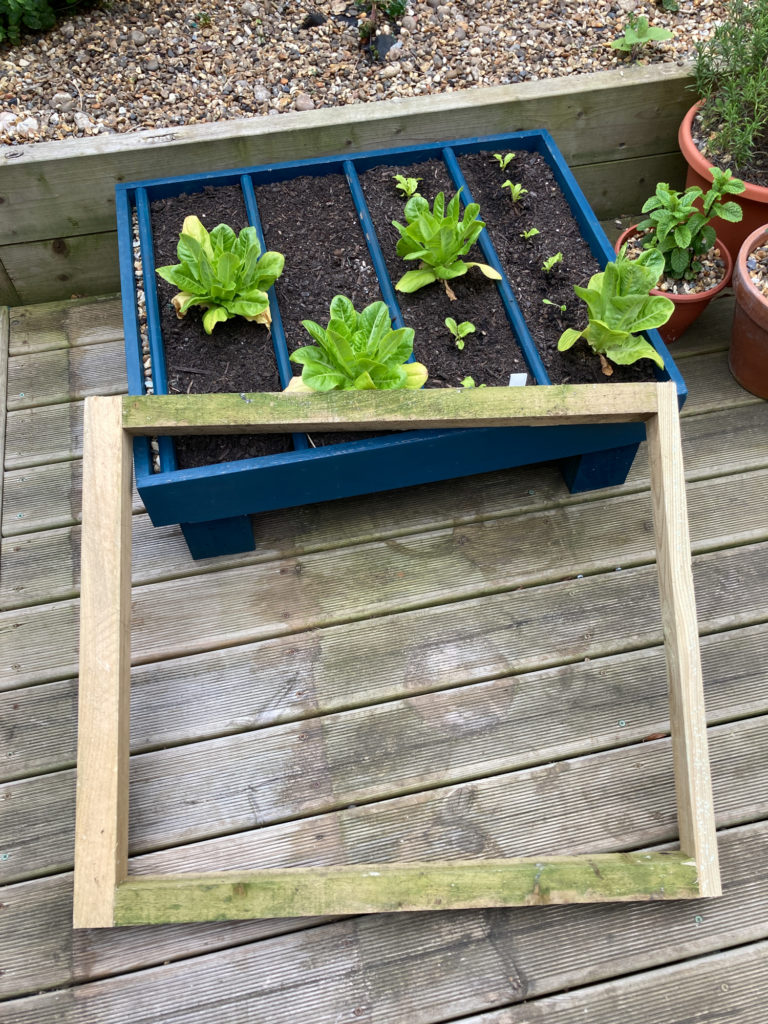
Step one
Use pressure-treated timber to build a frame that sits on the edges of the raised beds on your veggie plot. I’ve just made a small one here but you can make it longer or wider accordingly.
Step two
Use a hole saw or flat drill bit to make holes that are the same diameter as your water pipe in the top of the frame. Make holes at either end of the frame and then add more holes along the side to hold the loops of pipe – this will depend on the length of your frame and how many loops you plan to add.

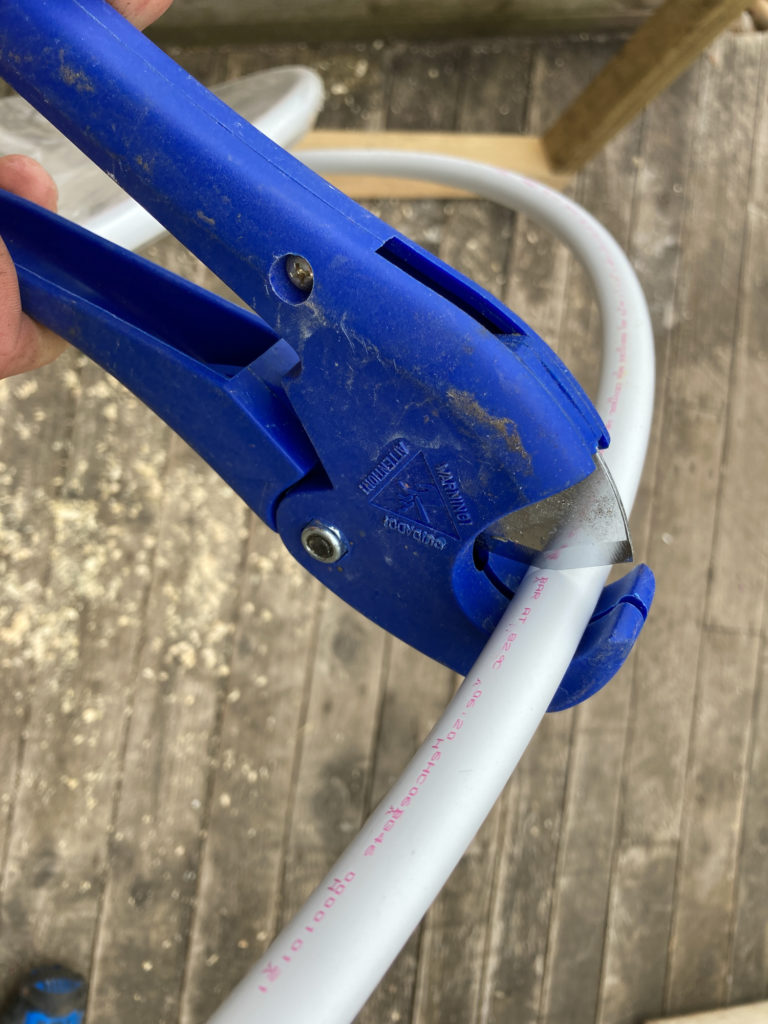
Step three
Use a pipe cutter or a saw to cut pieces of water pipe to the height that you want the tunnel to be. You won’t need it to be very high for cabbages but might need more height for sprouts and sprouting broccoli etc.
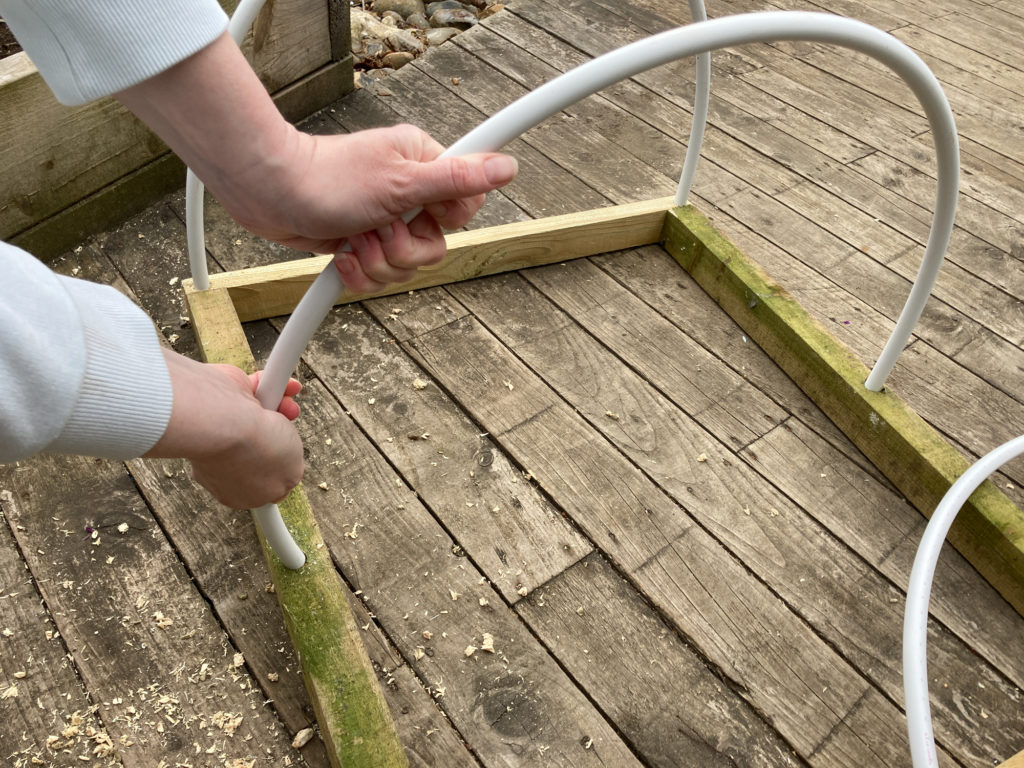
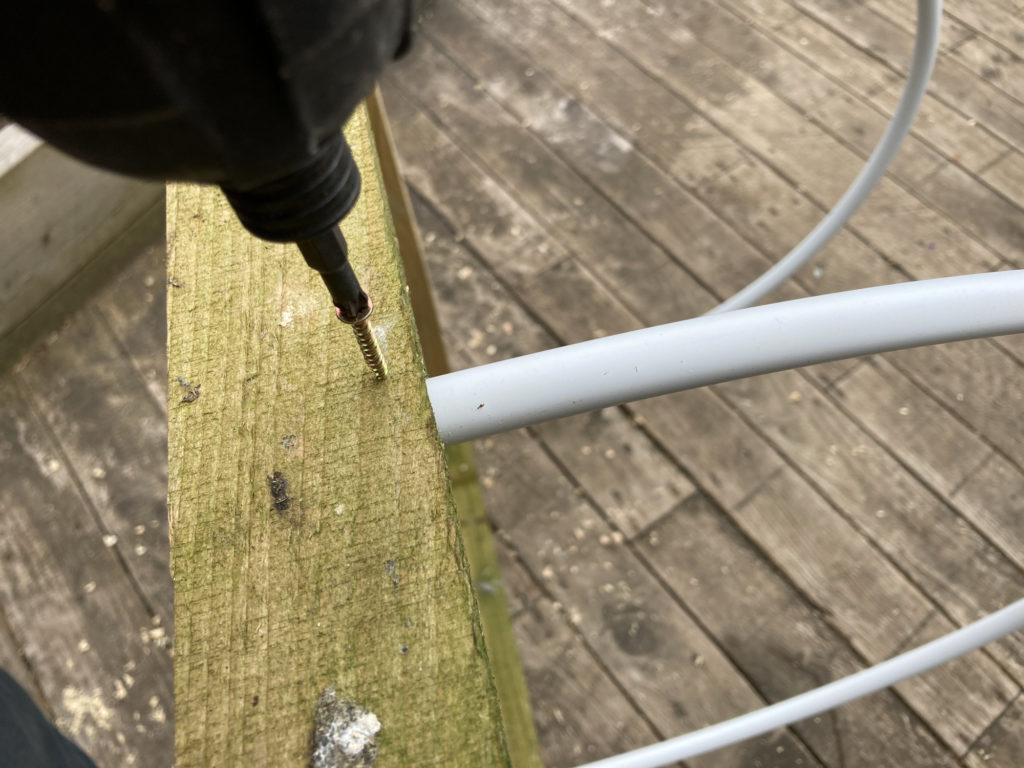
Step four
Push the loops into the holes in the frame. The add a screw from the outside of the frame into the pipe to secure it in place.
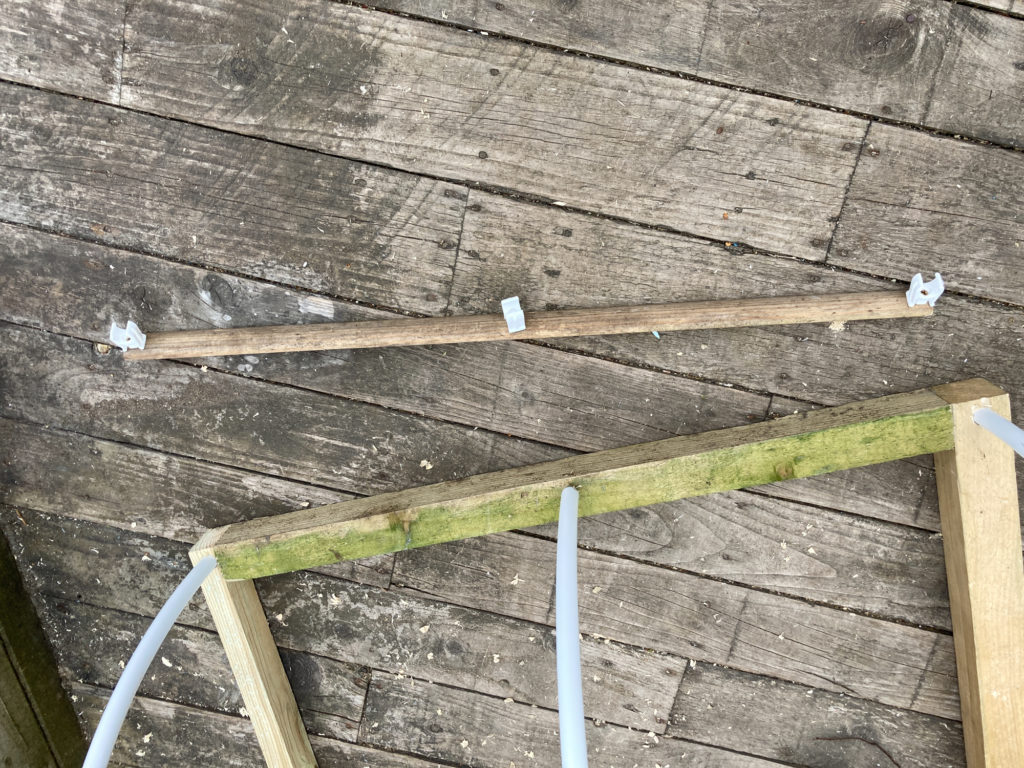
Step five
If you want to add a supportive beam across the top of the tunnel (which makes it easier to pick up and move), you can add a thin piece of timber that clips onto the loops. Simply screw pipe clip fittings into the piece of wood where it meets the loops.
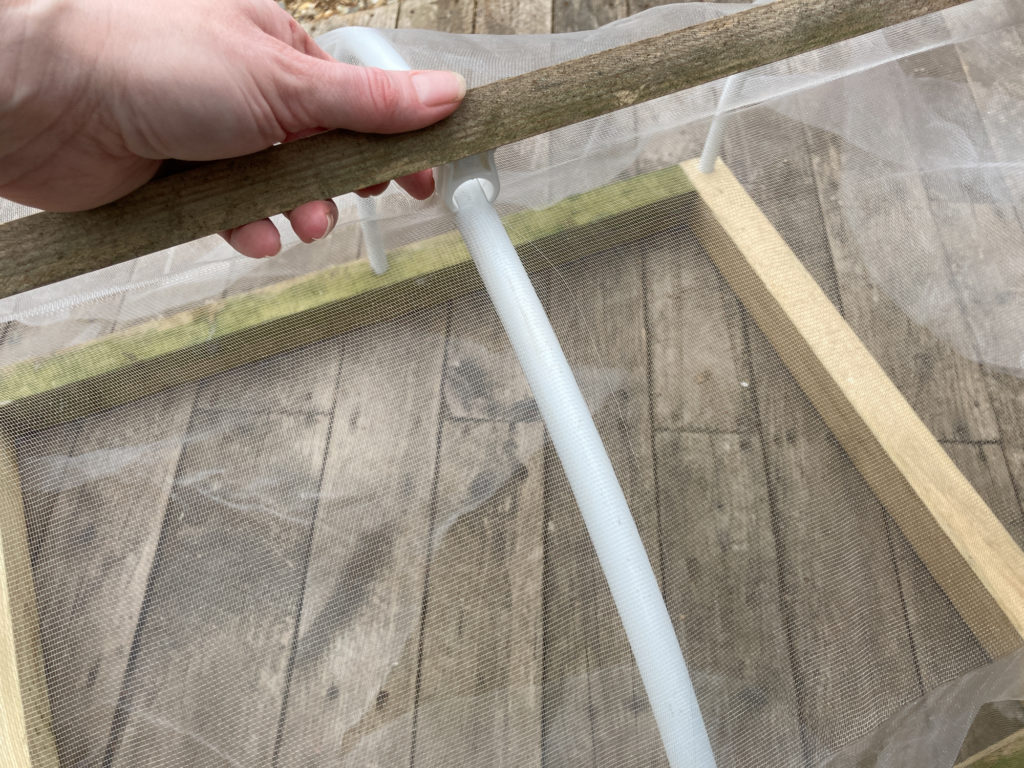
Step six
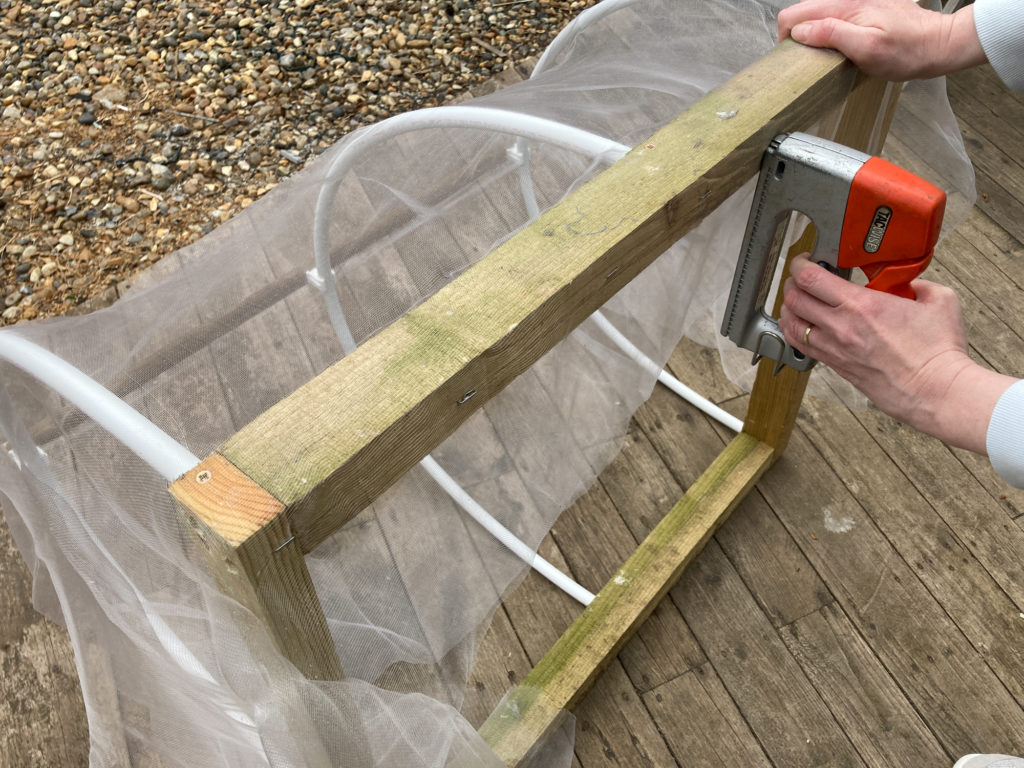
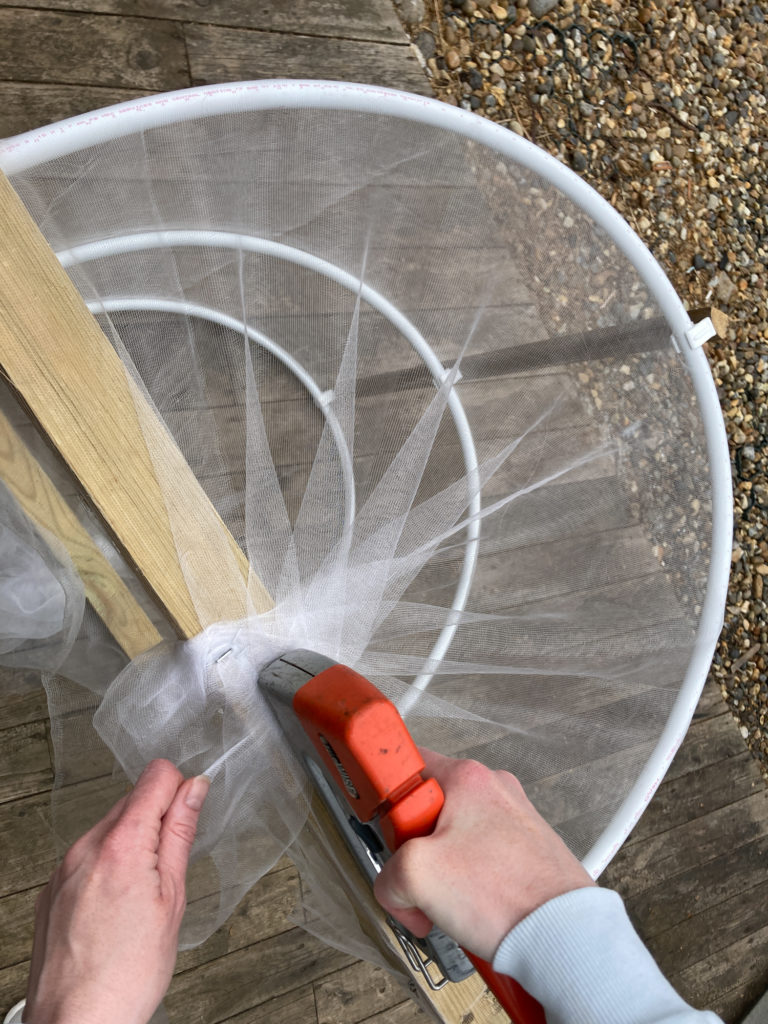
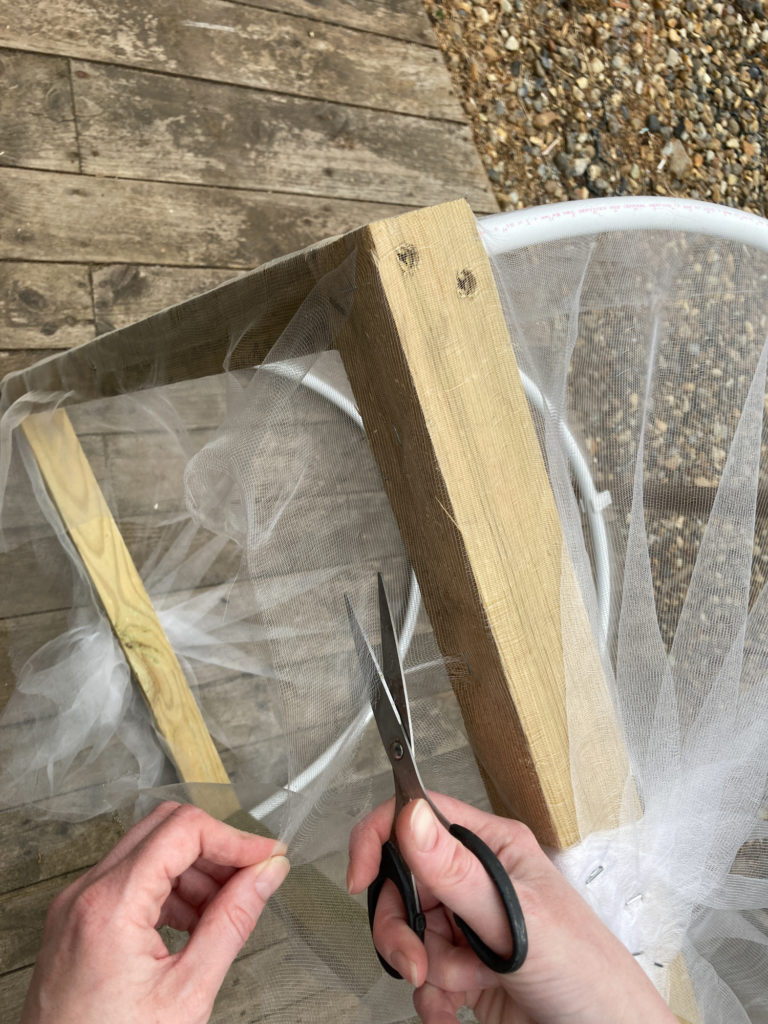
Cover the frame with insect-proof mesh and clip on the top support if you’ve made one. Pull the mesh taut and staple it to the underside of the frame, gathering it in at both ends. Then trim away the excess mesh under the frame.
Then, just position the frame over your raised beds or onto the soil over your line of cabbages on your veggie plot. If you’re putting it directly onto the soil, make sure you push soil up to the outer edges of the frame so that there are absolutely no gaps under the frame for the butterflies or bugs to get in.
I’ve made a couple of larger versions of this tunnel at my allotment too, so I’ll be sure to share photos of the bigger tunnels on the blog soon – watch this space. So far, there have been no signs of butterflies or caterpillars on my brassicas at the allotment and the plants are getting nice and big, with the added bonus that there has been no pecking from pigeons!
In this little tunnel at home, I’ve been growing lettuce earlier in the season and I have since sown spinach. So far, the insect-proof mesh has even kept the ladybirds away so my spinach leaves aren’t covered in ladybird eggs.
Let me know if you have a go at making your own mesh tunnel by tagging me in your pics on Instagram @Cassiefairy. And please leave me your tips for growing brassicas in the comments below, I’d love to hear your allotment hacks.
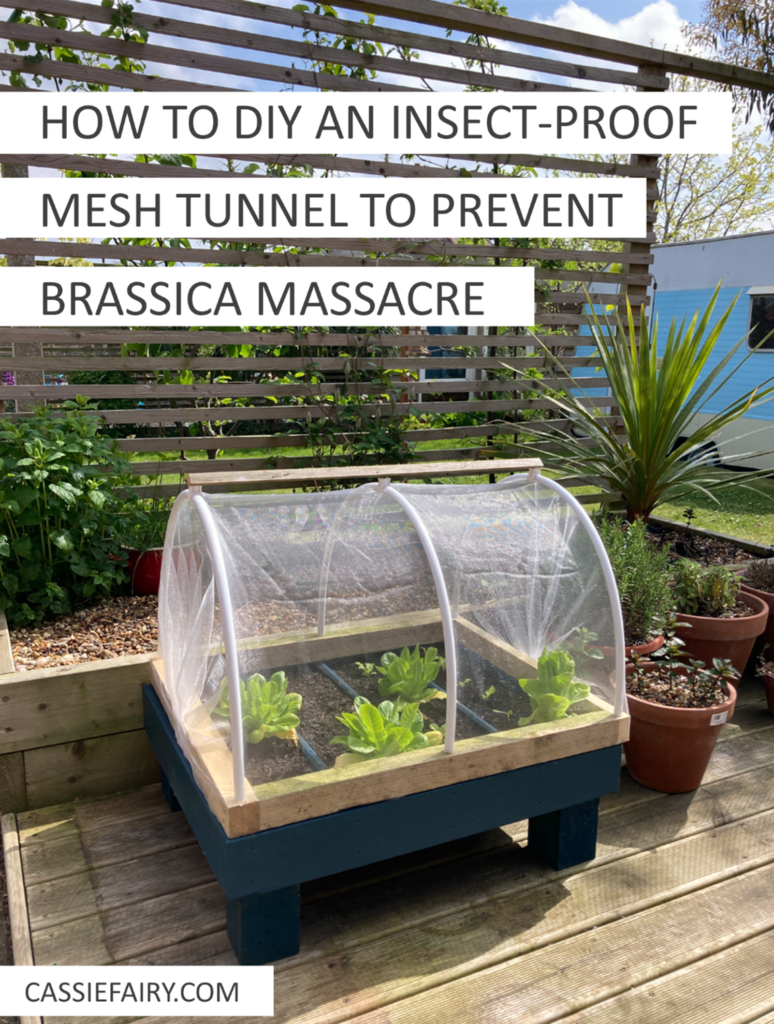
Pin it for later
The pink links in this blog post indicate an affiliate link, sponsored link or information source. All thoughts and opinions in this post are based on my own experience and I am not responsible for your experience.