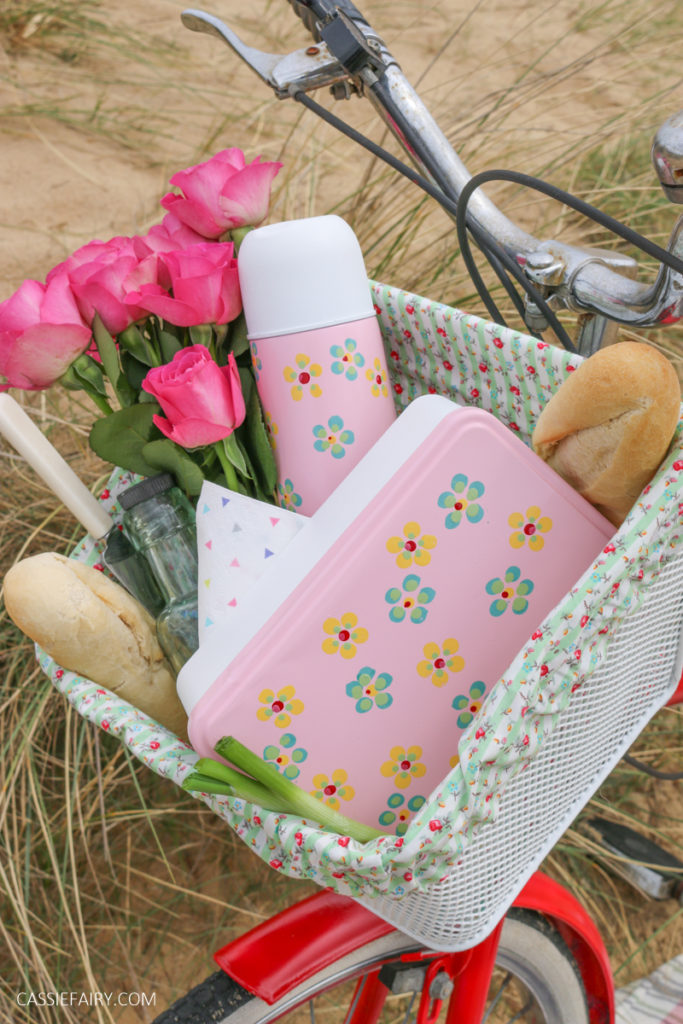
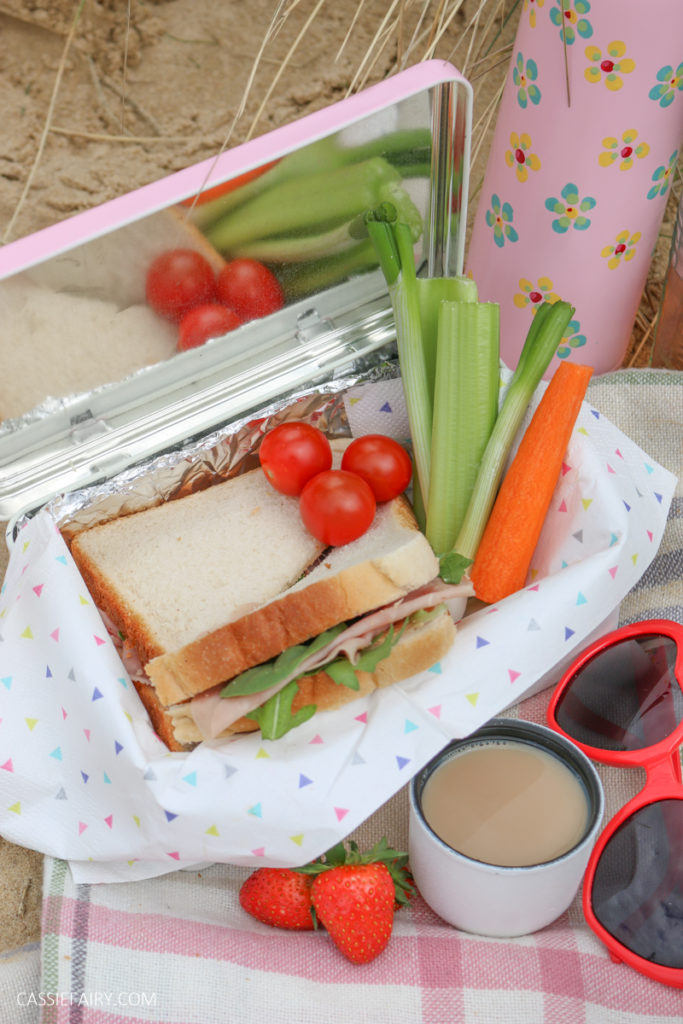
An old biscuit tin and a battered flask were the ideal starting point for this upcycling project. Getting creative with some paint is all that’s needed to create a lovely picnic set for the summer or a lunchtime set for back-to-school.
Children can help to customise their own lunch boxes with a design that’s unique to them – you’ll just have to help with the spray painting at the start and the protective sealing at the end of the project.
You will need
- Rust-Oluem Surface Primer in white
- Rust-Oleum Painters Touch spray paint in candy pink and white
- Selection of acrylic paints
- Rust-Oleum Crystal Clear Protective Coat
- Masking tape
- Rubber-tipped pencils
- Skewers
- Paint brushes
Step 1
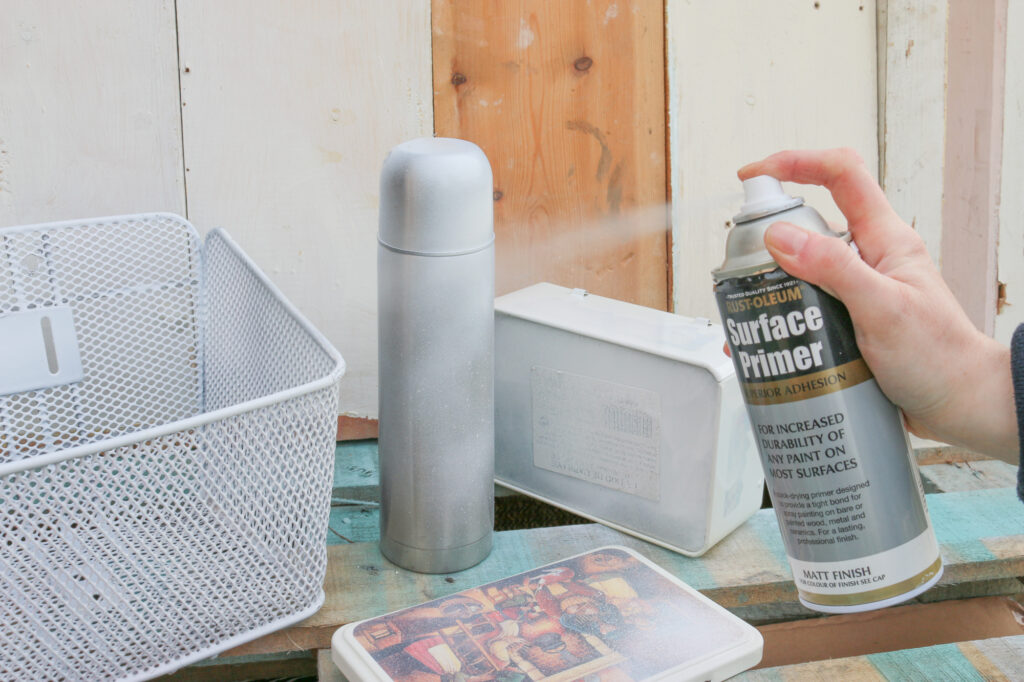
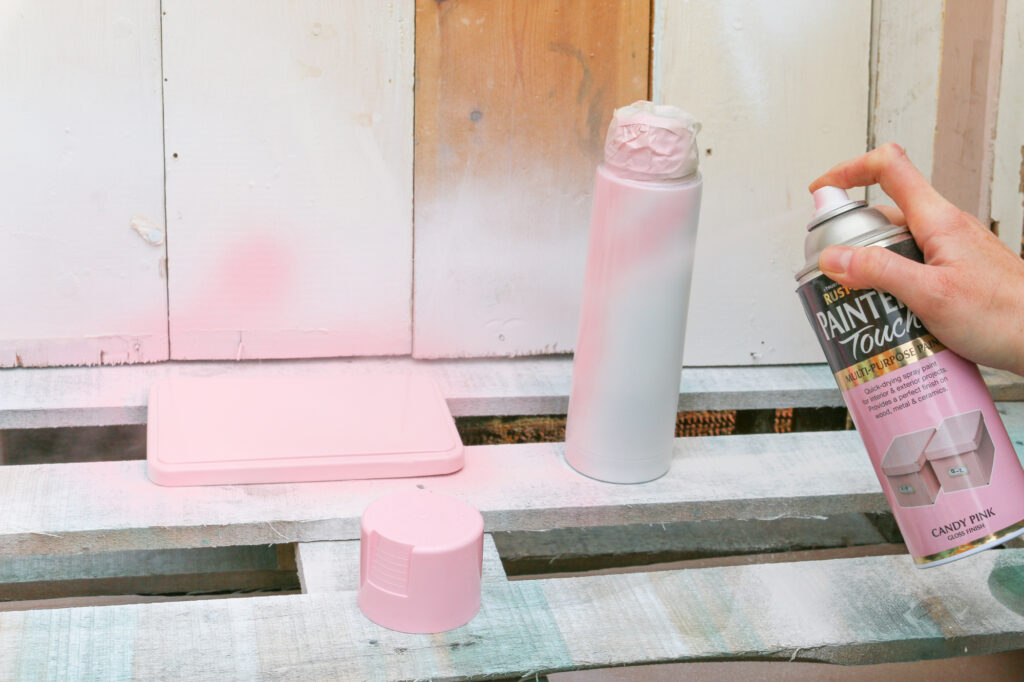
Start by giving the tin and flask a good wash with warm soapy water and dry thoroughly. Take the lids off and mask any parts that you don’t want to paint, such as the thread at the top of the flask. Give these items a couple of coats of spray-on primer, allowing to dry between coats.
Step 2
Once the primer has dried, spray paint the items in the colours of your choice. I picked pink for the lid of the tin and white for the base, and used pink for the body of the flask. Again, apply a couple of fine coats of spray paint, allowing it to dry for about 30 minutes between coats to prevent dripping.
Step 3
When the paint has dried overnight, you can begin painting a pattern onto the surface of the tin and flask. This is where kids can get involved and create their own designs.
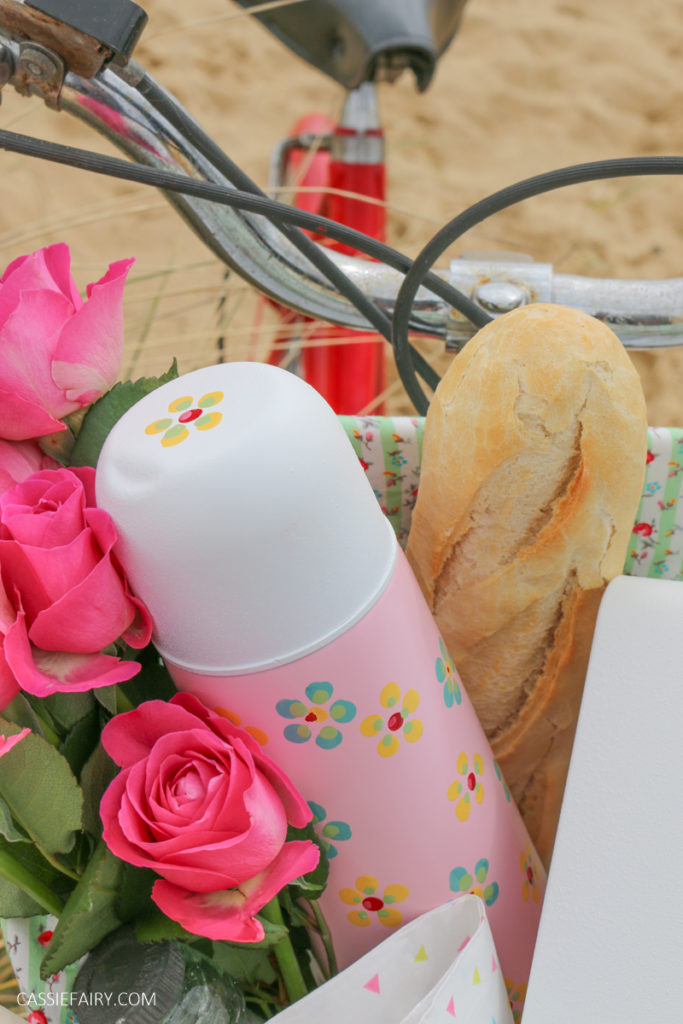
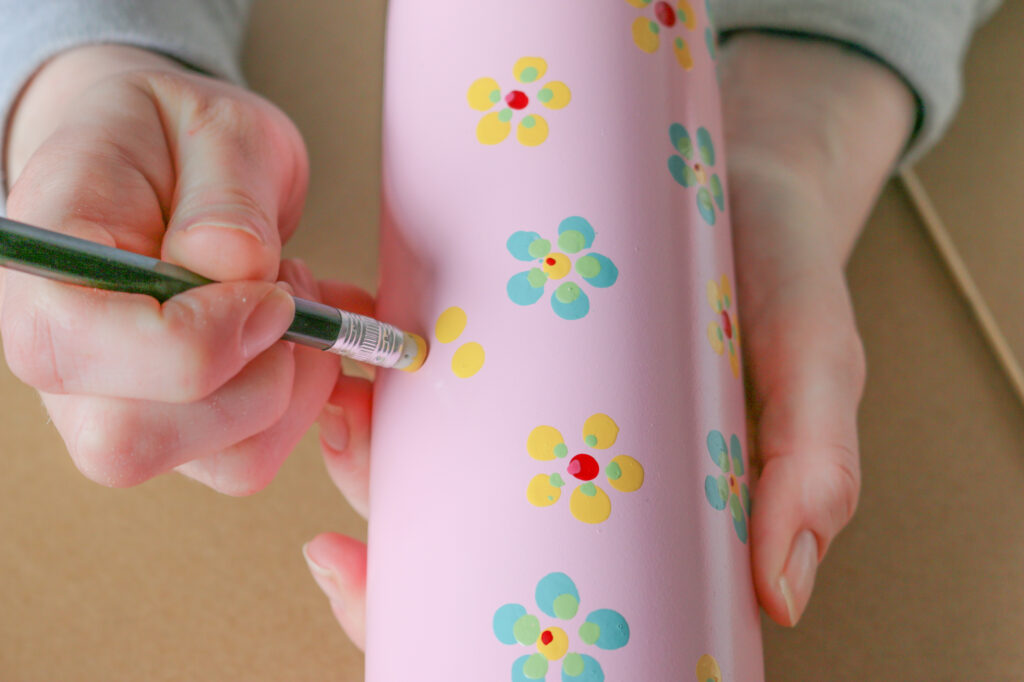
An easy yet effective way to do this is to use the rubber tip of a pencil to pick up a little acrylic paint and dot on ‘petals’ to create a flower pattern. Of course, you could use a paintbrush if you prefer.
Go sparingly on the acrylic paint when you’re creating a pattern on the flask. The rounded surface means that any too-thick paint will create a drip!
Step 4
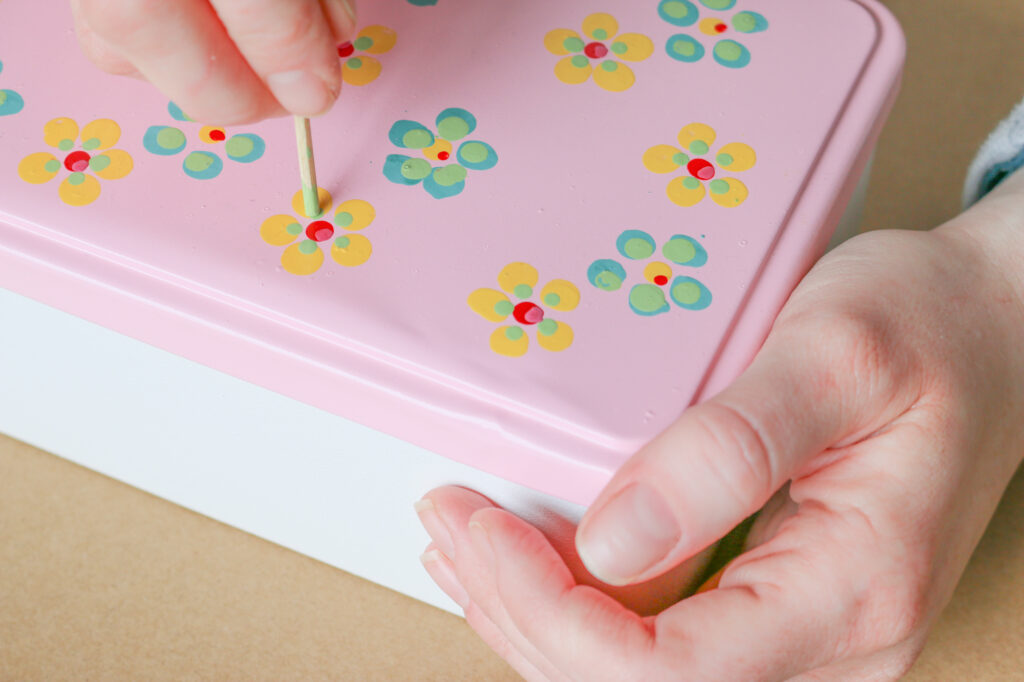
Allow the petals to dry between colours and, if you want your pattern to look more detailed, you can use a bamboo skewer dipped in contrasting paint to add highlights to the petals and flower centres. Allow to dry for 24 hours.
Step 5
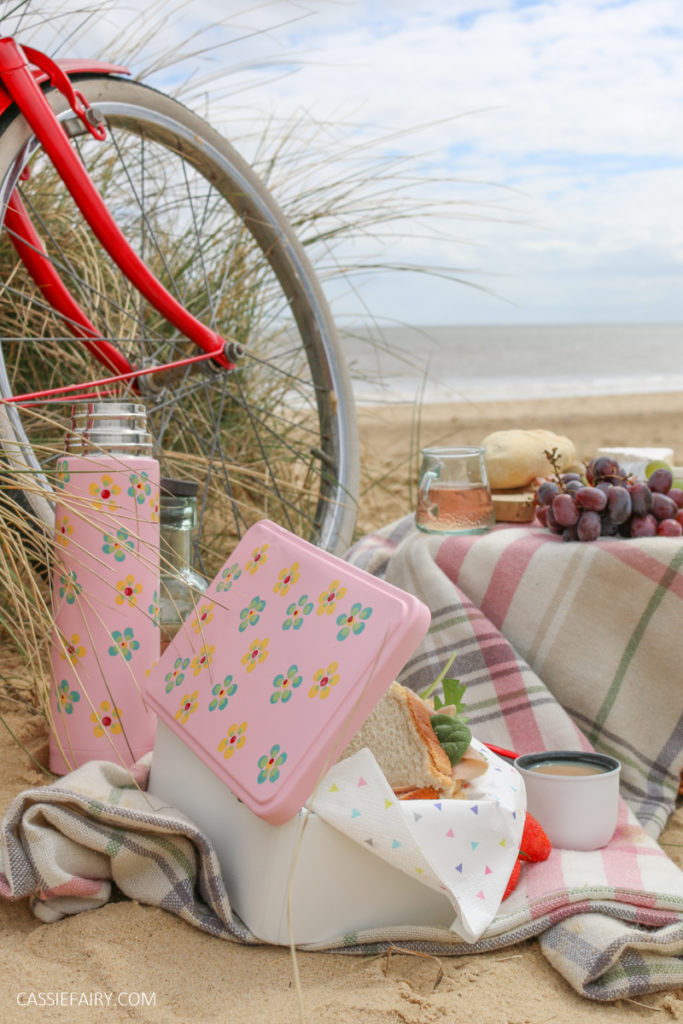
When the pattern is completely dry, seal the flask and tin with a top coat of clear varnish. I used Rust-Oleum’s Crystal Clear protective coating. Once this is dry, remove the masking tape and pack up a picnic!
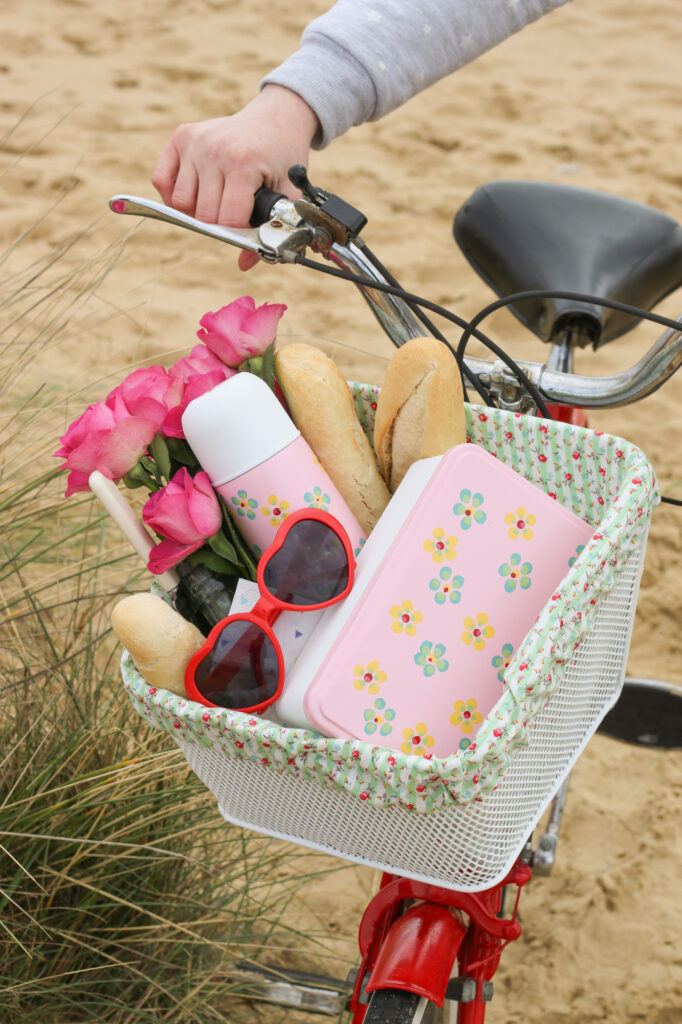
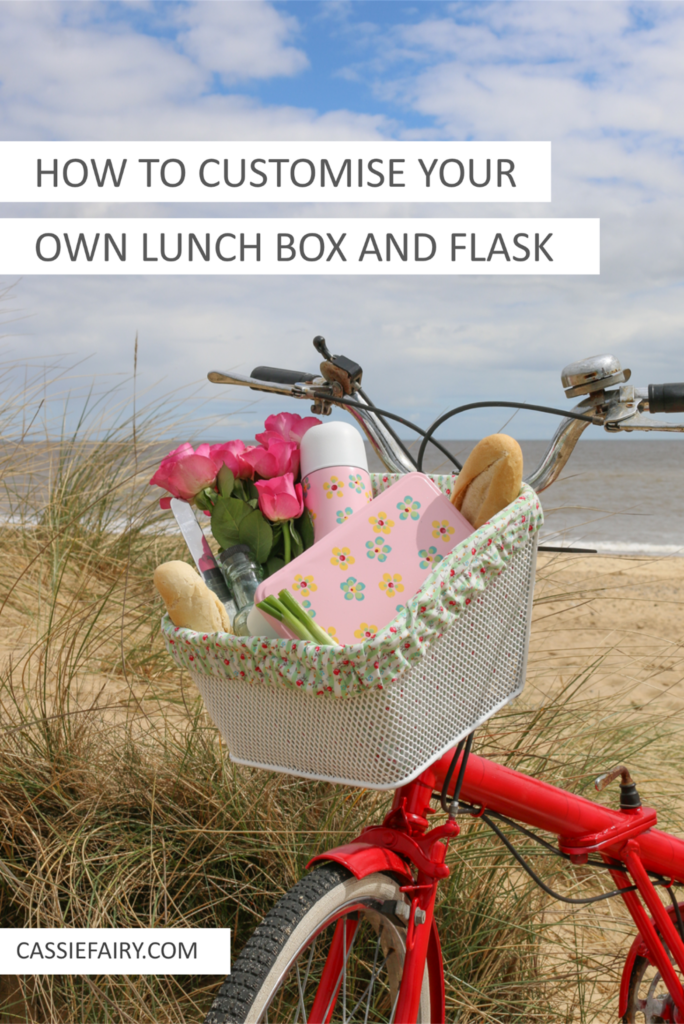
Is there anything better than a bicycle ride that ends with a sandwich?? I love to pack up a picnic whenever the sun is shining and head down to the beach for a spot of alfresco lunch.
Let me know if you have a go at personalising your own lunch box or flask and I’d love to see your painted designs so please tag me on Instagram @Cassiefairy in your project pics.
Pin it for later



2 responses
Hi Monika, I wouldn’t recommend putting these in a dishwasher but I think they’ll be okay to handwash inside but not soaking. You could maybe add an extra layer of clear sealer over the top to protect the paint further 🙂
Are these paints dishwasher safe or safe for handwashing the lunchboxes and flasks?