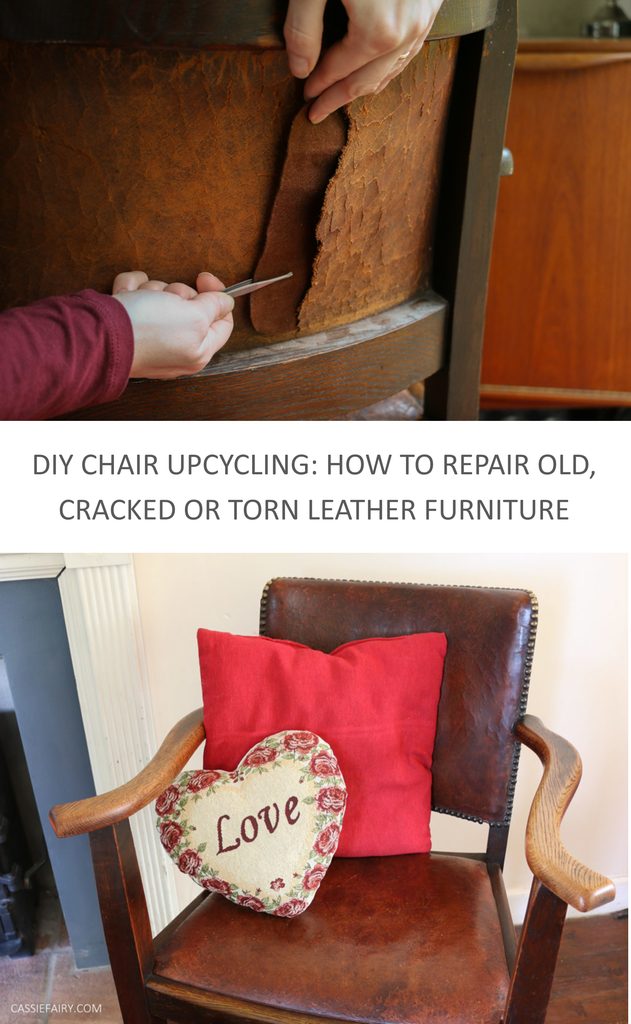




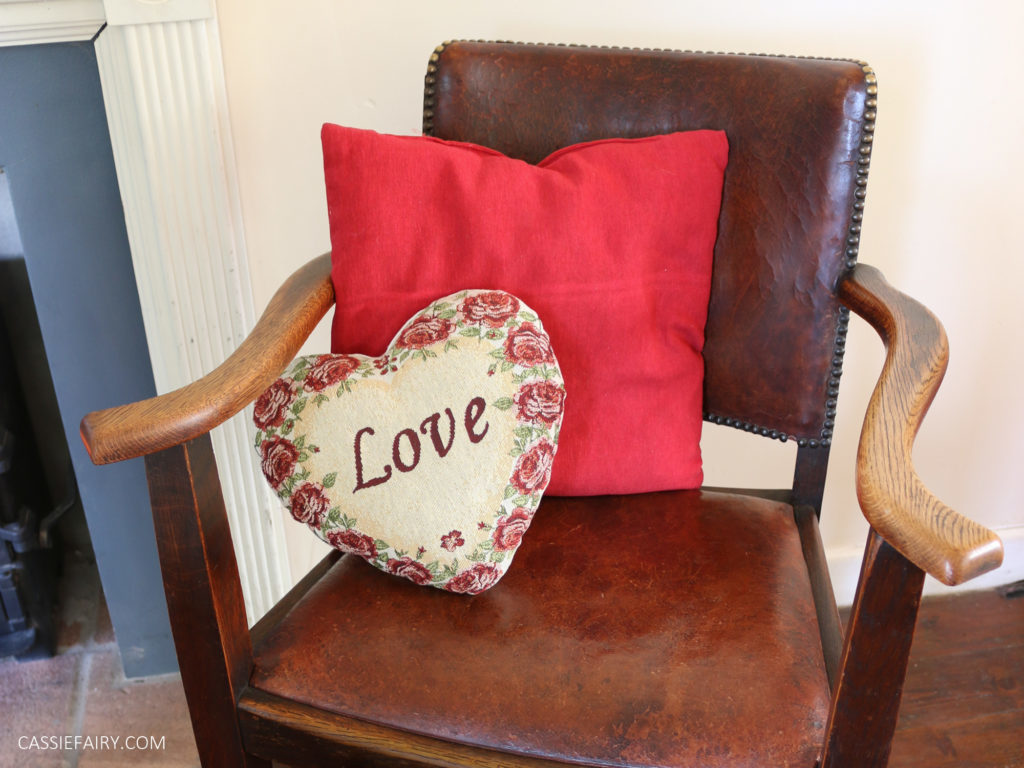
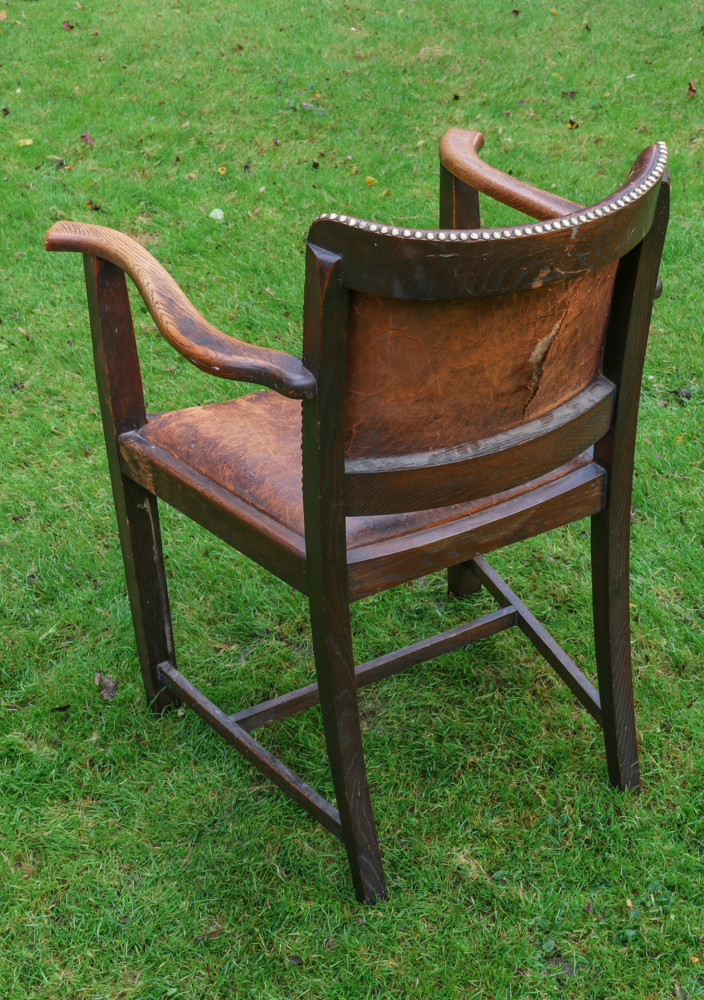
When my husband bought this old leather chair at a car boot sale for only a few pounds, I thought that it was beyond saving.
He’d fallen in love with the idea of sitting in the chair, reading a book and sipping on a coffee. But with a large crack in the leather back, a split on the seat and years without treatment, it was almost unusable.
However, a little bit of glue, a lot of polish and plenty of elbow grease brought it back to life. Here I’m sharing my tips for repairing tears and giving old leather a new lease of life.
You will need
- Felt (colour chosen to match the leather)
- Super glue
- Regular glue (like PVA)
- Leather cleaner
- Leather polish in a colour to match
- Scissors
- Tweezers
- Pins
- Masking tape
- Old toothbrush
- Boot brush
- Microfibre cloth
Repairing a large tear or crack
To repair large tears or cracks in leather, you’ll need to place a patch behind the crack. This gives the leather something to adhere to when you glue it back into place.
You can use a scrap of leather, suede or even hessian instead of felt to patch the space behind a crack in the leather – just choose the right colour to match the chair.
Step 1
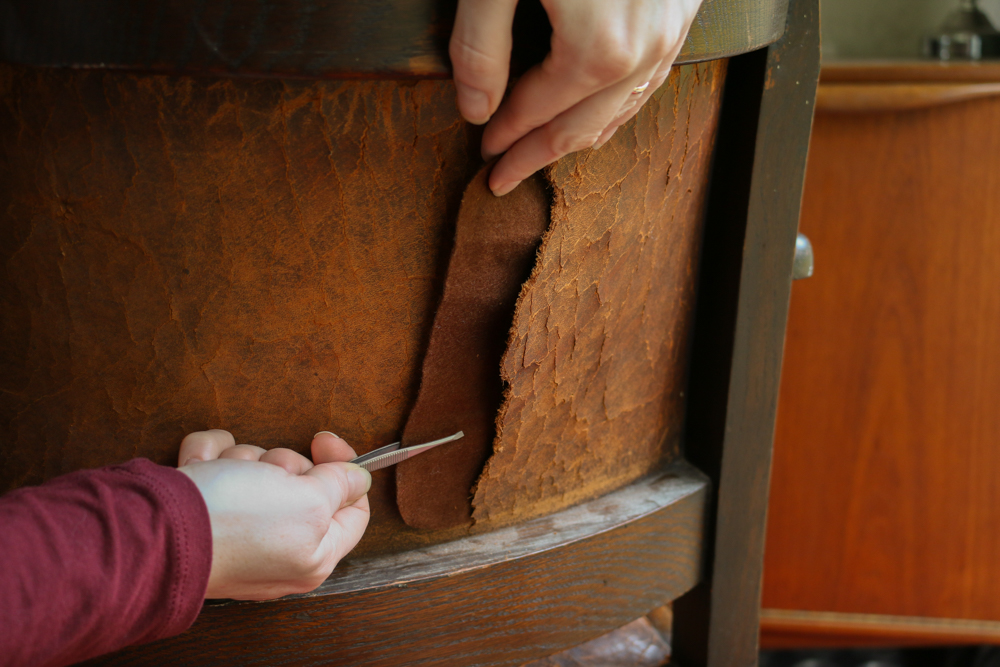
Cut out a patch that is slightly bigger than the tear. Round off the corners to keep it looking smooth beneath the leather.
Step 2
Gently ease the patch inside the tear using a pair of tweezers. Move the patch around until it is completely flat beneath the crack in the leather.
Step 3
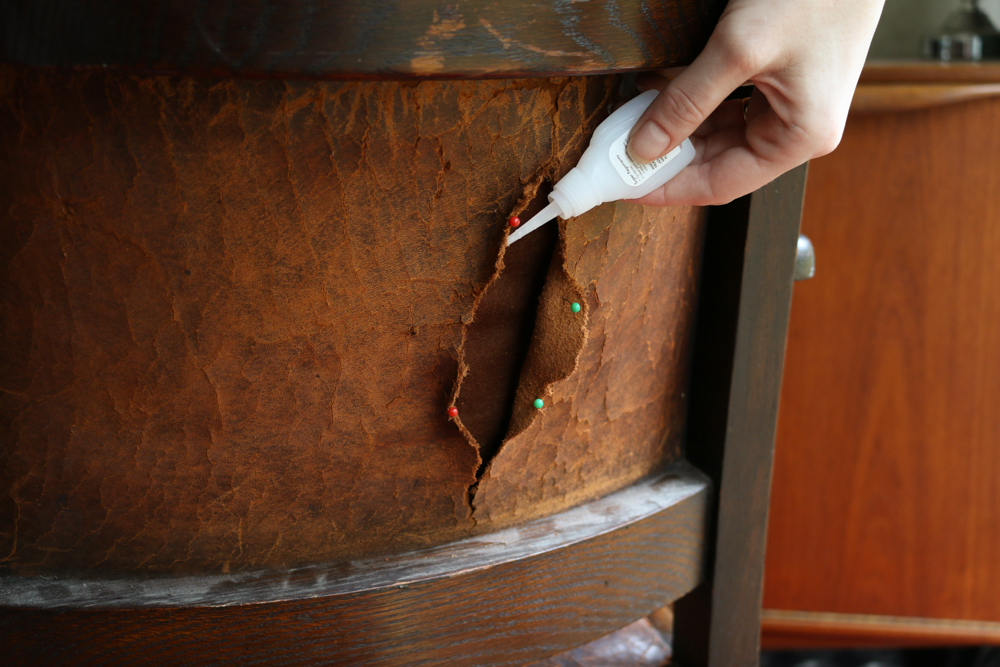
Use a few pins to hold the cracked leather open in order to spread a thin layer of superglue onto the inside. Only add glue to one side of the cracked leather flap to begin with and press this side down to the felt patch.
Step 4
Spread another thin layer inside the opposite edge of the crack and remove the pins. As you glue it in place, gently ease it towards the centre to match up with the other raw edge of the crack.
Push in some more pins to hold the repair in place as it dries. Once fully dry, you can move on to polishing the leather.
Repairing a thin split
Step 1
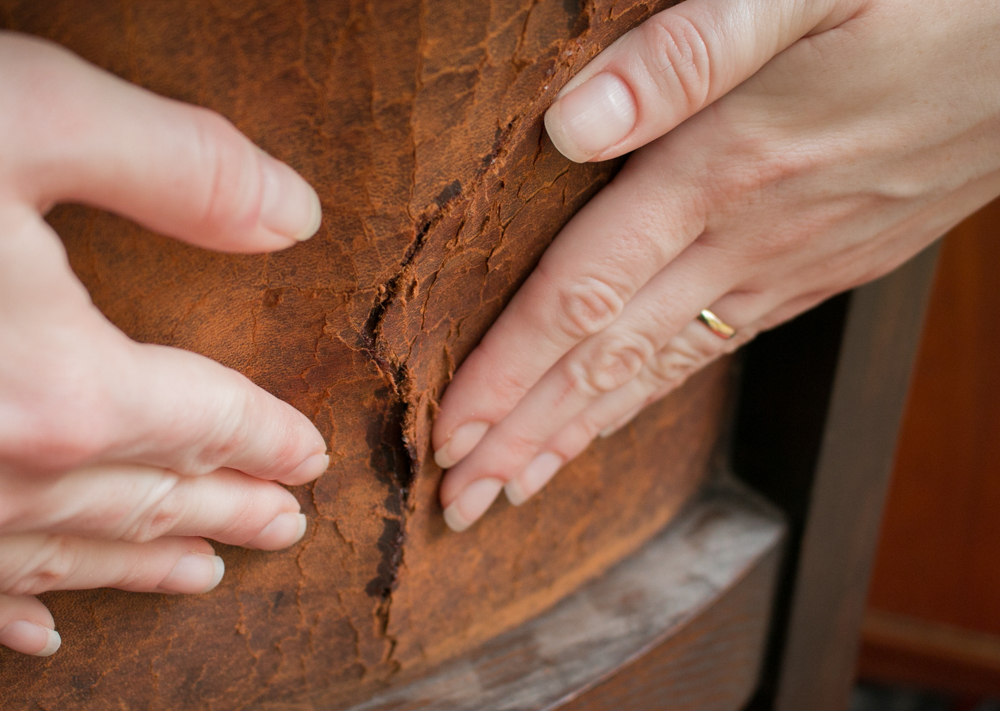
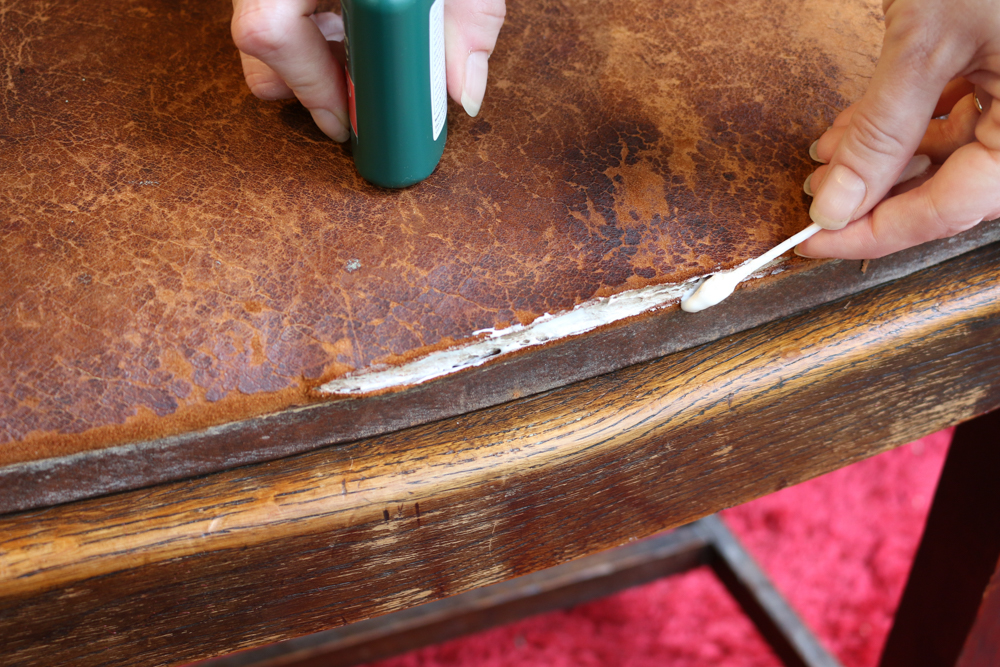
To repair a thin split where there’s no room to fit a patch underneath, you can glue the edges directly to the filling inside the chair. In this instance, spread a thin layer of low-cost non-superglue into the gap.
Step 2
Allow the glue to become a little tacky before pinching the edges of the split together. Wipe away any excess glue that oozes out of the split with a damp cloth.
Step 3
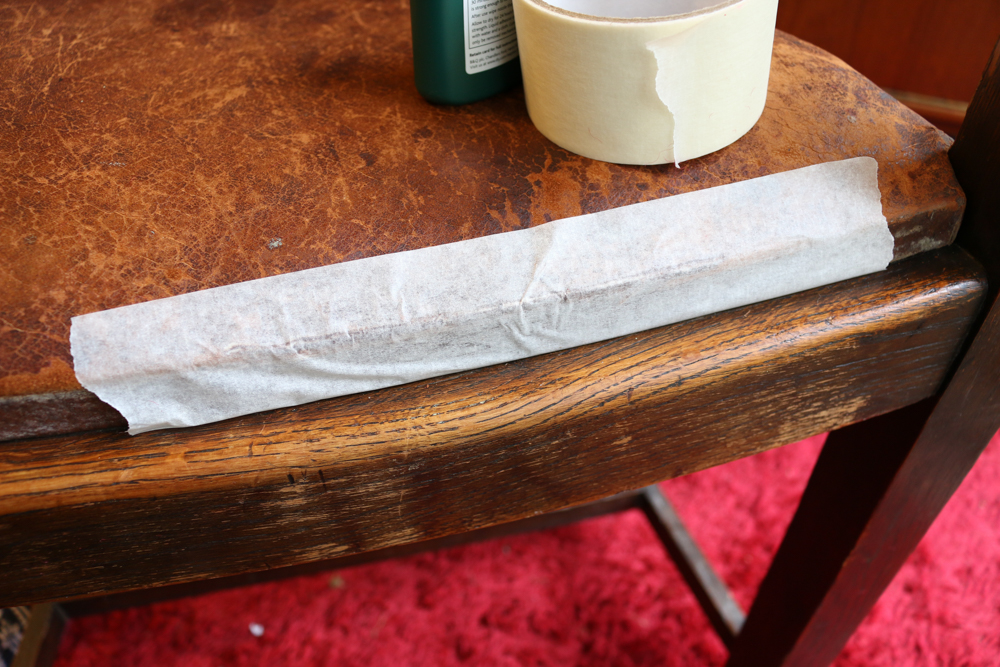
Use a piece of masking tape to hold the repair in place as it dries. Remove the tape after about 10-15 minutes and allow the glue to air dry. The white glue will become clear as it dries.
If there’s still a small gap between the edges of the repair after it has dried, you can use a specialist leather filler paste to fill in the crack. This will require sanding and colouring so always refer to the instructions on the filler product.
How to polish old leather
Clean old leather with a creamy leather cleaner to ‘feed’ the leather and make it a little more supple. Spread a thin layer of cleaner all over the leather before buffing it off with a microfibre cloth.
Use boot polish to recolour any faded patches in the leather. Spread it on with a boot brush or an old toothbrush to get the polish into all the crevices.
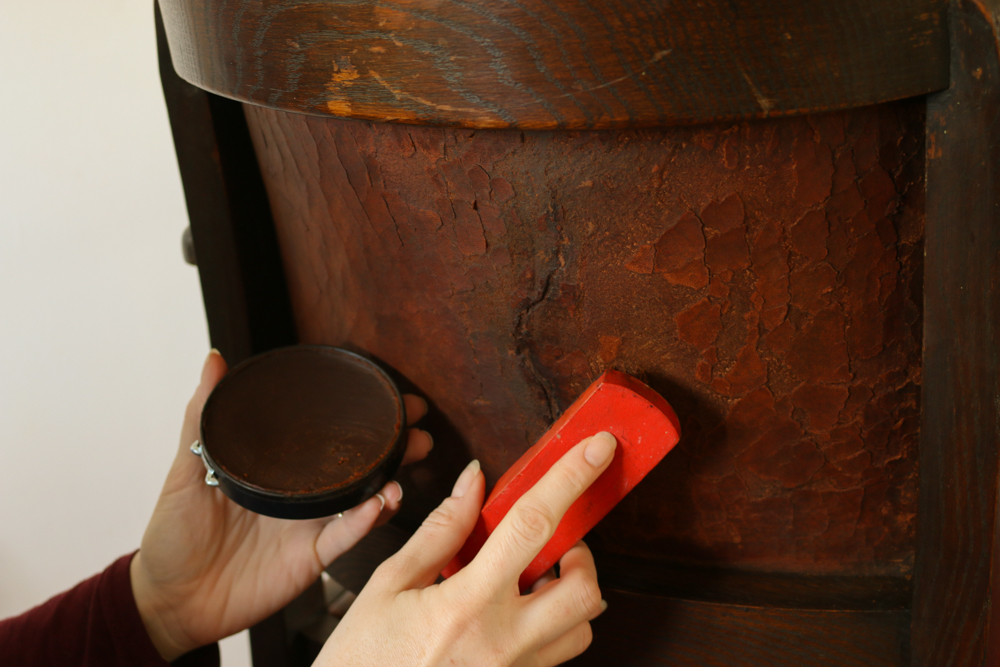
Allow the polish to absorb for a couple of minutes and then buff it off with a boot brush. Bring it up to a shine by using a smooth cloth to briskly rub over the leather in a circular motion.
Always make sure that the boot polish is completely buffed off the leather before anyone sits on it – any residue could stain clothing, and getting brown polish on pale trousers is not a good look!
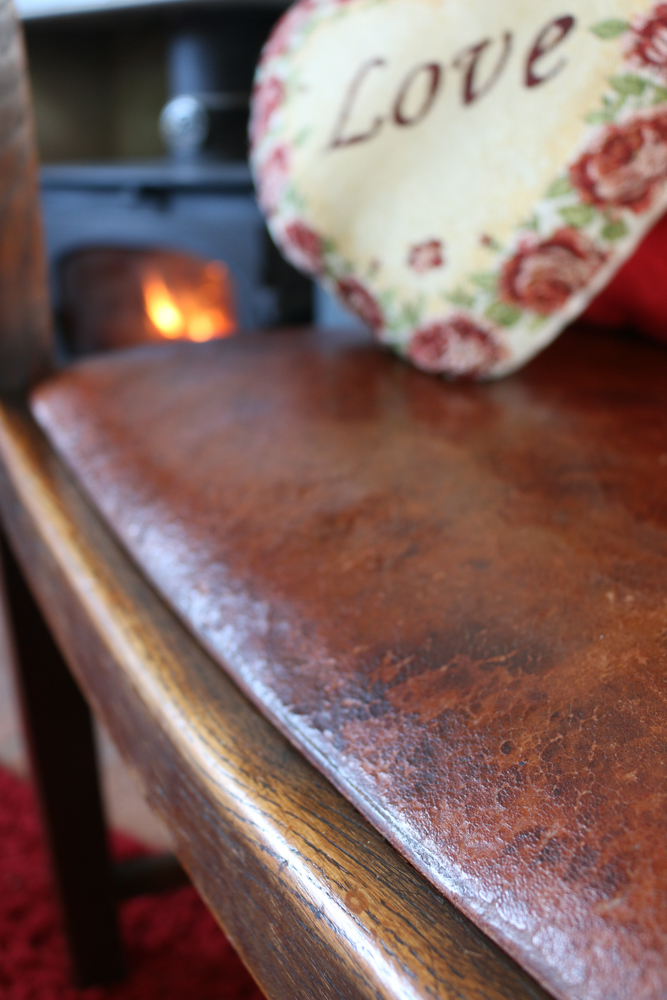
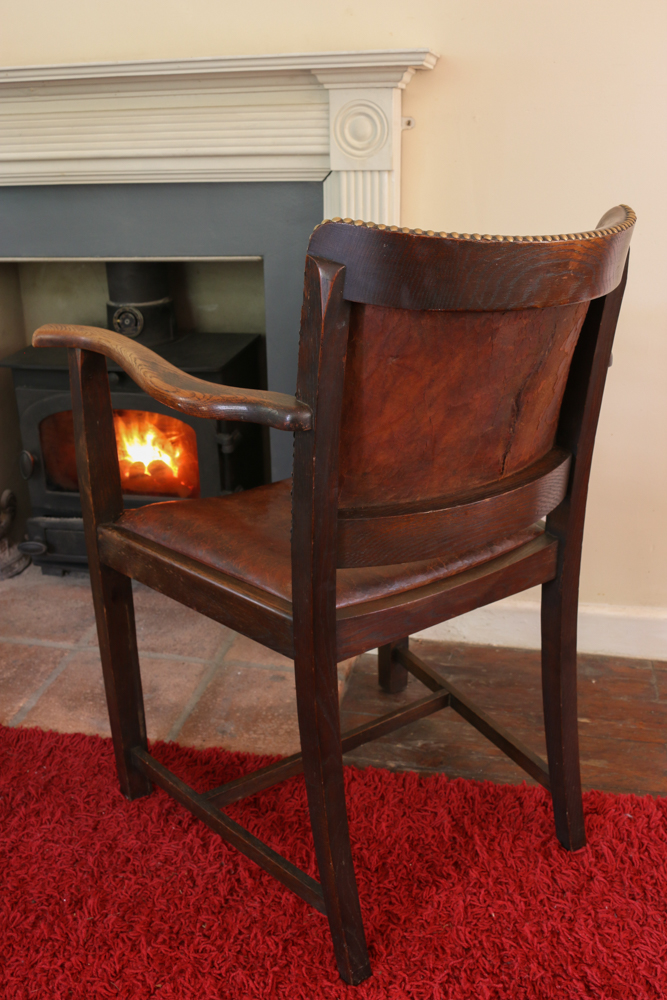
Just like a pair of leather shoes, a chair needs regular treatment with a cream leather cleaner or polish to ‘feed’ the leather and prevent it from cracking further, so give it a little extra attention during the yearly spring clean too.
I think I’d like to get a bit of leather filler on the crack and do some more polishing, but it’s loads better than the huge slash in the leather when the chair first arrived in our home!

I hope my own chair upcycling project has helped you to feel confident about tackling a crack or tear in your own leather furniture. Please let me know in the comments below how it goes if you’ve repaired your chair and add some tips from your own experience, I’d love to learn other hacks for cleaning leather.
Pin it for later