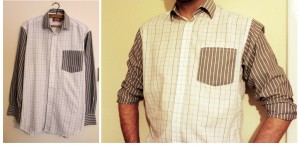
This week I’ve been slaving over my sewing machine… and loving every minute of it. You see, I’ve been inspired by the Great British Sewing Bee and watching the show each week has reignited my love of sewing and making something new without spending a fortune. In fact, being thrifty and recycling fabrics are two of my favourite things and I really can’t get rid of any item of clothing without having a good think about what else I could possibly make from it. Take the two ruined shirts that I made into one good item last week (here’s my blog post) – no way was I going to send that paint-splattered shirt to landfill when I could upcycle it into a funky (or so I think anyway!) contrast shirt for my husband.
Similarly I’ve been inspired to upcycle a dress this weekend thanks to Rosie and Hannah from The New Craft Society blog. They shared information on the Hillary’s Country Craft competition on their blog and my eye was instantly drawn to the Patina Pewter fabric – I knew I could do something with this pretty metallic print and I sent off for a sample straight away. Then I got to thinking about the uses for the fabric. A cushion? Squares in a quilt? A tote bag? I wanted to come up with a fabulous project for such a glamourous piece of fabric so I got my thinking cap on… and that’s where a trip to the Oxfam high street store came in.
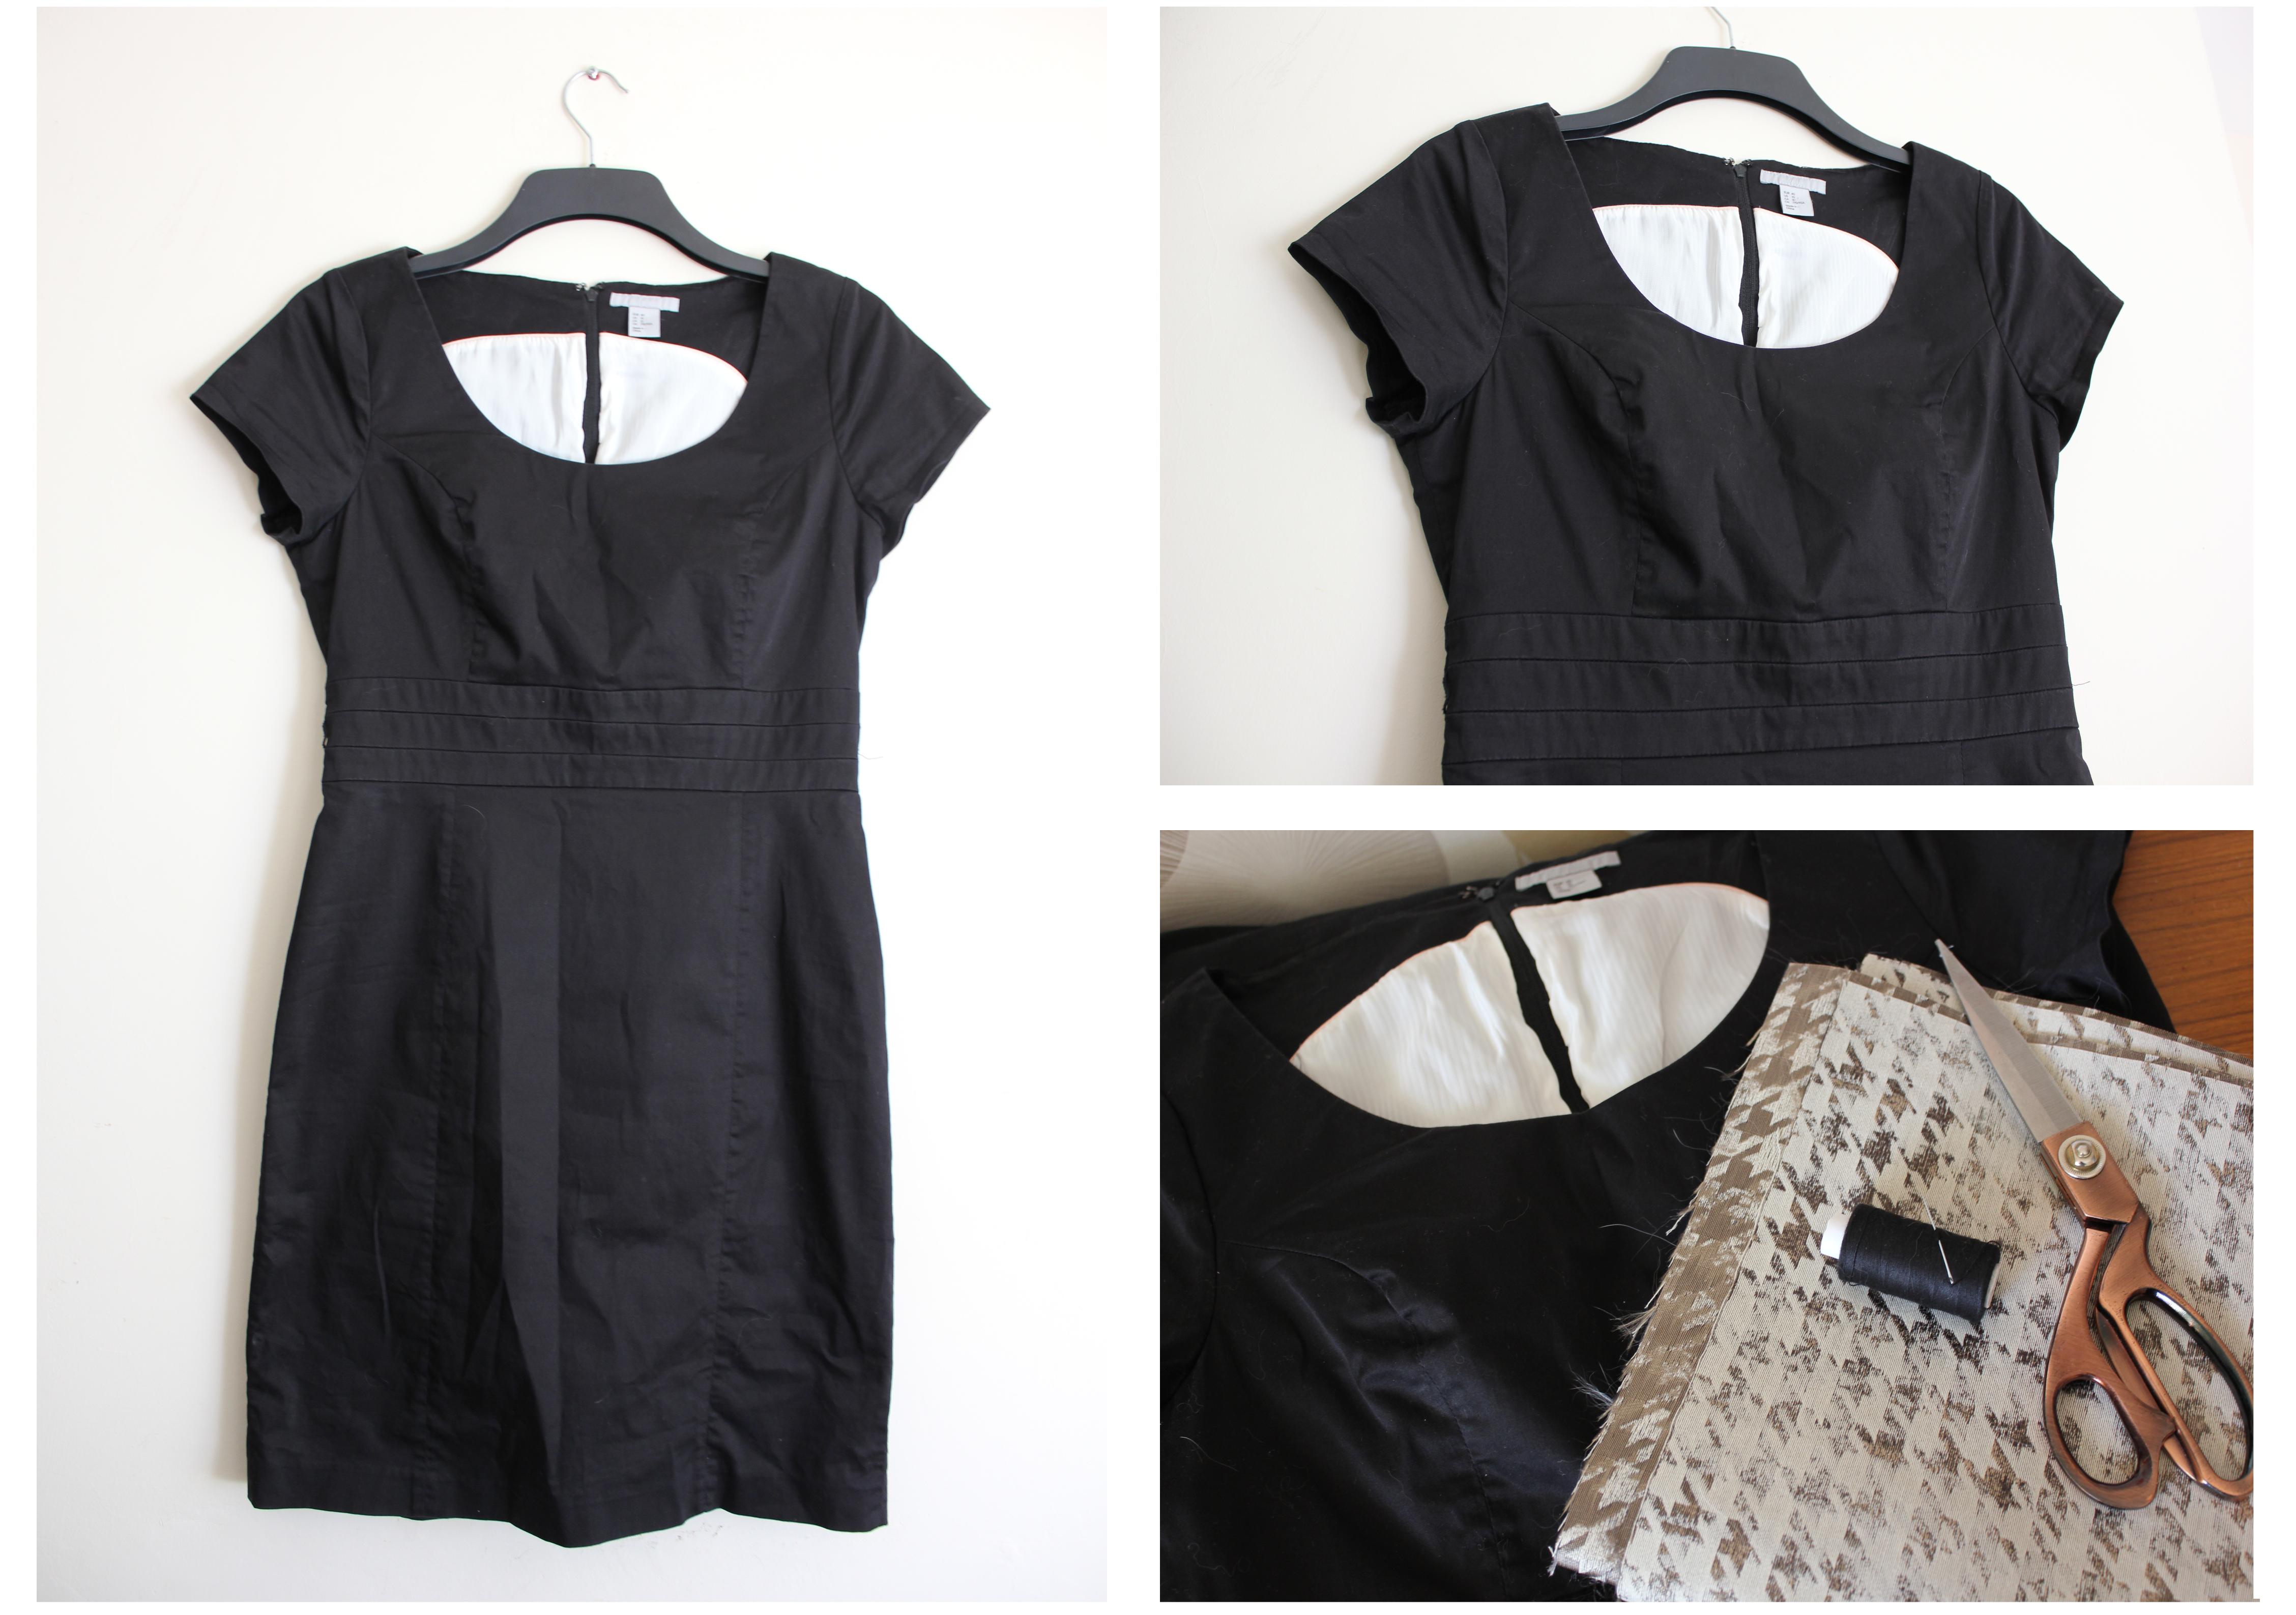
On the sale rail of the local charity shop was a fitted black dress reduced to a £1 because it had stains down the front of the dress. I immediately thought that I could upcycle the dress, replace the damaged panels and turn it into something special using my Hillary’s fabric so I snapped it up and skipped home with my purchase. I knew it would be a bigger challenge than I am used to, but I wanted to test myself and learn a few new techniques in the process so I was extra-excited when I sat down at the sewing machine this weekend and got to work.
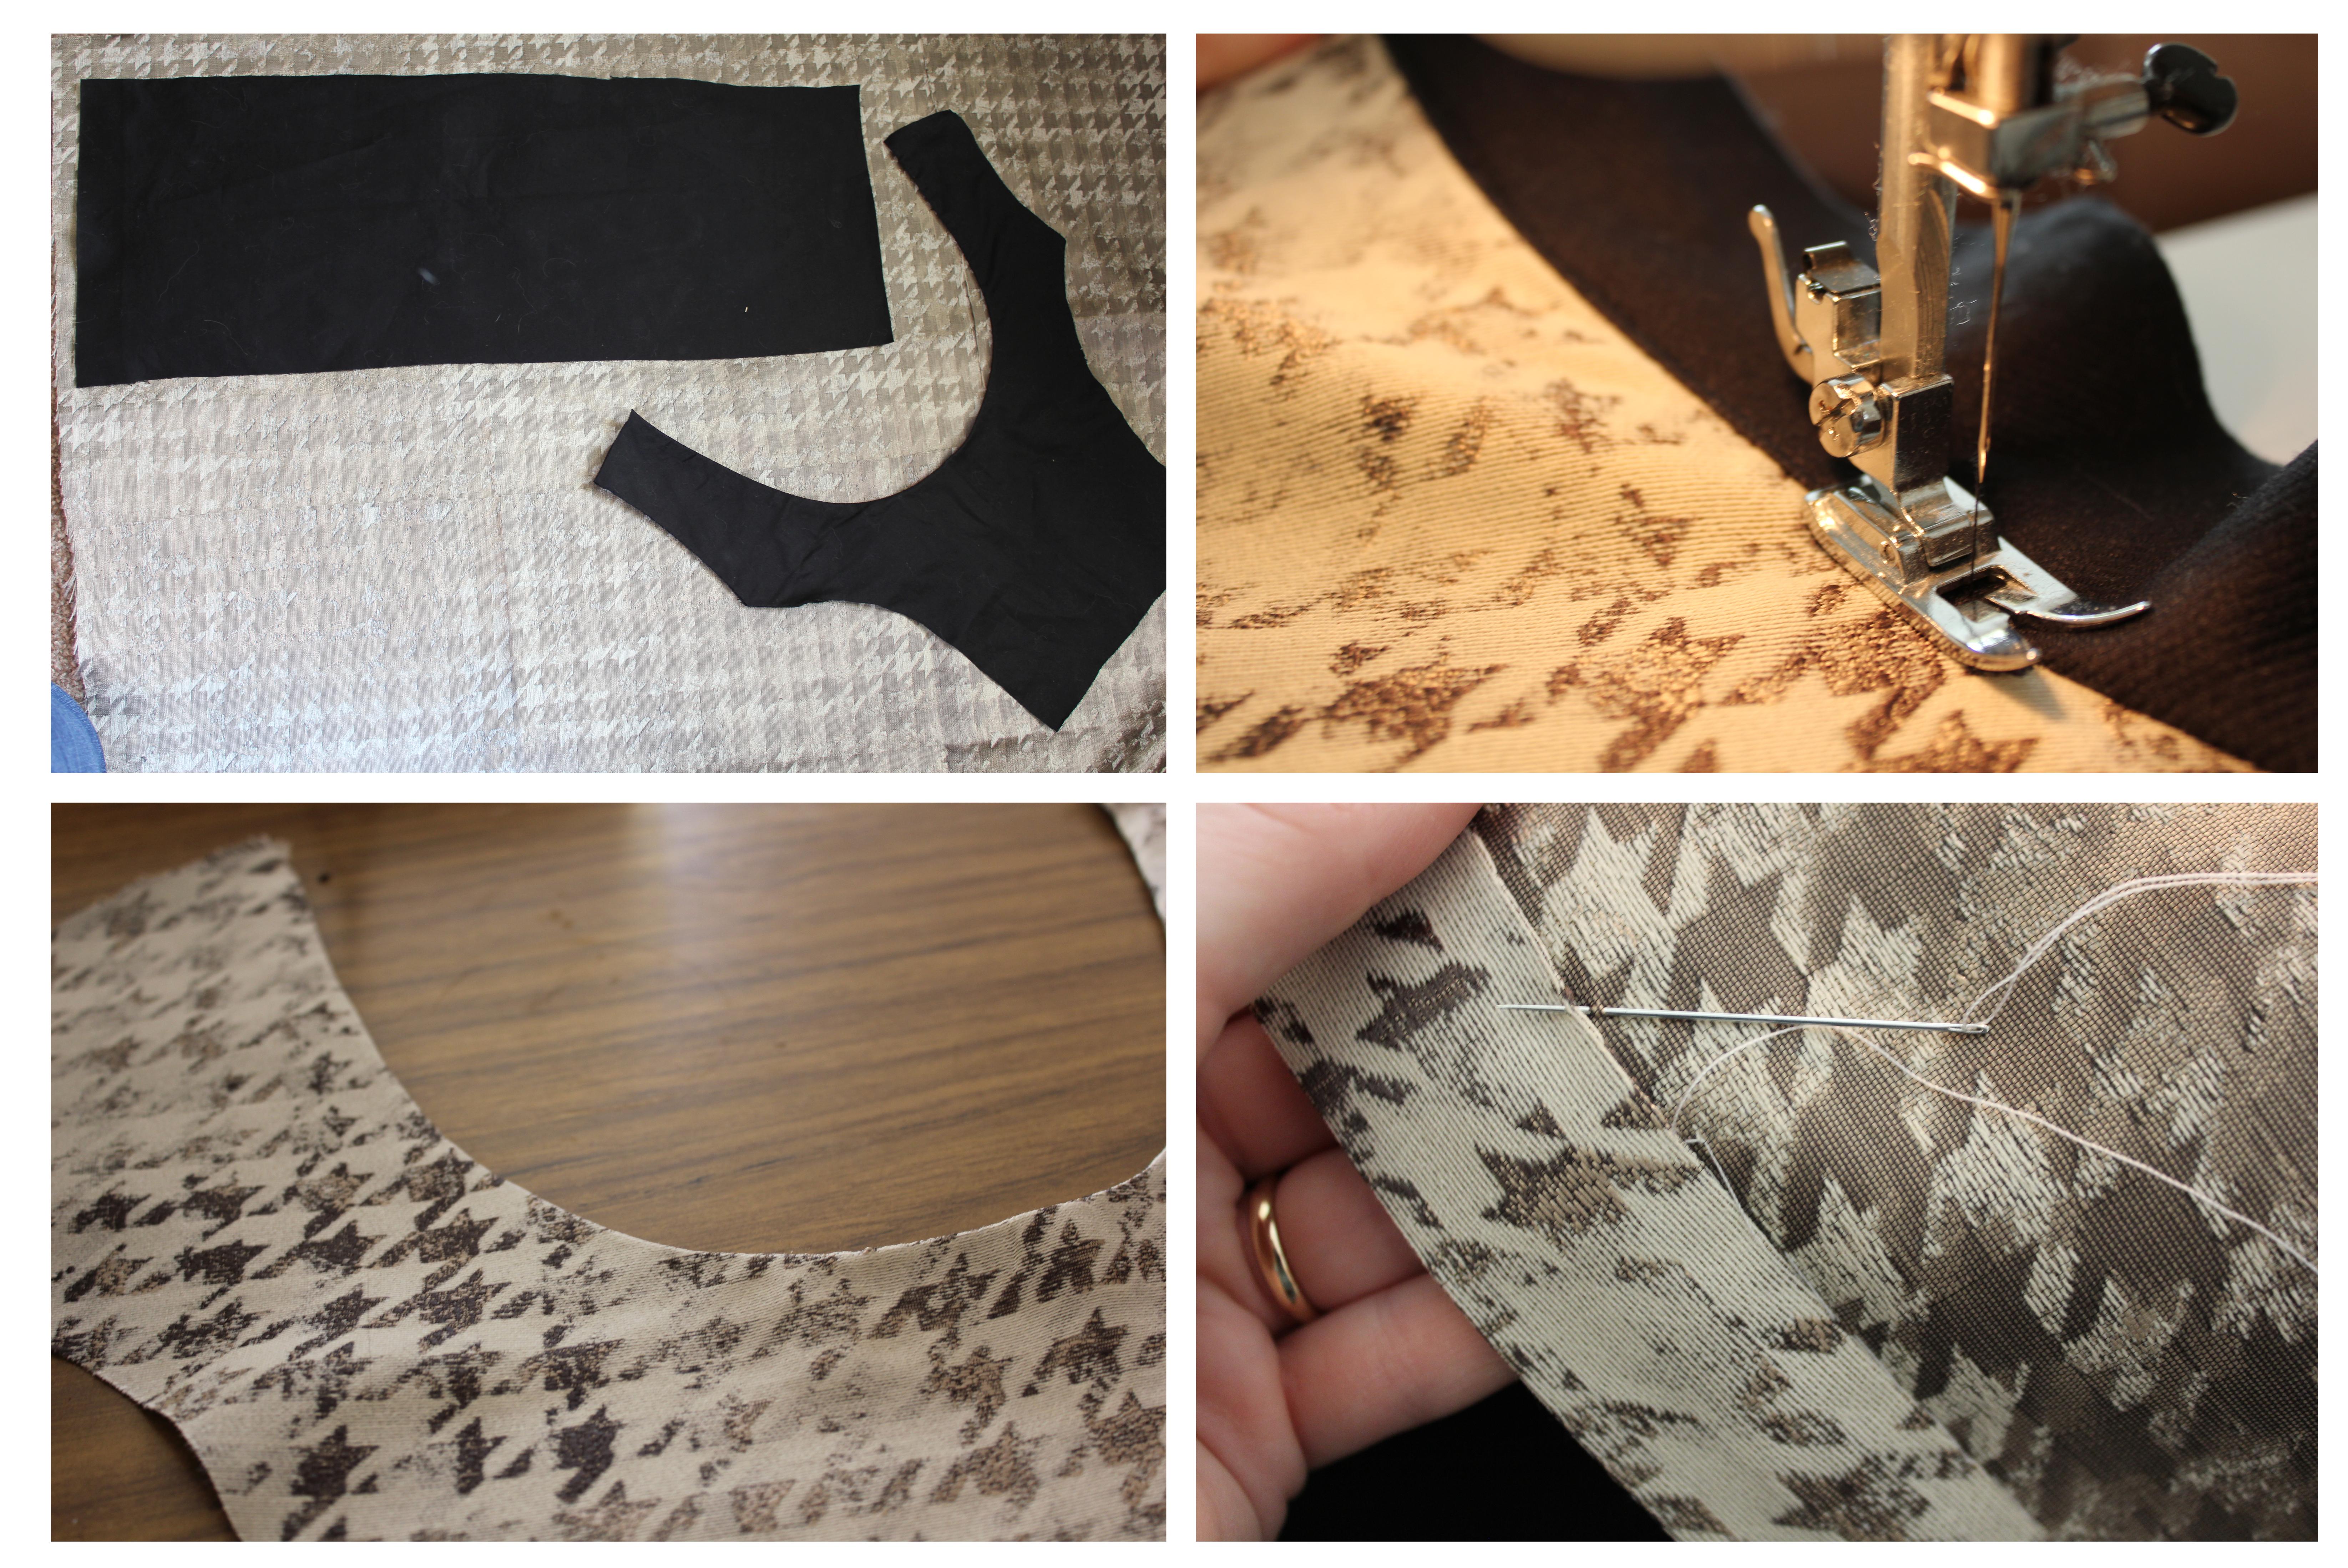
First I removed the damaged panels from the front of the dress. This was a little harder than I’d anticipated because I had to unpick the lining before I could even get started on the panels and I had to think twice before every cut I made – would I need a little extra here for the seam? How would I attach it there? It was a long process to deconstruct the dress but eventually I had half a dress and I used the two pieces that I’d removed as a pattern to cut the replacement fabric panels with. After cutting these out I realised that I’d need to sort out the edge of the neckline before I could attach it back onto the dress so I took the facing off the inside of the original neckline and attached this to the Patina Pewter pattern piece (try saying that after a drink!) with right sides facing. I then tried out a technique that I’ve never used before but I’d seen on the Great British Sewing Bee during episode 1 – understitching. For the first time in my life I understitched around the neckline and was so surprised when it actually looked as it should and helped the facing to lie flat on the inside of the neckline – amazing! I don’t know why I’ve never done this before and I already feel much more confident about sewing necklines in the future!
After a lot of fiddling to make the top pattern piece fit into the gap – making sure that the shoulder seams matched and the piece fitted into the waistline – I stitched it in place. The dress had a top again and it looked good – phew! I thought that the skirt panel would be the easiest part to insert but I first needed to hem the piece and spent time hand-stitching the blind-hem – another technique I’d never bothered with in the past. I always thought it would be too fiddly and look messy anyway, but nonetheless I got out my iron, matched the depth of the hem to the existing hem on the dress and threaded my needle with matching cotton. This woven fabric made it easy to catch a small amount of the fabric into the blind hem and kept it safely in place. Again, I’ll use this technique while making dresses in the future now that I’ve given it a go!
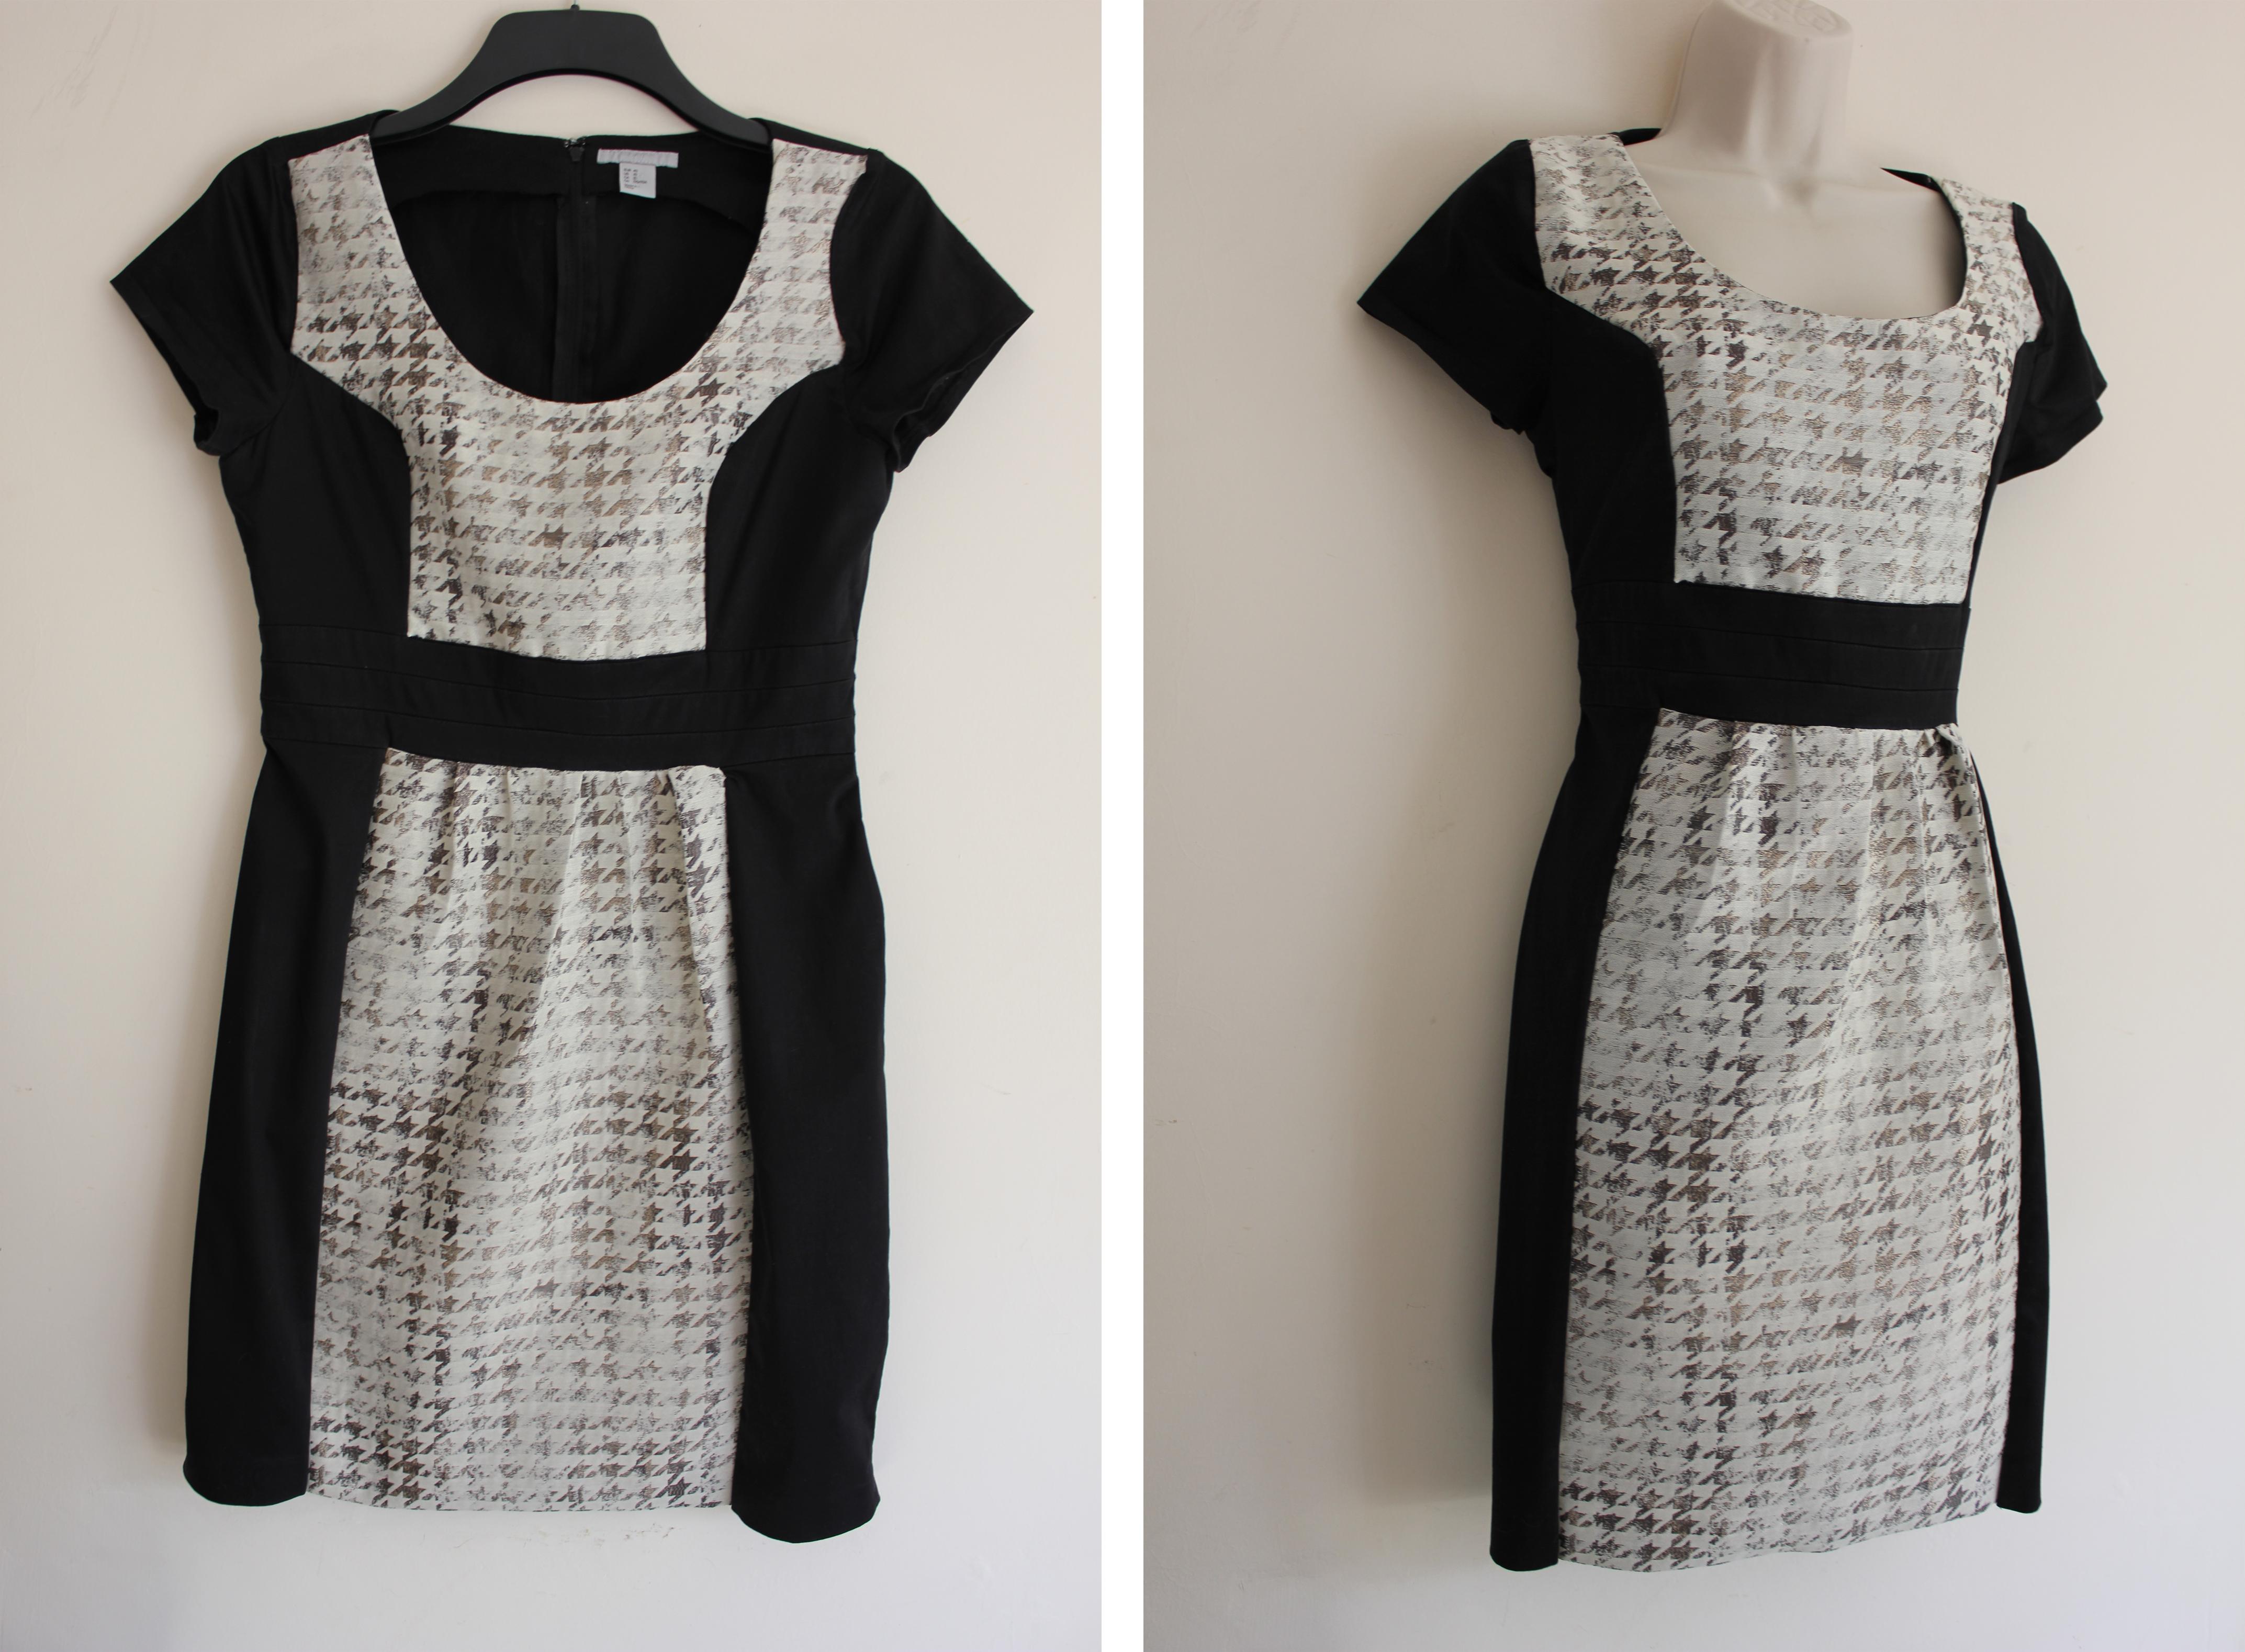
I inserted the panel along both sides of the skirt and, because I’d added a little extra fabric to allow for the lack of stretch, I gathered the fabric at the waistband and reattached it. I turned the dress right side out and couldn’t believe my eyes. I had a very classy dress with a pretty contrast fabric panel for a teeny tiny price – what could be better than that? It looks a bit like the hem isn’t level in these photos, but that’s just the way that the fabric is hanging on the hanger – it is straight and looks perfect when I’m wearing it! I admit I am really rather chuffed with my new dress and another item of clothing saved from landfill – not to mention a unique design that I know no one else will be wearing to any party I attend in the future!
Some items in this blog post have been gifted to me and the pink links indicate a gifted product, affiliate link or information source. All thoughts and opinions in this post are based on my own experience and I am not responsible for your experience 🙂








4 responses
Thanks v much 😀 x
Ooh great job!
http://www.mancunianvintage.com
Wow *blush* thank you so much!! 😀 I’m pleased you like it x
Amazing!! I love your design! You’re so talented and brilliant!! 🙂 xx
tropicalcolours.blogspot.com.au