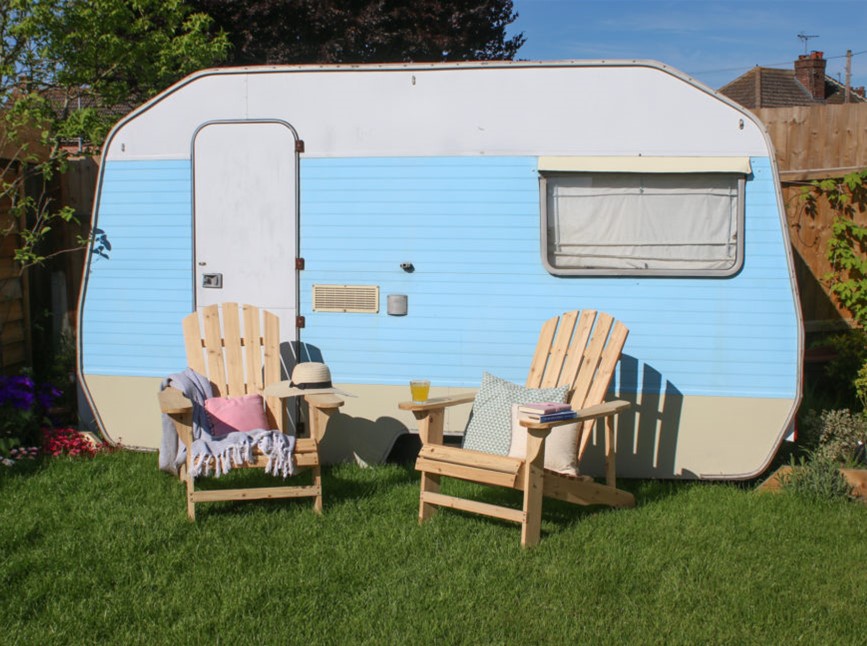
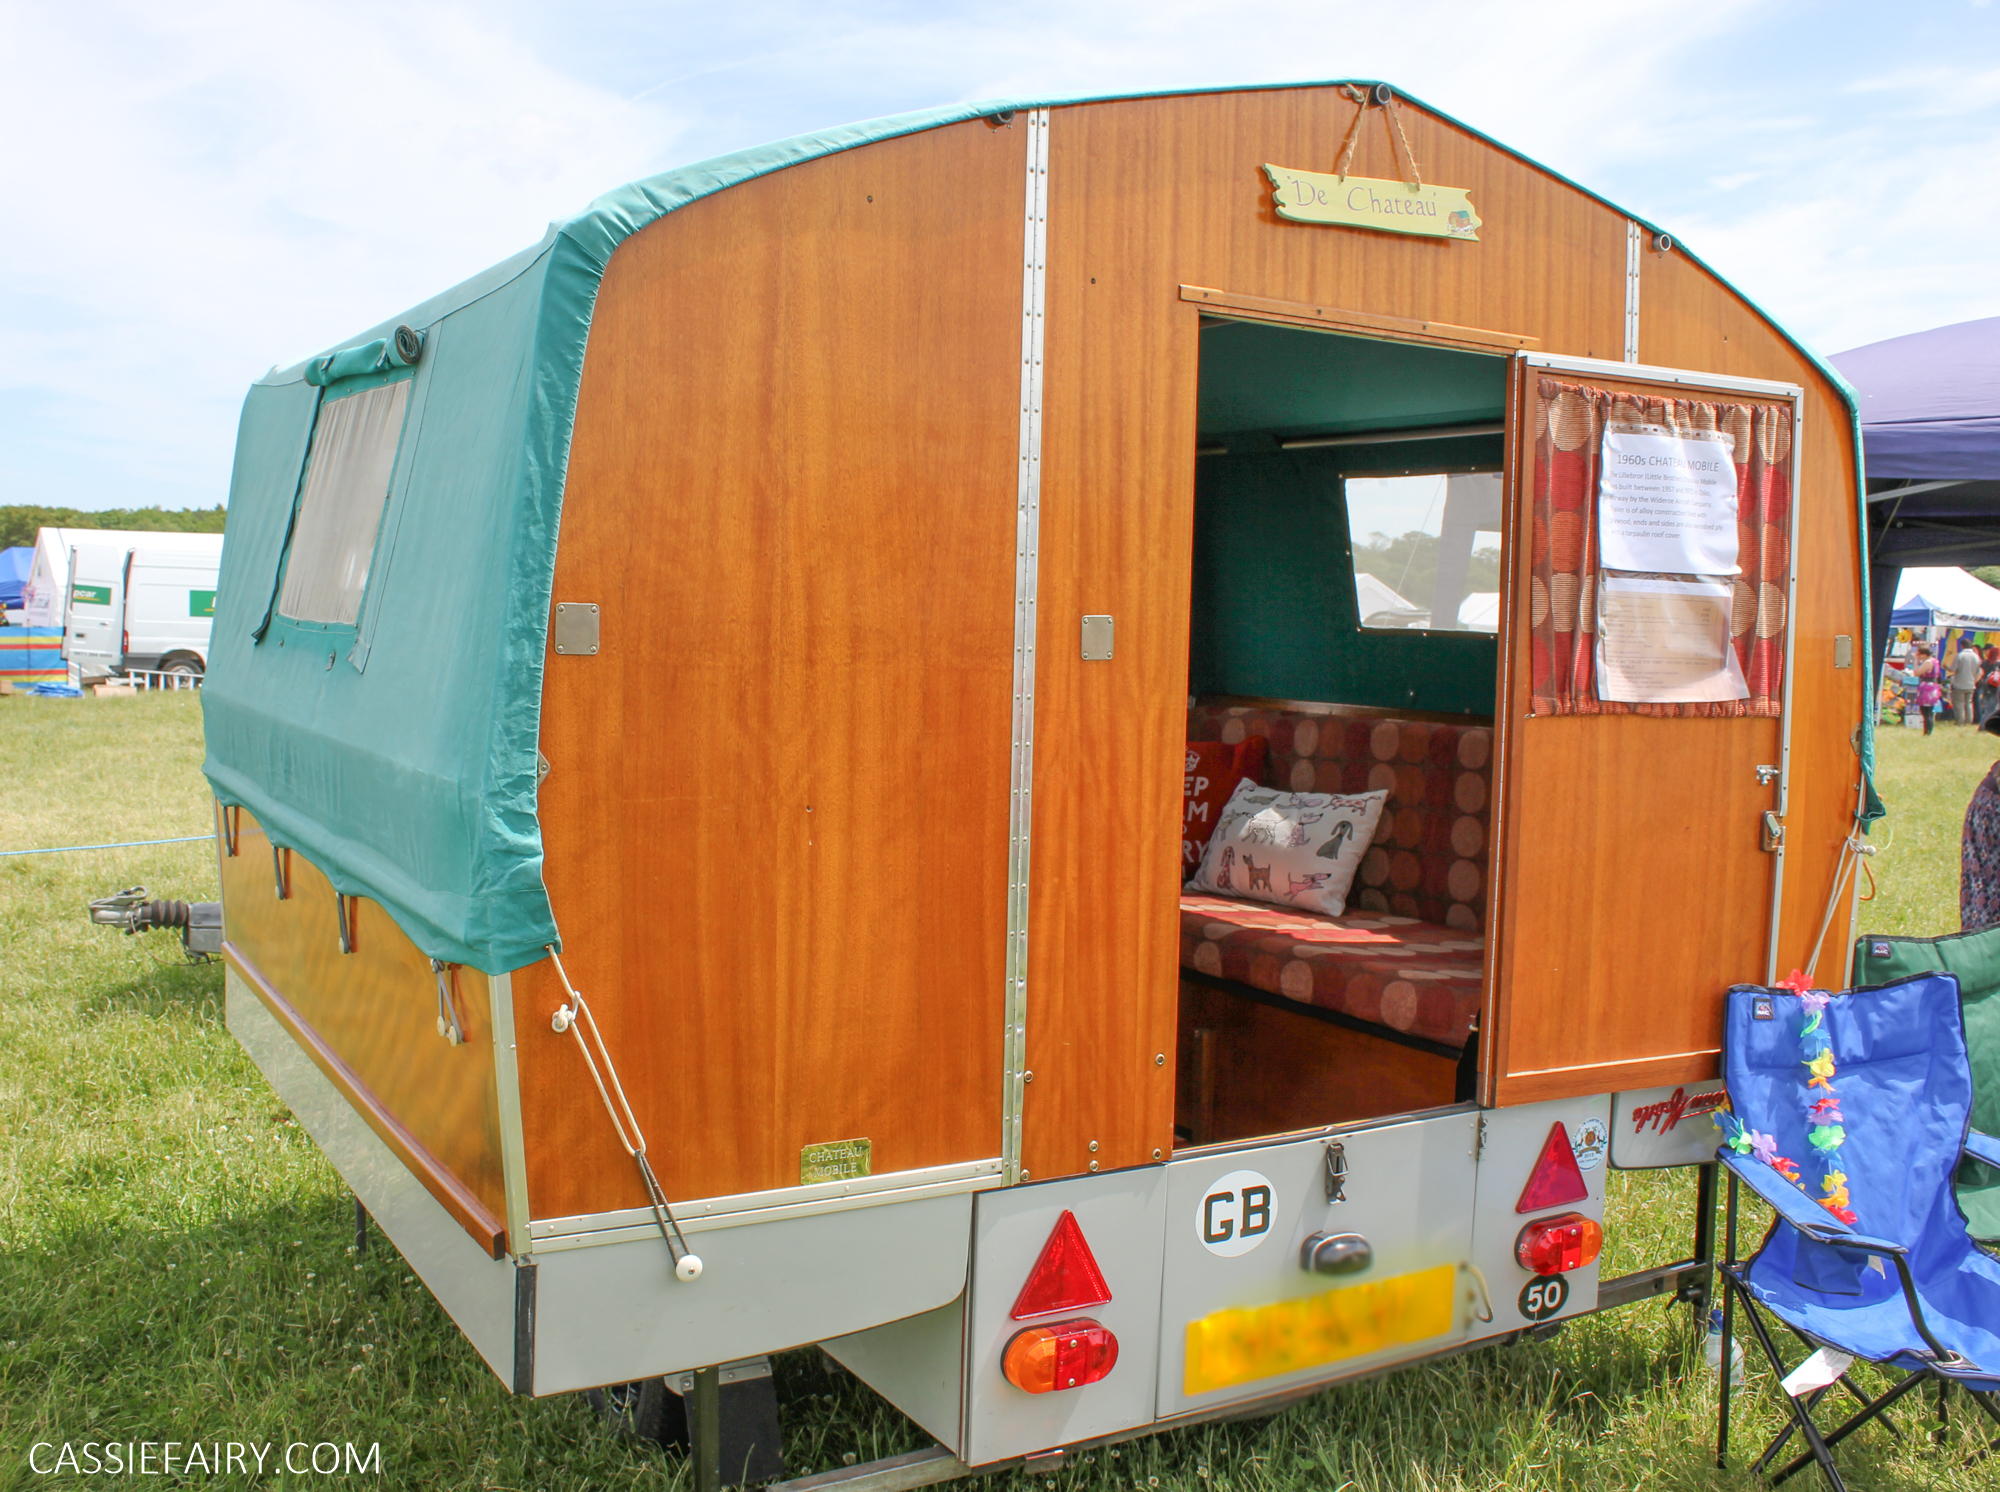
A couple of weeks ago I shared my ideas for a crafty storage solution for my vintage caravan workshop and after a few days of deliberation, delivery and construction I’m now able to share with you some photos of the completed shelving units and cupboards. After making the decision about the configuration of the units I telephoned Verbaudet to put in my order for three 4×4 units, a single box unit and 4 doors, and I didn’t have to wait long before they were delivered to my home. 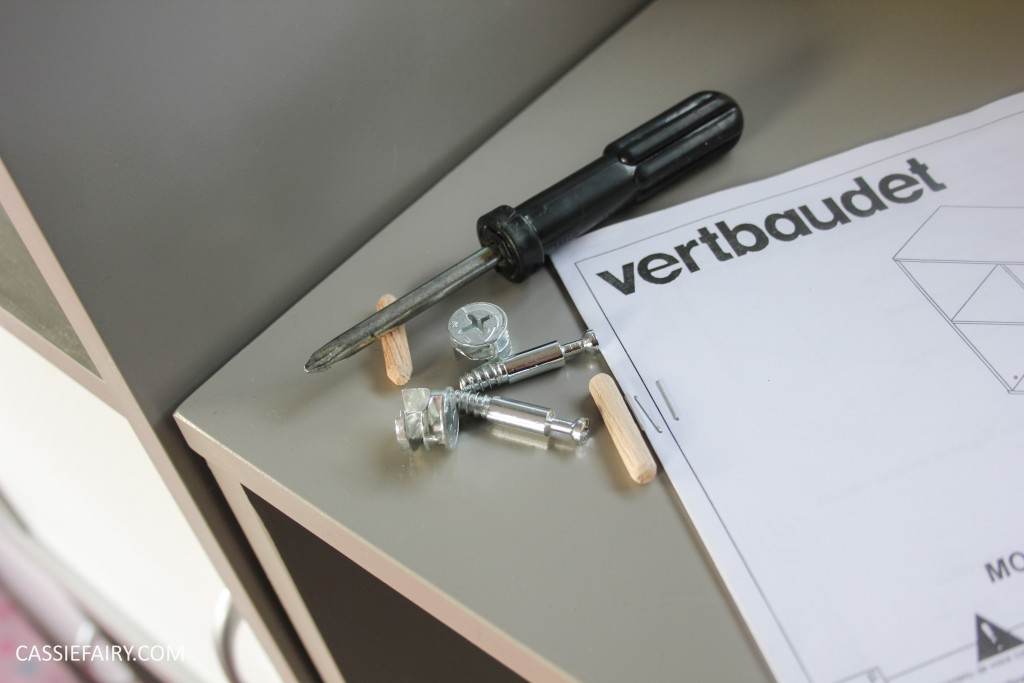
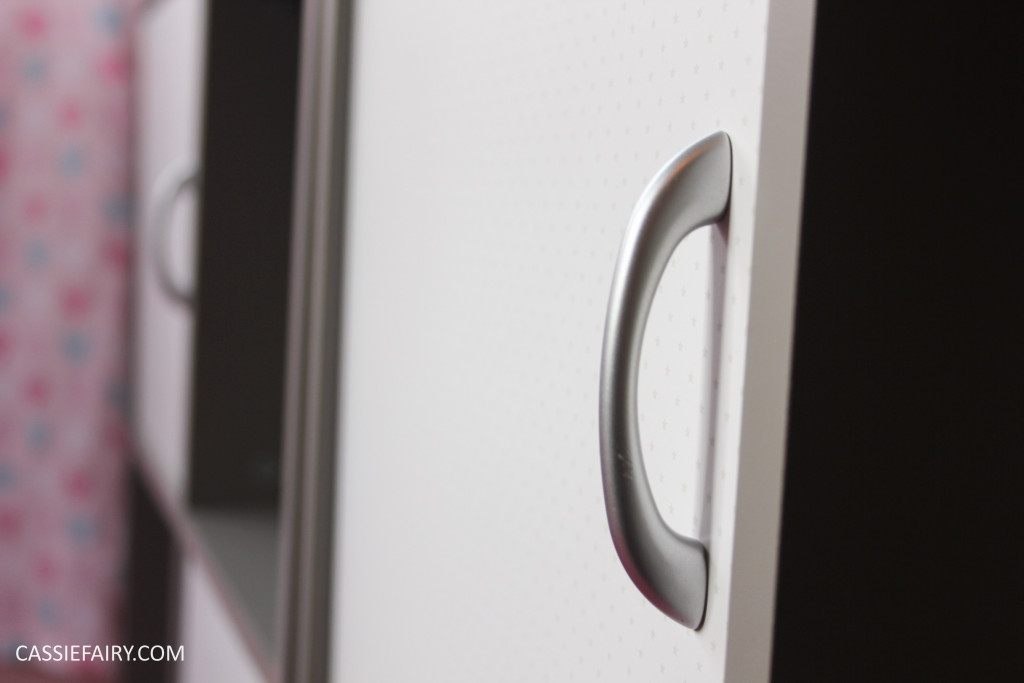
After unpacking one of the flat-packed units it was clear to me that I’d made the right decision – they are excellent quality and were exactly the right grey-taupe colour I was looking for. The doors have a subtle star pattern printed on them in a matching grey and I couldn’t wait to see the completed combination so I set to work straight away.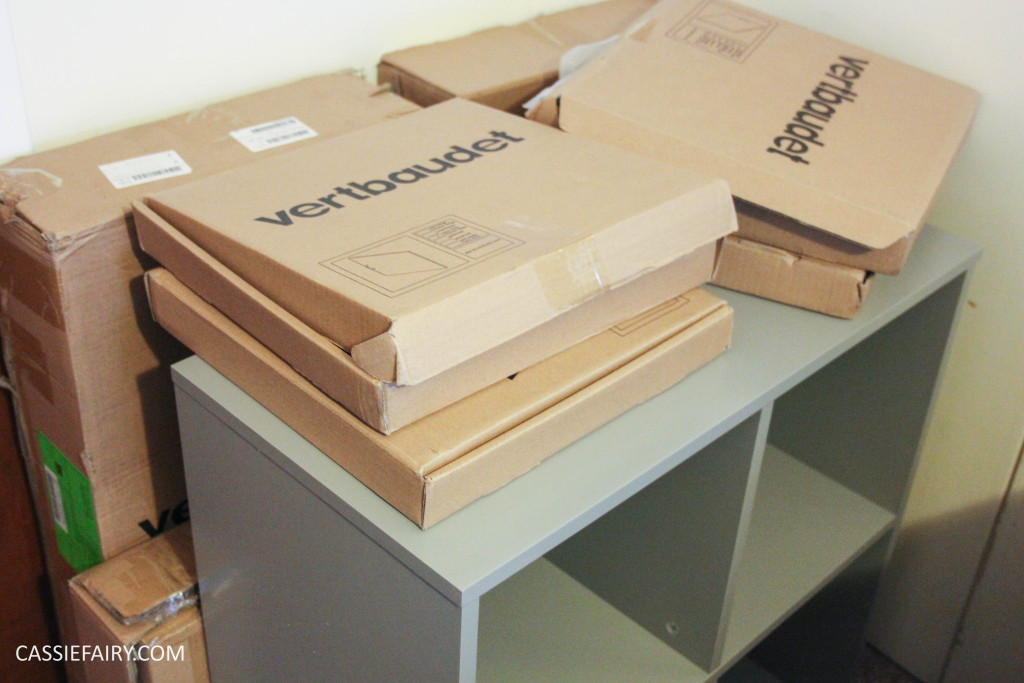
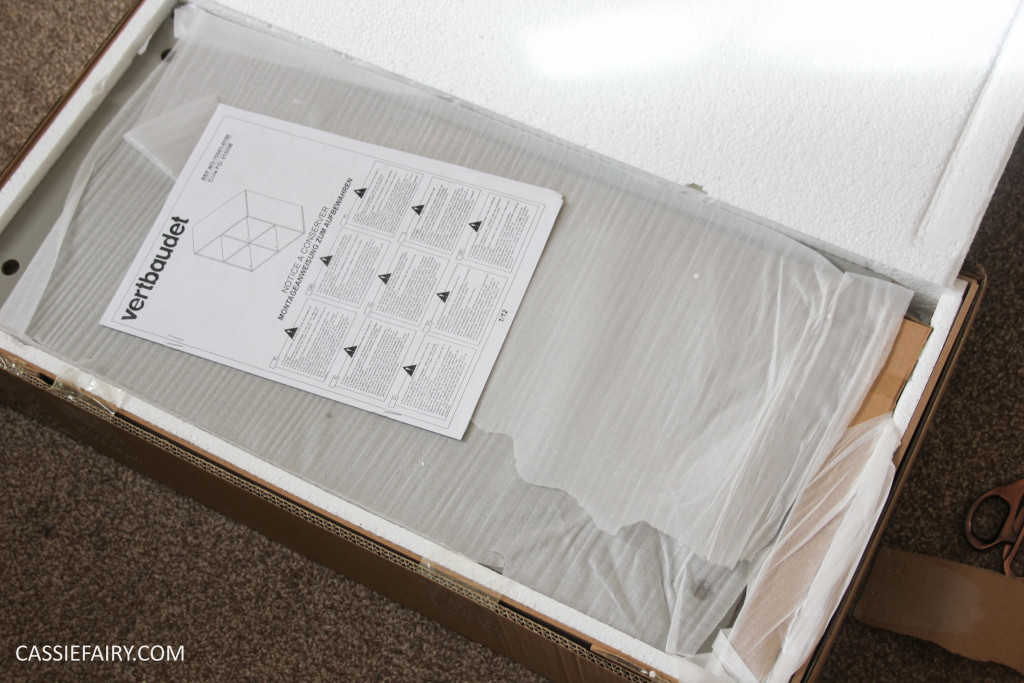
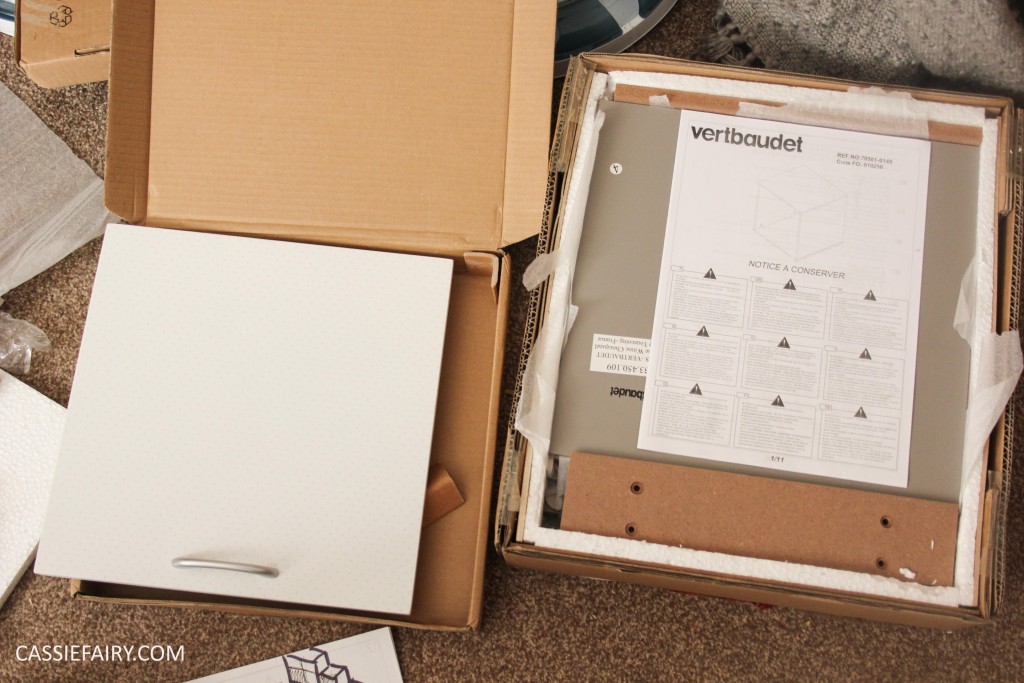 I can’t overemphasise how well packaged these Vertbaudet units are – there were layers of soft wrap between each shelf and the boxes were lined with thin polystyrene – so there was no chance that any of the parts would have arrived damaged. This is something I always worry about with flat-packed furniture and having to take something back because it’s been dented in transit or has a missing part is one of my biggest gripes. Thankfully, everything was in order as I unpacked the units and the box of fixings even had an extra bag of spares, just in case. I read through the instructions and set to work assembling the first 4×4 unit.
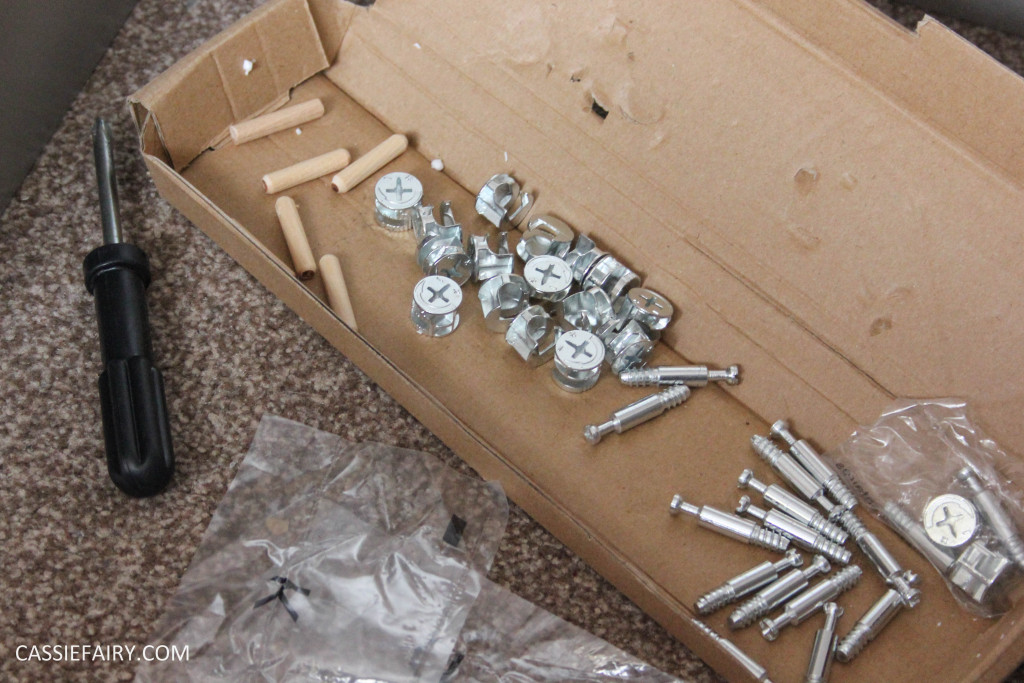
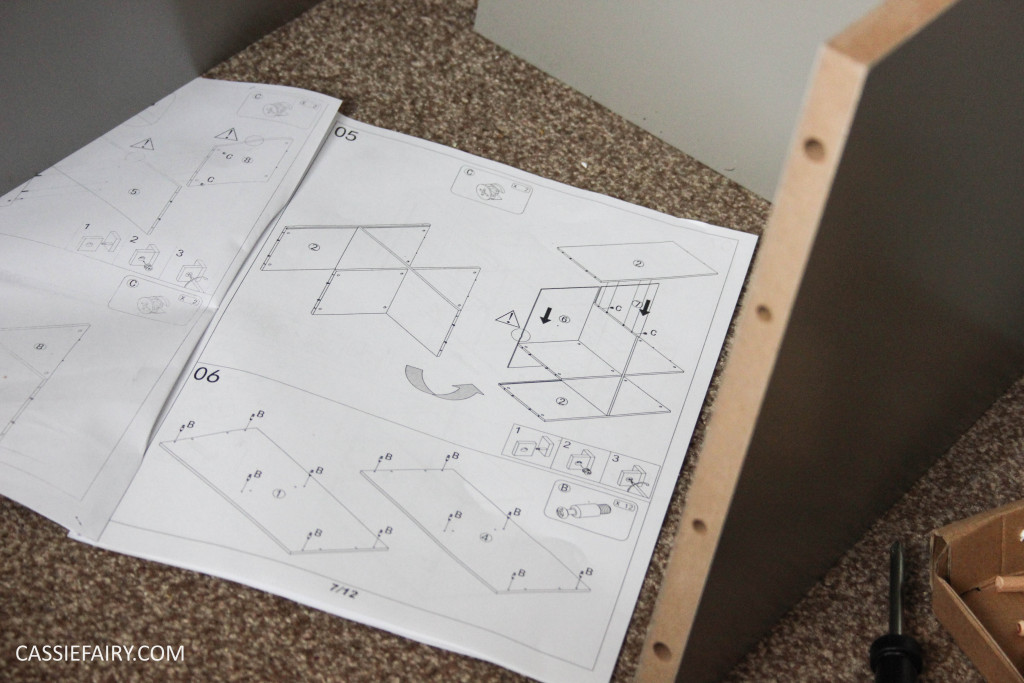 I admit that I’m not particularly good at following instructions or having the patience to finish a construction project but the instructions were simple and clear so I was confident that I would be able to put the unit together. The only tool needed was a cross-head screwdriver and most of the connectors were those locking-caps which tighten with just one twist of the screwdriver so were simple enough to construct. I took just under two hours to put the first unit together – stopping often to check the instructions and make adjustments to the screw fittings – and the second unit took about an hour. By the time I assembled the last unit I was such a pro that it took about half an hour and the small square unit was no more than 10 minutes work.
My husband and I moved the units into the caravan – they were slightly too heavy for me to move on my own – and attached the joining bars at the back of the units to secure them to each other for safety. We played around with the configuration of the doors and decided that four in the middle looked most aesthetically pleasing. I almost moved the single unit to the right-hand side of the base unit, which would have created an extra ‘box’ for books etc, but in the end I preferred the ‘stepped’ effect and I still have space for boxes or books beside it if I find that I need to use this space when I load my fabric and craft supplies into the unit. 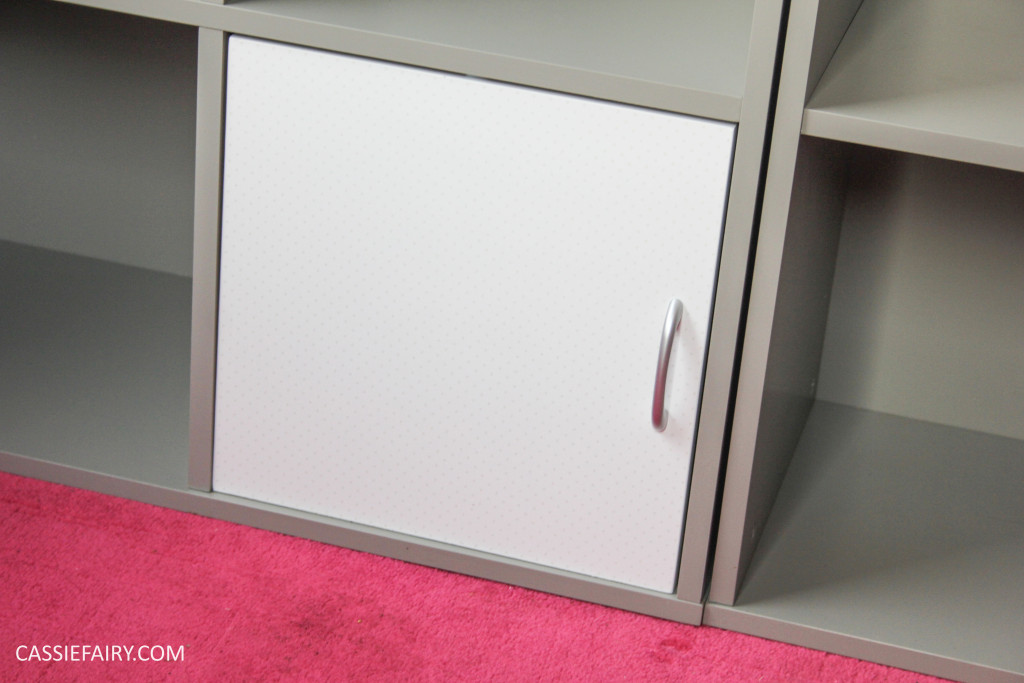
 I was really pleased that I could create a shelving unit that was personalised to me and my storage needs. The finished unit fills the space in my caravan perfectly and fits around the small window rather than blocking it so that light can still come in from the rear of the caravan. I am so excited about storing my fabric neatly on the shelves – it will be fantastic to be able to see what I’ve got at a glance rather than rooting through storage tubs that my supplies were previously stored in. And having books on display will give me inspiration to work on new projects more often.
I will hopefully be loading up my units with my craft supplies this weekend and will be sure to share photos with you soon so please check back photos of the finished craft storage. Let me know if this has inspired you to change the way you’re storing your books, sewing stuff or craft supplies and whether you would choose open storage units like this yourself? Please leave me a comment below and let me know what you think.


