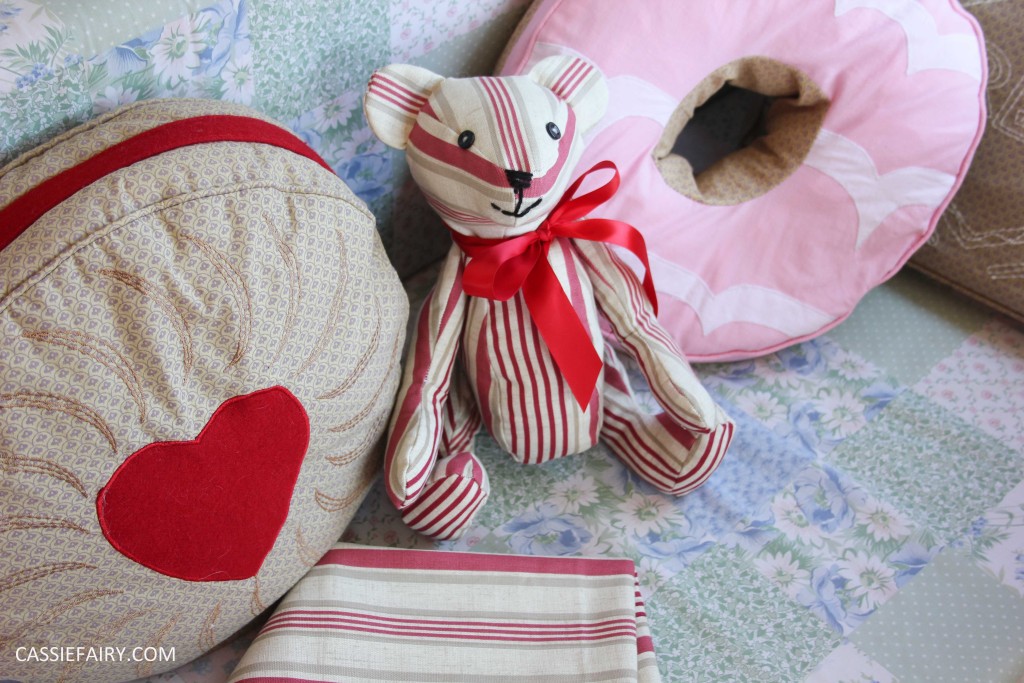
This week I’ve been crafting away in my caravan and have enjoyed a couple of happy afternoons of cutting, sewing and painting (more on that project soon!). Today’s post is all about the latest addition to my soft-toy family; a cute little teddy bear named Red. 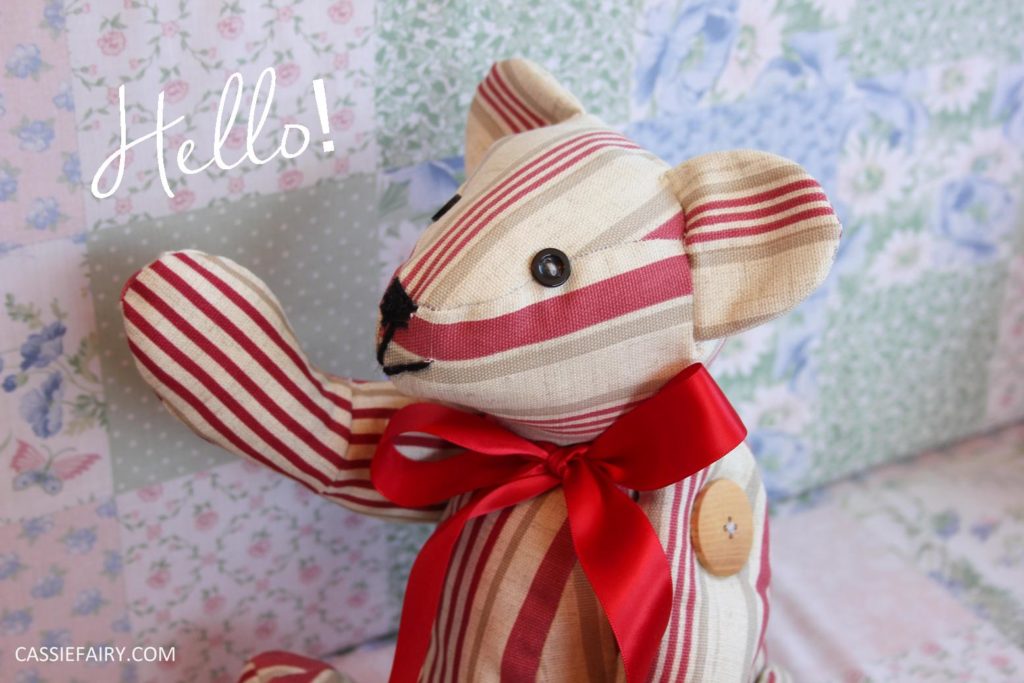 There’s something about summer that makes me want to be creative. I think that being outdoors more often helps me be inspired by the things that I see and I end up taking hundreds more photos at this time of year; flowers, animals, landscapes, the beach and, of course, ice creams! Can you see any resemblance to a seaside deck chair in my little creation??
 Even though I love being cosy inside my caravan in the winter, it really comes to life in the summer. It’s always so lovely to get outside when the weather is nice and throw open the windows of my caravan to let a soft breeze flow through as I sit at my sewing machine. So that’s exactly what I’ve been doing this week.
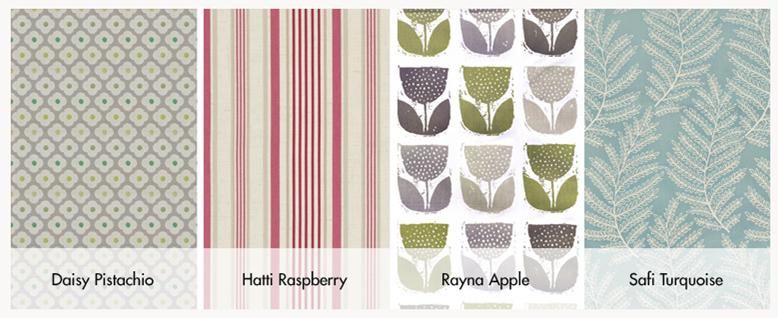 I wanted to join in with the Hillarys craft competition this month and have been totally inspired by all the amazing creations on their Pinterest board. My mind whirred into action when I saw the gorgeous fabric choices on offer and an image of little Red ted appeared in my mind immediately. I quickly ordered a metre of the Hatti Raspberry striped fabric and set to work cutting out the pattern pieces for my little bear.
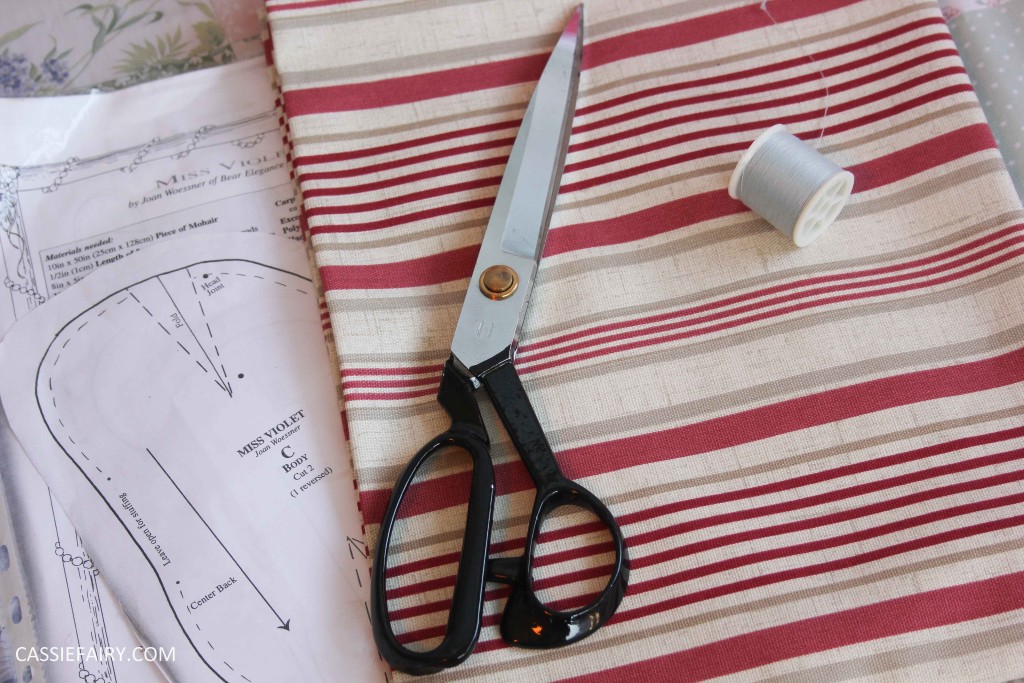 I scaled up the pattern by about a cm all around to make it a little bigger – I wanted to make a proper, cuddle-sized bear! I then traced the pattern onto the fabric and cut out the pieces. In all there were 20 pattern pieces to cut out and I was careful to match the striped fabric to the areas that I wanted to be more stripy: the inside arms and legs, and little stripes running up the middle of his ears.
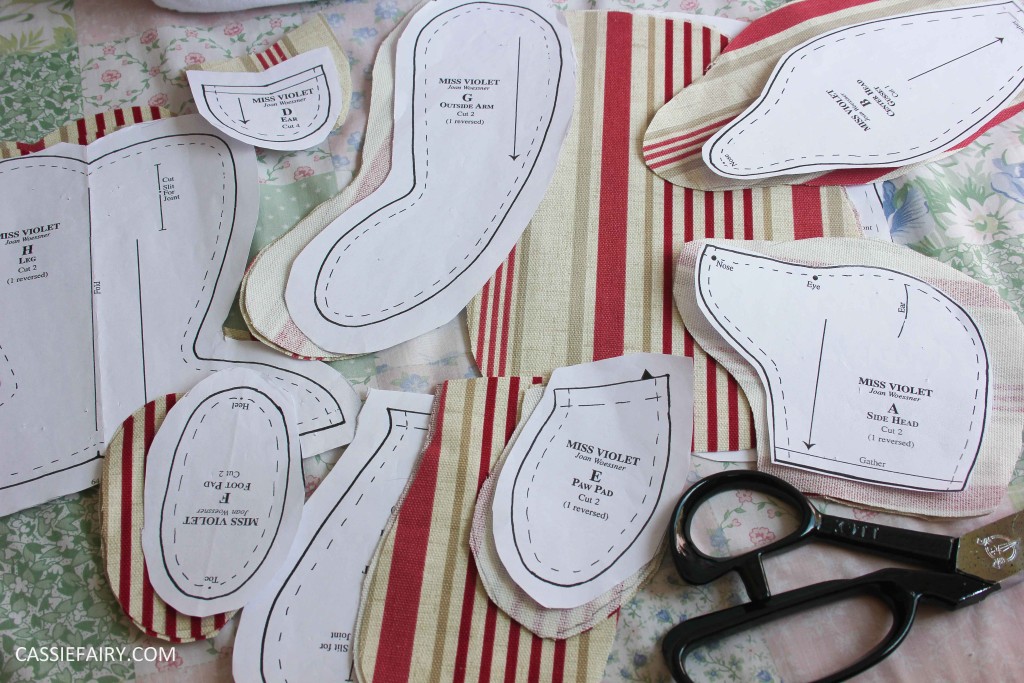 Having never worked with a bold stripe like this in any of my past sewing projects, it was a new challenge for me to think about how the pattern pieces would look when constructed. I needed to re-cut one of the foot pads as this wasn’t quite in the right place when I came to assemble the legs but apart from that every piece looked okay when stitched together. It’s great to learn something new during the making process and I already feel a little more confident in using stripes and will definitely work with this type of pattern again in the future.
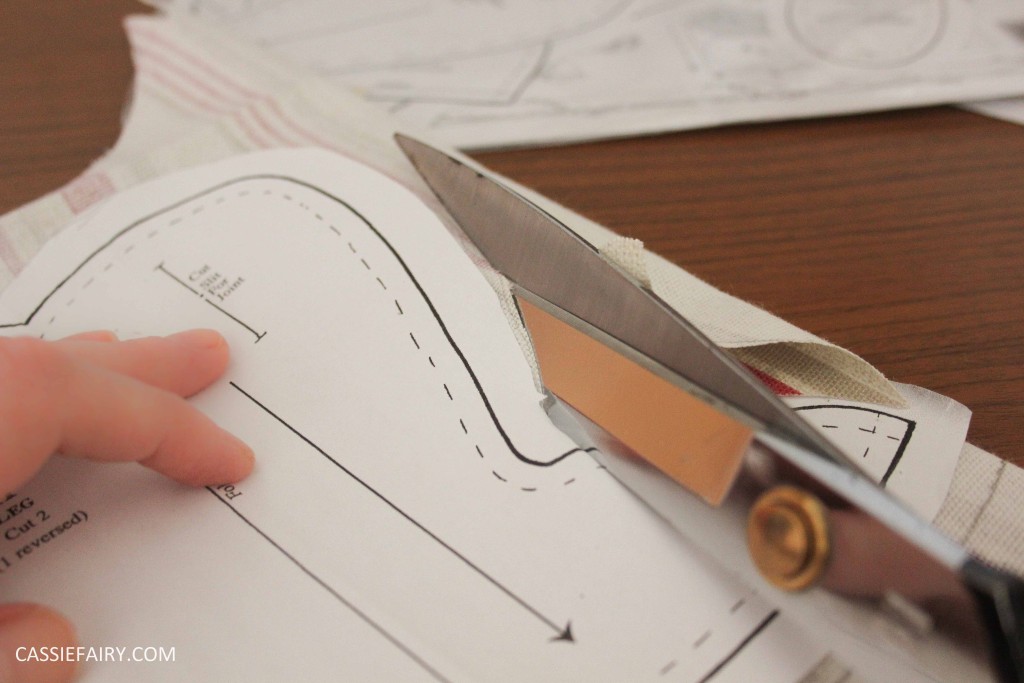
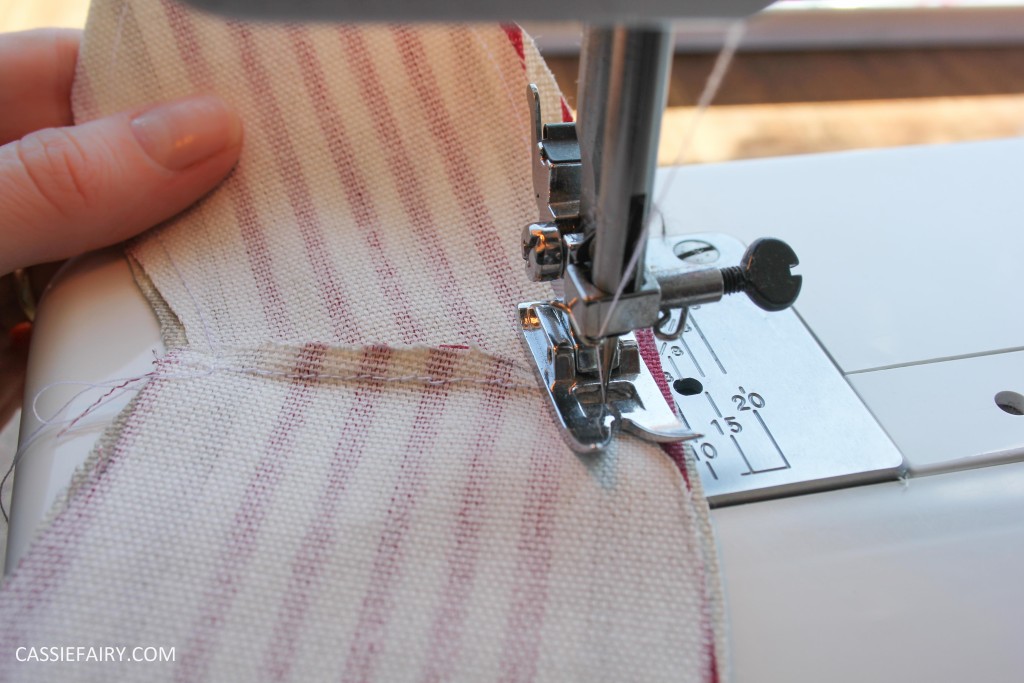
I was also really pleased with how easily fabric cut and the fact that it didn’t end up with a frayed edge during construction – definitely qualities that I look for in a fabric! Hillarys sure do use good fabric for their curtains and blinds! I straight-stitched the pieces together and didn’t need to zig-zag over the edges to prevent fraying, I could just turn the fabric right-side out and get stuffing!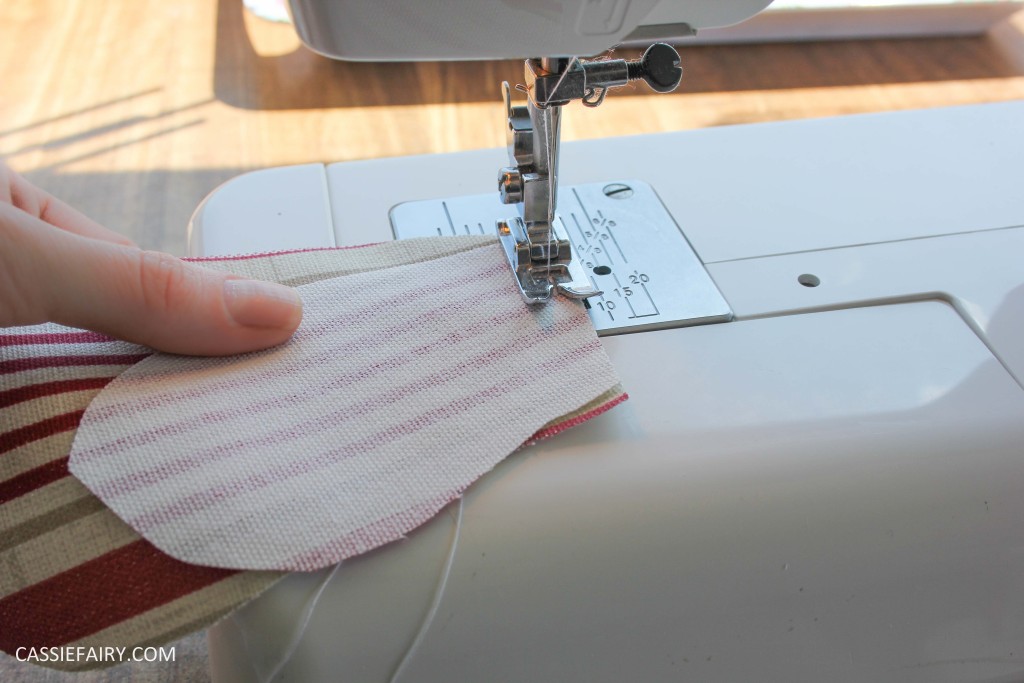
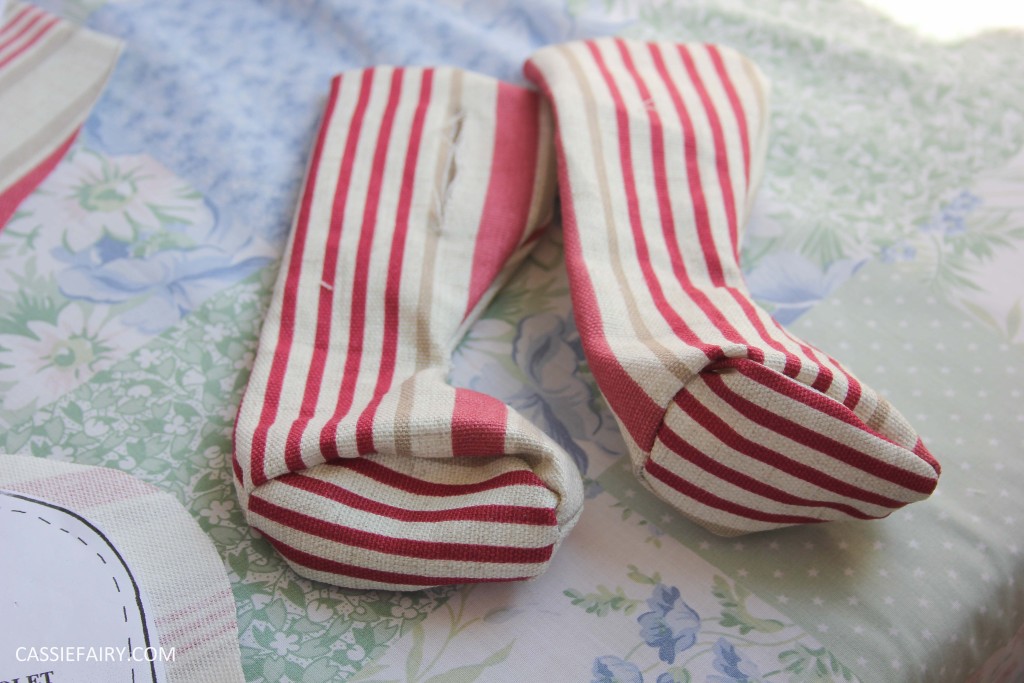 I used an old cushion pad to stuff little Red. It had been flattened by years of use but I’m glad that I didn’t just chuck it out when I got a new cushion pad to plump up the cushion cover. I was able to open up one end of the old cushion pad and pull the fibres apart to fluff up the filling. This was the ideal stuffing for my bear, although if you’re making a bear for children you may need to consider specific types of child-friendly filling, but the old padding was fine for my little fella.
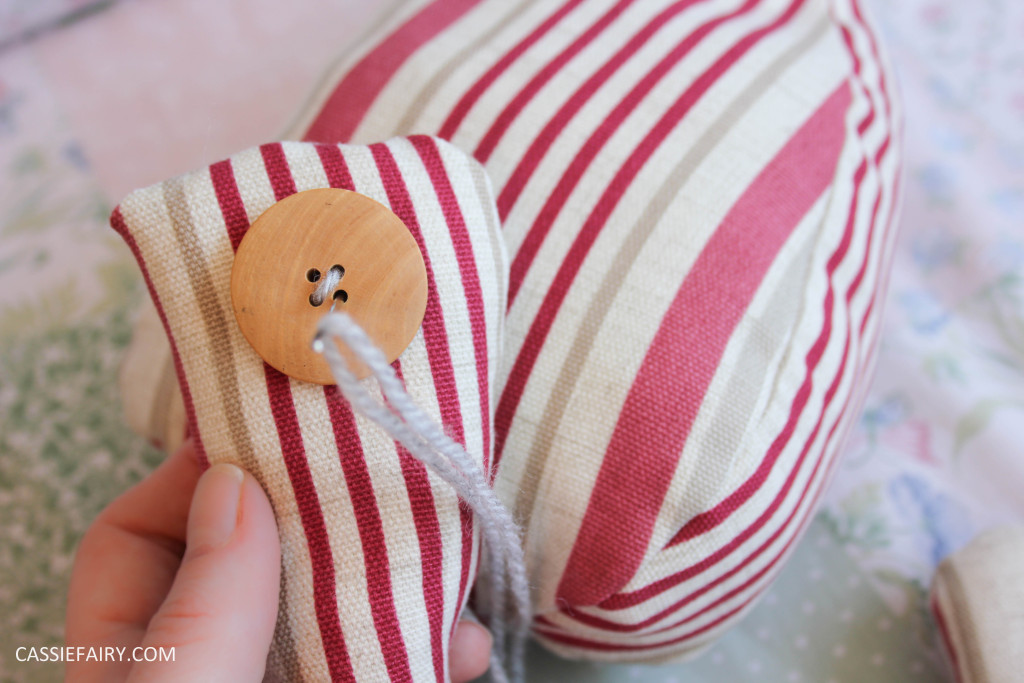
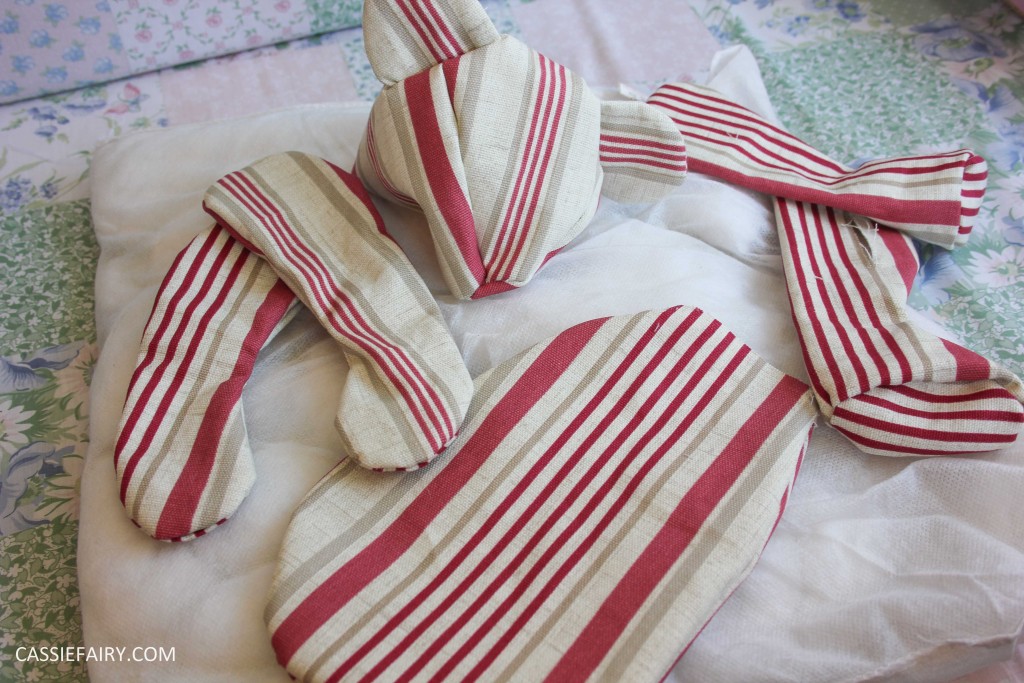 He needed the whole 12 inch square cushion pad to fill his tiny body and he was soon looking a lot like the bear that my mind had conjured up before I started. It took another couple of hours to assemble the bear and I used buttons to attach his limbs, with wool running all the way through the bear and out the other side, then back through the button. This allows the bear to have moveable arms and legs so he can sit down and even wave hello.
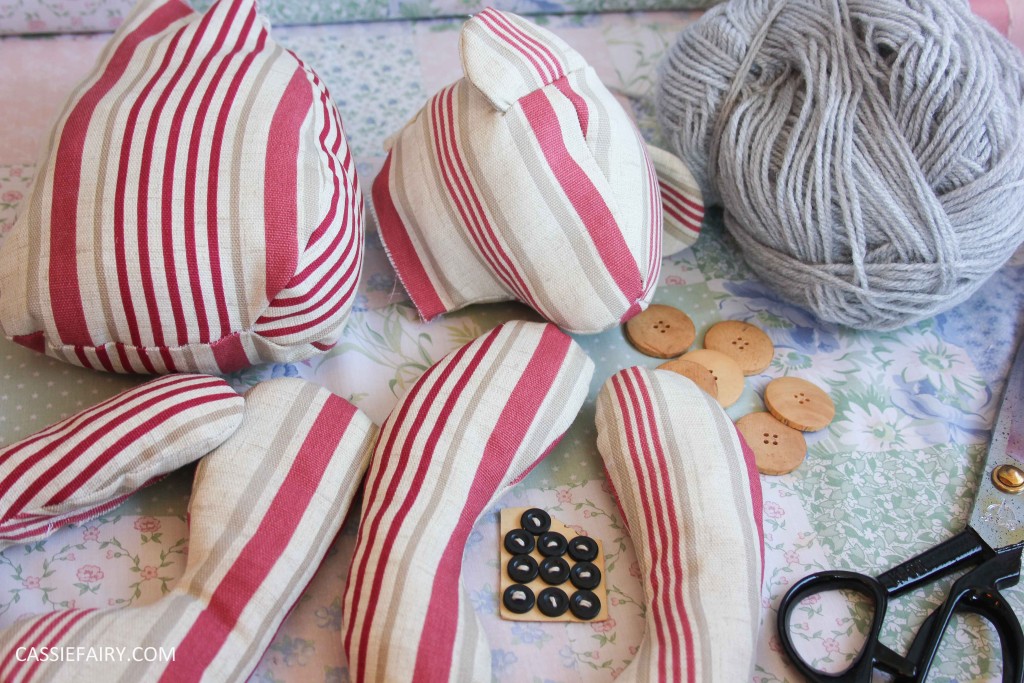
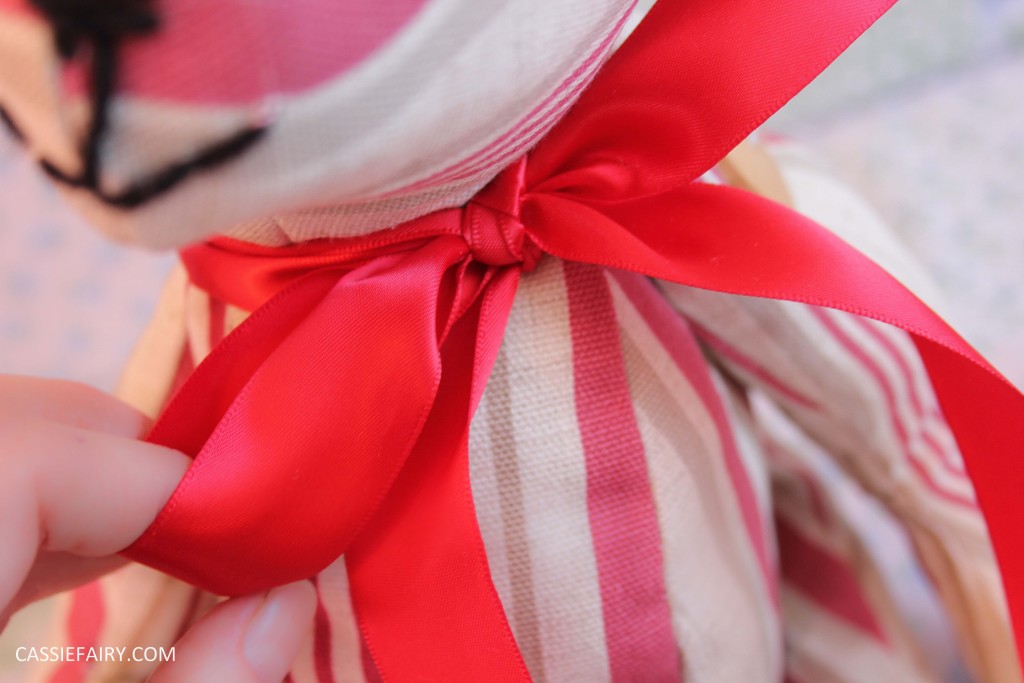 I stitched a little nose and mouth on his face using black wool and I chose some tiny black button eyes to help him see. The final step was to tie a cute red bow around his neck and little Red bear was born!
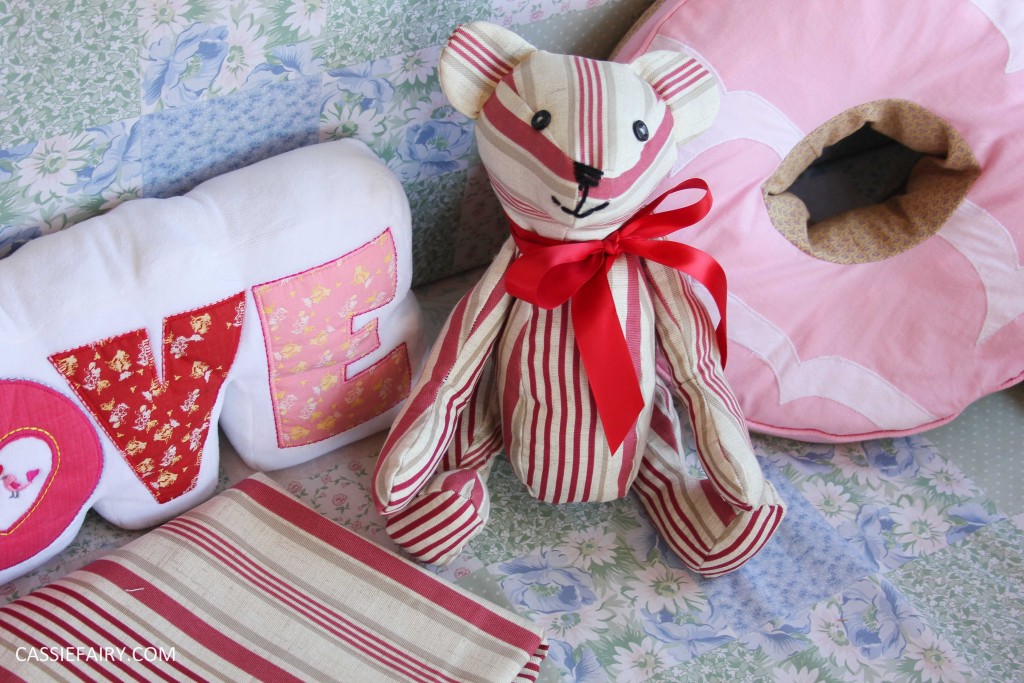
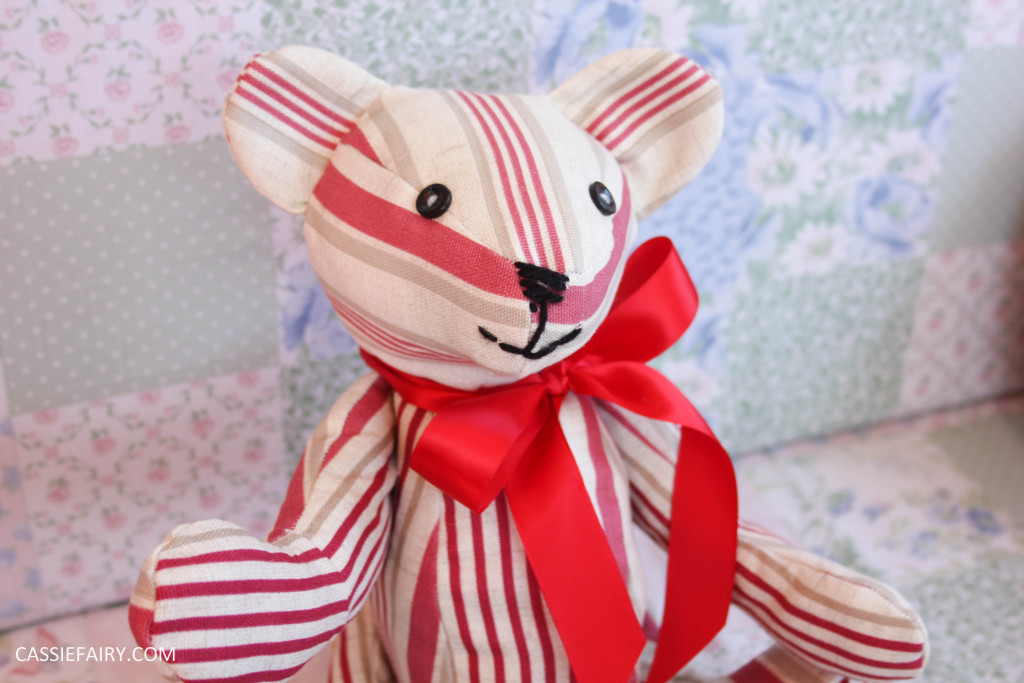
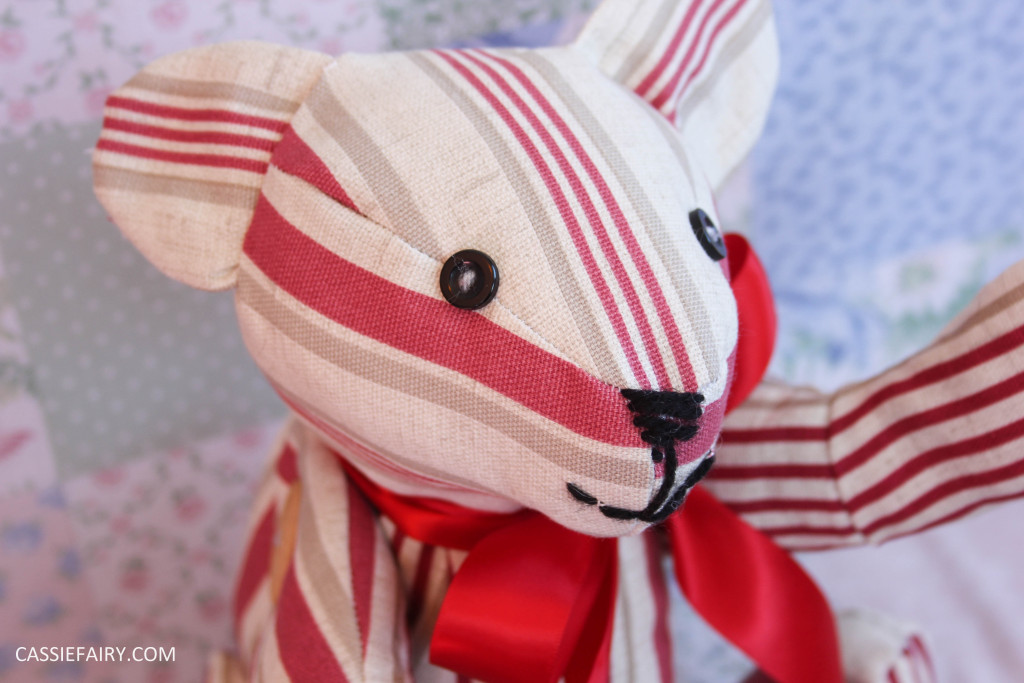
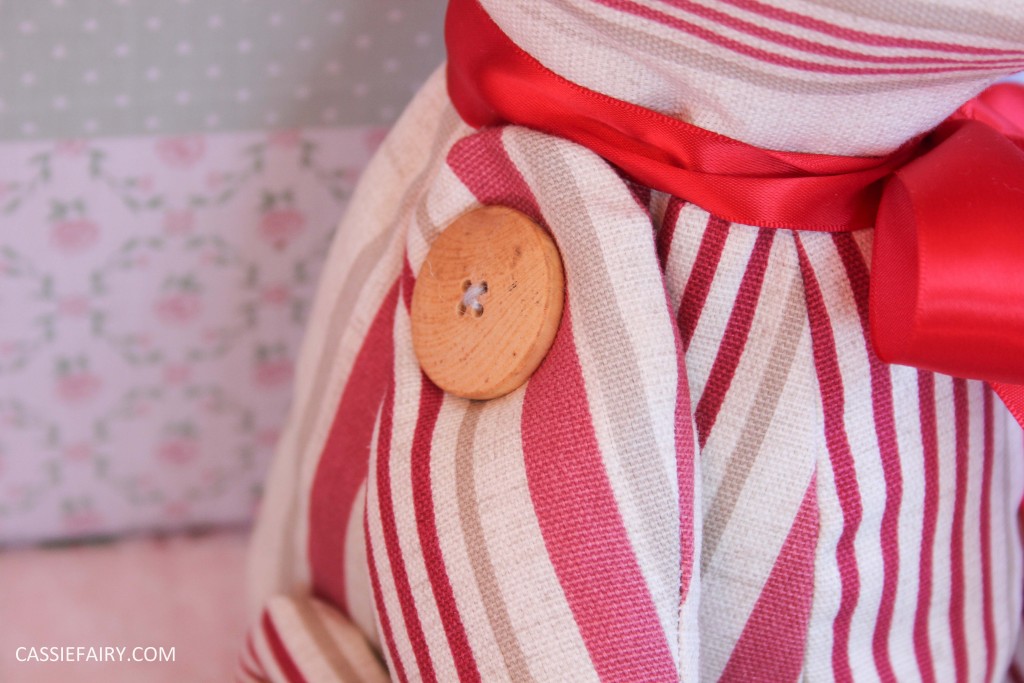
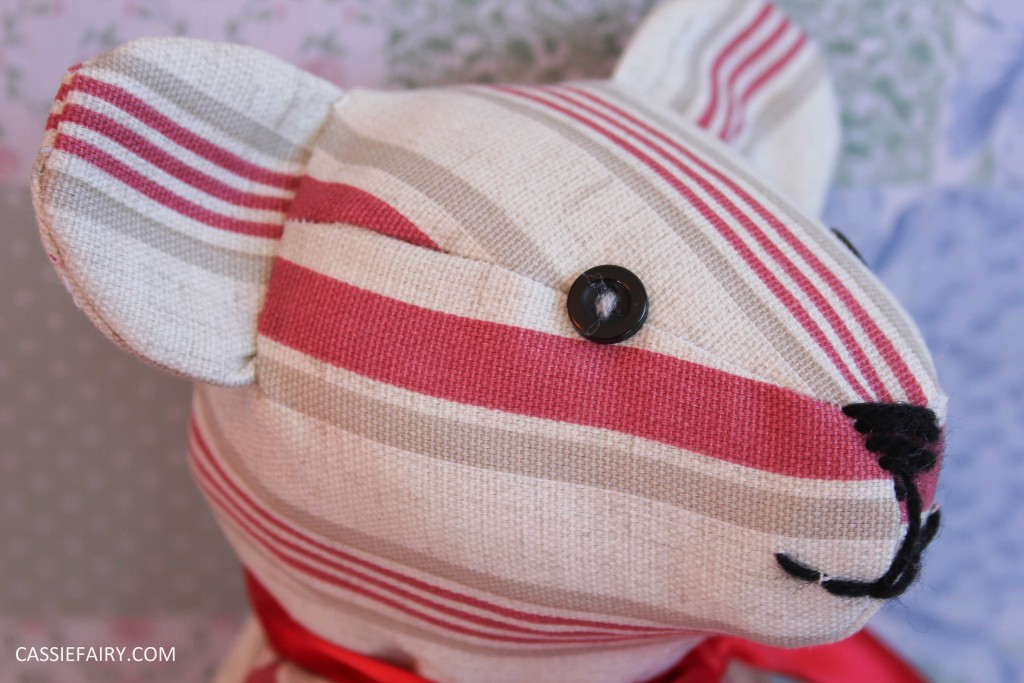
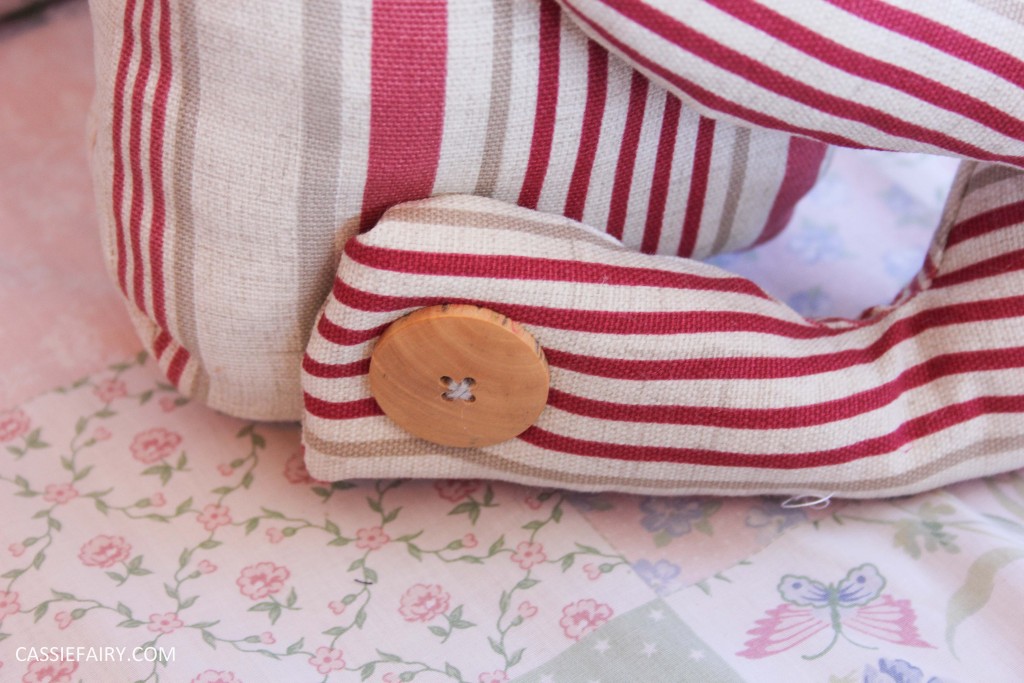 I’m really pleased that I started this project; it’s given me a chance to relax in my caravan, spend some time doing what I love and I’ve even learnt a thing or two about pattern matching! Anything that allows me to develop new skills, improve my sewing ability (practice makes… better!) and keeps me away from a computer screen is my idea of heaven, so you can expect many more craft projects to be posted on the blog soon.
Let me know if you too have learnt something new from getting stuck-in to a new craft project by leaving me a comment below and I’d love to see photos of any of your recent makes so tweet me your pics to @Cassiefairy. I’m off to pin my ted photos for the Hillary’s competition – fingers crossed they love him as much as I do!



9 responses
Aw thanks a bunch, that’s so kind of you 😀
congratulations, your bear is adorable
I love this little guy – he’s so cute! Great fabric choice 🙂 you have my vote!
Ahh thank you Cate, that’s so kind of you 😀 we all think so too 😉
Oh my goodness he is beautiful.
Aw thanks Sarah! He’s currently getting lots of love from my family too now! 😀
Wow, such a cute creation!! 🙂
Pop over to my blog 🙂
Sarah
https://everydayconcepts.wordpress.com
Thank you so much Hannah 😀 I might try a different animal in future, feeling adventurous now! X
He is gorgeous, I really like making toy animals, I may have to make a bear now.
Good luck!
Hannah
x
http://www.daintyandivory.blogspot.co.uk