I mentioned in my blog post earlier this week that I’ve been out in my caravan now that the summer is here and I’ve crafting non-stop. I made little Red Ted and posted my sewing project on Wednesday and today I’m sharing some snaps of my recent attempt at tile painting.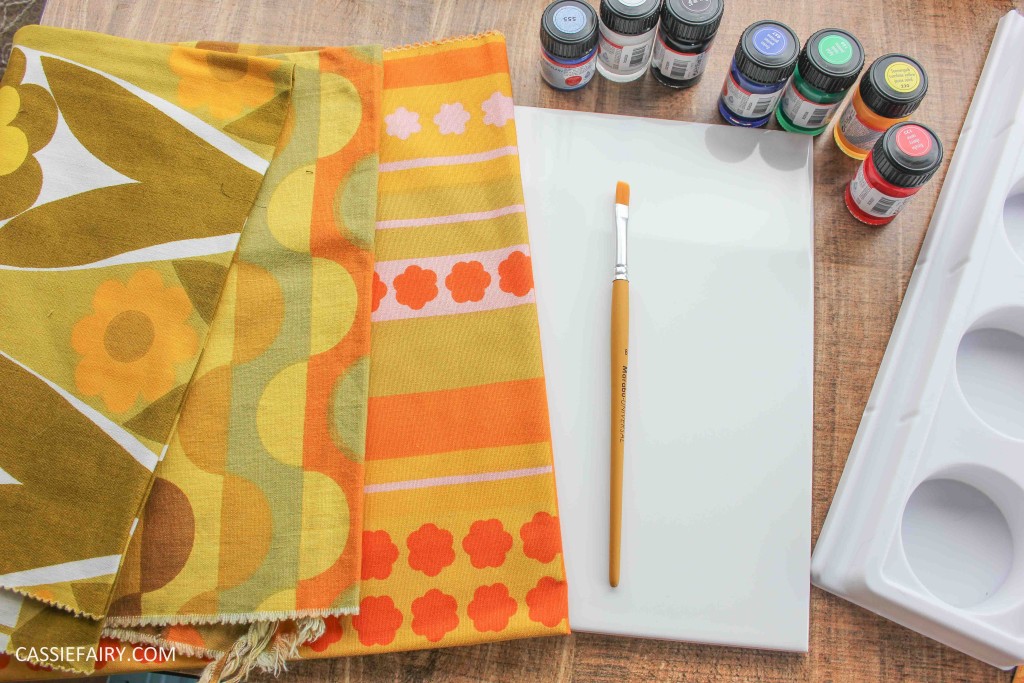 I heard about the Topps Tiles Henley Cool project last month and was totally inspired by the vintage patterned tiles in the range. I couldn’t wait to join in with creating a patterned tile of my own. This week I’ve finally found the time to sit down and spend a fun afternoon painting up my large ceramic tile with a pattern of my own.I’ve been looking through my retro fabrics recently after deciding that this would be the year that I finally make a quilt, and I flicked through them again to get inspiration for decorating my blank ceramic canvas. I really love the garish colours but wanted to stay modern, so stuck to yellow, orange and turquoise for my design. I’ve kept the colour detail at the top of the tile so that it can be hung as a border around a room, much like the Henley Cool pattern itself.
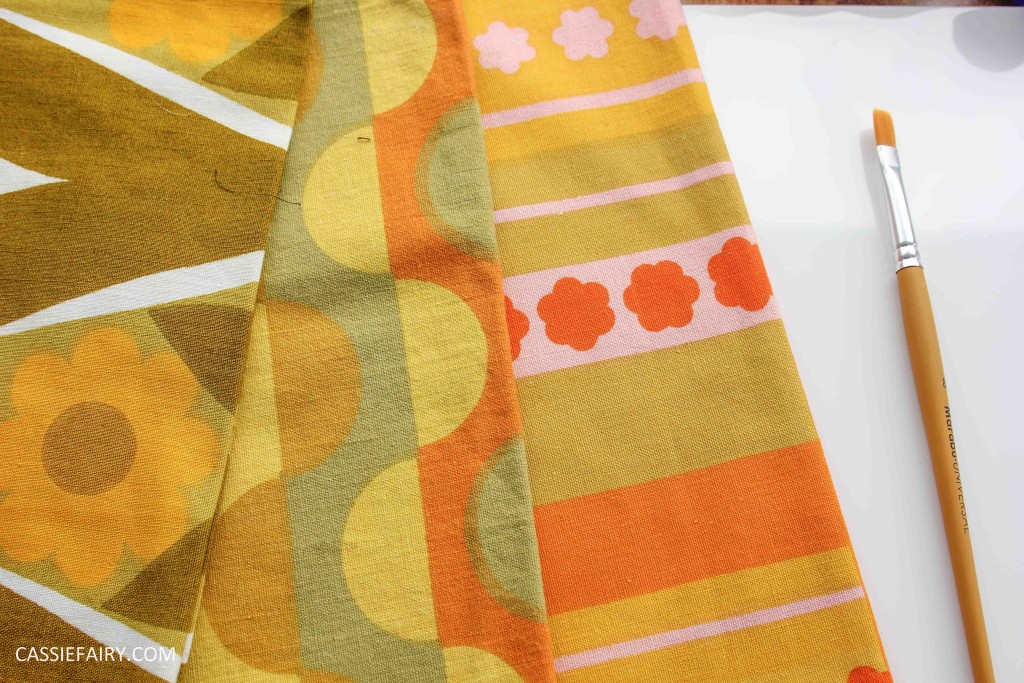
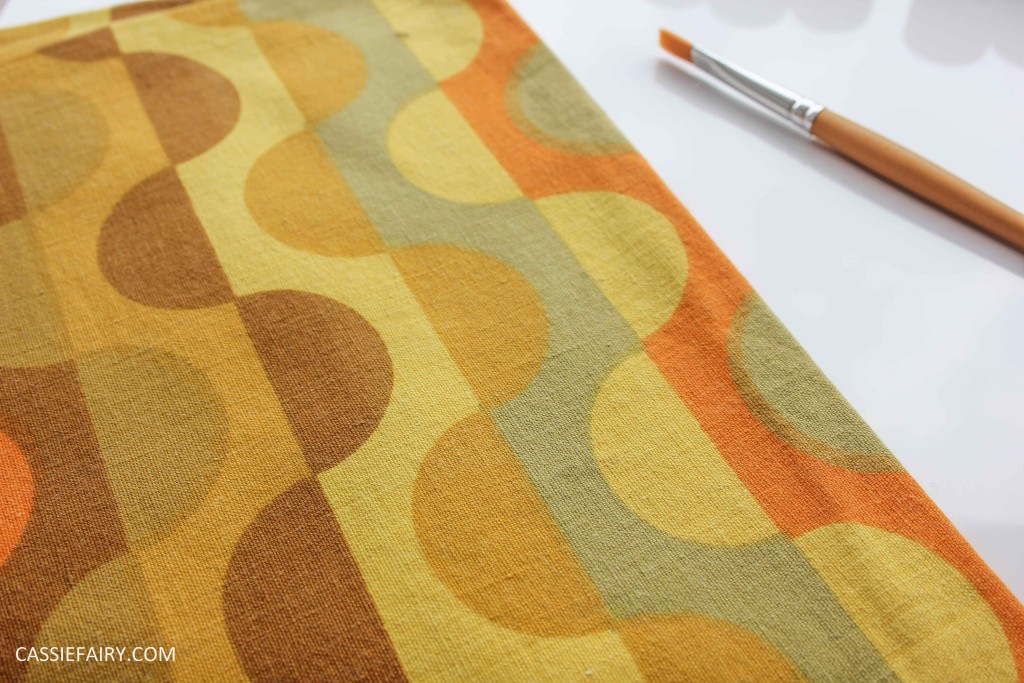 I like the way that the patterns on these fabrics are subtly striped yet the colours run into each other in the overlapping shapes, and the big retro flowers are my favourite 60s pattern of all-time. I picked out a flower stencil that I thought would look good on the size of the tile and I set to work.
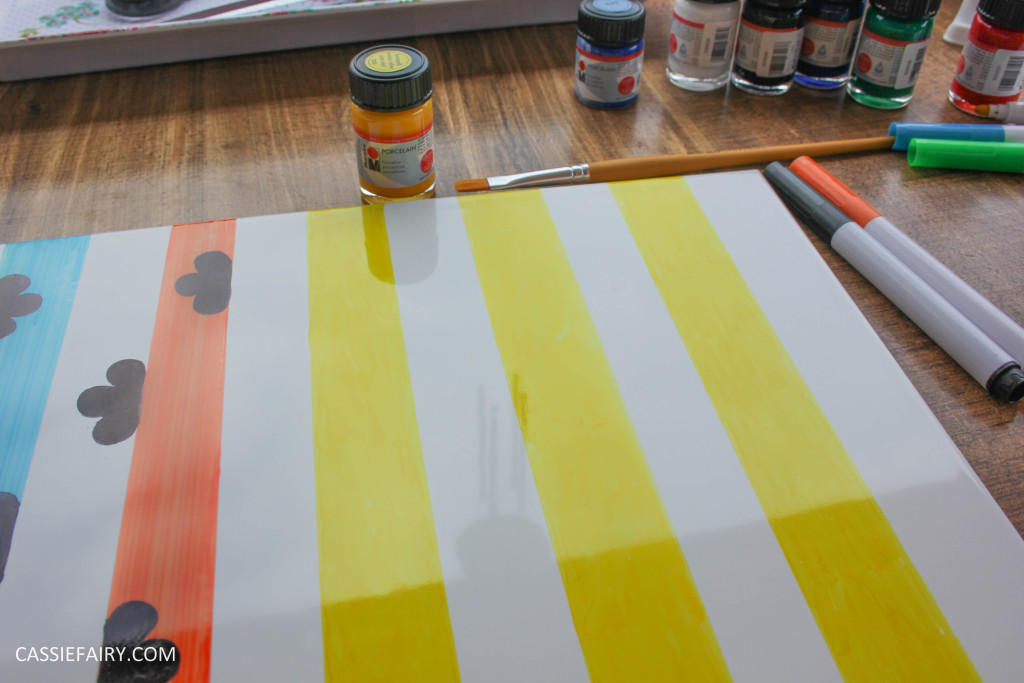 I painted the stripes onto the tile first and then used a ceramic pen to trace the stencil of the flower onto the stripes. I wanted to mimic the half-shapes of the retro fabric so I added half the flower below the line, followed by a repeating pattern above the line.
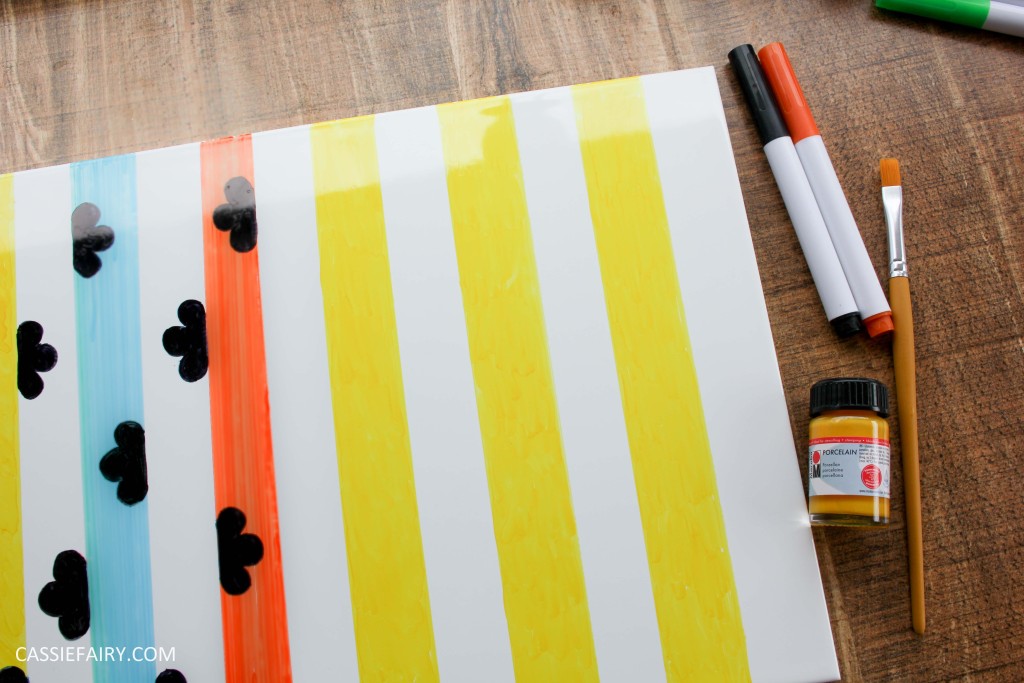
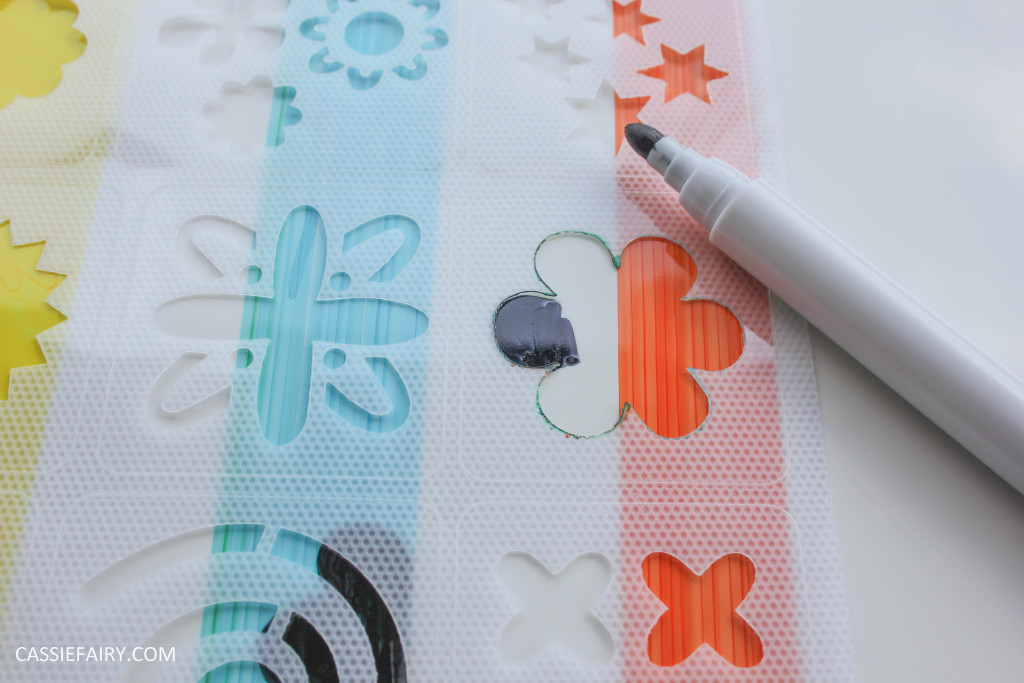 Half way through the project I realised that my half-flowers were actually starting to look a little like clouds, and this spurred me on, as I began to enjoy creating the repeating pattern of black storm clouds. Honestly, this wasn’t a reflection of my mood, nor the weather at the time, it was just a happy coincidence and it made me smile.
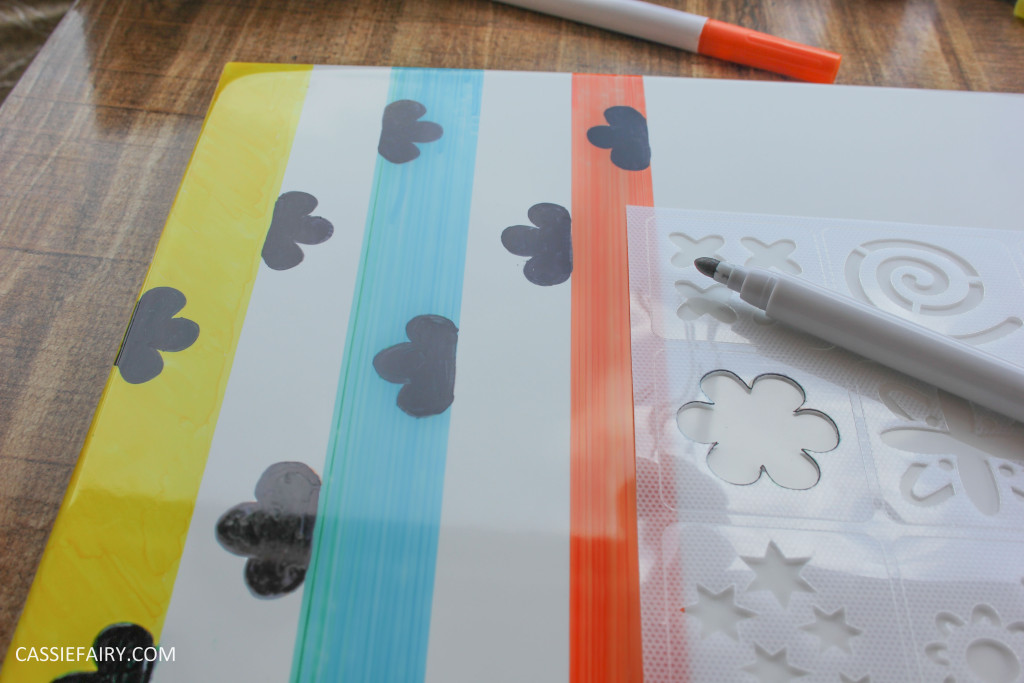
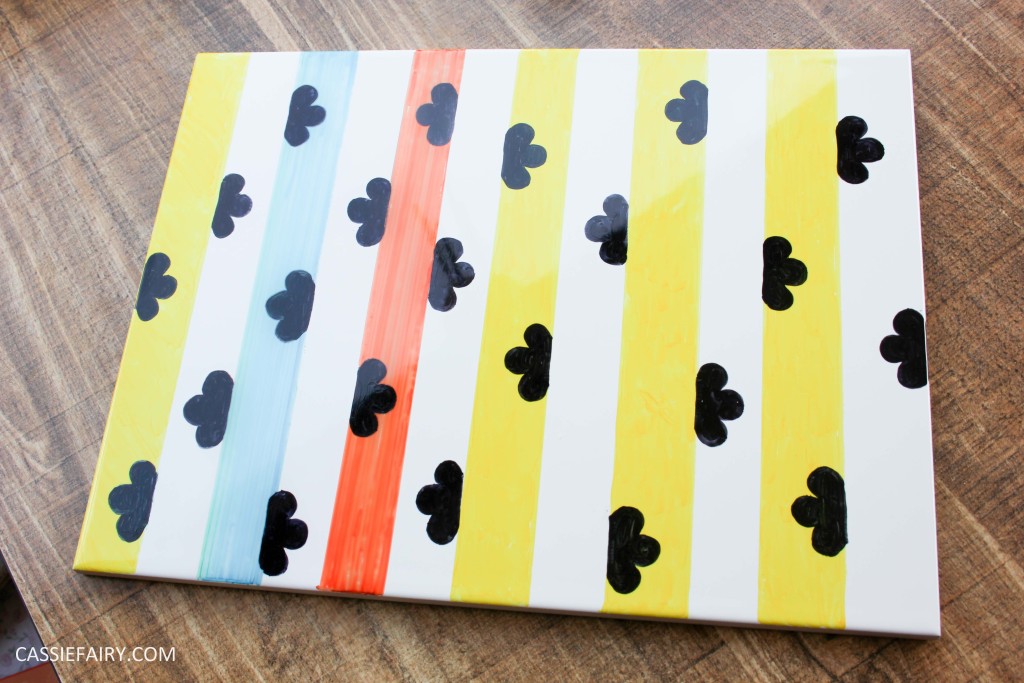
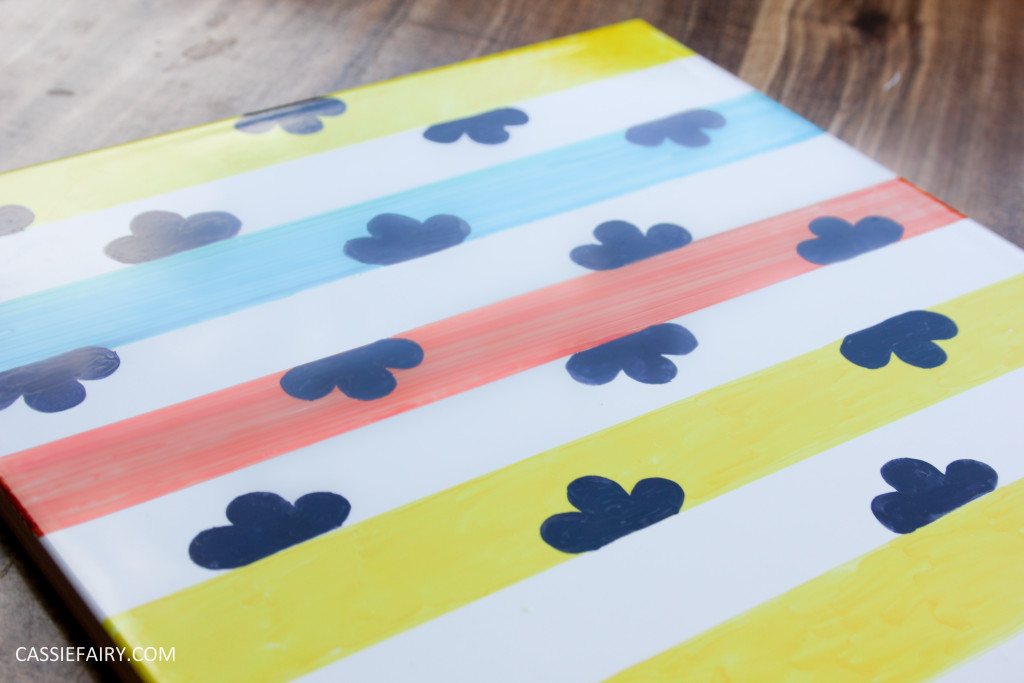 The pattern still didn’t look completely finished until the very final step of adding the bold black lines on top of the coloured stripes. This brought everything together and neatened up the edges for a defined finish.
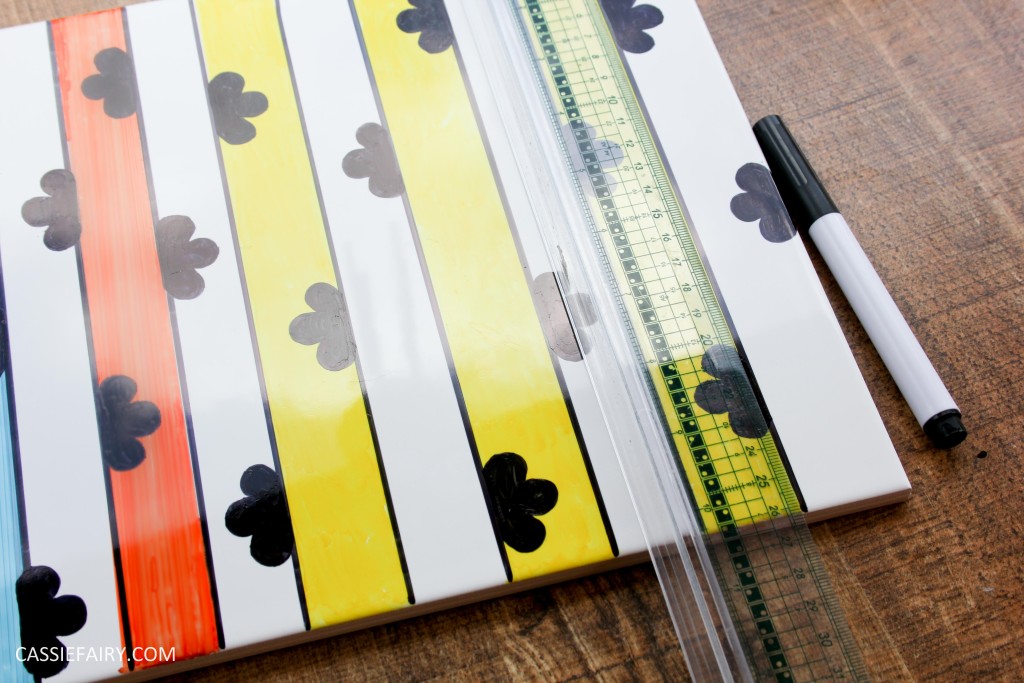
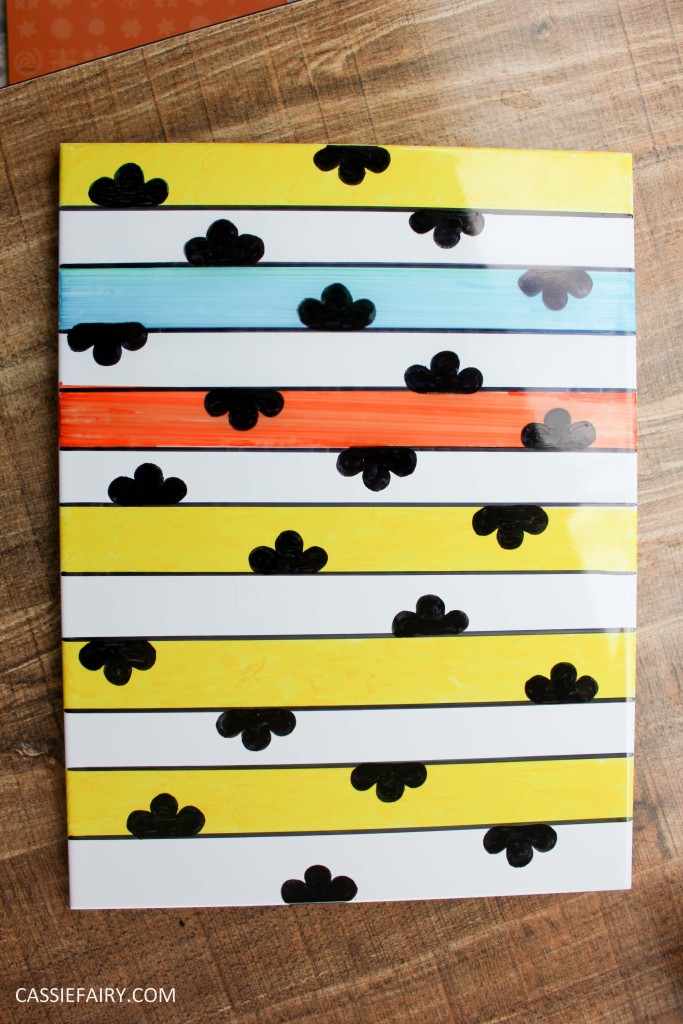 Although I’m not 100% happy with the finish – I think I’d like the colours to more ‘solid’ rather than watercolour – I really like the pattern and I think that it kind of reflects the fabric that inspired me.
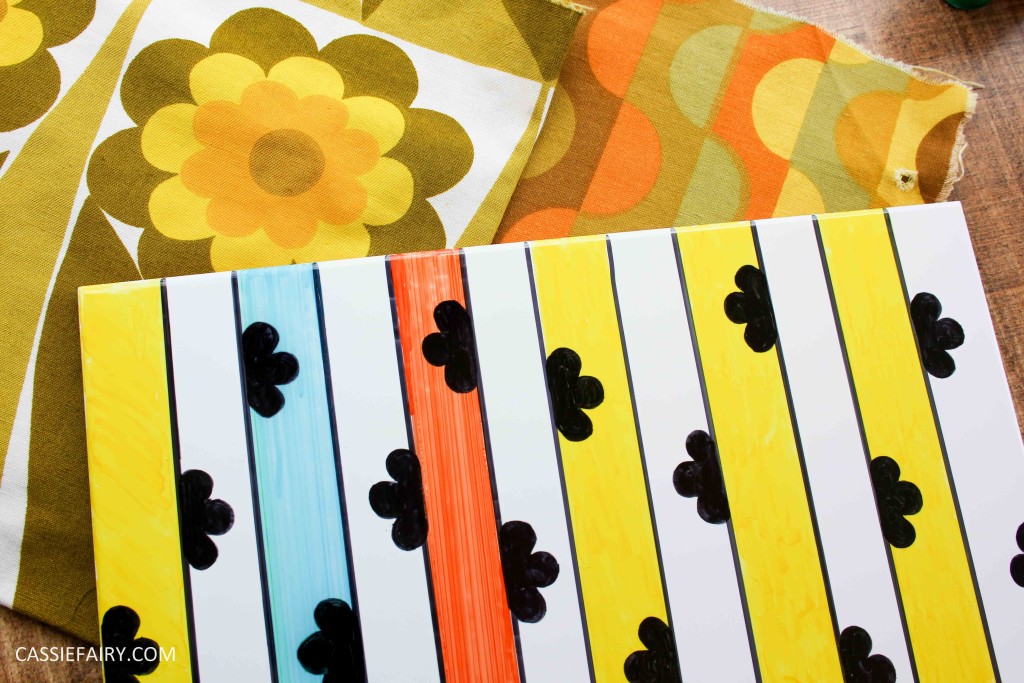
I’m pleased that my first attempt at ceramic painting didn’t end up super-messy and I enjoyed the process so I’ll definitely be using my new ceramic paints and pens again in future projects. Let me know you too have tried tile painting and how you got on by leaving me a comment below.
Some items in this blog post have been gifted to me and the pink links indicate a gifted product, affiliate link or information source. All thoughts and opinions in this post are based on my own experience and I am not responsible for your experience 🙂




2 responses
Ooh can’t wait to see how you get on with it Laura 🙂 I just gave it a go and the design emerged as I went along, probably should have planned it in advance but I’m just pleased to try out something new!
Oh that is so cool! I’m slightly nervous now as I’m trying out the tile decorating this weekend and I don’t think I can top that, you have such a good eye for colour! xx
Laura | Loved By Laura