This has to be the quickest DIY project I’ve ever done. I don’t even have a step-by-step guide to share with you. But I do have some before and after photos so you can see just how effective this easy project is. Roll on wedding season!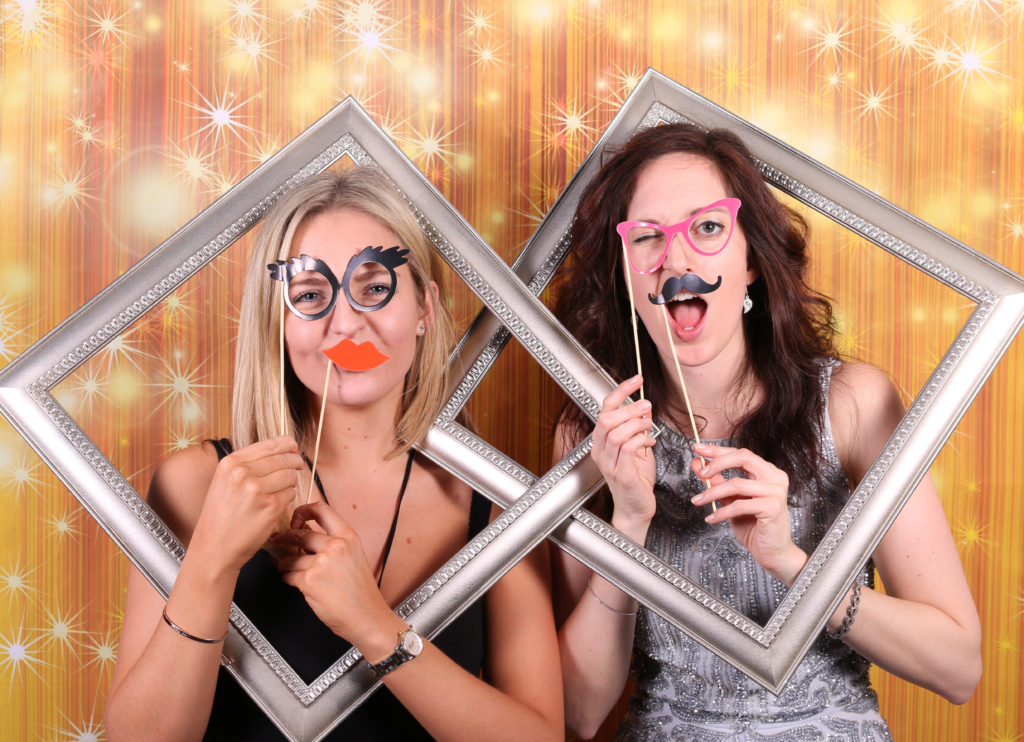 I wanted to make some pretty frames to use in a photobooth at a party. These are great for Christmas parties, birthdays, hen parties and anniversaries. And of course, the photobooth is almost a tradition at weddings now! This project really was as simple as:
- Take the back off an ornate picture frame and remove the glass
- Spray paint with metallic paint.
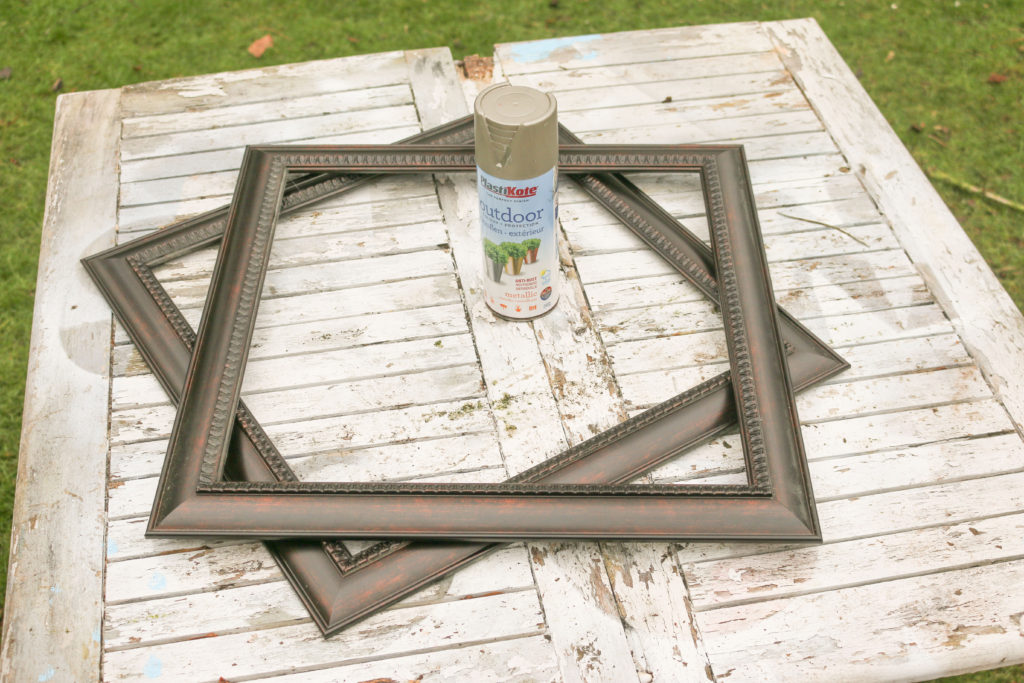
Okay the 3rd step might be to give the frames a second coat of spray paint. It’s important to only spray paint with fine coats of paint to make sure that the paint doesn’t drip. So it’s better to do two or three thin layers to build up the colour rather than one thick coat. And…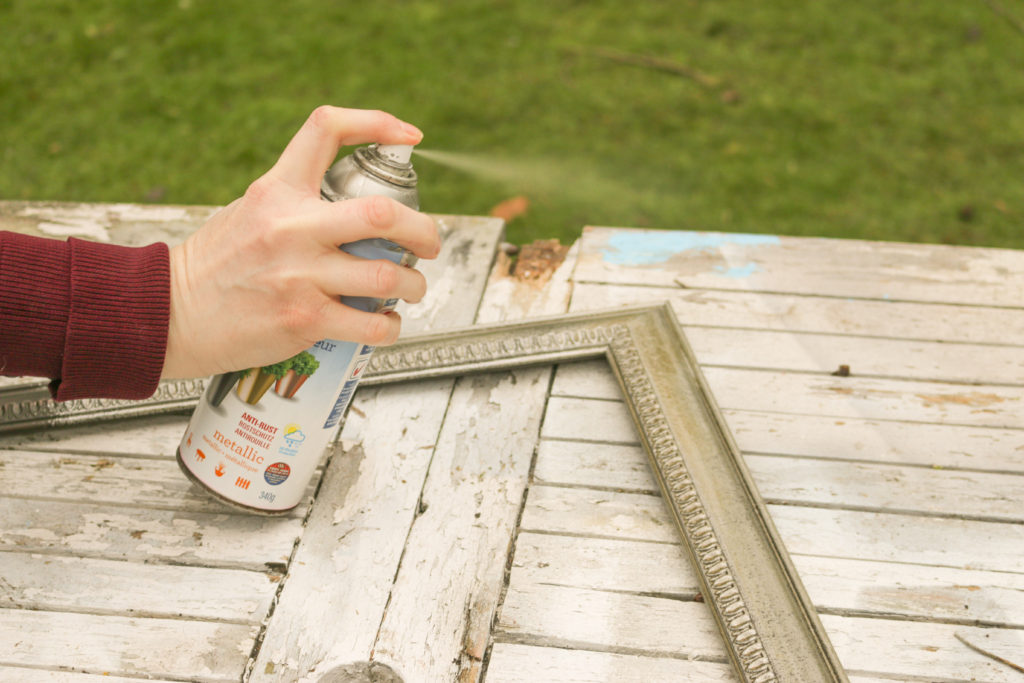
If you’re using a plastic-coated frame, start the spraying process with a coat of primer spray paint so that the metallic colour has something to adhere to. So that’s a maximum of four steps to turn a picture frame into a photobooth prop.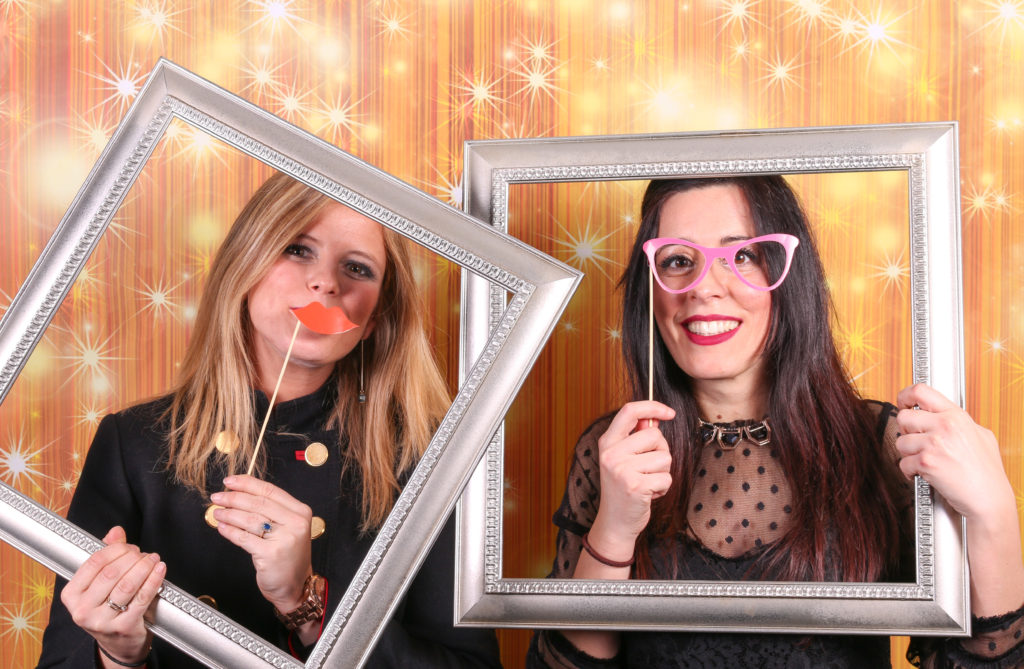 If you want some other options for party guests, why not cut out some acccessories from cardboard and tape onto a bamboo skewer. Some great shapes are glasses, moustaches, bow-ties, crowns and pouty lips.
I hope these ideas have been helpful if you are planning a party or wedding. Let me know what other photobooth props you can think of in the comments below or tweet me @cassiefairy with a pic of your own upcycled photo frame 🙂



One Response