Well, my year has got off to a cracking start..! If you detected a hint of sarcasm in that first sentence, you’d be right. A mysterious water problem quickly turned into a day of emergency repairs, with floorboards taken up, holes drilled and plumbing problems. Here’s what happened…
Yesterday morning, I came downstairs to find a puddle in my kitchen. Looking up, it was obvious that the water was coming in from the ceiling. There was a small brownish watermark on the ceiling and just a little drip, but it must have been at it all night. And where had it come from?
With the aid of a tape measure and transferring the measurements of the drip patch from the kitchen ceiling to the floor above, it looked like the location was somewhere between the bathroom and bedroom. So we decided to lift up a floorboard in the bedroom to have a look at what was going on.
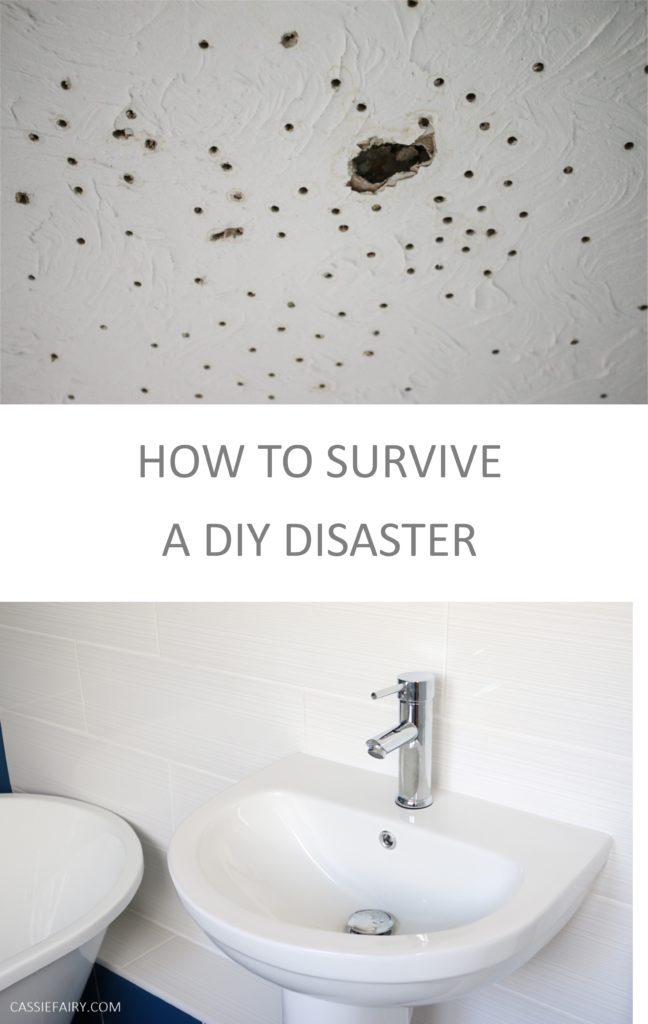
HOW TO SURVIVE A DIY DISASTER
- Don’t panic!
- Turn off the water, gas or electricity supply
- Locate the source of the problem
- Anything specialist – electricity, gas, roofing, plumbing etc – should only be tackled by a professional
- Call out a local tradesperson to take a look at the problem
- If there’s an obvious fix to be done that doesn’t involve anything dangerous, electrics, gas, etc you can attempt a temporary fix
- Call your insurance company to see if the repair is covered by your policy
- Know that every problem can be resolved with a little time and money so don’t worry!
Anyway, back to our little problem…
Once we got the floorboards up, between the joists was a glistening layer of moisture. Not a pool, but a definite wetness. But there were no water pipes nearby, so the only cause of the leak must be in the bathroom next door. Within an hour the toilet was removed, the sink pedestal was was taken out and we had located a microscopic gap in one of the plumbing joints. It must have been leaking for about 6 months to have accumulated enough water to cause a drip – or so we thought.
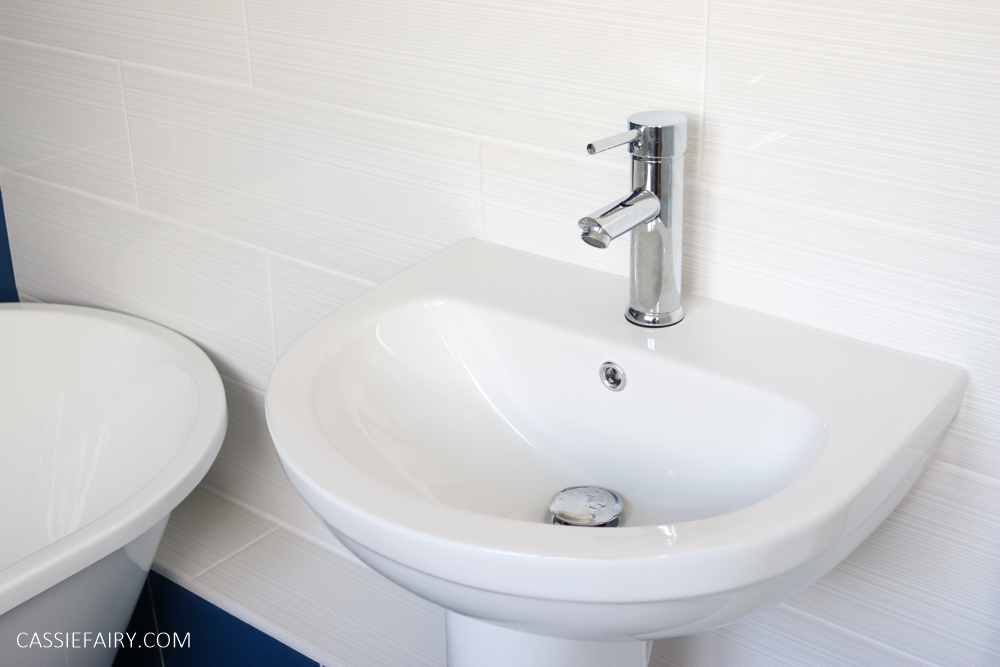
The bathroom was the first thing we renovated before we moved into the house (because there’s never a good time to be living in a house without a toilet!) so it’s only about 3 years old. Having lived with the ‘facilities’ for a while, you start to spot things that could be better and we had only recently been considering getting a water booster pump to improve the shower flow and changing the sink hardware for easier-to-use versions.
However, all those renovation plans for 2020 went straight out the window when we realised yesterday that we might be in for a big plumbing bill to solve our mysterious drip! The water was still steadily dripping down into the kitchen so we investigated further by widening the drip hole and attempting to trace the water leak.
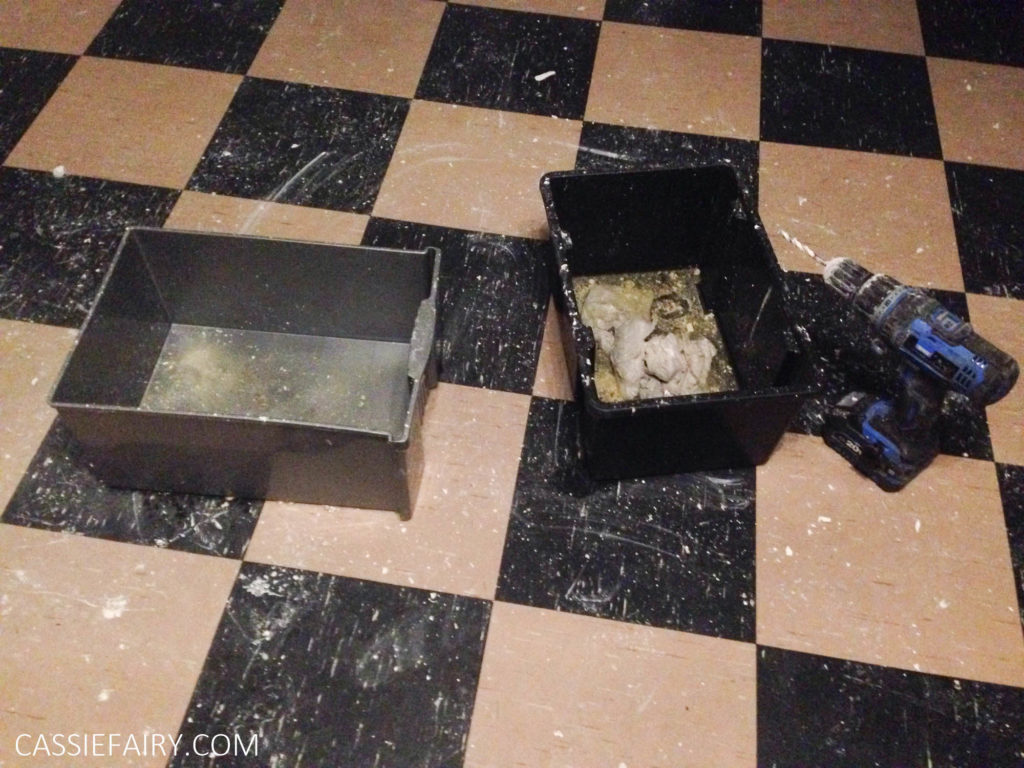
Although there wasn’t a huge amount of water there anymore, it did still seem rather wet, so we decide to drill another hold beside the first hole. And that’s when the water started pouring out! We scrabbled around for jugs and tubs to catch the water and waited for it to slow to a trickle. Then we drilled another hole and the same thing happened again! Apparently there was a lot of water to empty from the cavity above the ceiling.

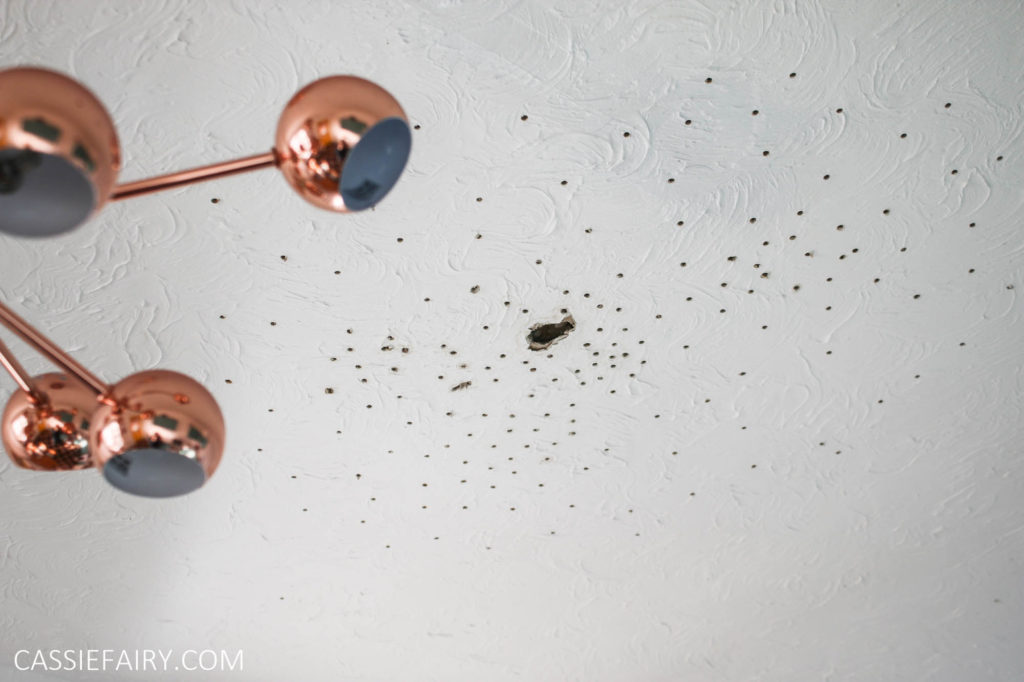
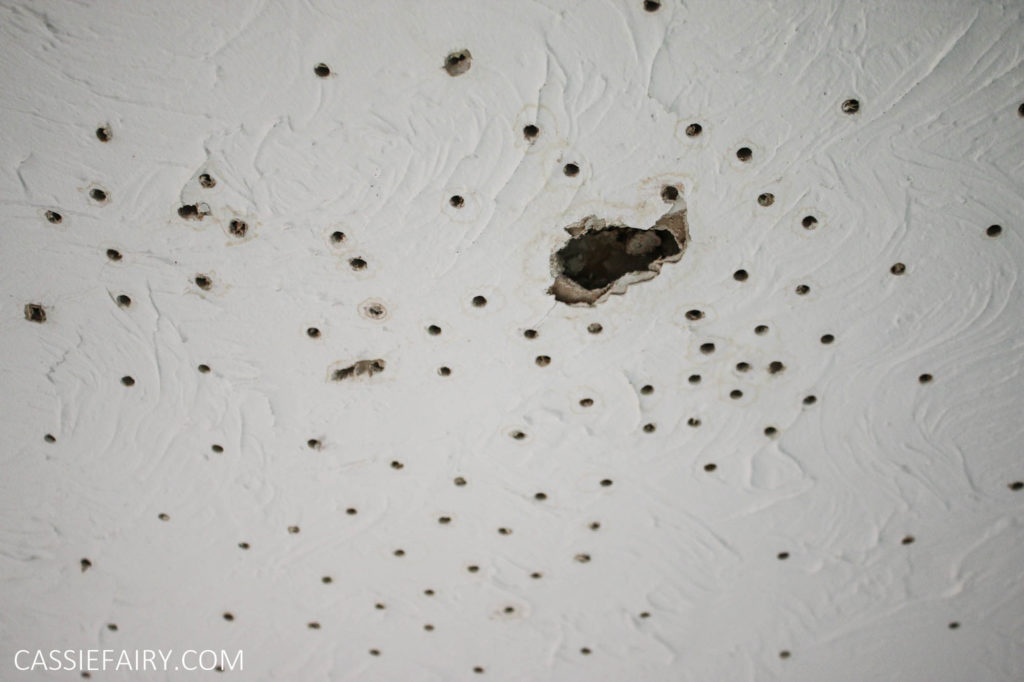
Once all the water was drained out we could get on with having the bathroom problem repaired. All the drilling turned our ceiling into a sieve! (which really made me chuckle and I couldn’t resist taking a photo) While I don’t recommend that you drill your ceiling if you’re ever in the same situation, luckily for us the ceiling has a textured finish so I’m sure we can fill and paint those holes in the future and they won’t be noticeable. In the meantime, they’re handy for getting air circulating between the joists and drying out any remaining moisture.
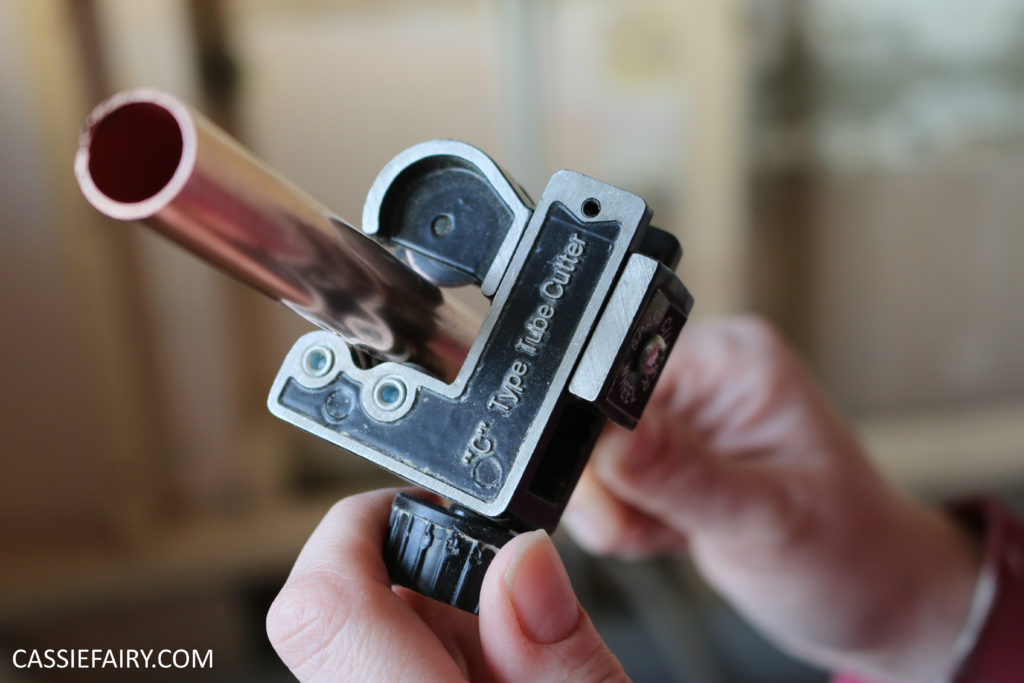
The plumbing problem looked like it was a pipe that was slightly too large for the fitting it was pushed into. It was the difference between a 38mm pipe and a 40mm pipe – but it was crucial in terms of creating a leak-free seal at the join. After a visit to Screwfix for new plumbing parts (thank goodness there’s one right up the road) and a few hours of repairing, the leak was stopped and we had a new join behind the sink.
So a day that started off with a rather scary DIY emergency ended with a solution to the problem, our bathroom being almost back to normal and a thankfully low repair bill. Now I just need to clean up all that plaster dust that smeared all over the kitchen floor when we mopped it..!
Have you ever had any DIY disasters in your home? Let me know your stories and how you managed a quick fix in the comments below 🙂
PIN IT FOR LATER
This article is a sponsored collaboration. The pink links in the content indicate a sponsored link or information source. The blog post reflects my own experience and the sponsor hasn’t had any control over my content 🙂


One Response
Wow! I would never have thought that such kind of trouble could happen! At first, from what I saw in the photo, it seemed to me that you intentionally drilled holes in the ceiling)) And I did not understand what it was for. But after reading the article, I realized what the problem was. I once had a similar situation, but there it was clearly visible what was the reason, and I didn’t have to look for hidden tricks. I am very sorry for your trouble. But I am sure you will quickly deal with the problem and share with us your renovations in your blog) Good luck!