I’ve got something I want to admit to you all. The pallet bar is gone.
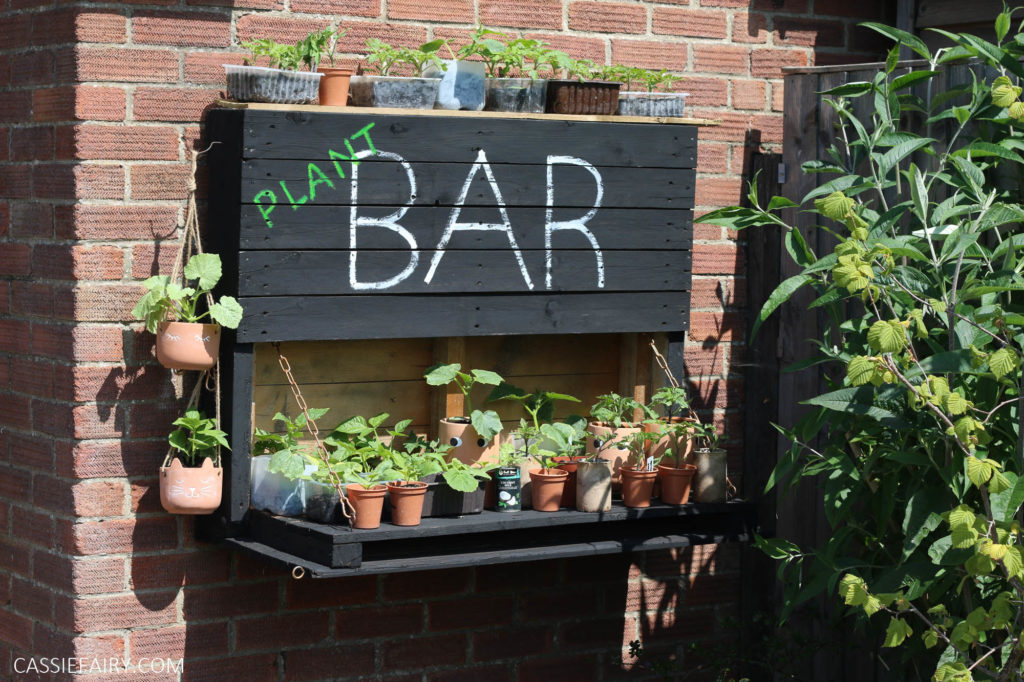
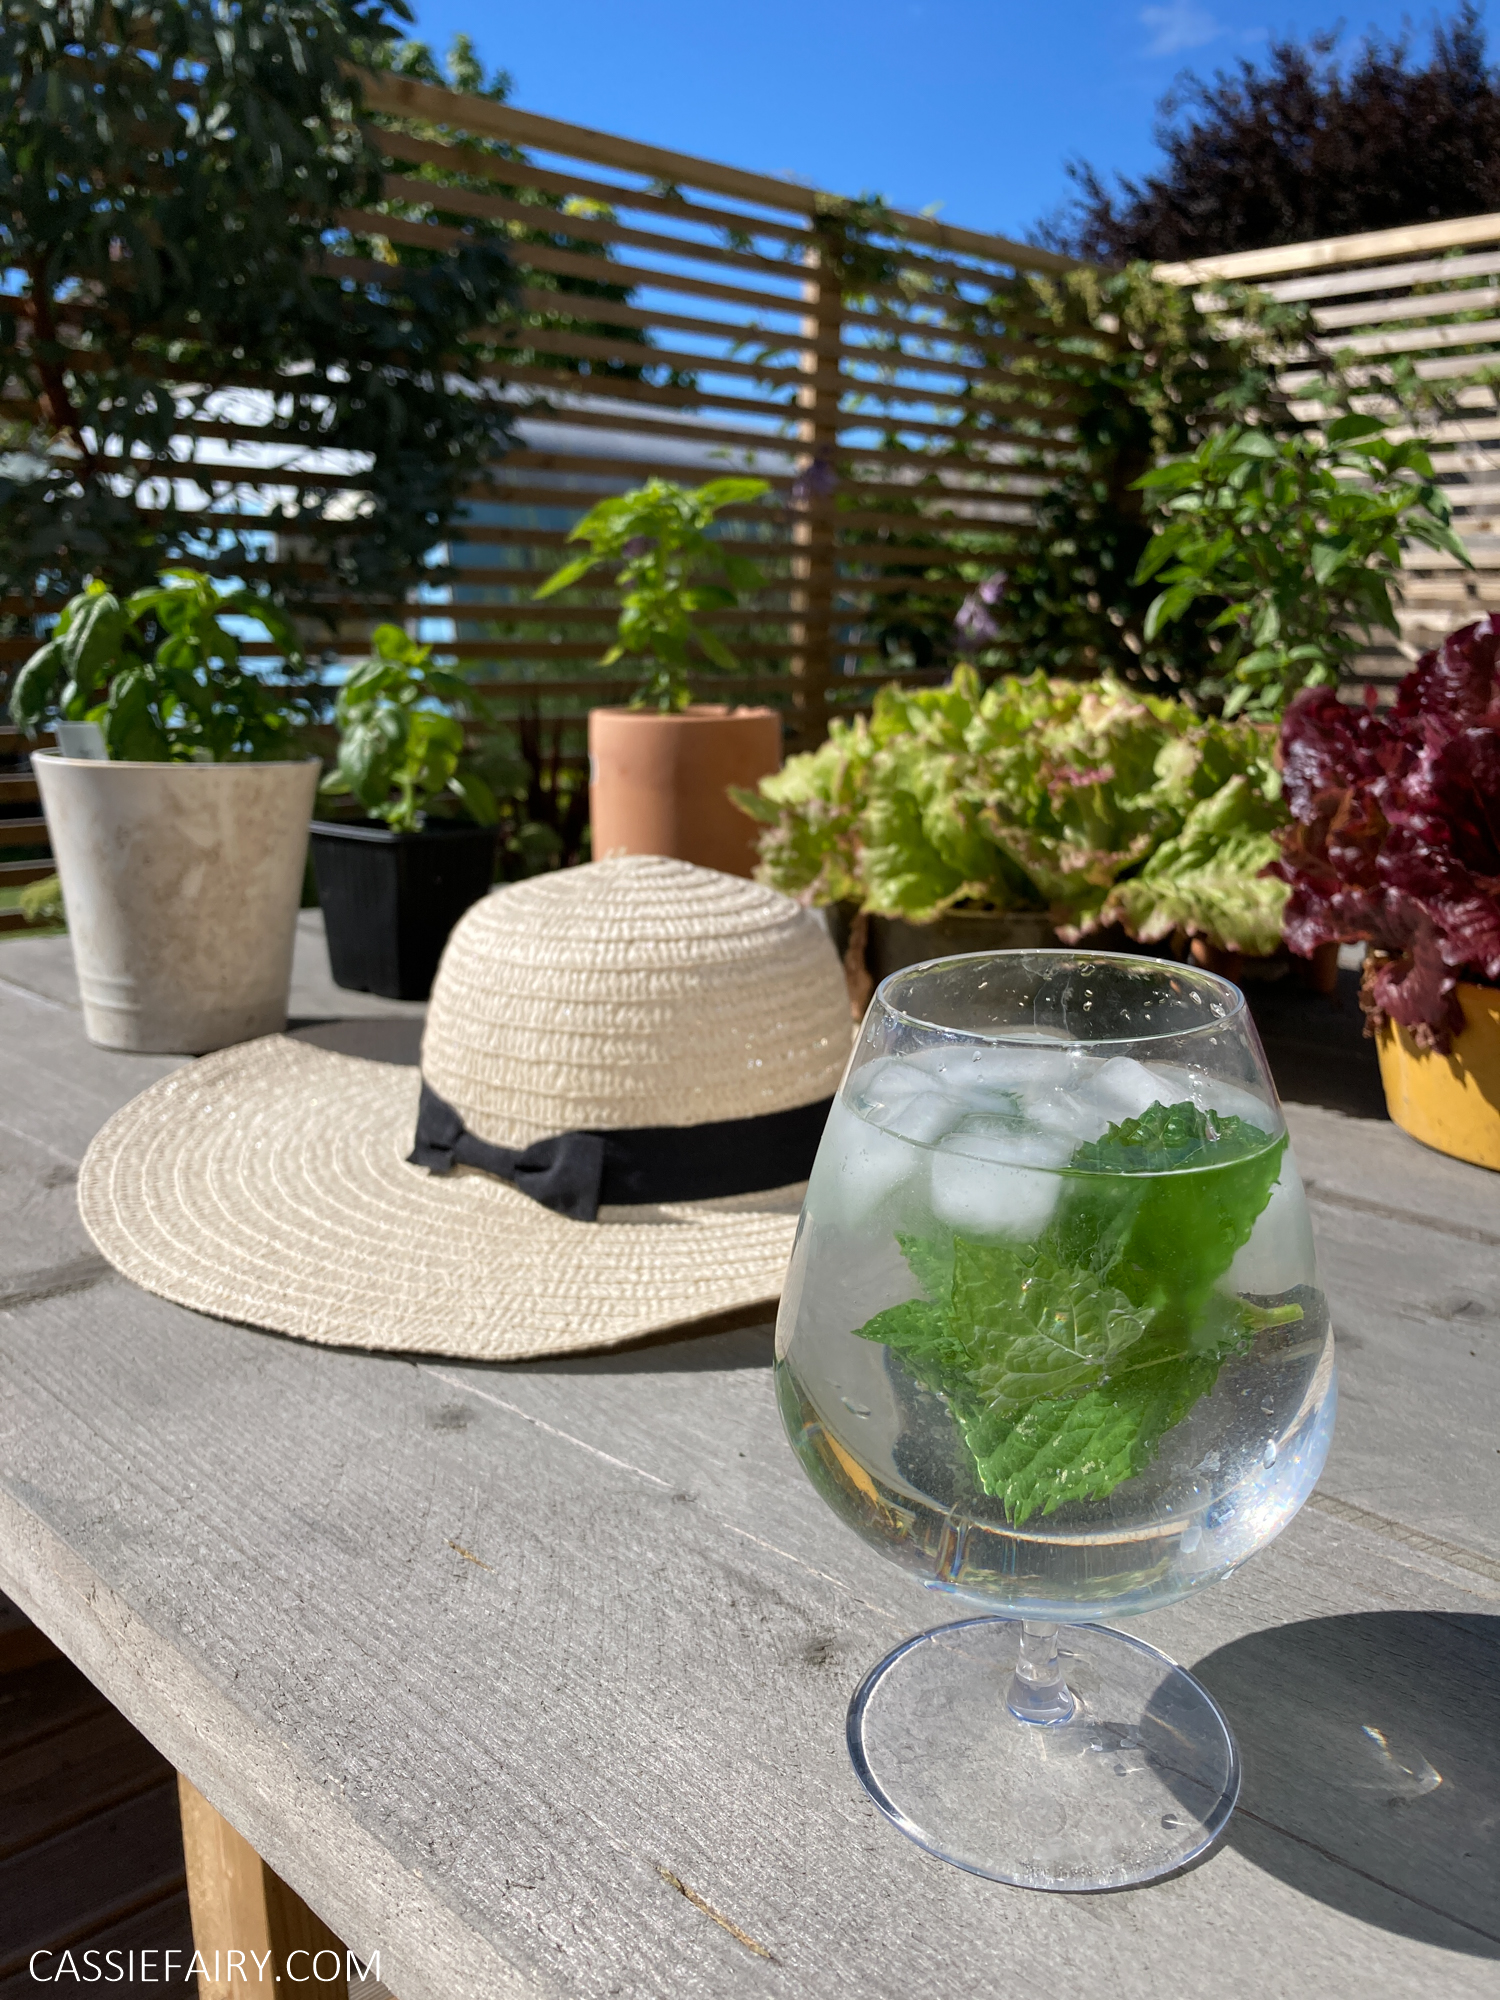
Well, it hasn’t gone gone – it’s just been repurposed this summer, and for good reason. I’ve decided that growing veg is more important than having an alfresco G&T, so I’ve given over my much-loved pallet bar to create a nursery space for my seedlings. The pallet bar is on the sunniest wall in the garden and provides plenty of space for laying out my trays and pots during the day.

The bar is still the same as it ever was – in fact it’s a bit better because it’s had a fresh coat of paint. After 18 months in the garden the chalkboard paint was looking a little worse for wear and needed a quick tidy up.
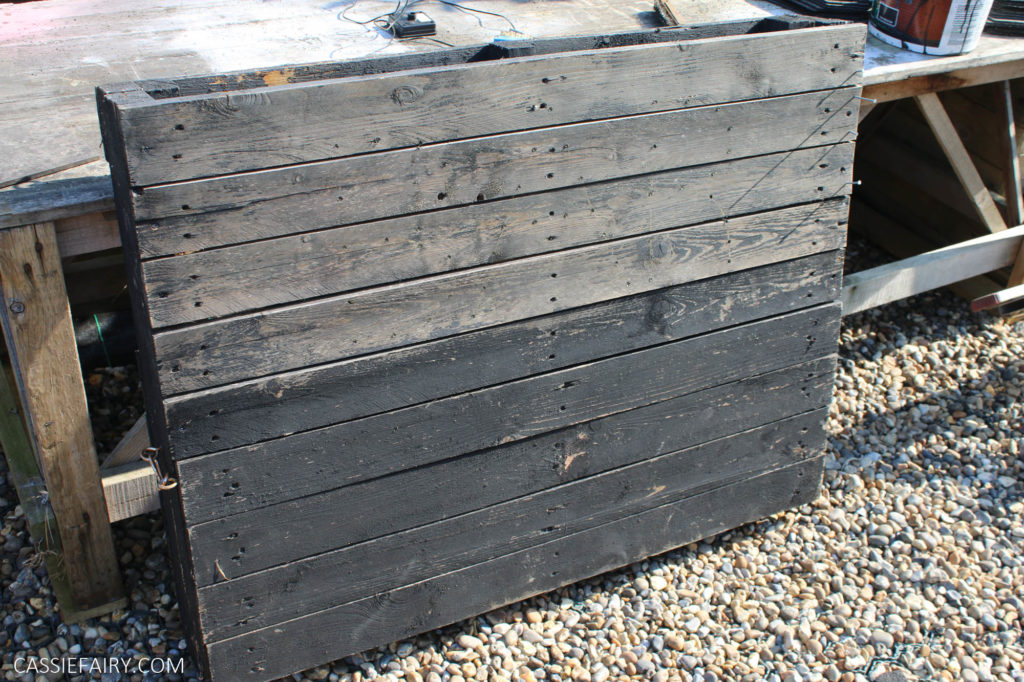
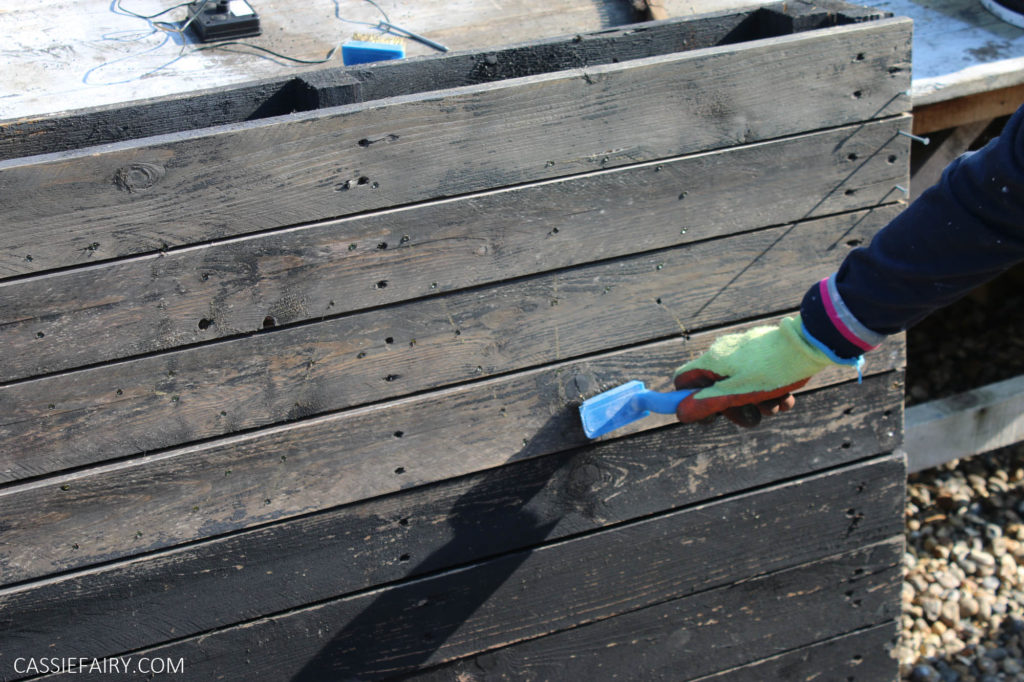
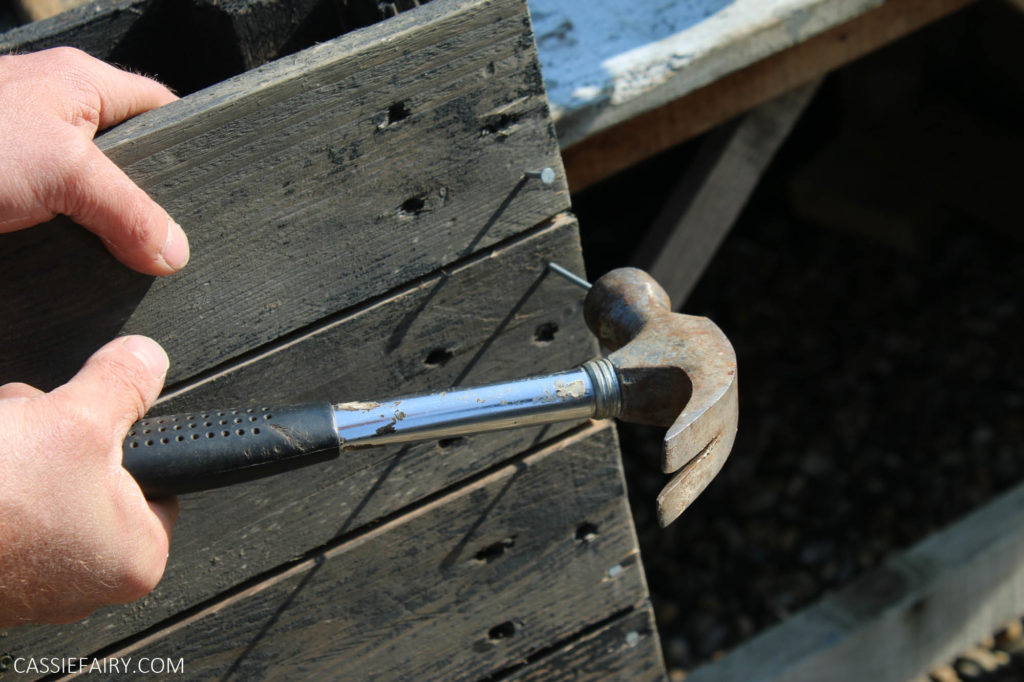
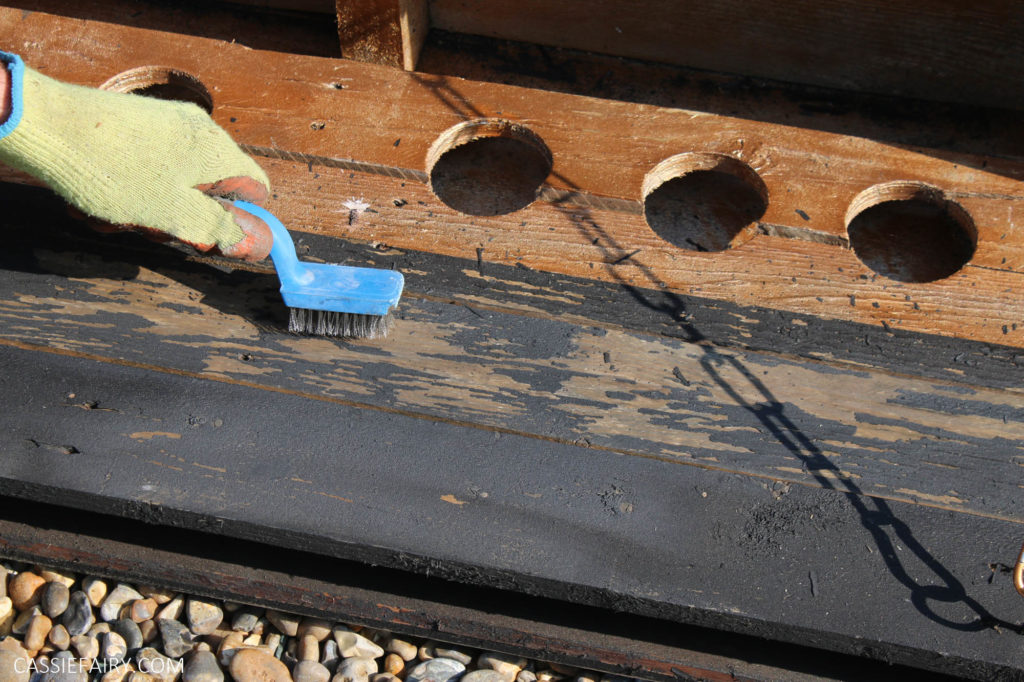
Firstly, we unhooked it from the wall and assessed the condition. The old paint was flaking off a little so I scrubbed it off with a wire brush to smooth down the surface. A few boards needed a couple of extra nails to keep them firmly attached to the frame so we made this repair at the same time.
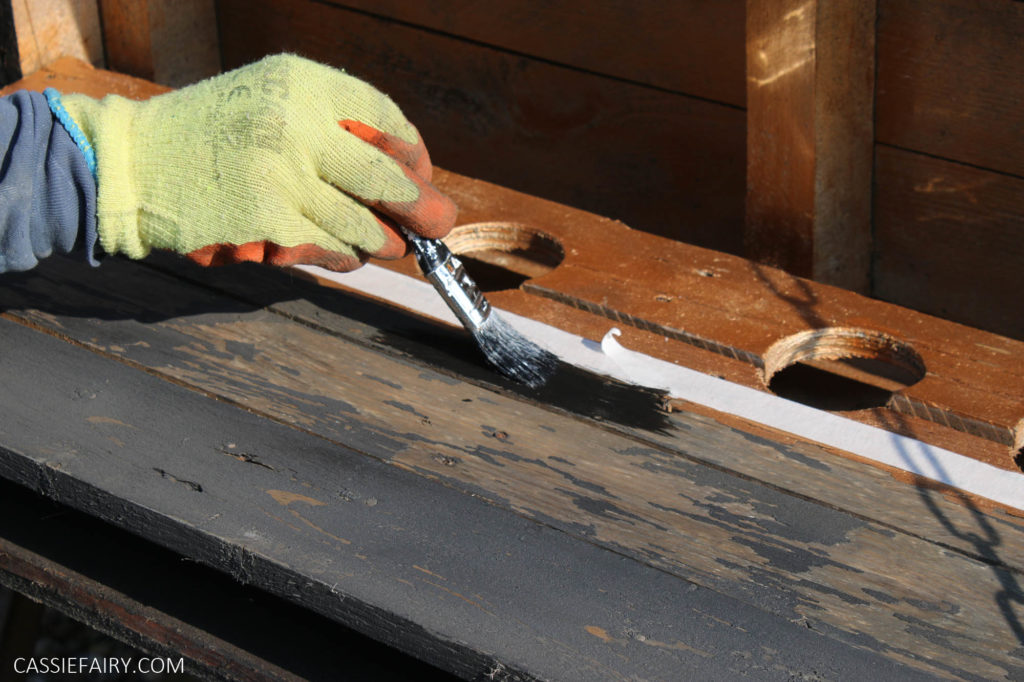
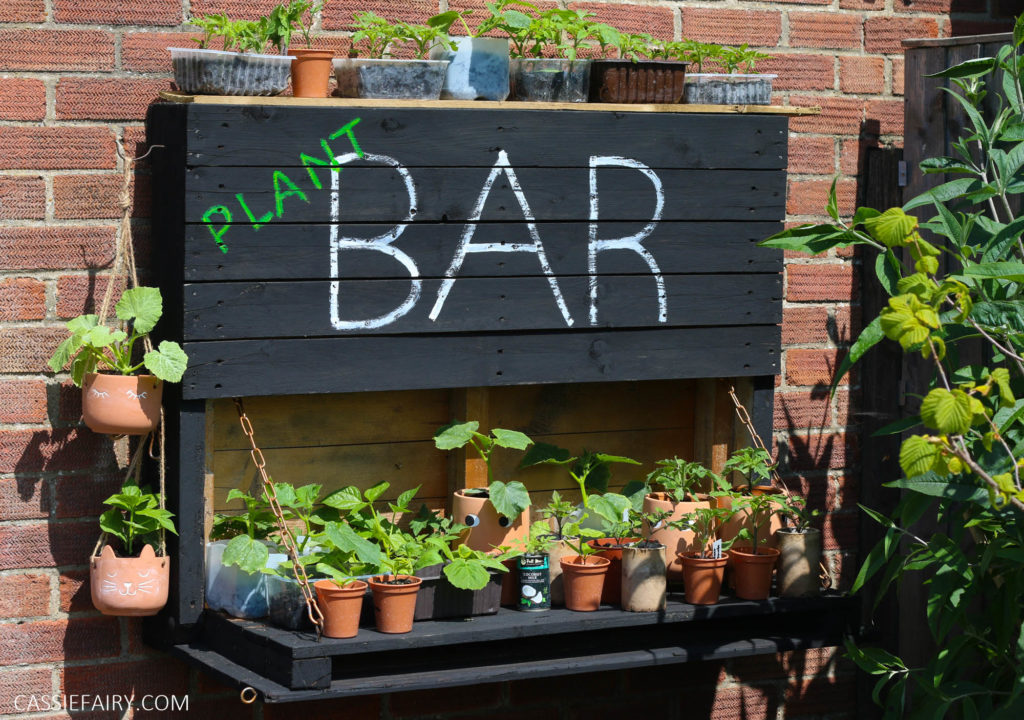
I was super-excited to give the pallet bar a fresh layer of ‘black oak’ garden paint. In fact, I very nearly skipped the scraping and repairing steps because I was so keen to slap on that paint and refresh the look of the pallet bar! I was careful not to paint over the copper interior as I like how this looks and the paint hasn’t faded. And, after all, it might go back to being a bar once the seedlings have grown!
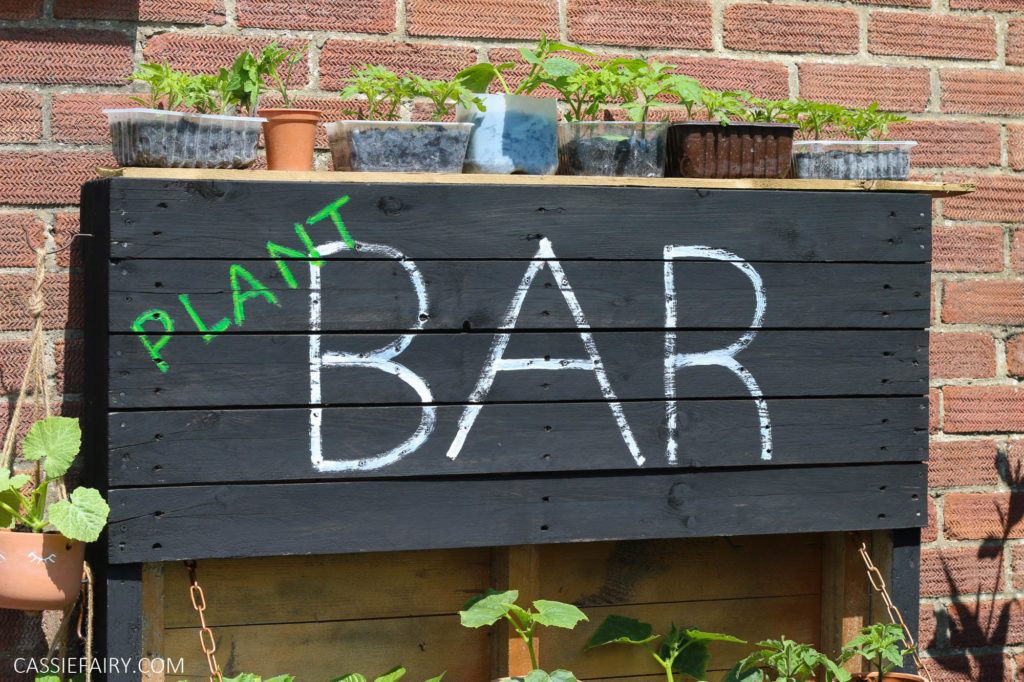
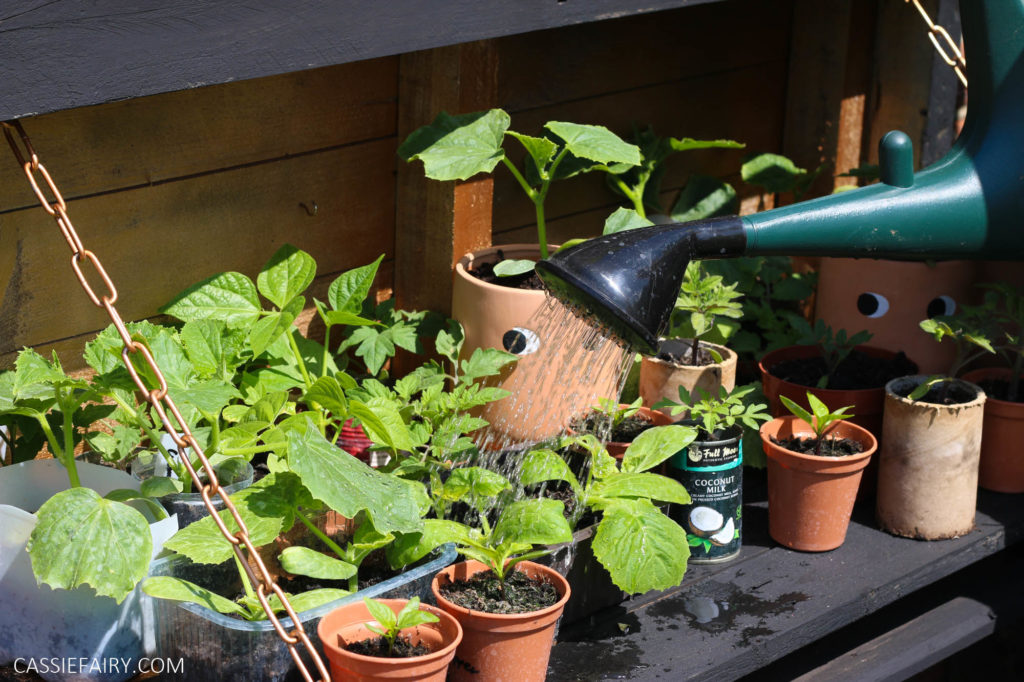
We also added a little extra signage on top of the original light-up BAR sign and hung it back on the wall. We piled on the plants so that they can benefit from the lovely sunny spot in our garden while they’re growing – all of these tomato plants, peppers, courgettes and beans were grown from seed.
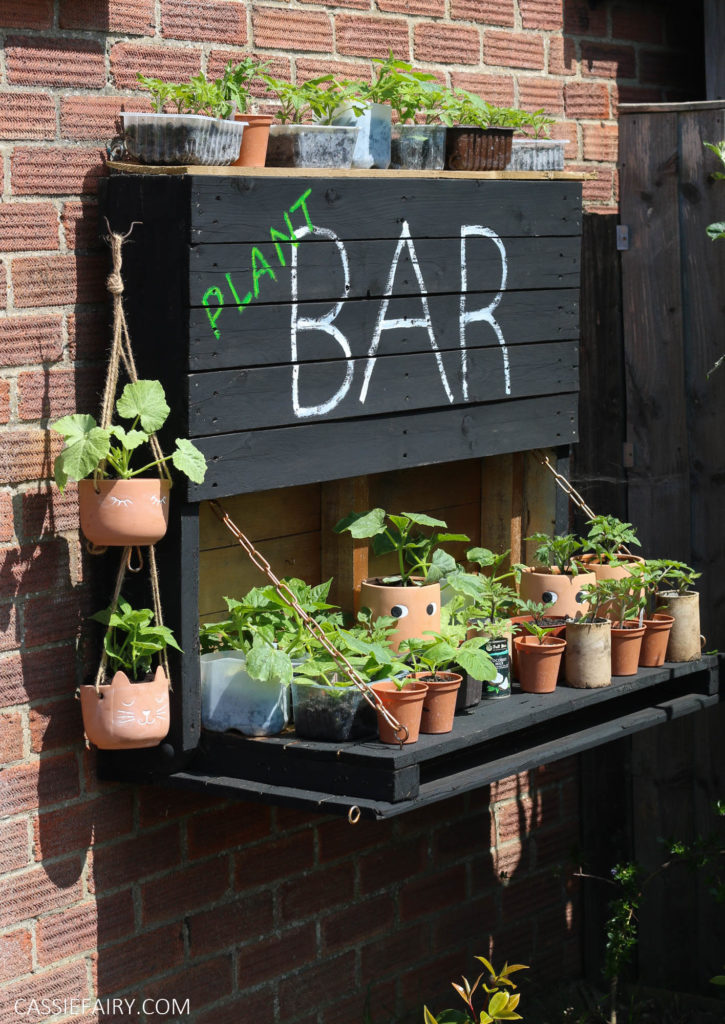
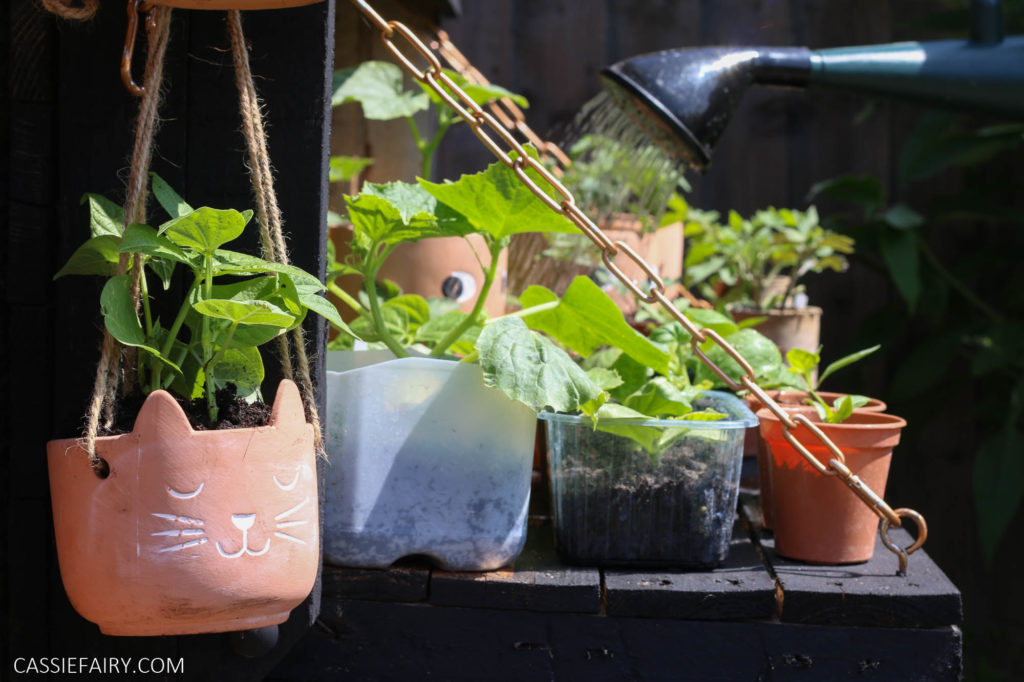
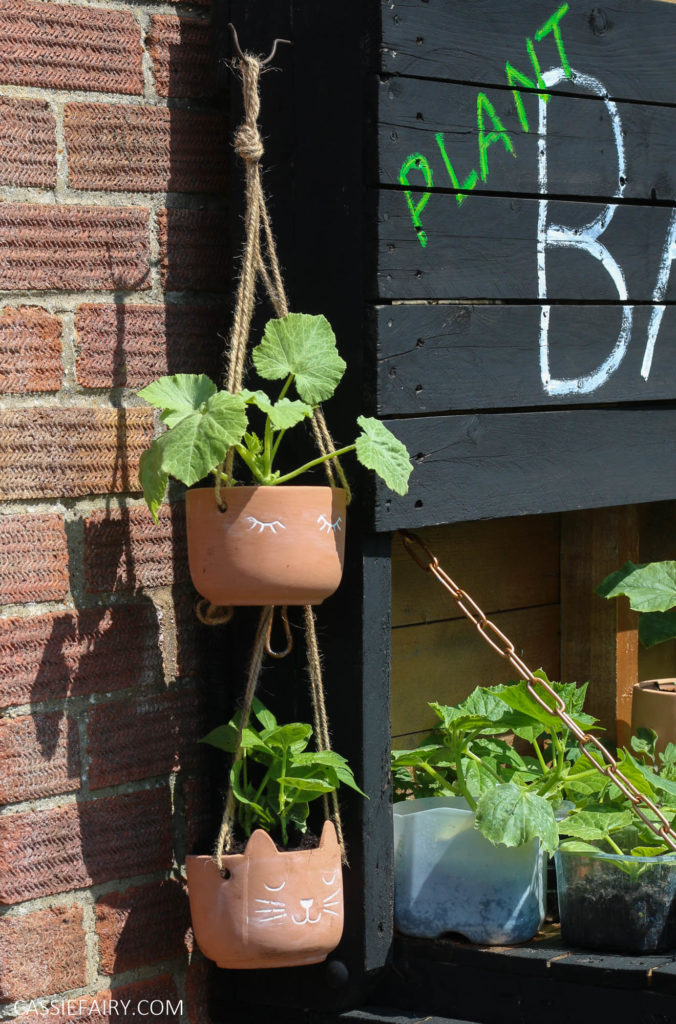
I’ve added hooks to the sides of the pallet bar to attach my hanging terracotta planters (how cute are these cat and eyelash designs?) and provide more space for growing plants.
I’ve discovered that the bottle holders we cut into the original pallet bar using a hole saw are just the right size to hold plant pots and the fold-down surface is ideal for trays of growing seeds. We keep the seeds on a windowsill above a radiator (as recommended by Gardeners’ World!) overnight and then, on sunny days, we bring the trays outside to enjoy the warmth and light.
I think that terracotta pots work perfectly with the copper interior of the pallet bar so I’ve added some low-cost ones that I bought from Wilko last year, as well as a couple of stumpy planters that I was kindly gifted from Red Candy. I couldn’t resist these cute little eyes!
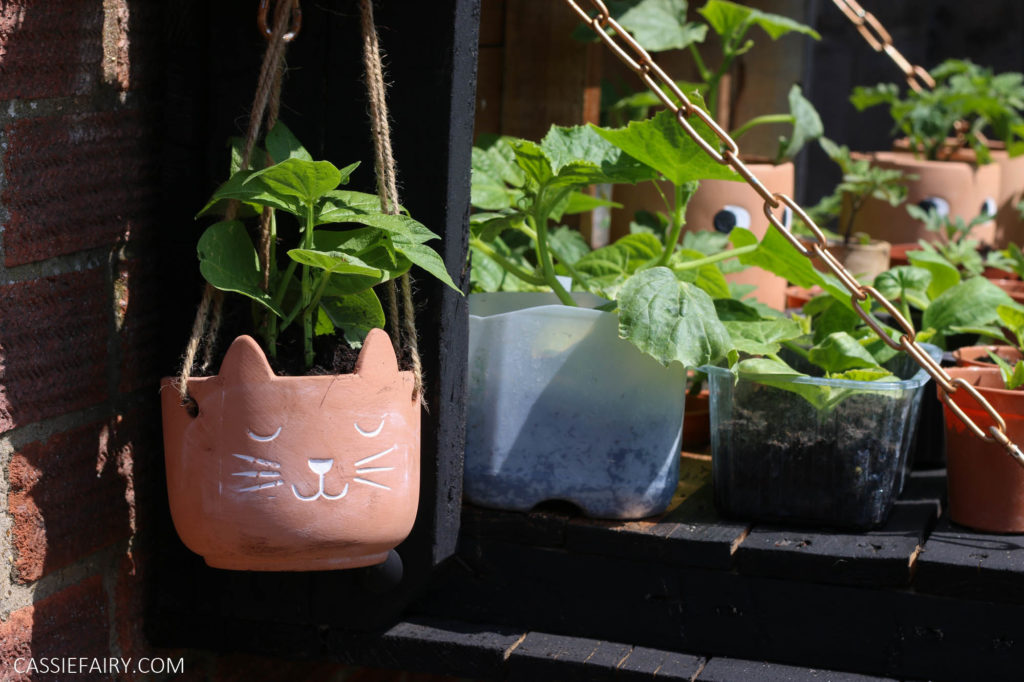
We’ve also made-do with any pots and tubs we had in our recycling bin – punnets and trays are ideal for growing seedlings. And when the plants get a bit bigger they get moved onto halved plastic milk bottles, toilet roll tubes and even tins with drainage holes pierced into the bottom!
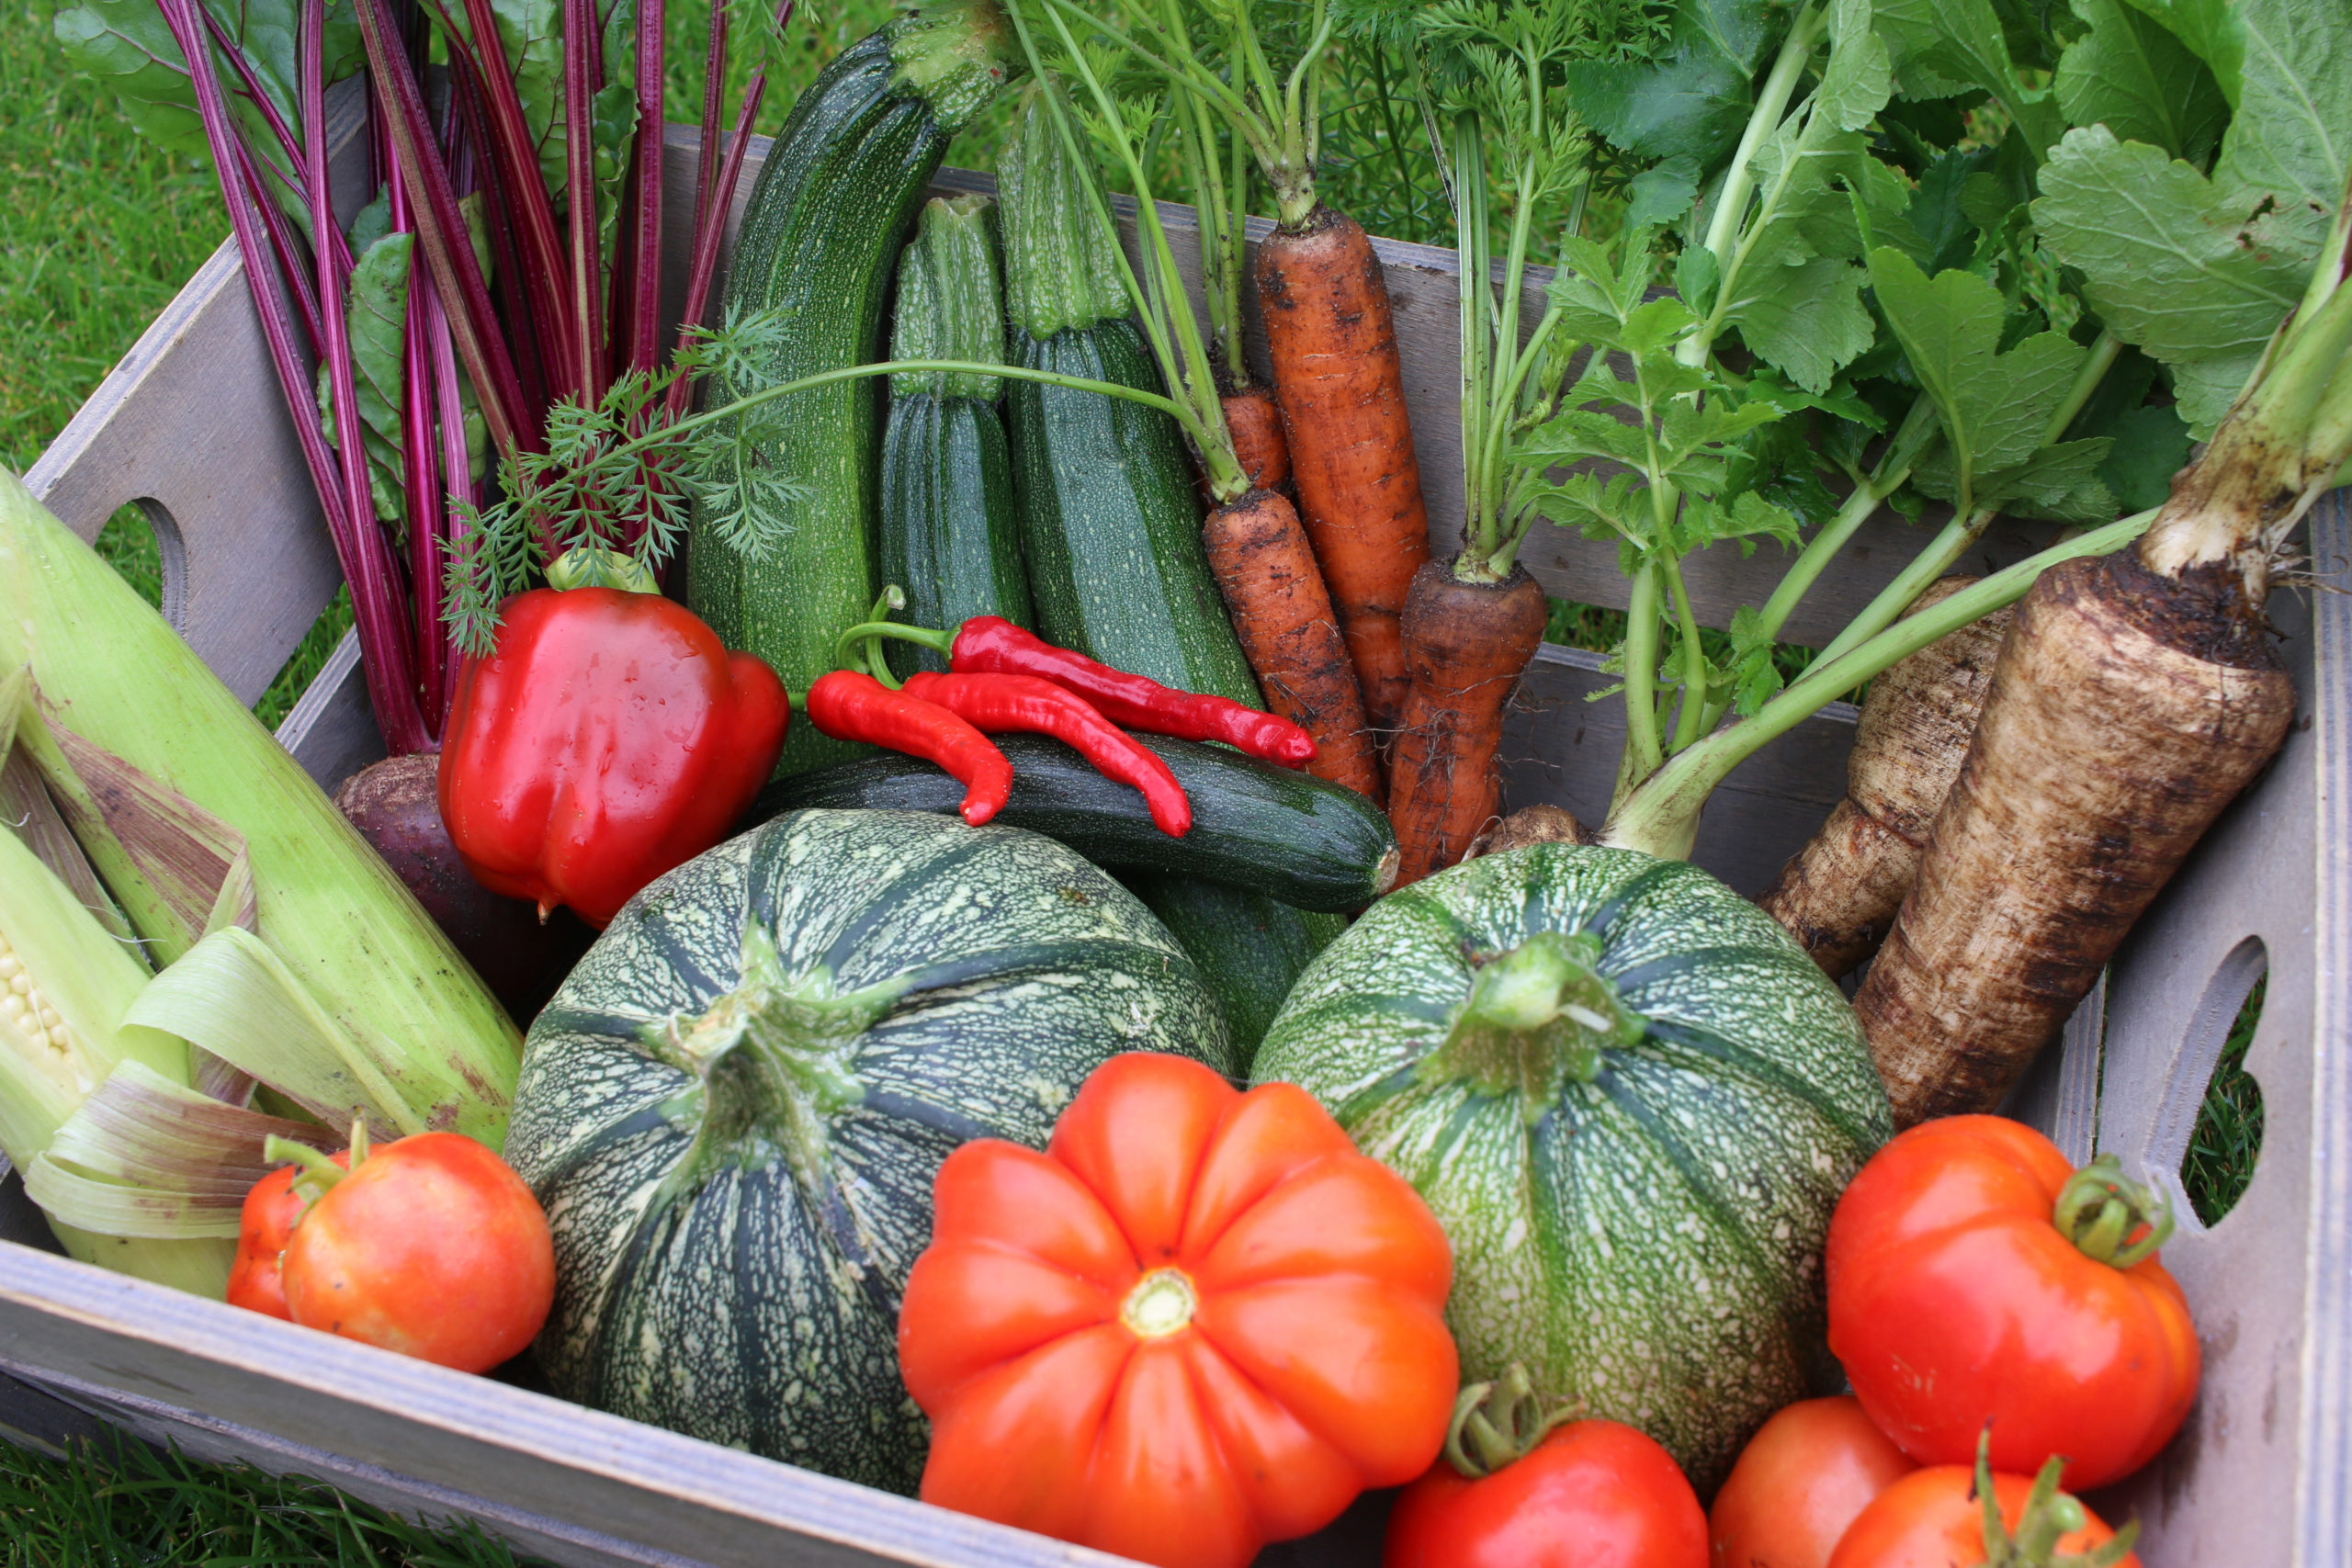
Luckily we’ve only had a handful of seeds fail – one bean, and a sprinkling of cherry tomatoes. Everything else has come up beautifully and I am so excited to be able to plant them outside soon.
If you want to have a go at making this for yourself here’s the link to the original pallet bar project on my blog. Let me know what you’re growing in your garden in the comments below. Also, I’d love to see photos of your own pallet bar projects so please do get in touch if you’d like to share some pics!
PIN IT FOR LATER

Some items in this blog post have been gifted to me and the pink links indicate a gifted product, affiliate link or information source. All thoughts and opinions in this post are based on my own experience and I am not responsible for your experience 🙂


9 responses
Hi Tony, you can find it here: https://cassiefairy.com/2018/11/08/how-to-diy-a-light-up-outdoor-bar-using-pallets-solar-fairy-lights/ or search ‘pallet bar’ 🙂
Hi where are the instruction for making the Bar from a pallet ? Cheers Tony
Hi Ron, Although I don’t have instructions in other languages, you are welcome to translate them for your own use by copy-and-pasting into some translating software
Hello,
Do you have the instructies also in dutch language?
Ron
This is fantastic and fabulous. many people should try this. thank you for sharing this blog.
Hi David, so pleased to hear that you’re making a pallet bar yourself! I think that the wall fixings would be different for everyone, depending on the kind of wall they’re attaching it to. We used some very heavy-duty eye bolts through the back of the pallet bar. These attached to some hooks that we had drilled into the brick wall previously, which allowed us to easily take down the pallet bar over winter if needed. But please feel free to attach the bar in whatever way is best for your wall to ensure it’s securely fixed to the wall. Good luck with it! 🙂
I am following your instructions to make an outdoor pallet bar. I am a DIY novice so cannot work out how you have attached the pallet to the brick wall. I can see what looks like hooks on one of the images and three metal strips or brackets on another image. I am guessing you drill into the wall through the bottom part of the L shape support and fix with heavy duty raw plugs and screws but just need some clarification before going ahead. Your help would be much appreciated (-:
Hi Jennifer, We’ve only made the one pallet bar for our own garden so unfortunately it’s not available to order! There are instructions on how to make your own on my blog if you fancy giving it a go yourself! 🙂
Do you make these ? …. and ship to Canada ? Thx … Jennifer