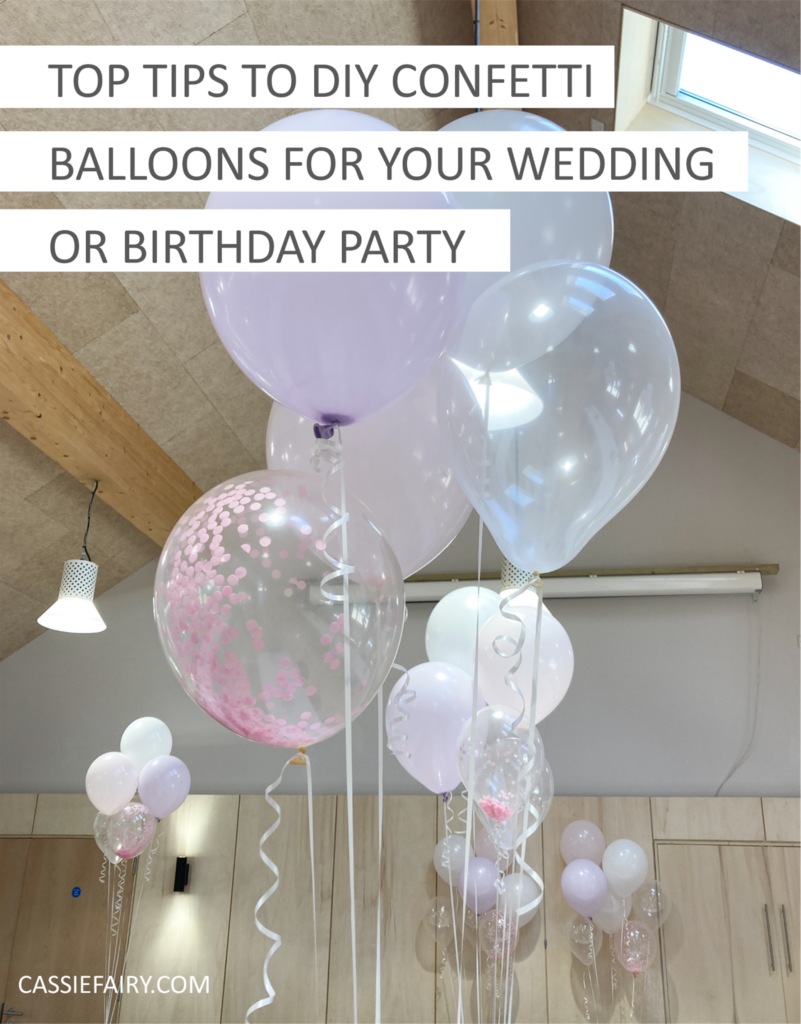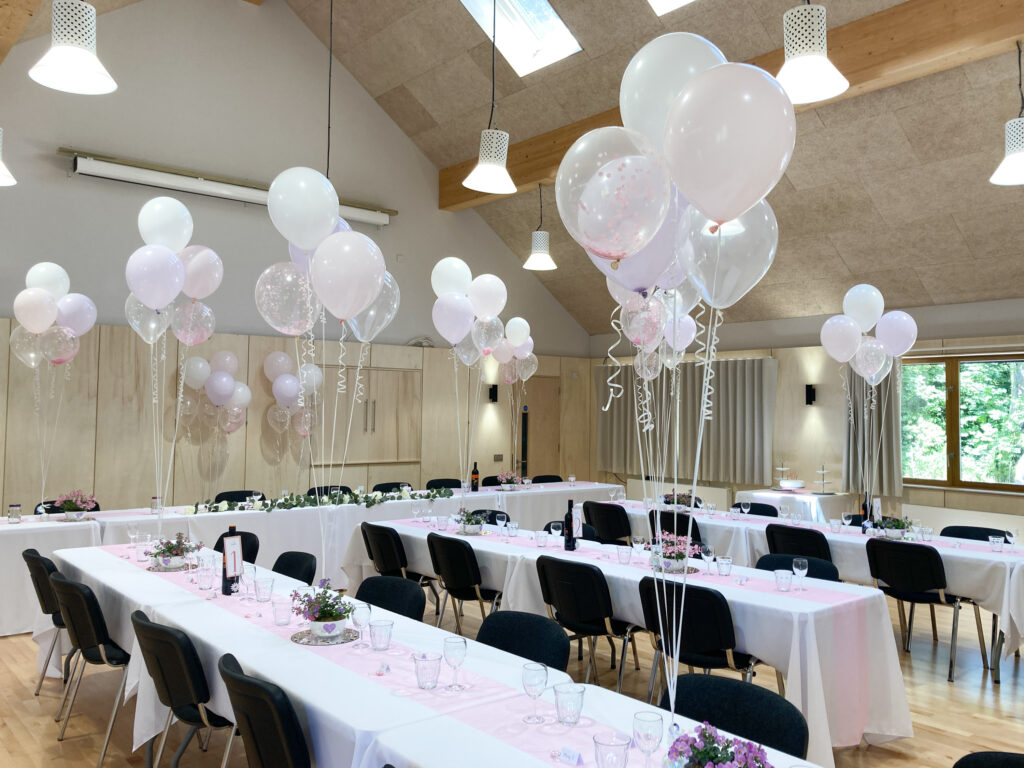
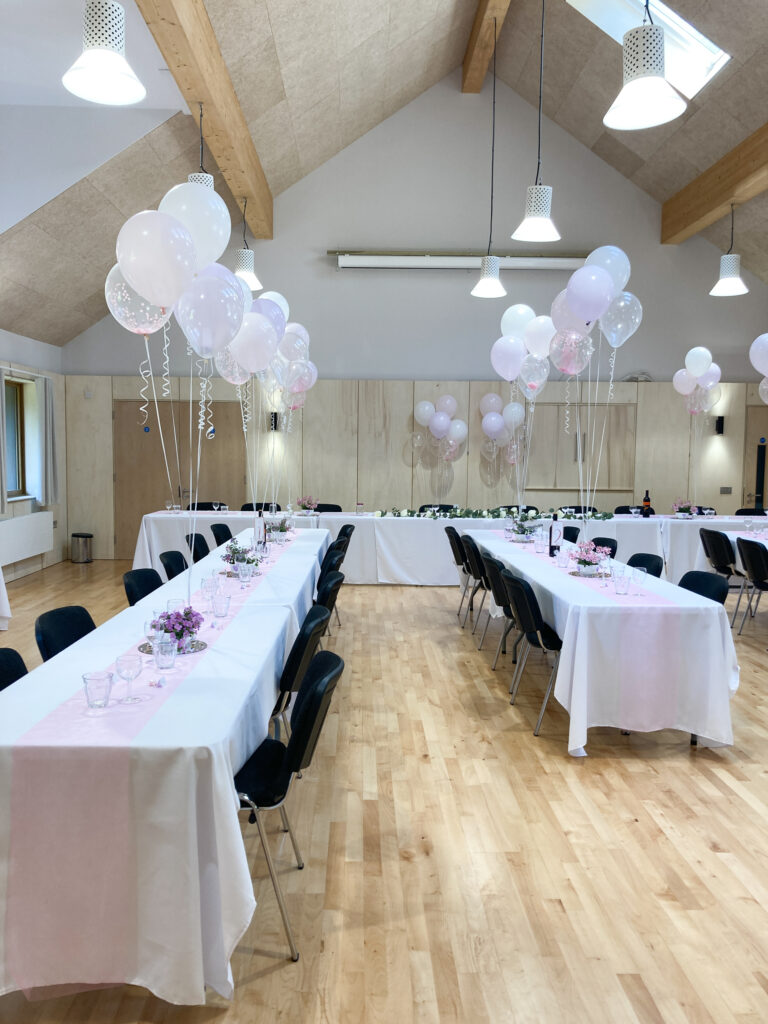
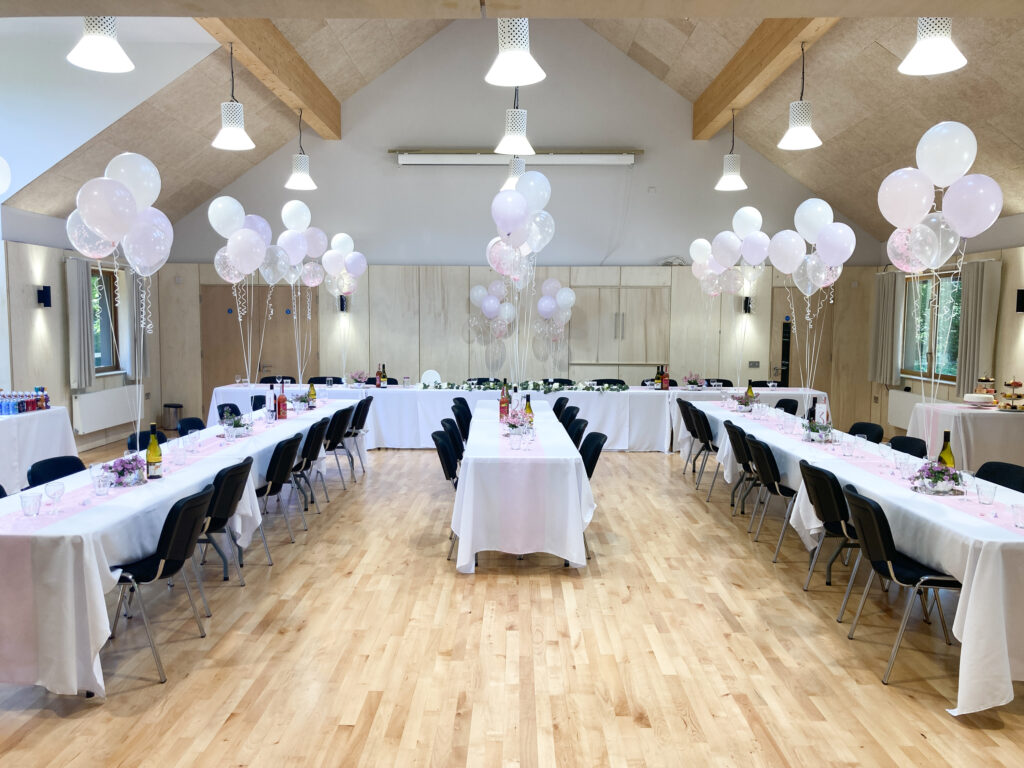
Last year I offered to decorate the venue for my sister’s wedding which, because I love balloons, consisted of creating balloon bouquet centrepieces for the tables. We weren’t permitted to attach anything to the walls to decorate the space but I think the balloon clusters are an effective way to decorate a vast empty room on a budget because it fills the lofty, vaulted ceiling space and brings an instant party vibe.
Plus, you can easily see the other guests across the tables when you use balloons as the centrepieces rather than big floral arrangements. And the added bonus is that when the tables are cleared away for the evening, the balloons can be repositioned around the venue to keep the party going. Also, kids love playing with them!
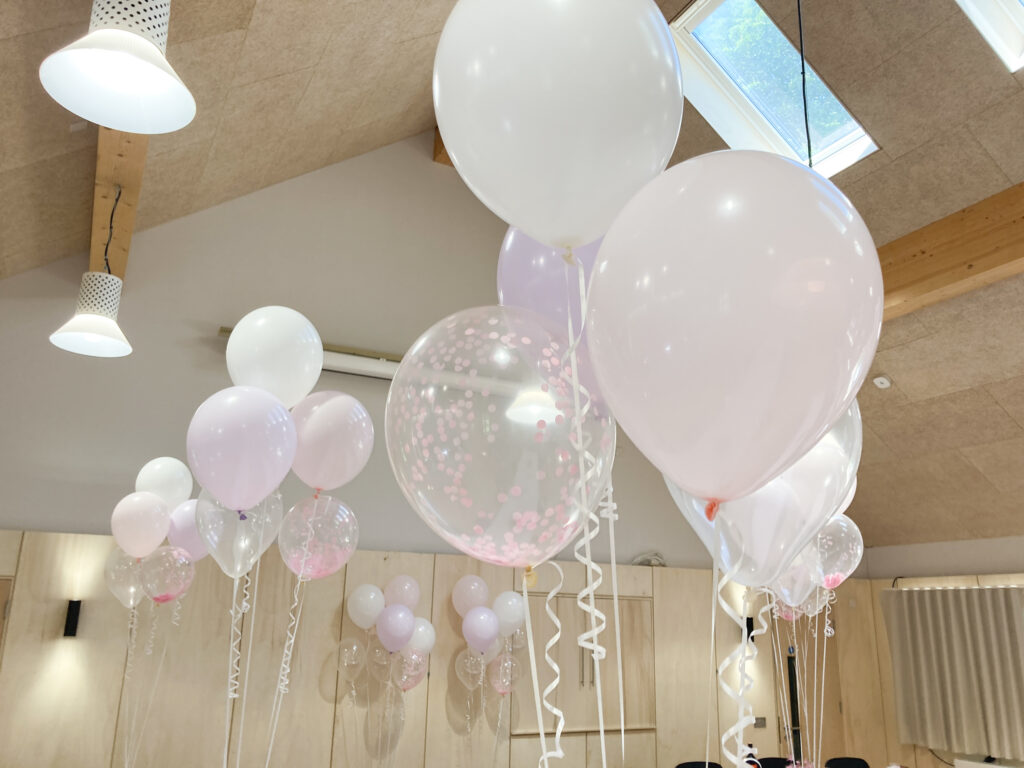
Other than buying the helium to fill the balloons (which wasn’t too expensive because I ordered it online) the only big-budget items needed to complete this task were the confetti balloons. They were considerably more expensive than the pink, white and lilac balloons but they look so beautiful, and I wanted my sister to have the wedding decor of her dreams, so I figured out a way to get the same effect for less.
So, how do I DIY confetti balloons for a party?
You will need:
- Clear balloons
- Paper confetti
- Cardboard
- Scissors
- Ribbon
Tip 1
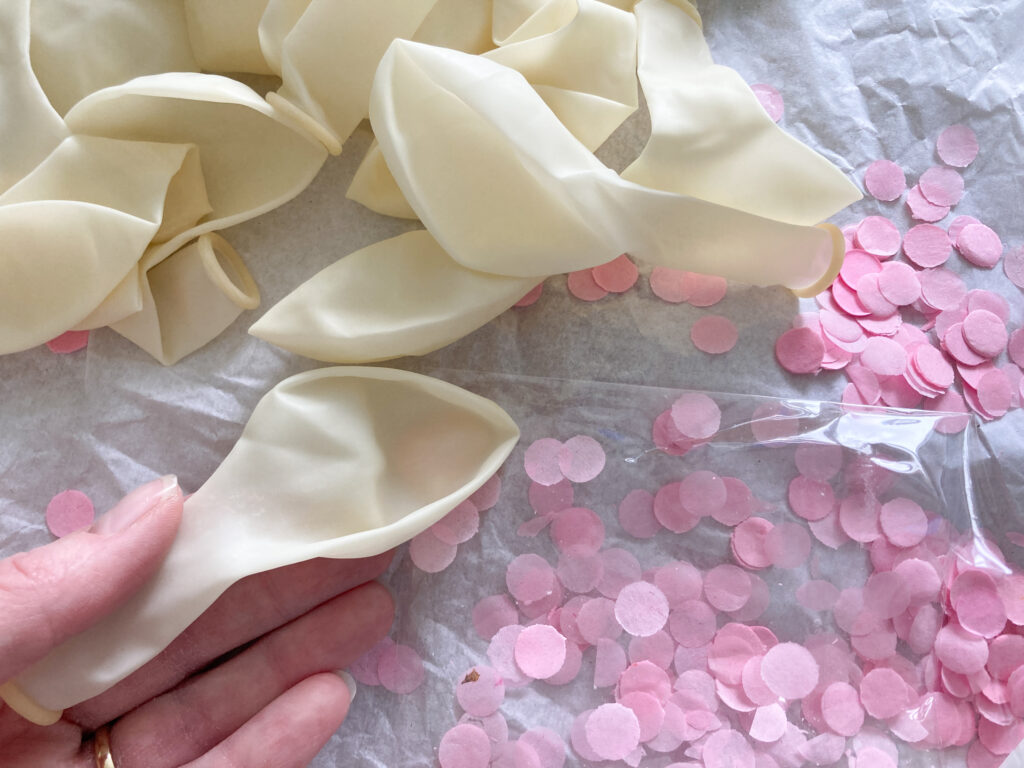
Buy a bundle of clear balloons online. These should be suitable for filling with helium and need to be good quality so that they don’t burst. I found that the cheaper clear balloons would pop easily when they were inflated with the confetti inside OR wouldn’t float for as long as the better quality ones, so that’s a top tip.
Tip 2
Choose thin paper confetti that matches your colour theme – this is your chance to use heart shapes for a Valentine’s event or rainbow colours for a kid’s party. Just make sure it’s made of soft tissue paper rather than those sparkly plastic confetti shapes. They may look cool and have more options available, but the plastic is going to be more difficult to get inside the balloon and will be more likely to pop the balloon from the inside.
Tip 3
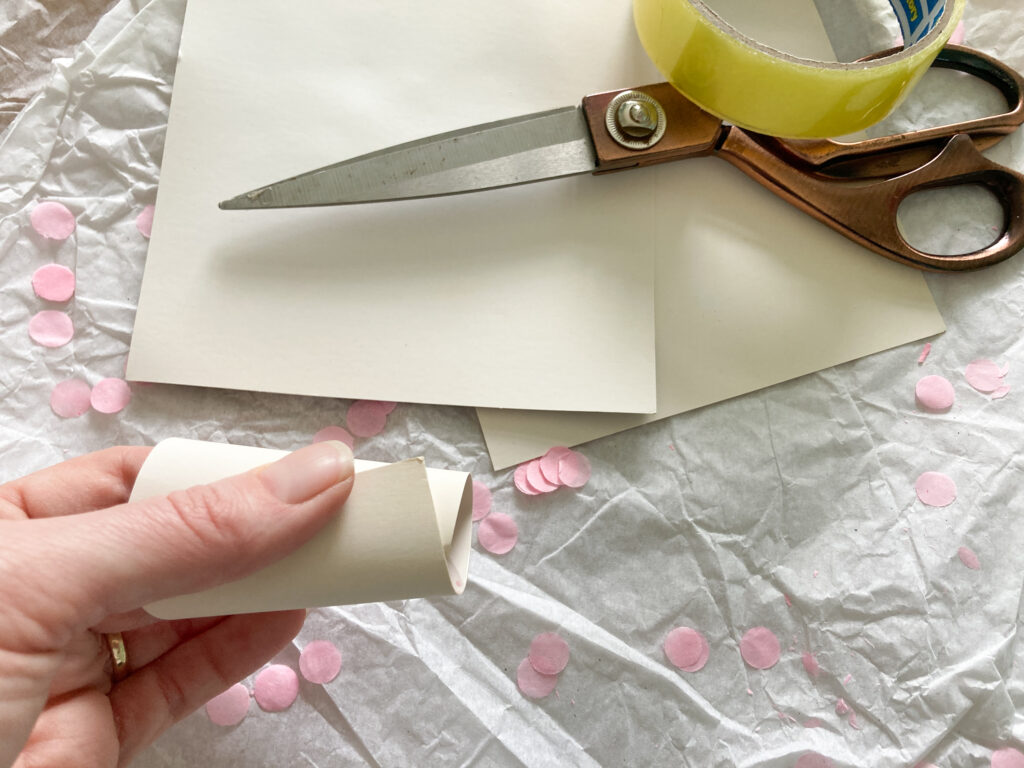
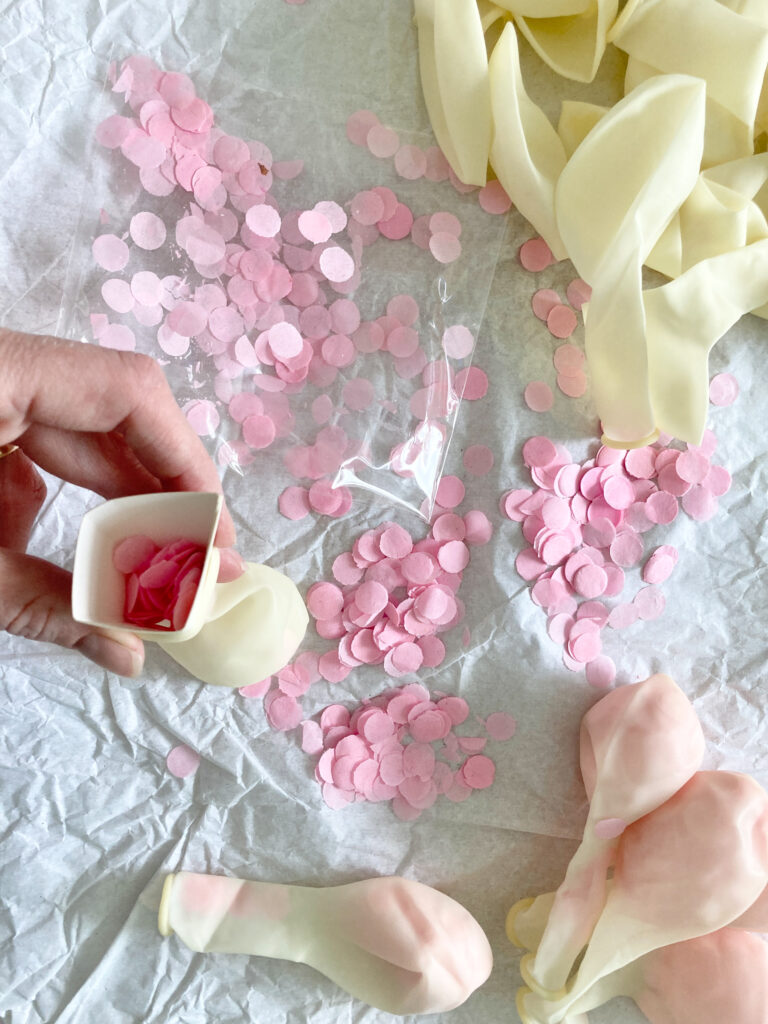
Roll a small piece of cardboard into a cone shape and use this to fill the balloons with confetti. This funnel makes it much easier to get the confetti inside the neck of the balloons without you having to struggle to stretch the neck of the balloon.
Tip 4
Go slowly and carefully when filling the balloons with air. If you’re using helium, it can be easy to over-inflate the balloons and then they will burst while you’re filling them. If you’ve ever had to sweep up confetti that has exploded all over your room, you’ll know why I’ve included this tip! So fill them slowly with helium. And if you’re blowing them up yourself, be careful not to breathe in the paper confetti!
Tip 5
Only inflate the balloons just before the party starts. When they’ve got confetti inside they won’t float for as long as a regular helium balloon but should be good for a few hours while the party is happening. Just don’t expect to be able to fill them hours before the event, they’ll start drooping! You can pre-prepare the balloons and fill them with the confetti then wait until the last minute to inflate them.

Tip 6
Tie the balloons to different lengths of ribbon so that the clusters are staggered in height, this will look like bubbles rising rather than having all the balloons at one level. Also, be sure to curl the ends of the ribbon, that’s the finishing flourish you need to create a pretty bunch of balloons.
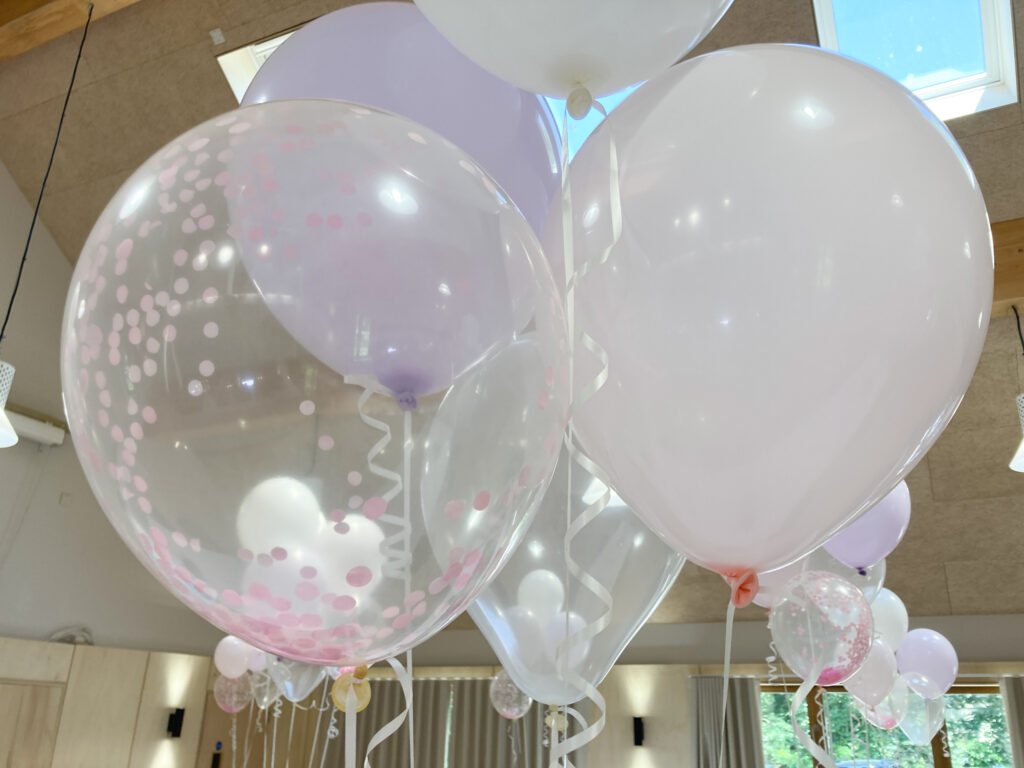
I hope these tips will help you if you’re planning to DIY your own confetti balloons to make beautiful bunches for your wedding. Please share your own tips for thrifty wedding or party decor in the comments below, I’d love to hear how you decorated your venue on a budget.
Pin it for later
