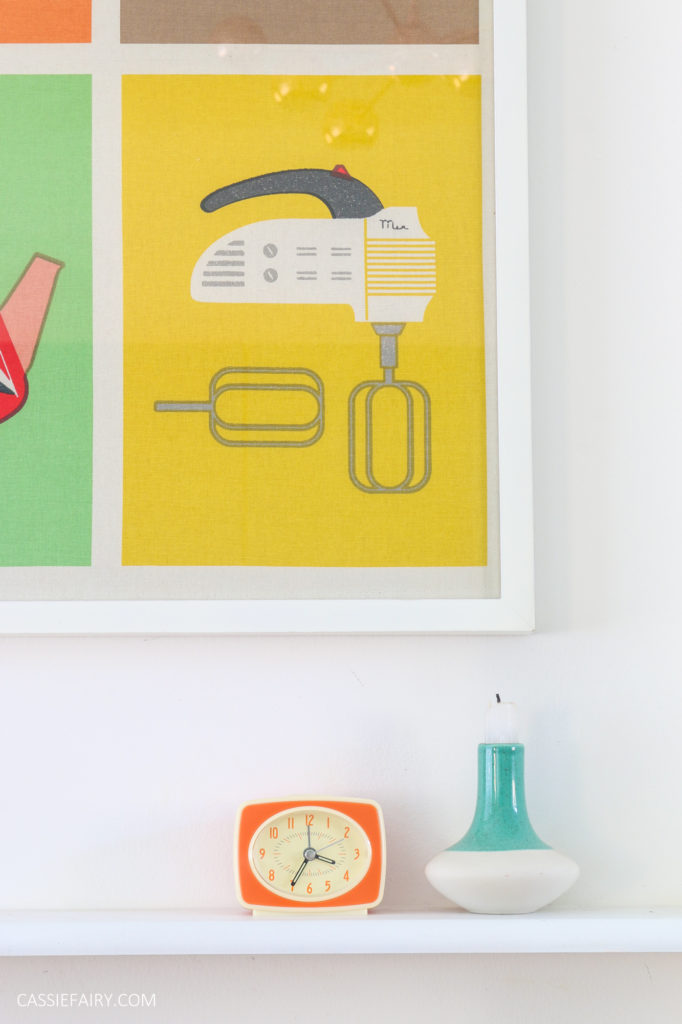
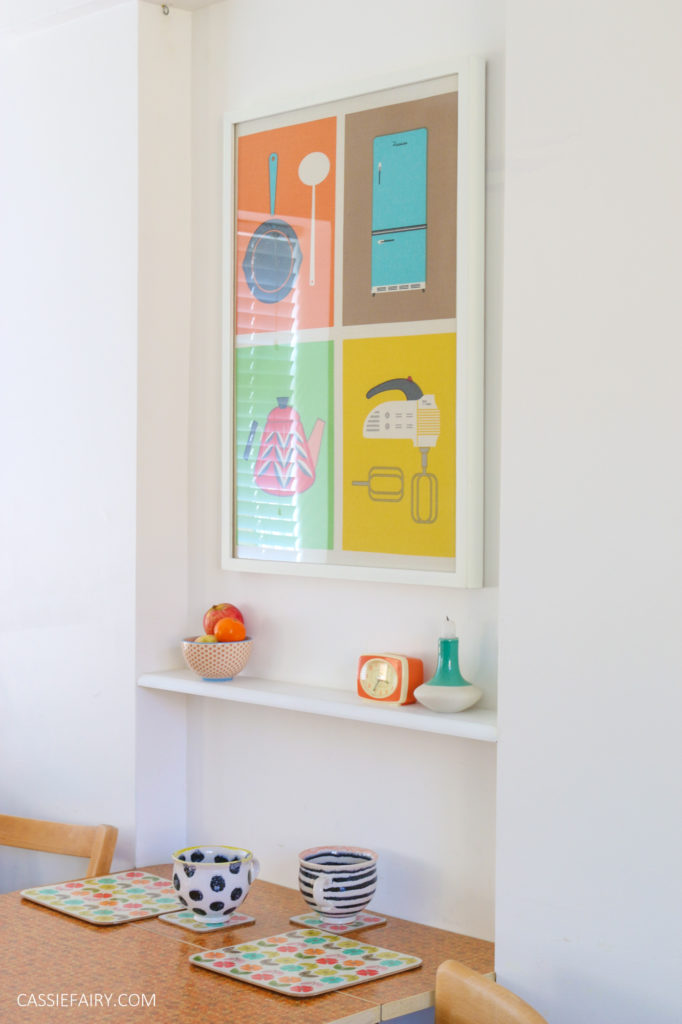
This week’s DIY project is a little different to my usual kitchen renovation posts; I’m turning some printed tea towels into framed art work for my kitchen alcove. Here’s how I did it, step-by-step…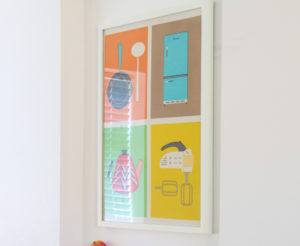 When I first saw this double-pack of retro print tea towels on the Red Candy website, I got rather excited. That’s because, at first glance, I thought they were cool vintage posters and I knew they would be perfect to add a splash of colour to my white kitchen walls. On further inspection, I realised that they were tea towels and ordered them nonetheless. They featured perfect 50s designs and the colours were exactly right for my kitchen. The blue fridge print matches my newly-painted cupboards perfectly.
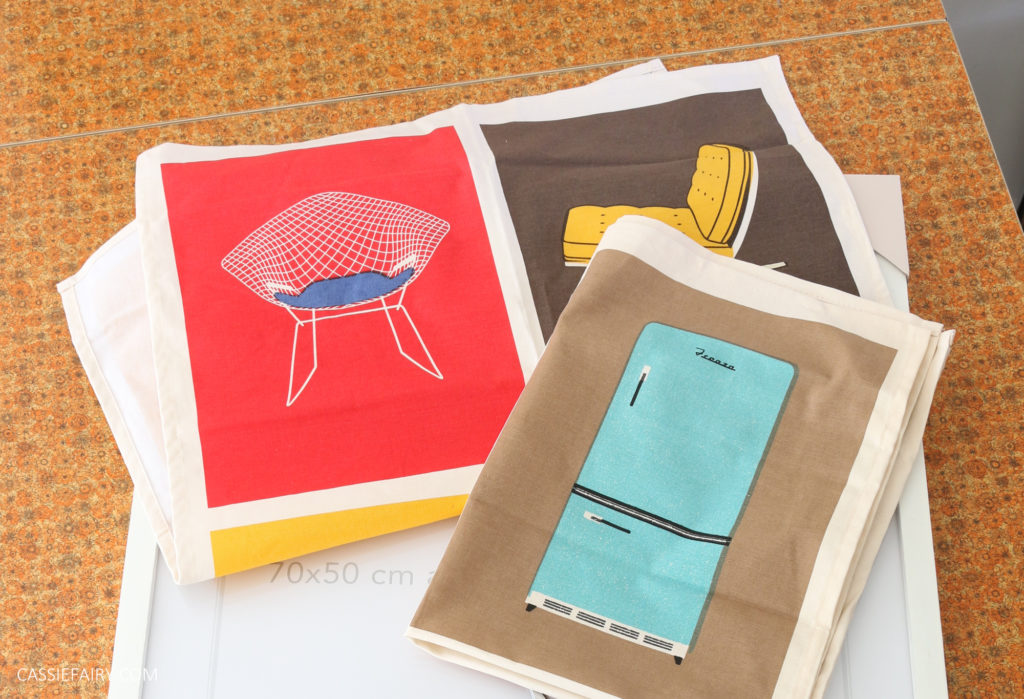 When they arrived, I soon realised that they were just too lovely to use as tea towels. I’m sure they’d work really well and that other people would be able to keep them looking lovely wash-after-wash. But I’m a spiller – and I just know that I’d ruin them with a big bolognese stain within weeks. So I decided to go back to Plan A and took another look at them as if they were artworks.
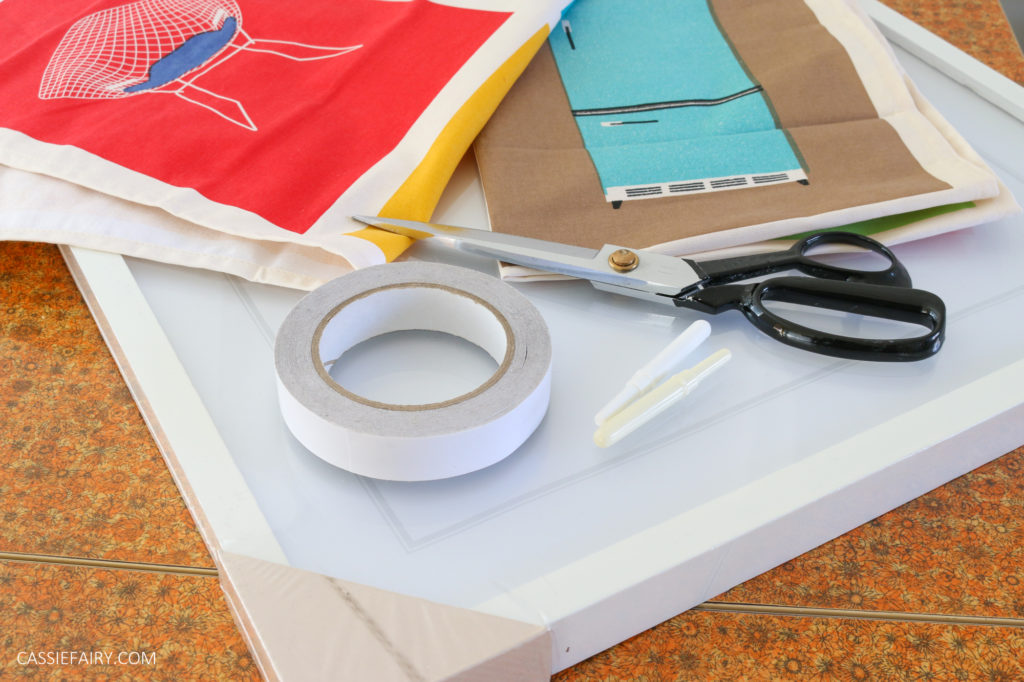 Yes, I wanted these prints on my wall, and the fact that they were made from fabric wasn’t going to stop me! They’re a really great size at 70 x 50cm so would make for an impressive piece of art. I found a white wooden frame at Dunelm that would accommodate such a large, poster-sized tea towel and set about framing it up.
STEP 1
To make sure that I had enough fabric to wrap about the backing board, I unpicked the seams of the tea towel using a seam ripper. I picked off all the fluffy cotton strands left behind before moving on to the next step.
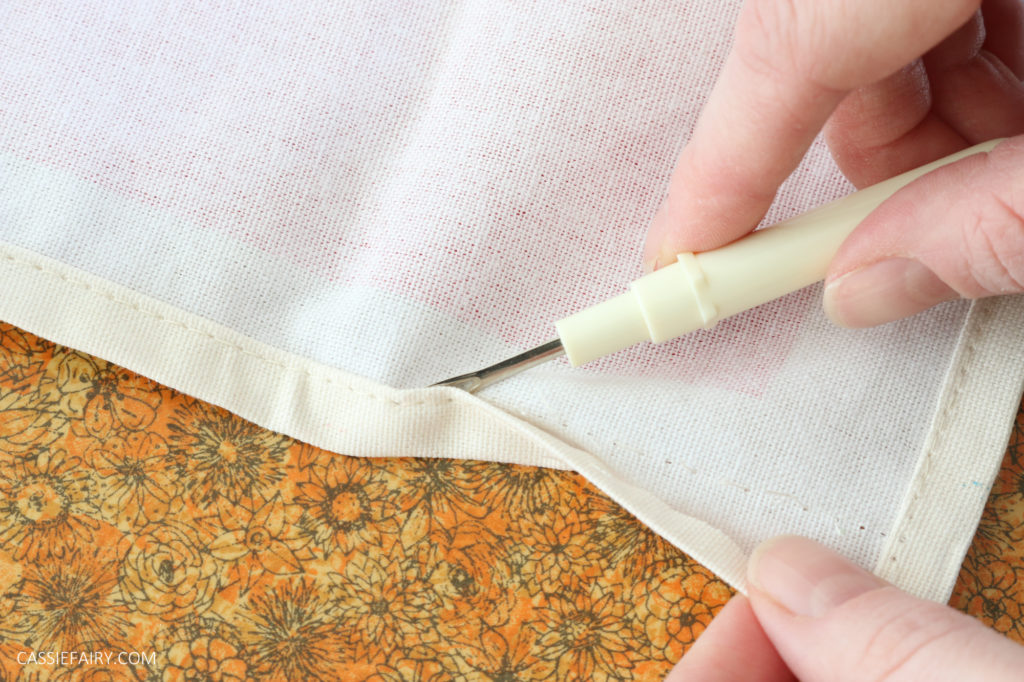
STEP 2
I spend as long as it took to iron all the creases out of the tea towel. The fabric is hardwearing 100% cotton, so I could use steam and the hottest setting to flatten out the towel.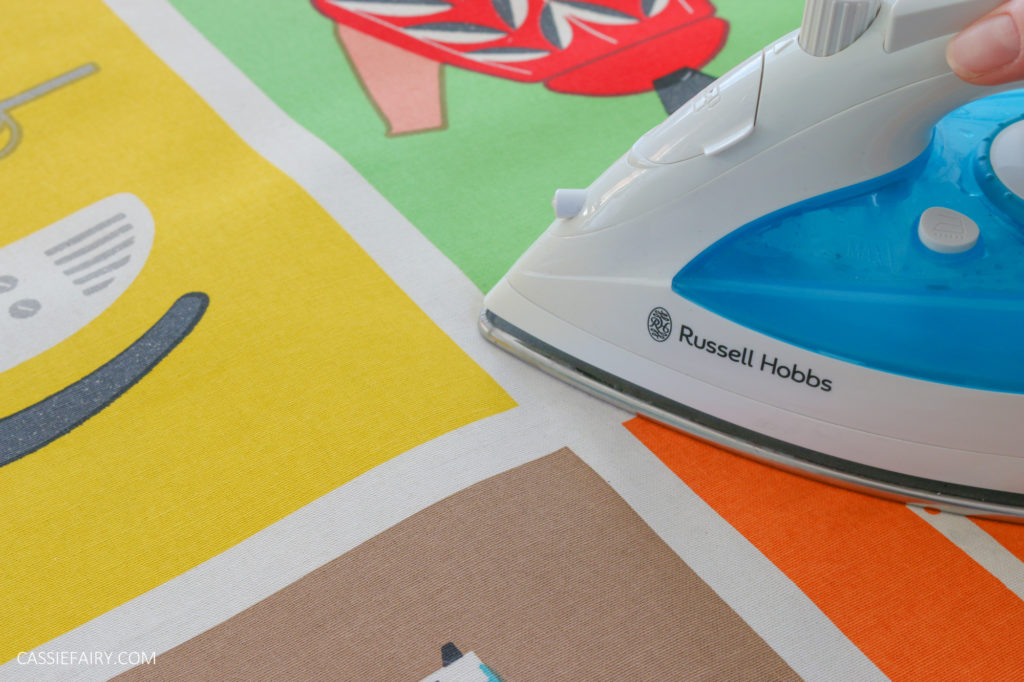
STEP 3
I dismantled the frame and positioned the backing board with the images in the centre. I trimmed across the corners to make it easier to fold the fabric over the back.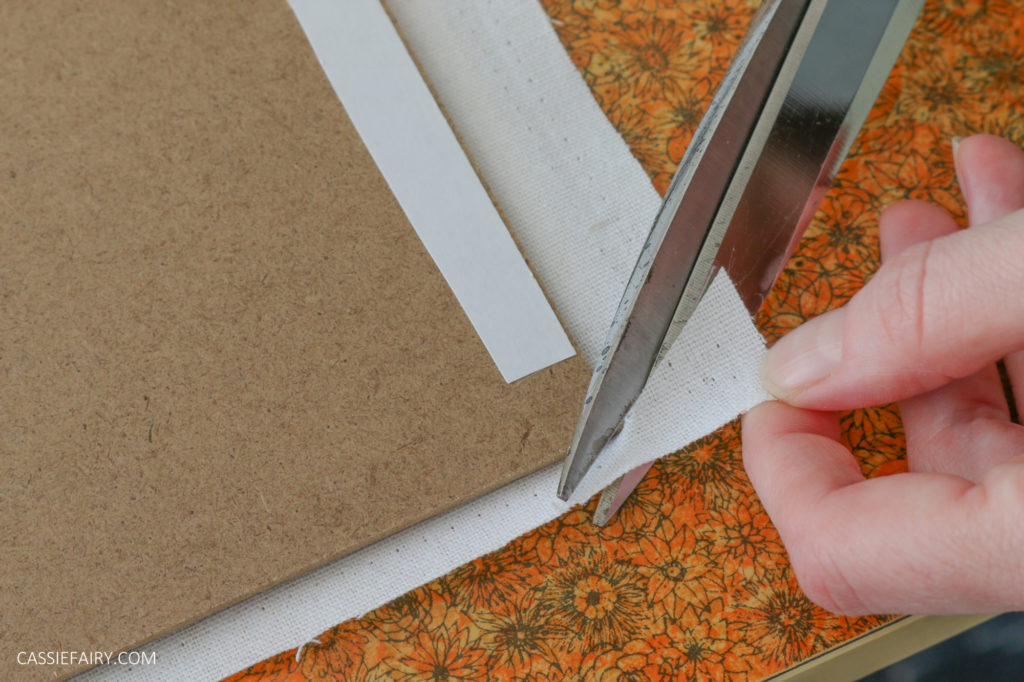
STEP 4
I used a thin piece of double-sided sticky tape along all the edges and pressed the excess fabric onto the backing board around all the edges.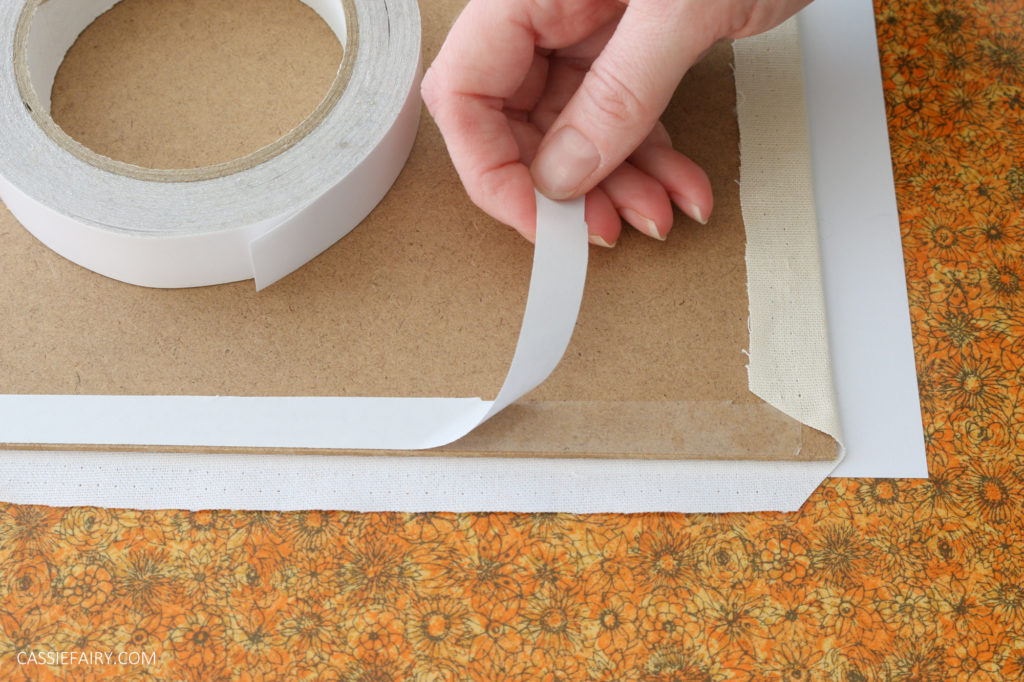
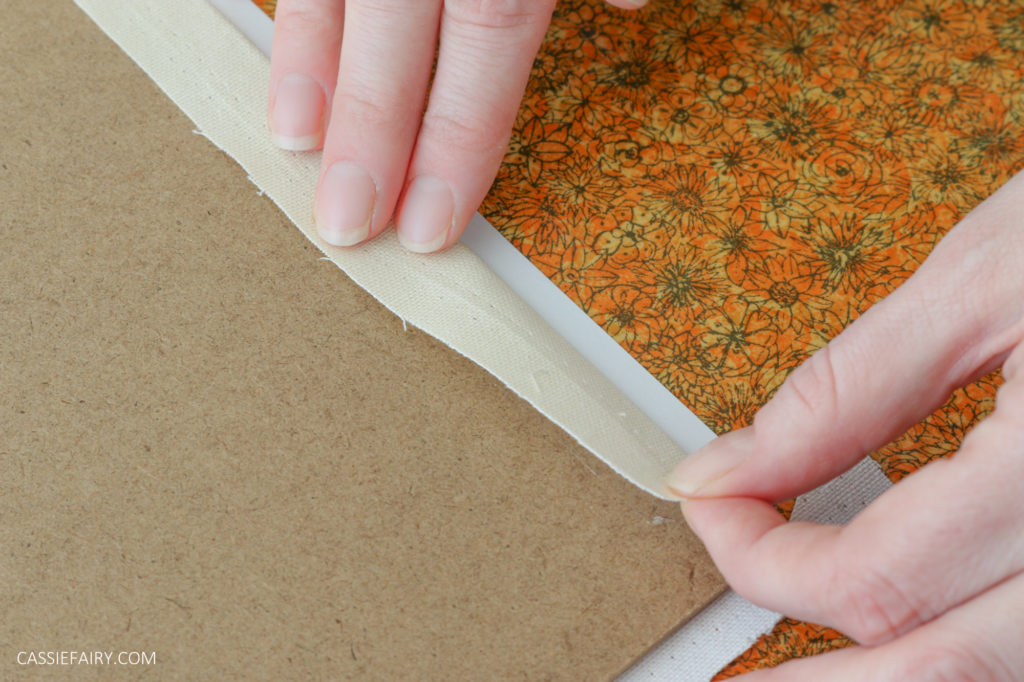
STEP 5
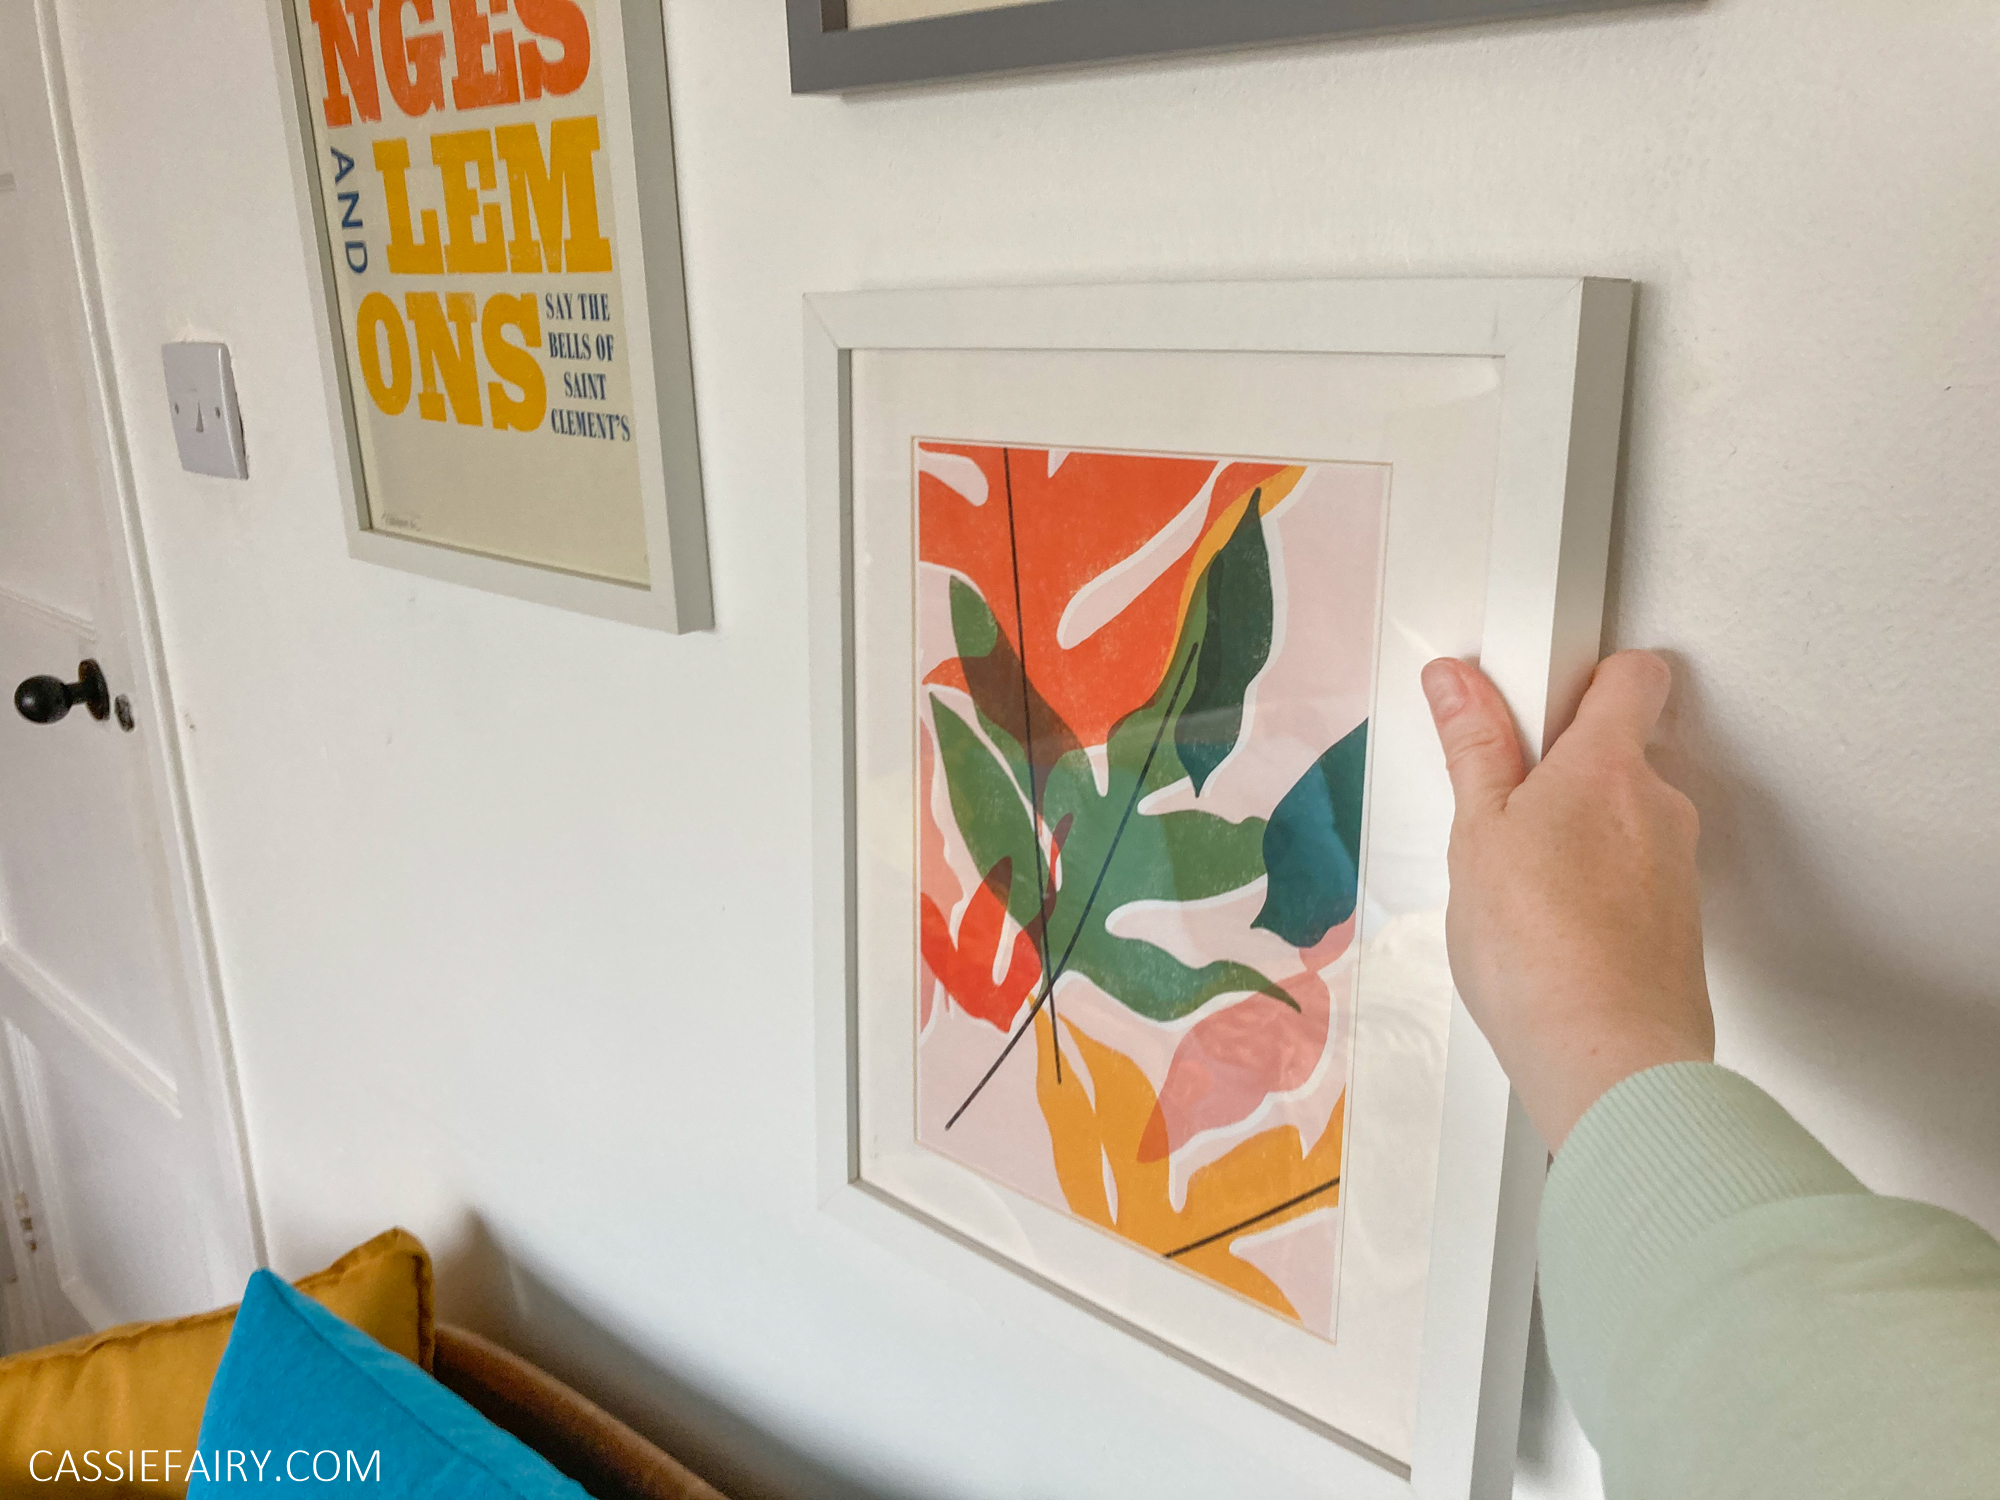
I popped the backing board and towel into the frame and hung it proudly in the alcove above my kitchen table.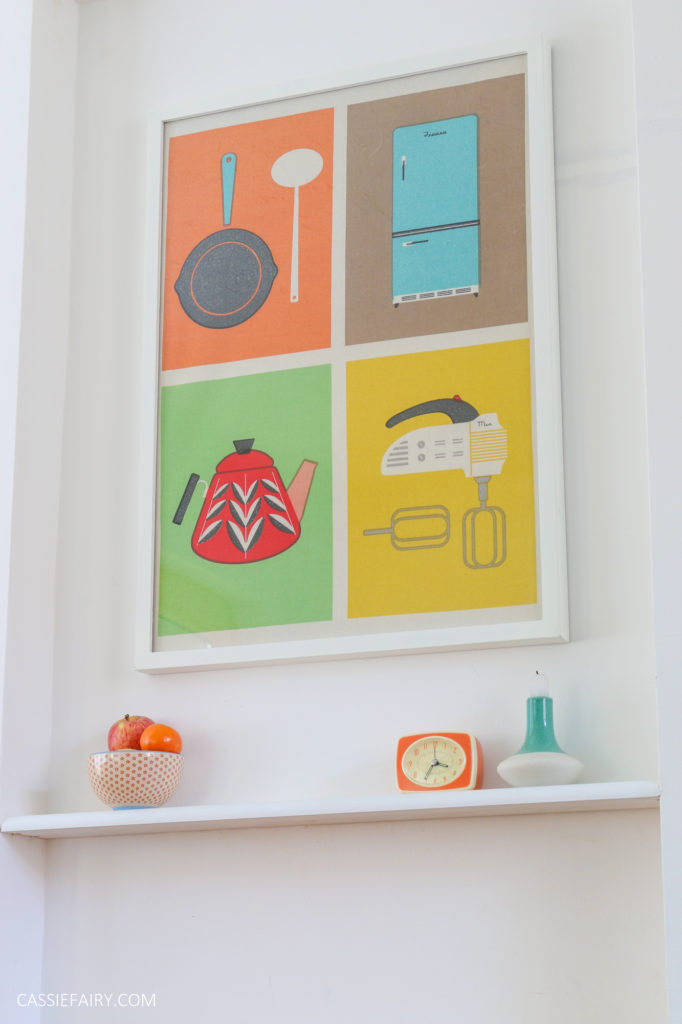
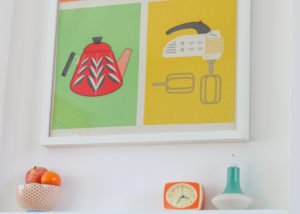
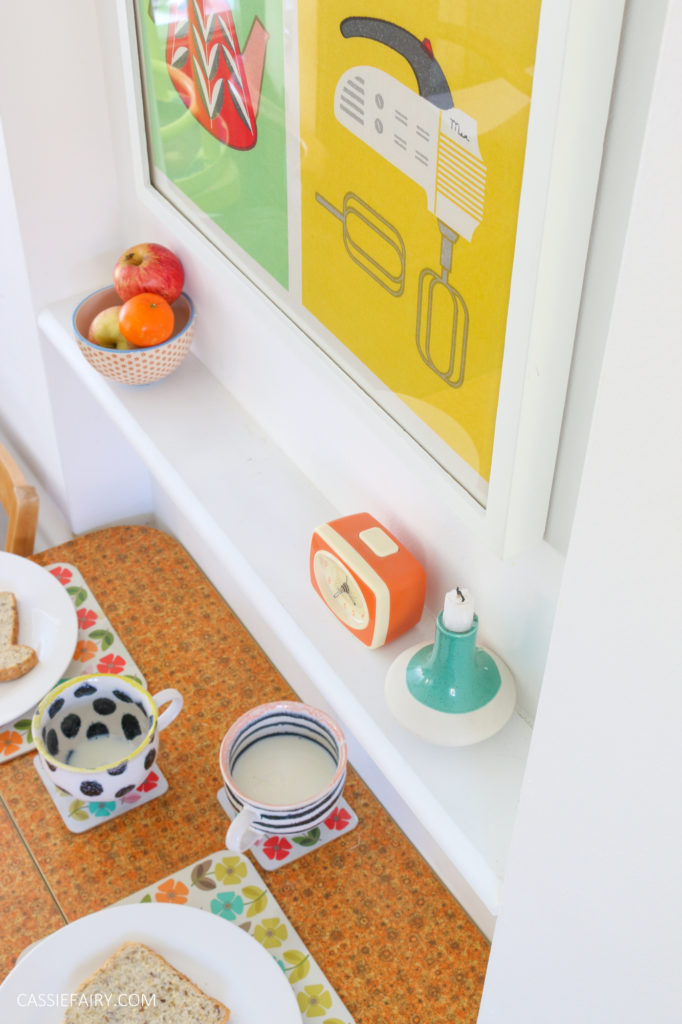
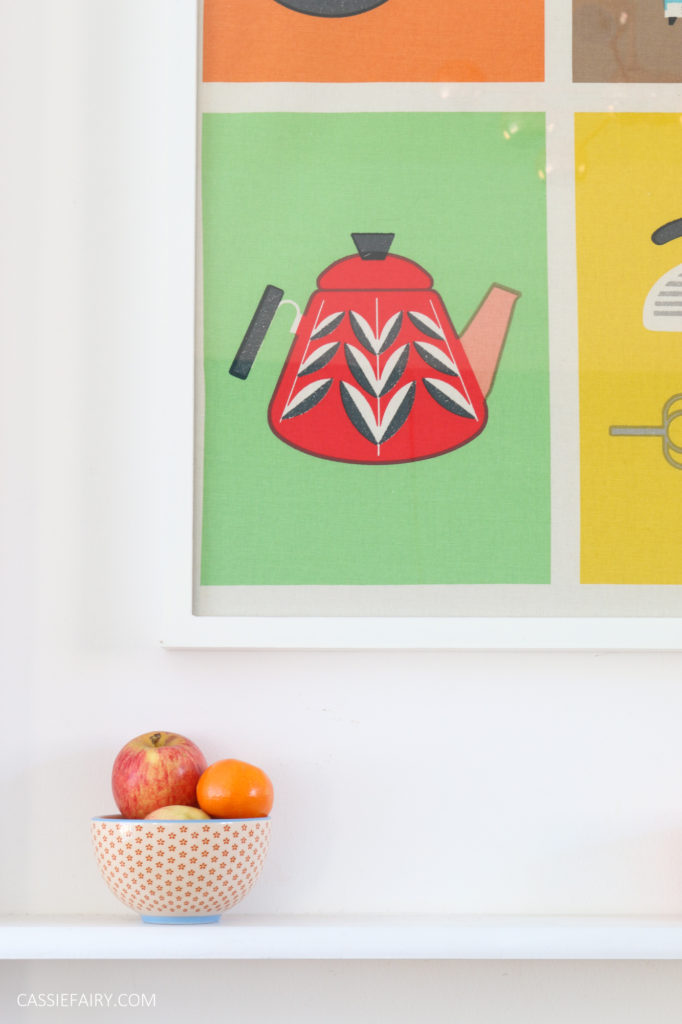 What do you think? I’m really chuffed with how this project has turned out. I’ve got a unique piece of printed artwork in my favourite mid-century modern designs. The colours pick out the turquoise, orange and yellow of my 50s kitchen perfectly and help to bring the whole room together.
 There’s been another new addition in my kitchen this week and that’s a water filter. But not just any filter – this is a ZeroWater filter. I’ve been trying to drink a lot more water this year so I thought it would be sensible to invest in a water filter. But – oh my goodness – I didn’t realise what a difference it would make to the taste of the water!
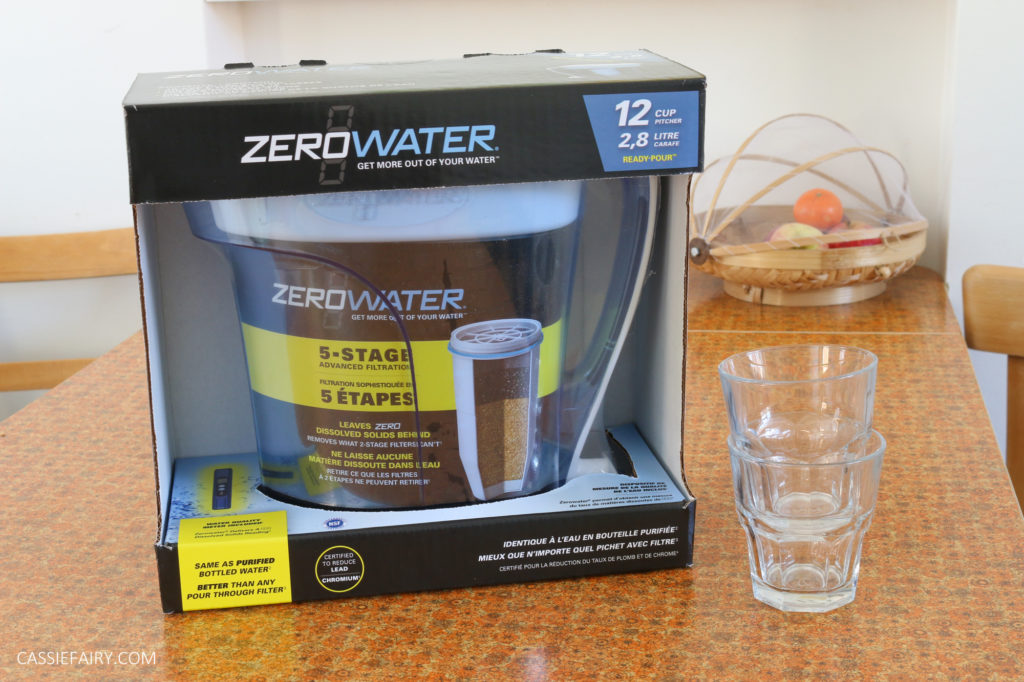
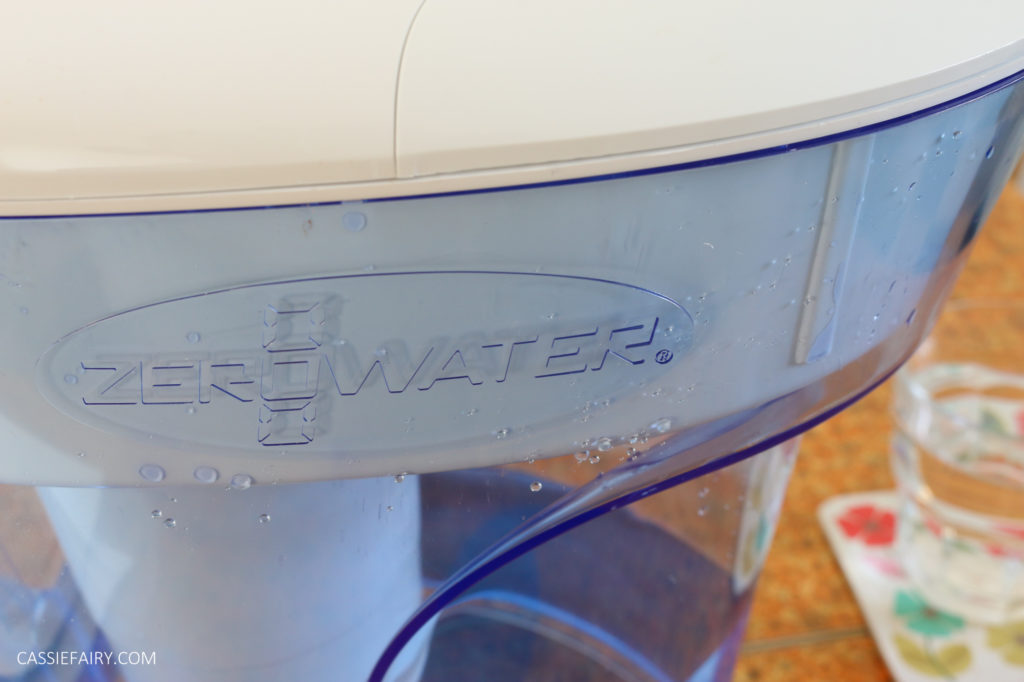 My tap water is just so smooth now that I’m running it though the ZeroWater filter. It’s like having perfect bottled water every time, with the added benefit that I can refill my leakproof Ion8 bottle and save on buying plastic. I used the enclosed TDS metre to measure the filtered water against my tap water and there was a massive difference in the water purity after it had been filtered.
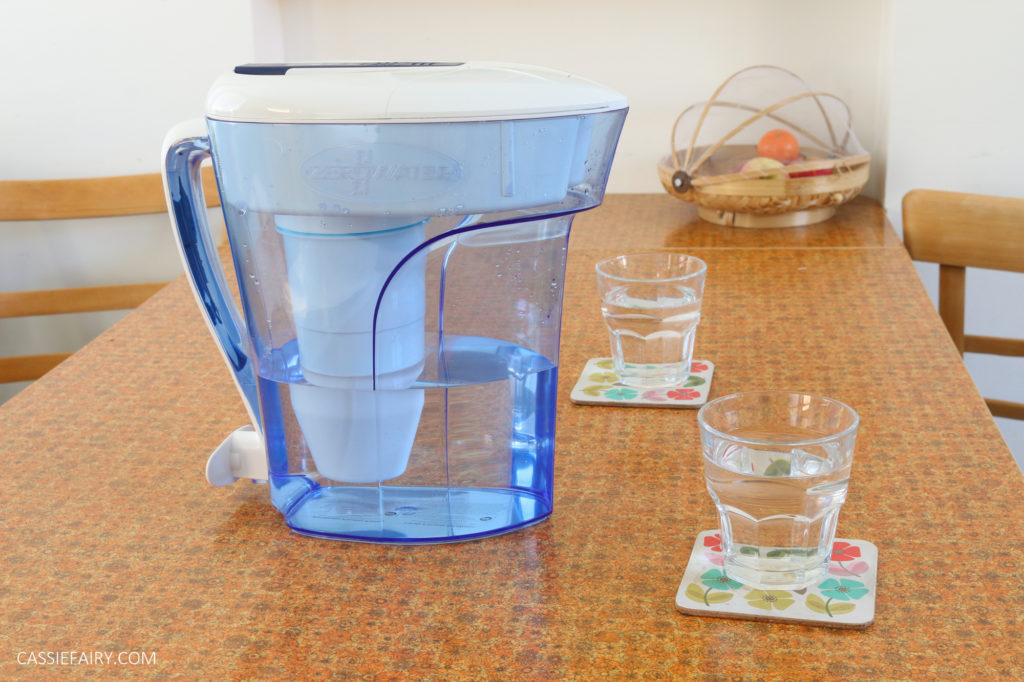
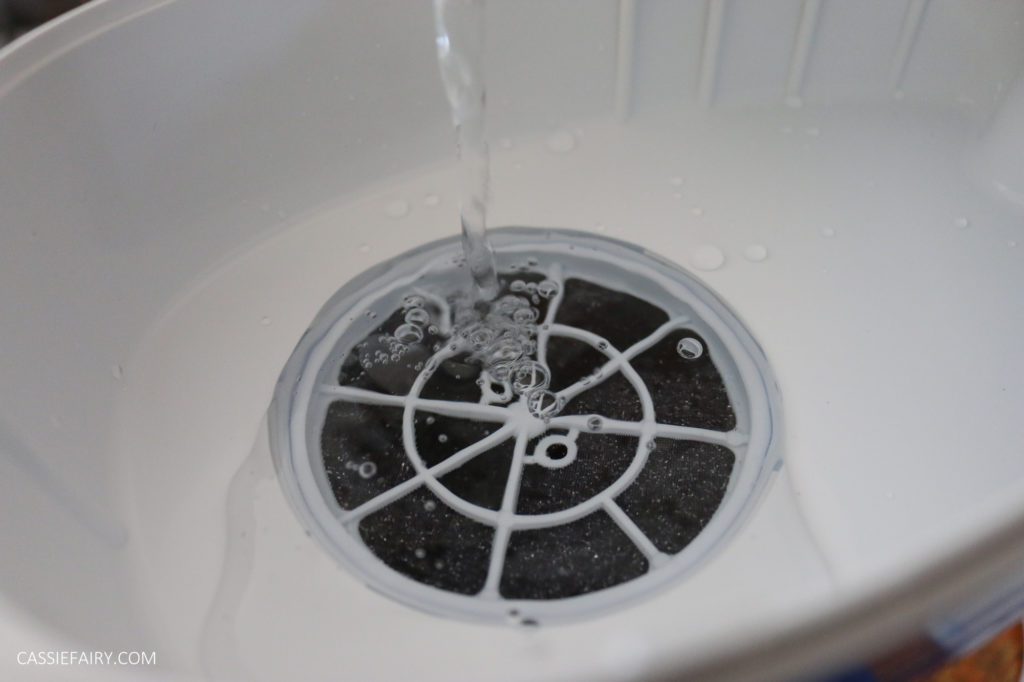 I don’t want to go back to unfiltered water now that I’ve had the good stuff, but there’s only problem with that – the jug doesn’t fit into the fridge door! ZeroWater do make jugs to fit into UK fridge doors but I didn’t consider that when I was choosing my product, oops! The good news is that has a tap dispenser at the front of the jug so you can pop it onto a shelf in the fridge and dispense cold, filtered water easily (in the same way that you’d dispense wine from a box!)
 Let me know what you think of this easy kitchen DIY and whether you’ve added any artwork to your kitchen, too? I’ll be sharing more photos of my 50s kitchen renovation project on the blog so check back soon!
Some items in this blog post have been gifted to me and the pink links indicate a gifted product, affiliate link or information source. All thoughts and opinions in this post are based on my own experience and I am not responsible for your experience 🙂








2 responses
Thanks Barbara! It’s from Red Candy too 🙂
I also LOVE that clock.