Yes, I do know that it’s possible to buy towels and I’m honestly not buying towelling fabric and making my own. But what I have been doing is sewing a little extra trim onto my old towels to make them fit in better with the whole look of the new bathroom. In truth, I had some fabric left over from making the blinds and I wanted to use it up rather than throw it away. I did a couple of sewing projects for the kitchen with it (I’ll share these soon) but I still had a few lengths left and wanted to include them in the bathroom. There’s not much call for soft furnishings in a bathroom, so apart from the blind I was a little stumped about how to use this fabric. Then my eye settled on my old beige towels. The ones we’ve had for years and that I’d earmarked for throwing out to make way for new towels that would match the beach hut theme.
It’s absolutely not like me to throw anything away and of course, these old towels would have probably been turned into kitchen rags or polishing cloths rather than being chucked out, but now I was looking at them with a glint in my eye. Could I make them into something suitable for my new bathroom? The beige colour was starting to look like sand to me, and the leftover lighthouse fabric was just screaming out to be used. So I spent an hour at my ironing board, making a thick bias binding from the lighthouse fabric and I stitched it onto the ends of the old towels. I’d previously learnt how to make bias binding from a tutorial online so here’s how I did it in case you want to stitch a towel makeover for yourself:
Cutting: Cut a length of fabric which is three times the width that you want the finished trim to be and a little longer than the width of your towel. I chose to make a 3 inch trim so I measured 9 inches of fabric and cut out this strip. 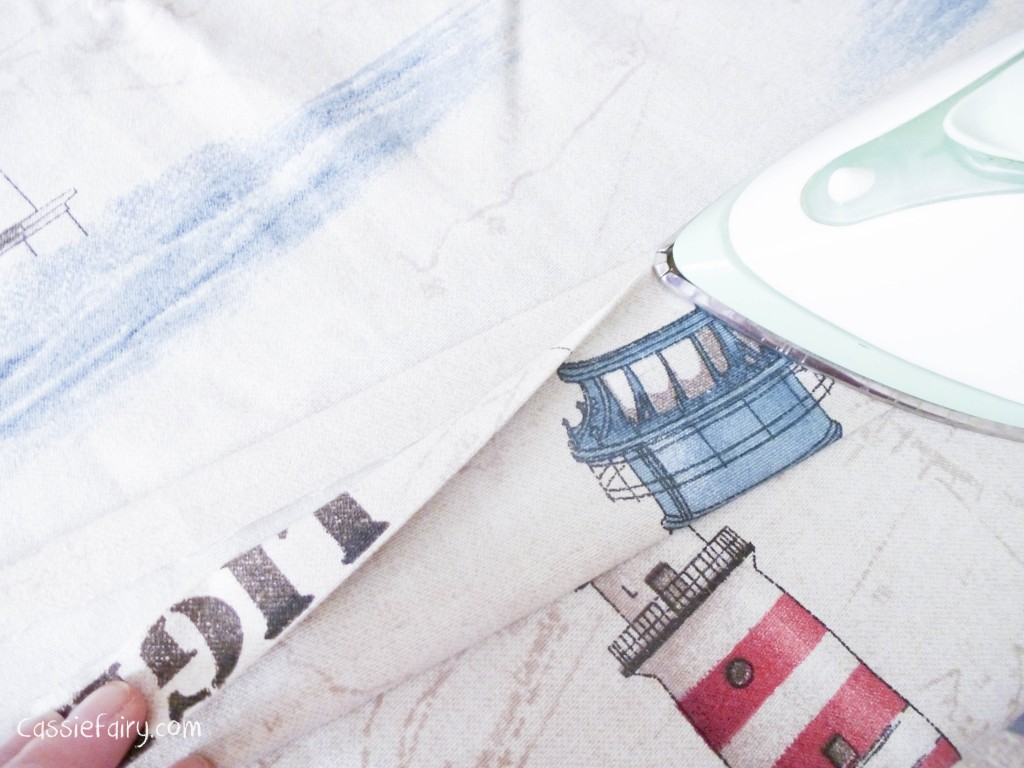
Ironing: I then folded it in half with wrong sides facing and ironed a crease into the middle of the strip. Then, to turn it into a bias binding, I turned 1.5 inches over at the top of each side and ironed these edges too.
Sewing: I placed the edge crease 3 inches from the hem of the towel and pinned the binding strip to the towel with wrong side facing up. I straight stitched with a sewing matching along the crease. 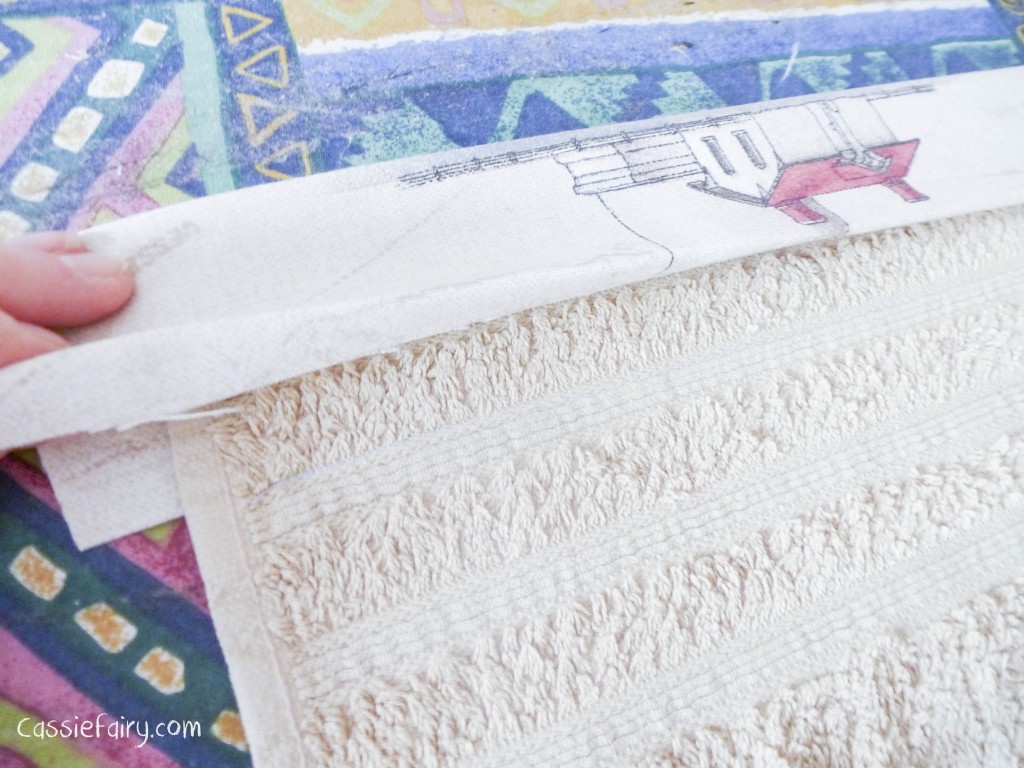 Folding: I then folded the binding strip over the edge of the towel so that the right sides are out and pinned the folded edge crease to the towel before sewing along this edge with straight stitch to seal the binding.
Finishing: At the ends of the strip, I folded the excess under the binding and then hand stitched the opening closed.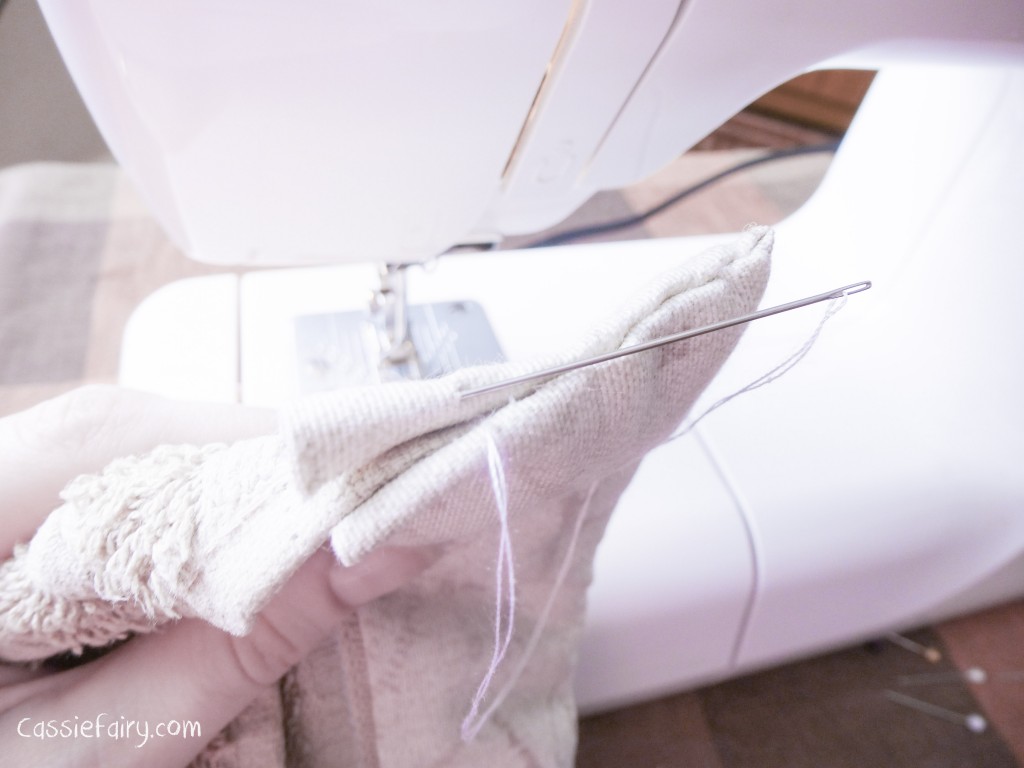
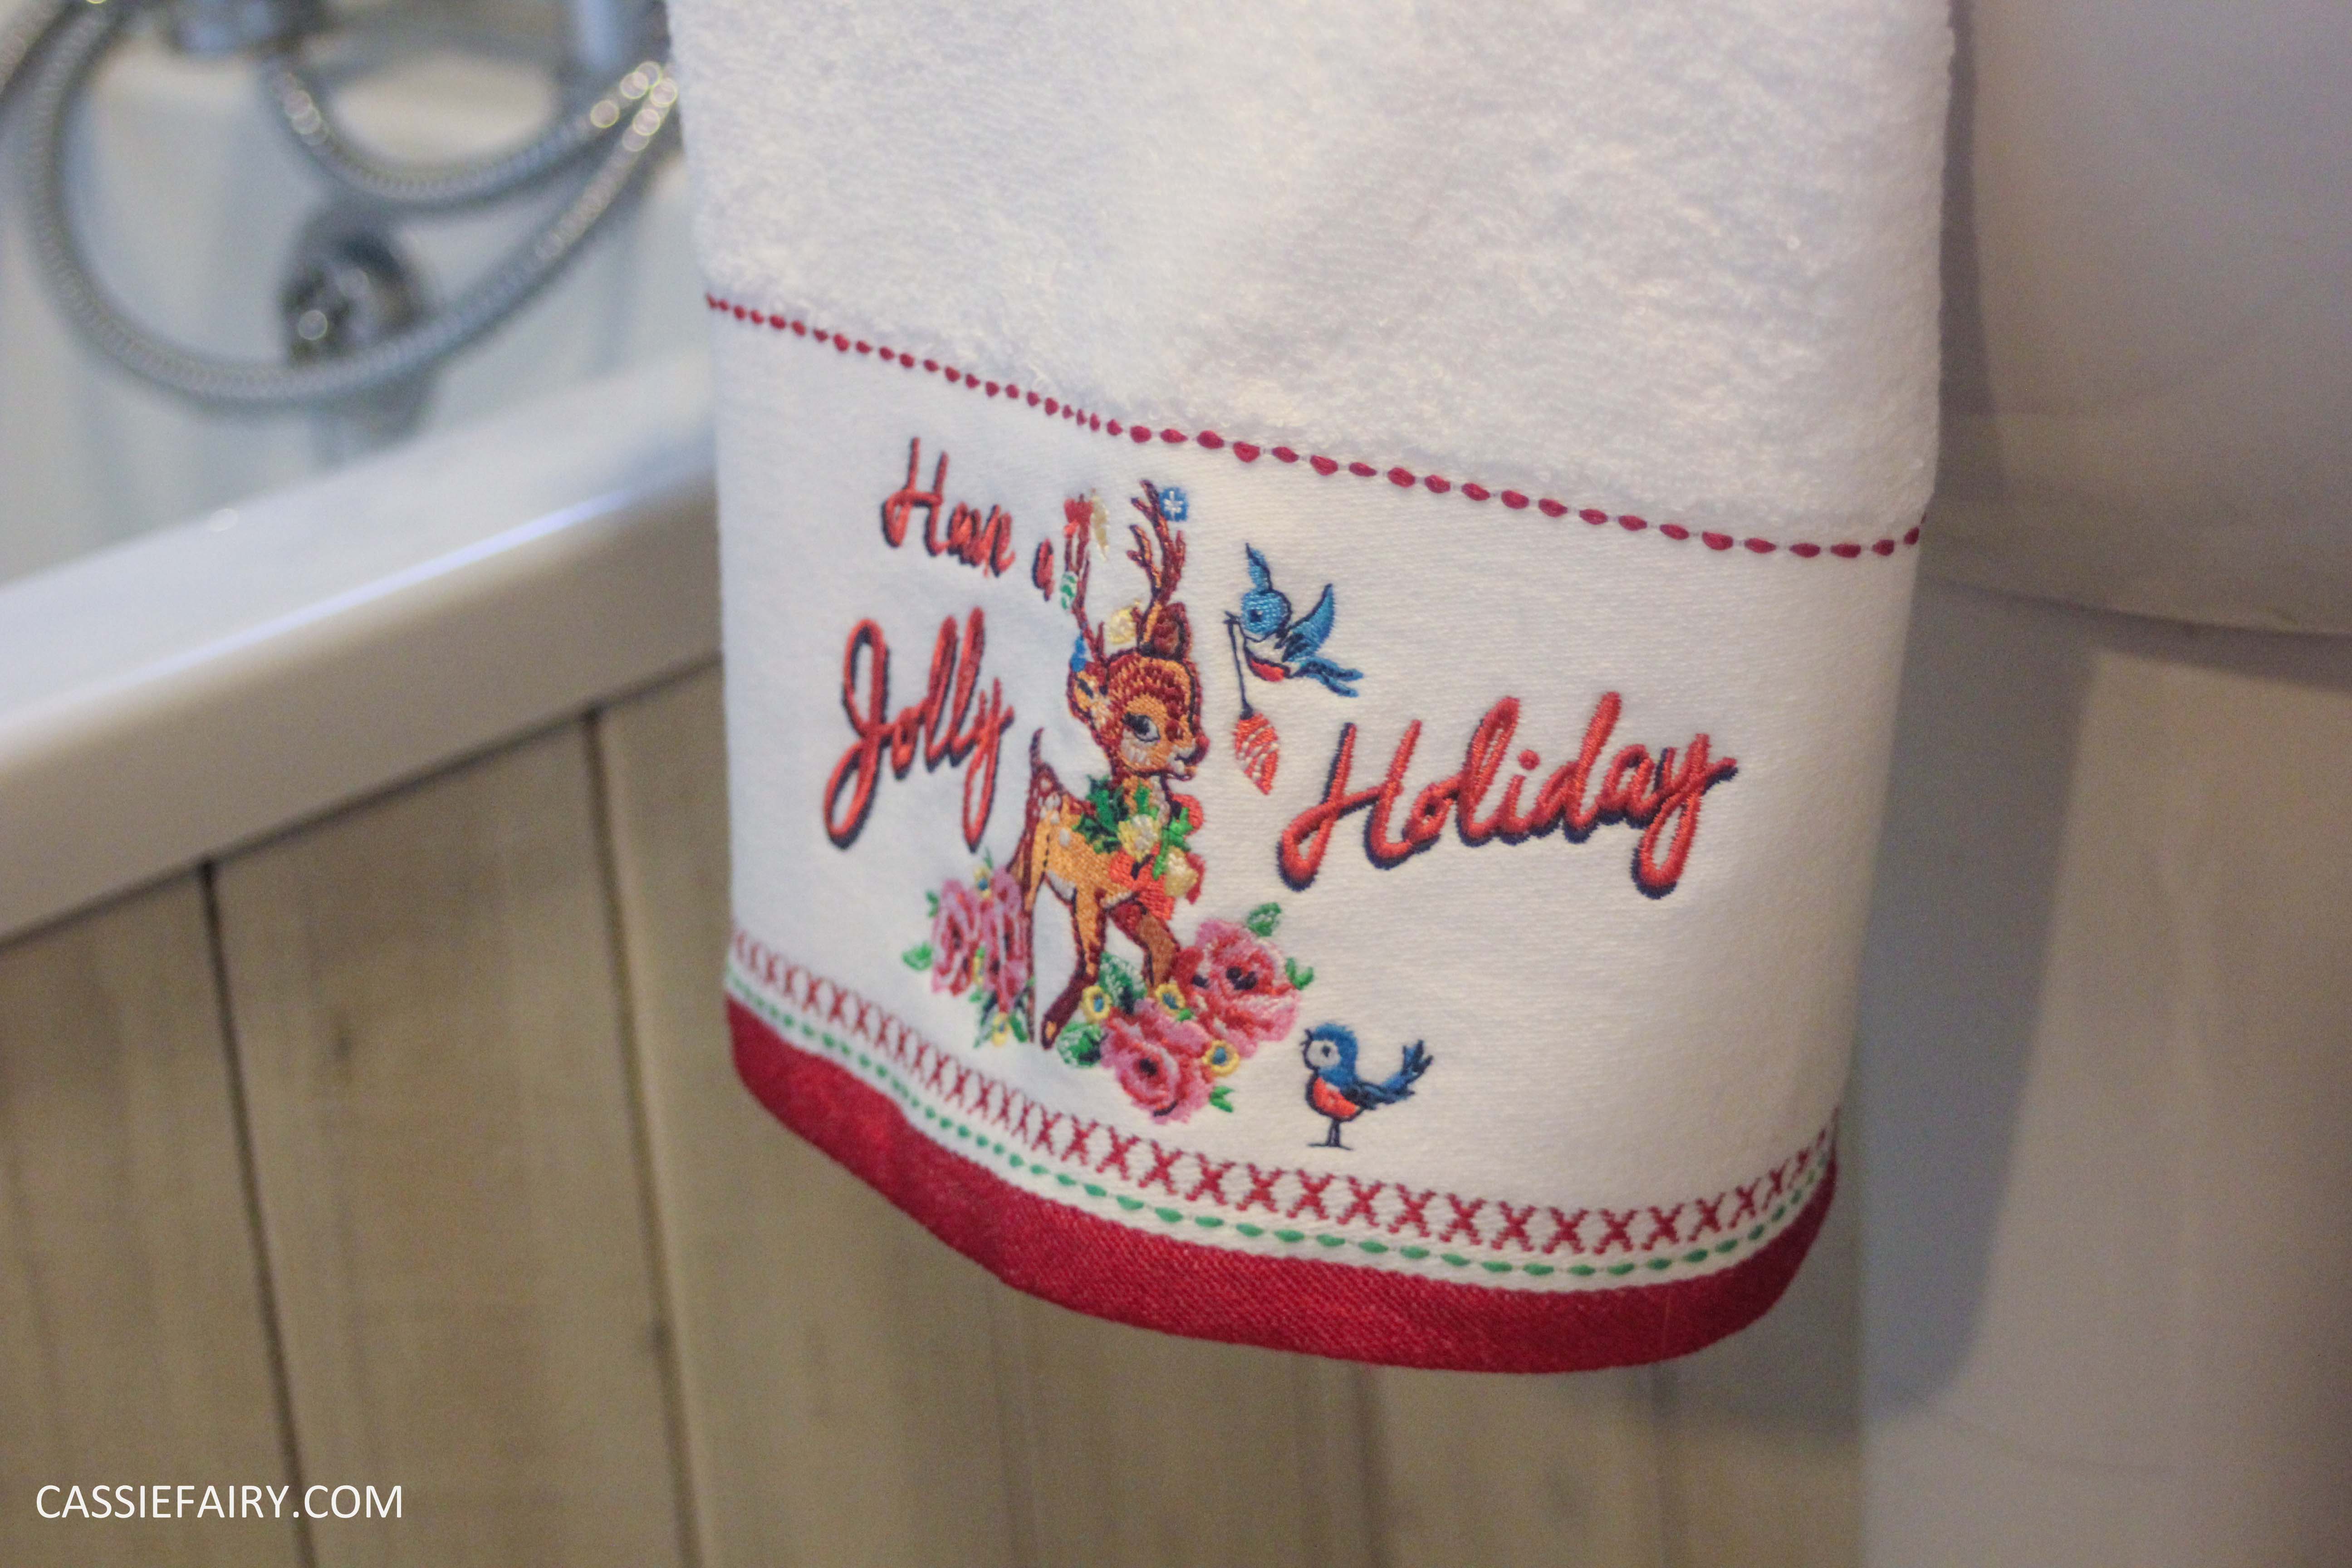
I repeated these steps for the second towel and after only an hour and a half I had ‘new’ custom-made towels that matched my blind and fitted in with my new seaside bathroom theme perfectly! I am so pleased that these towels were saved from the brink of the bin and have now been upcycled into something that I won’t find anywhere else.
The trouble with doing a makeover in your home is that no sooner than you have fixed one problem – the wall, the floor, the storage – another essential DIY project raises its head. Maybe it just because the whole bathroom is looking so fresh and new that I’m now looking at the other problems with more critical eyes. Whatever the reason, I have noticed how bad my bath actually is and that I could definitely do with a more efficient ventilation solution from Rocburn to remove the damp and steamy air from the room – the existing vent goes into the loft and does nothing! In terms of the bath, I think it’ll have to be a replacement because I don’t think I’ll be able to repair it.
It’s an old steel bath that was already here when we moved in and to be honest it had already seen better days back then; it has cracks in the enamel and some chips are actually rusting through. It’s been a battle of the bleach to keep it clean and no amount of scrubbing has brought those tarnished taps back to life. So I’m going to do some research and see whether it is even possible to get a replacement bath on my tiny budget. To be fair, it’s only a tiny bath too – we have less space than the standard 1700mm bath – so surely that’ll mean a cheaper bath, right? At the very least, I would like to replace the taps because not only are they really badly corroded, but at the moment the paddle-handle means that our cats sometimes turn the tap on by themselves. I don’t know how they do it, but sometimes the tap is mysteriously running after our cats casually saunter out of the bathroom. Plus, we have no shower so we’re currently using the old pound-shop solution of a push-on-the-taps-and-hope-it-doesn’t-leak shower head. And yes, it sprays everywhere! So a mixer tap with shower head attached would be a dream.
I will be sure to keep you updated on my progress and post all about any new projects for my bathroom soon.






10 responses
Great article. I’m experiencing a few of these issues as well..
Ahh that’s great news! Good luck with it! 😀
omg that french seam is exactly what my robe needs….thanks a million
Thanks so much for all your help. Will look it up. Hv a pleasant day
I guess you could use bias binding or try looking up the French seams technique online 🙂
Thank you so much for responding. I will try that technique. Just got an idea…..is it possible to use dias binding? By the way I am from Trinidad and Tobago….a tiny island in the Caribbean
Ahh I guess that one way to neaten the seams is to use a zig-zag stitch over the edges to enclose them? That’s what I usually do if a fabric starts fraying 🙂
Hi hi…I do understand that. I am worried about the inner seams of my robe. This fabric is very messy.
Thank you Marcia! I don’t have a serger either so I’m not sure – I just used a straight stitch on my normal sewing machine to attach the hem trim 🙂
What a wonderful idea….must try. But tell me,how do I hem a robe made of towel fabric? I do not own a serger.