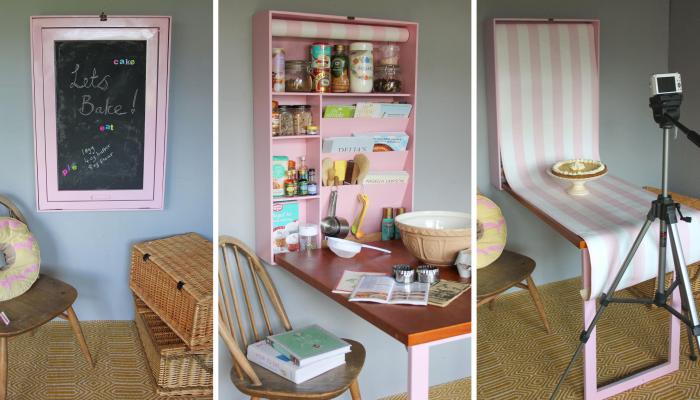
Seeing as today is my weekly recipe spot ‘Pieday Friday’, I thought it would be a good idea to share the simple DIY project with you and give you the recipe of the first bake I’ve created with my new “Bake Station”, a tangy lemon pie.
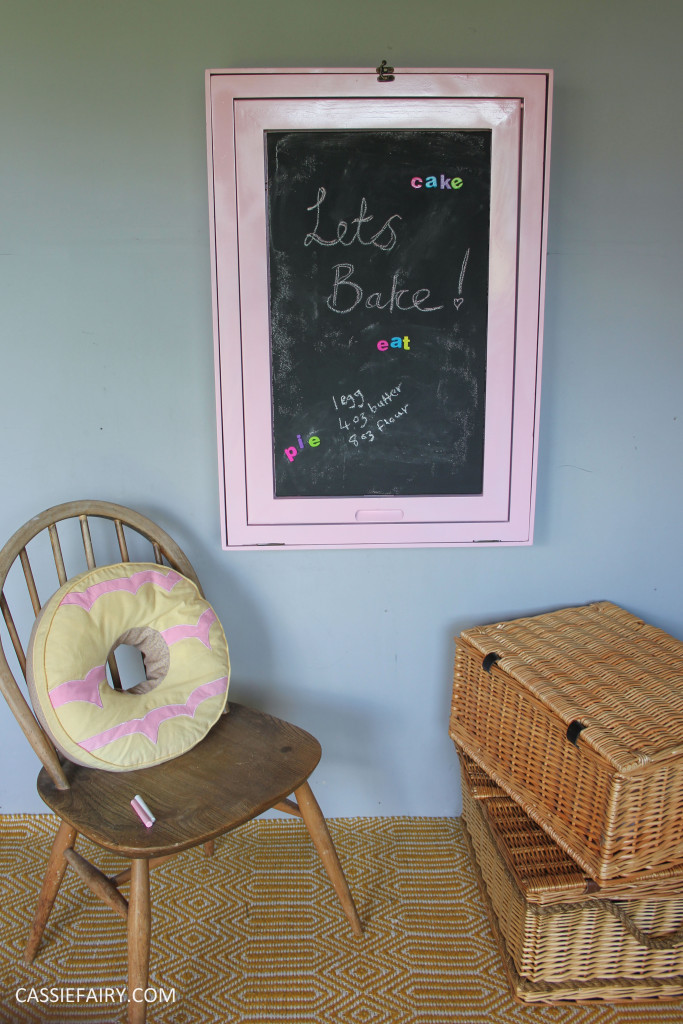
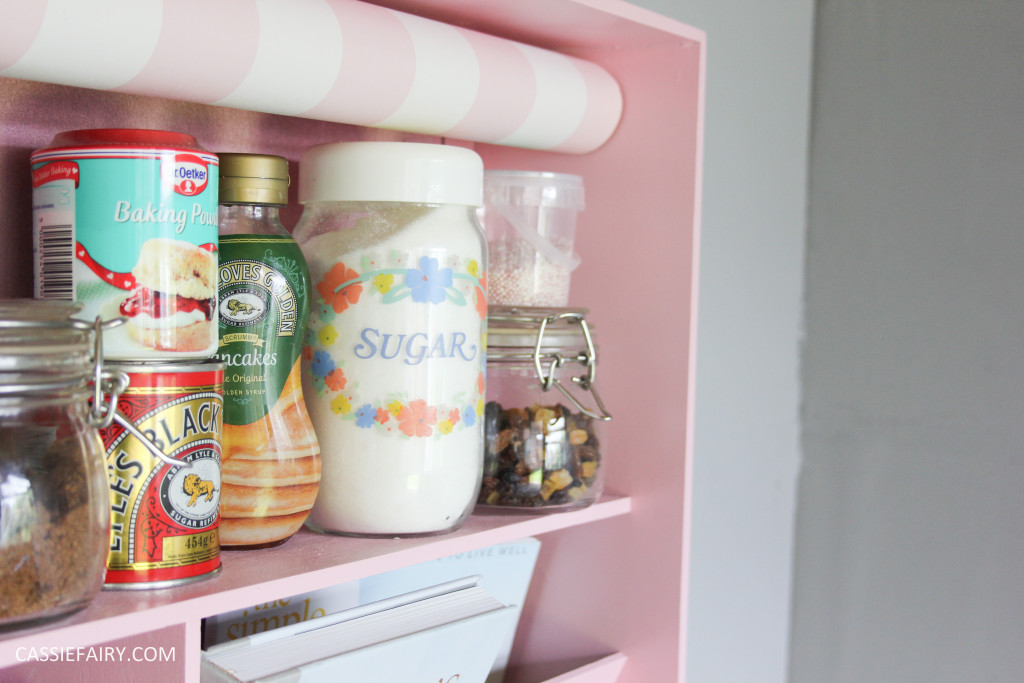
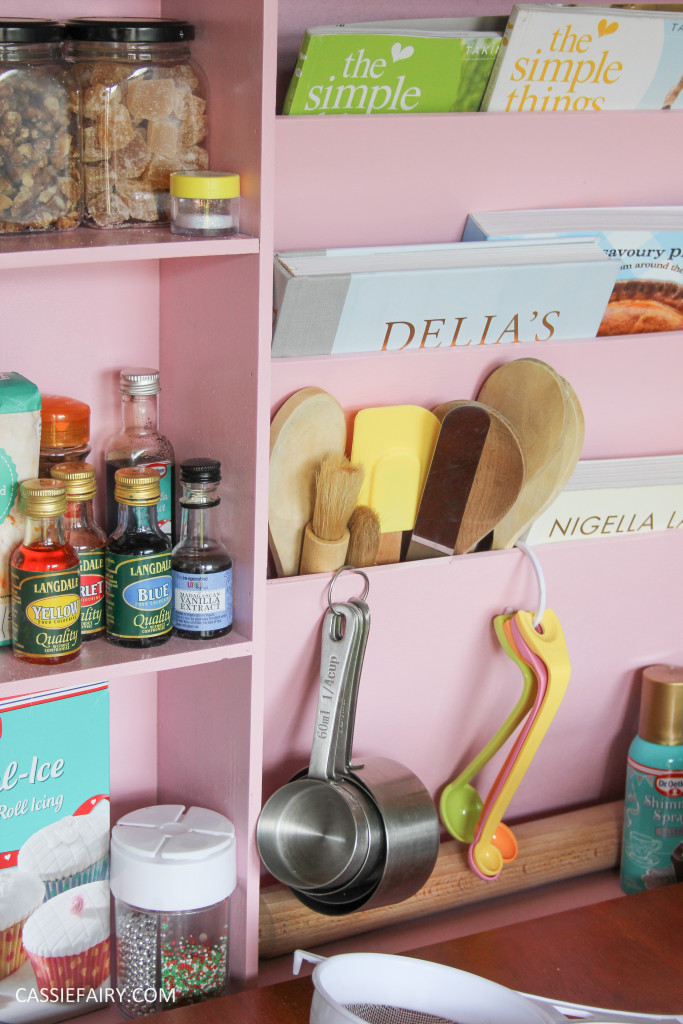
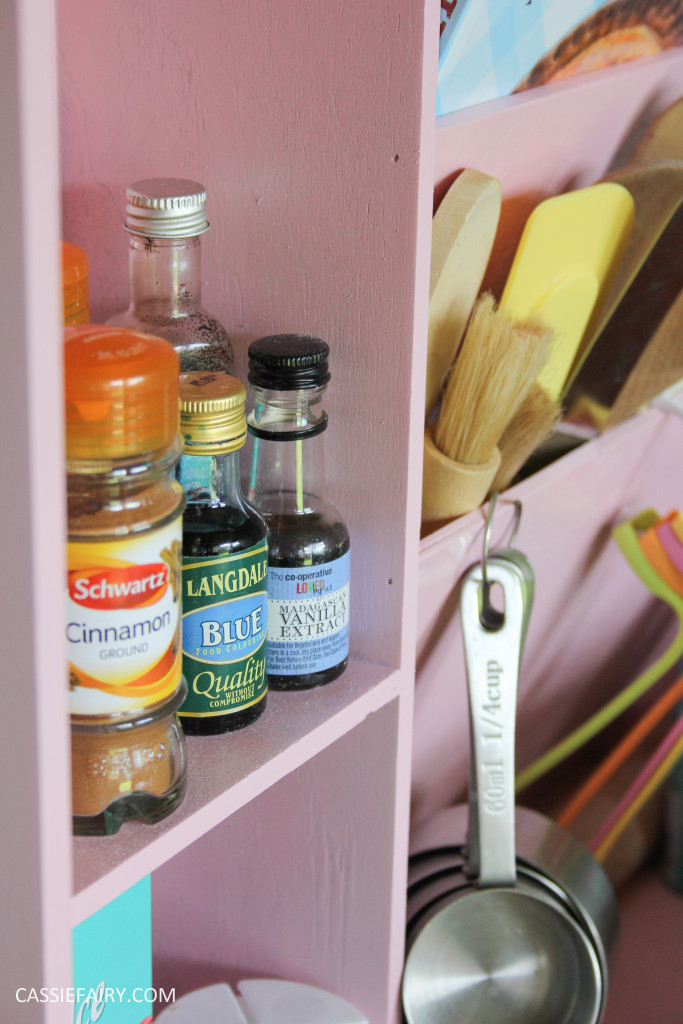
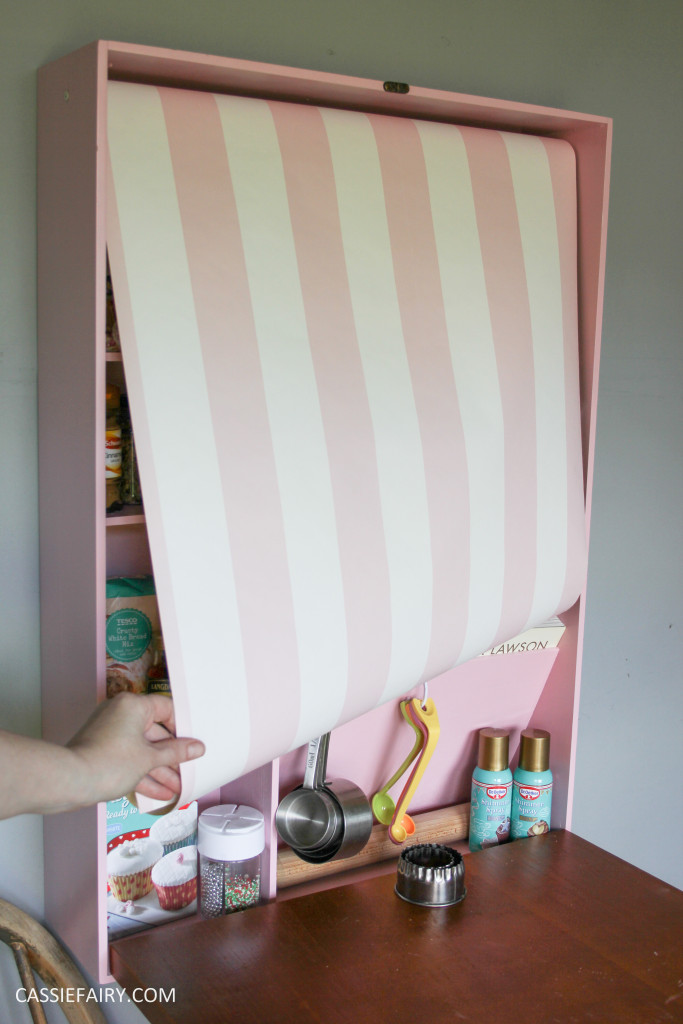
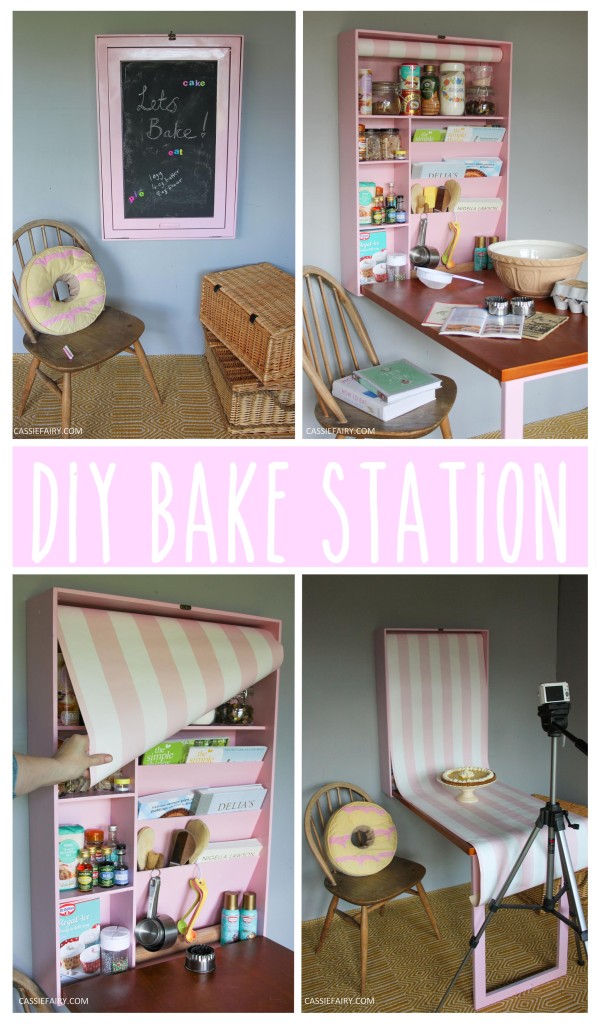
Using a simple drop-down desk as the basis of this furniture makeover, creating a “Bake Station” is the ideal solution when you’ve got a tiny kitchen like me! It provides much-needed storage for all my baking ingredients, cake decorating bits, recipe books, cooking magazines and utensils, not to mention additional work-surface for rolling out pastry!
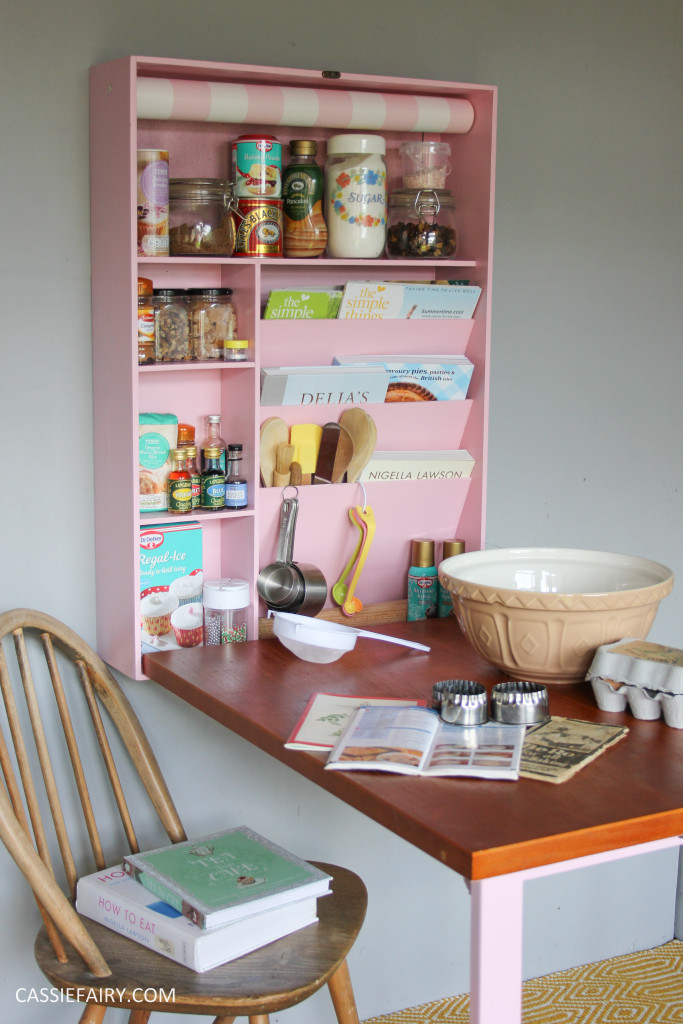
After starting work on a mini makeover for my kitchen, I realised that there just wasn’t any room for a table in the kitchen, nor was there space for an additional kitchen unit and worktop. I was therefore very short on storage and space to do my cake mixing and bread kneading so I headed online to find a solution. I spotted this handy drop-down desk unit on the Wayfair.co.uk website and I could imagine the makeover in my head straight away!
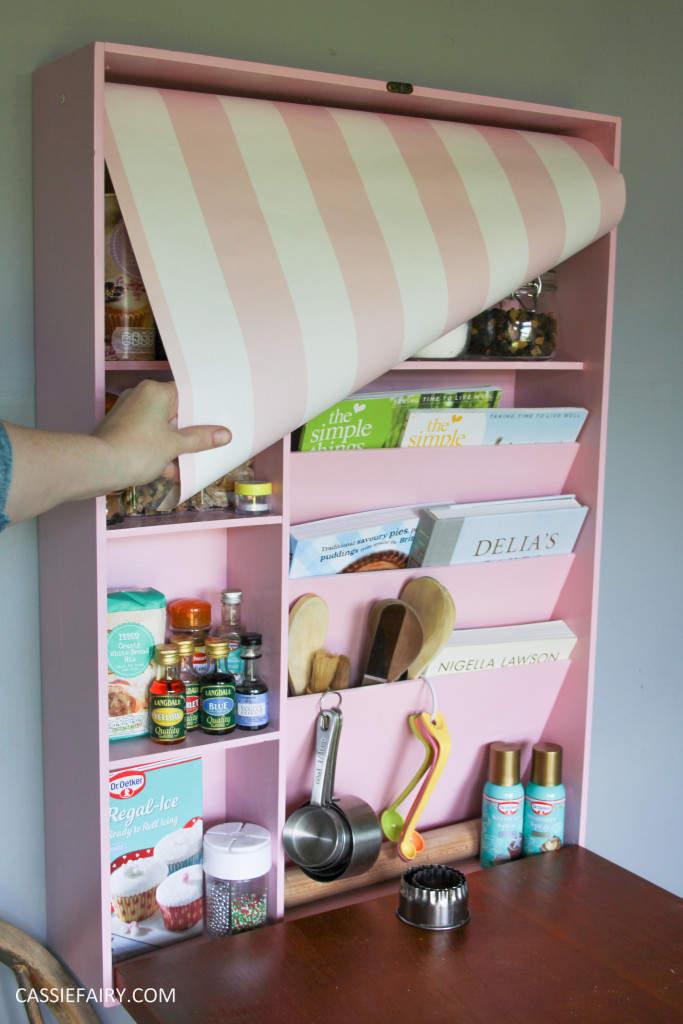
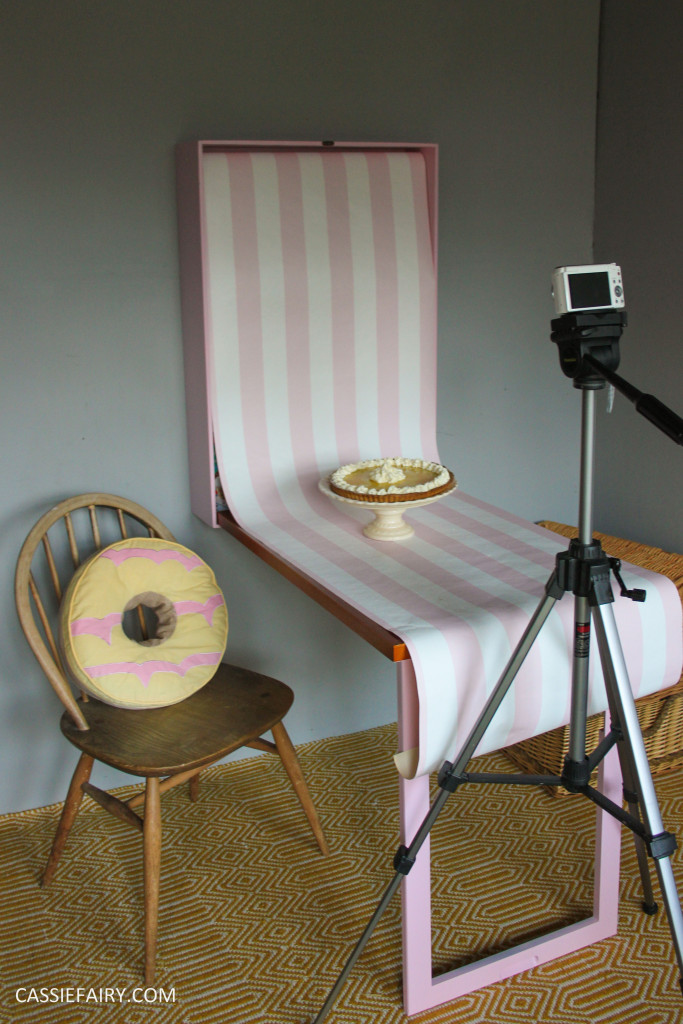
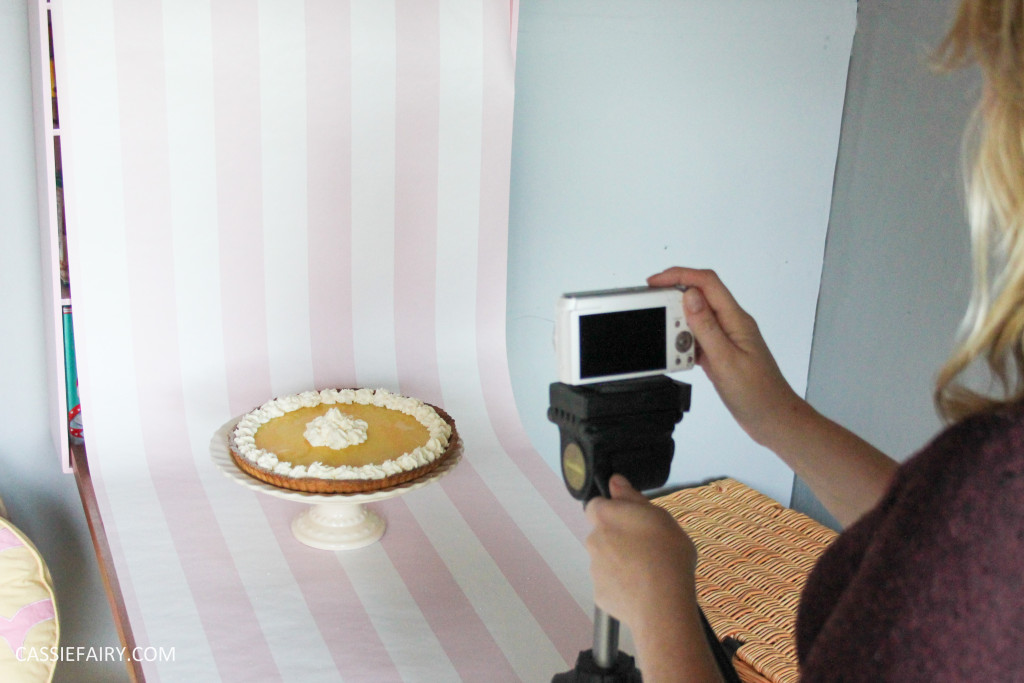
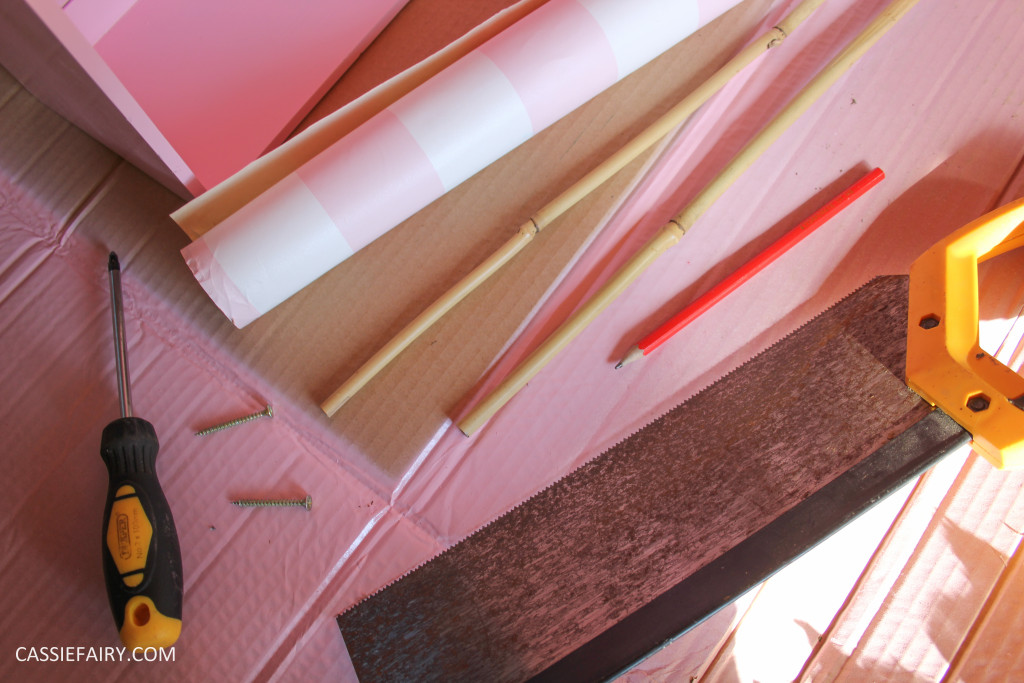
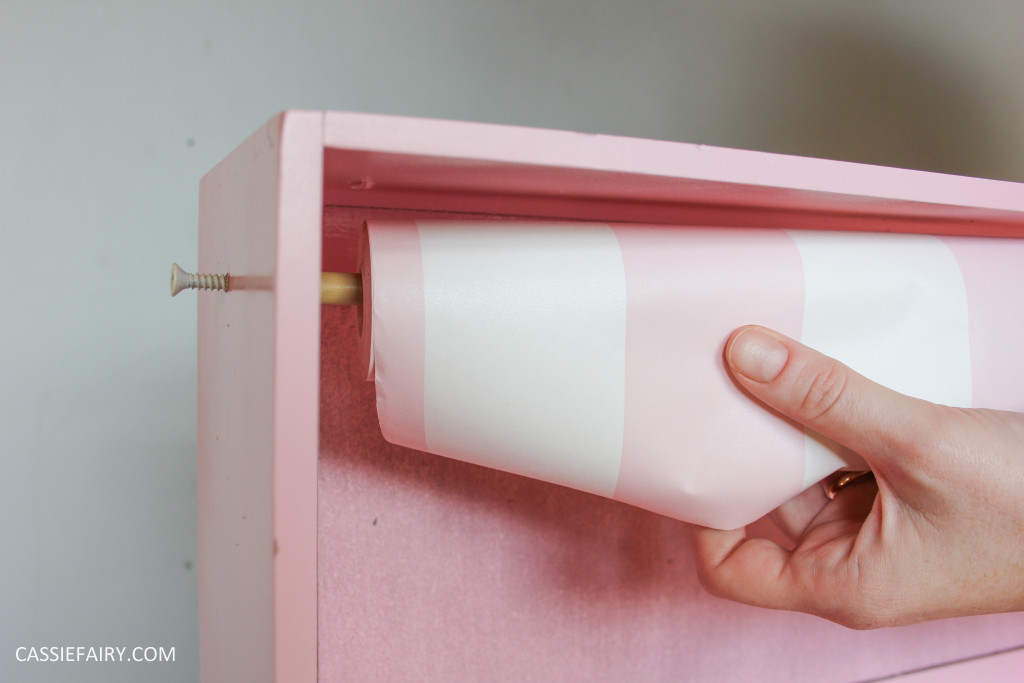
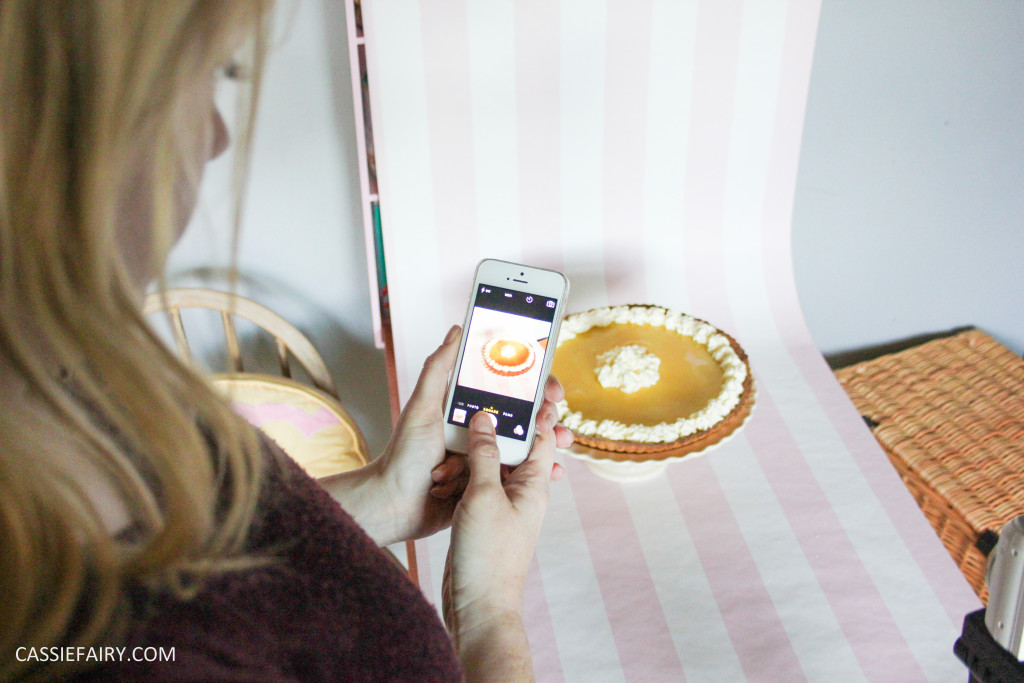
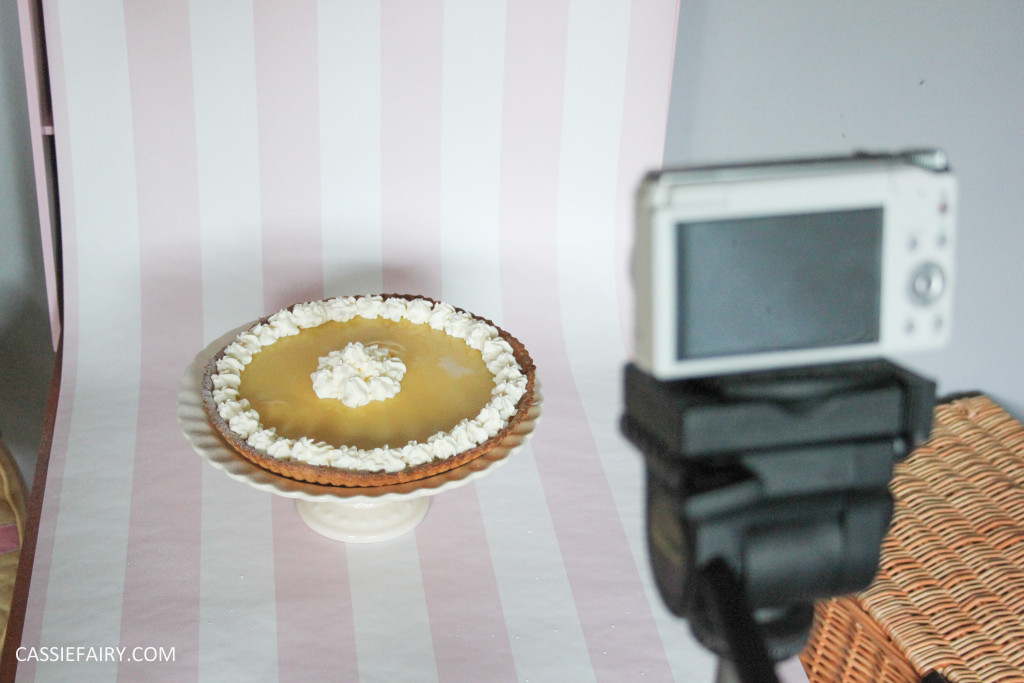
Did you spot the multi-purpose trick of this unit? Yes, it doubles-up as a place to photograph your bakes too! I added a roll of pink-striped wallpaper on a baton at the top of the cupboard which can be rolled out over the surface of the “Bake Station” to create a photo back-drop. It’s perfect for bloggers and instagrammers – or anyone who wants to show off their baking creations ‘professionally’!
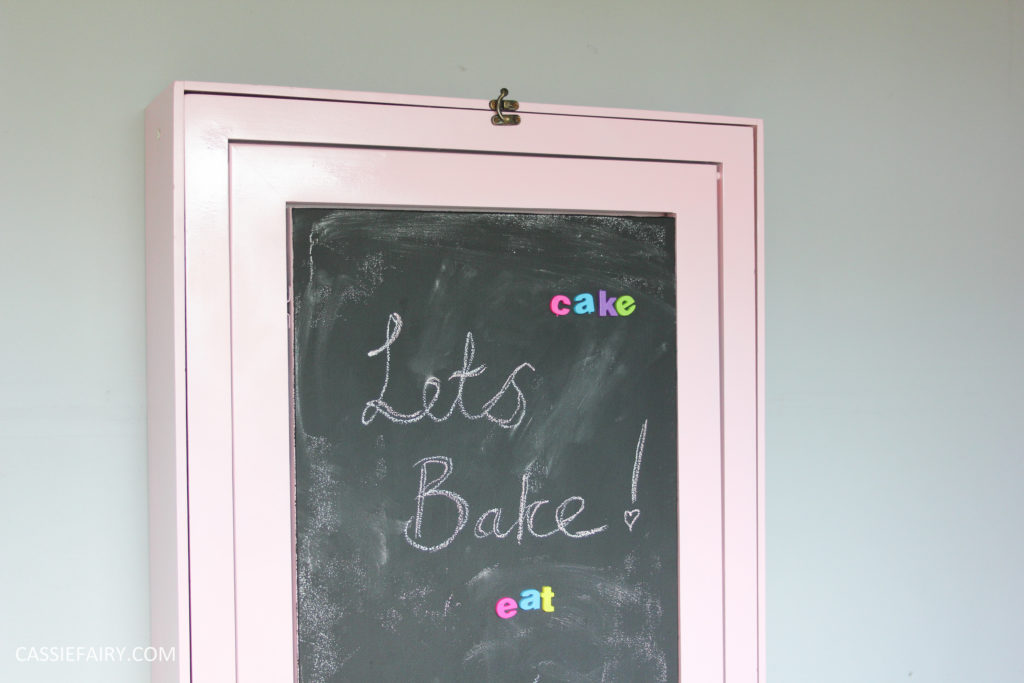
In terms of materials, I used a few products that you may have spotted on the blog before, including my trusty Rust-Oleum Primer and tin of chalkboard paint. I used a lot of the magnetic chalkboard paint in my mini kitchen makeover and shared the projects on the blog earlier this week.
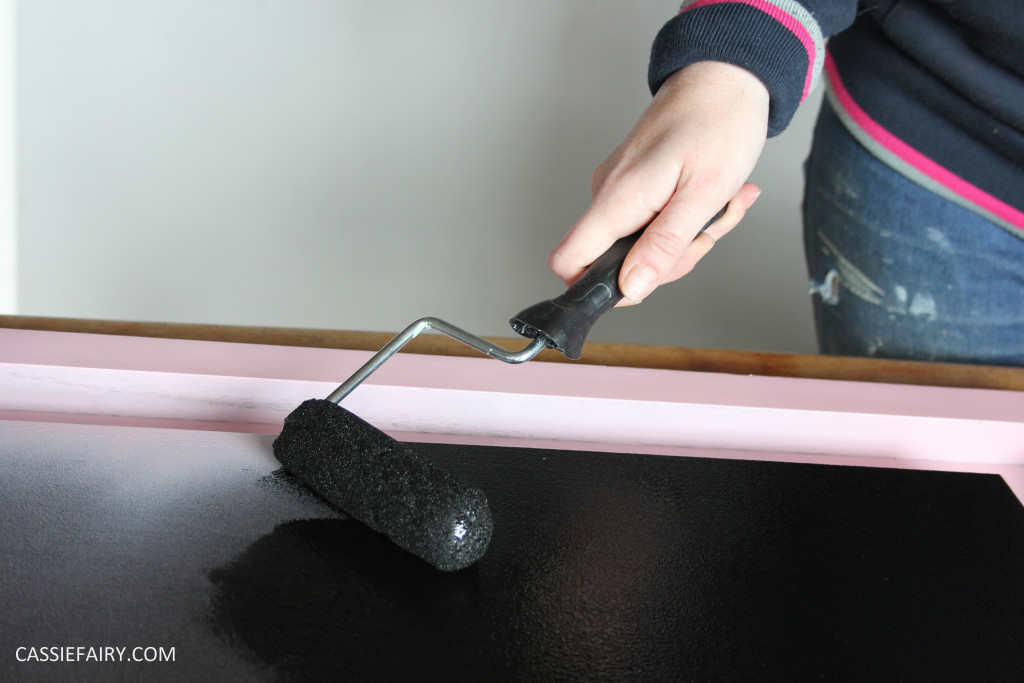
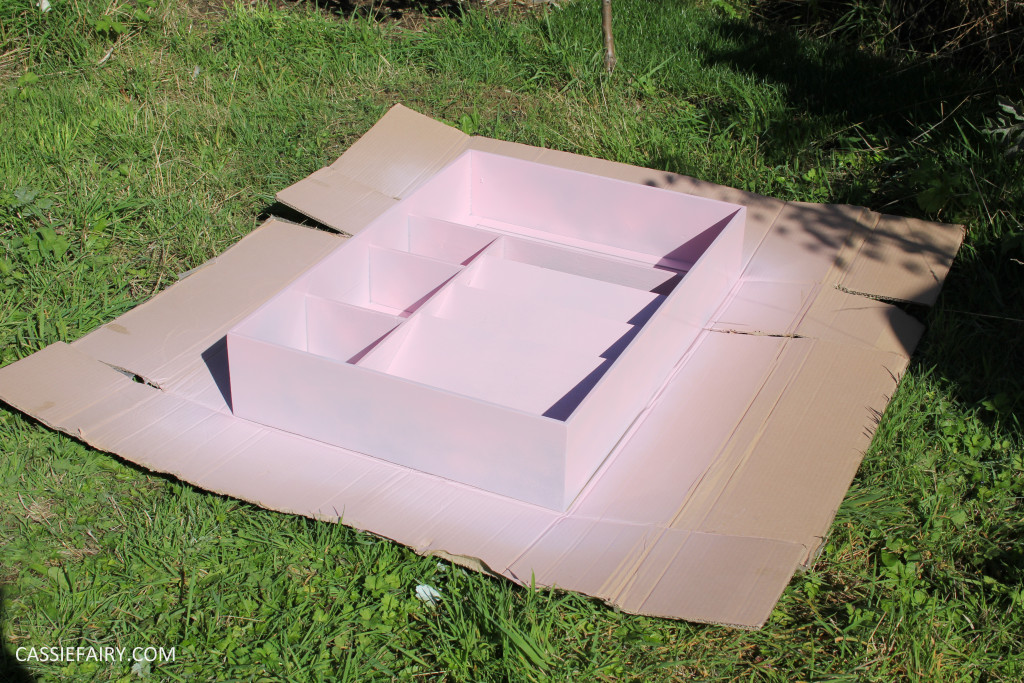
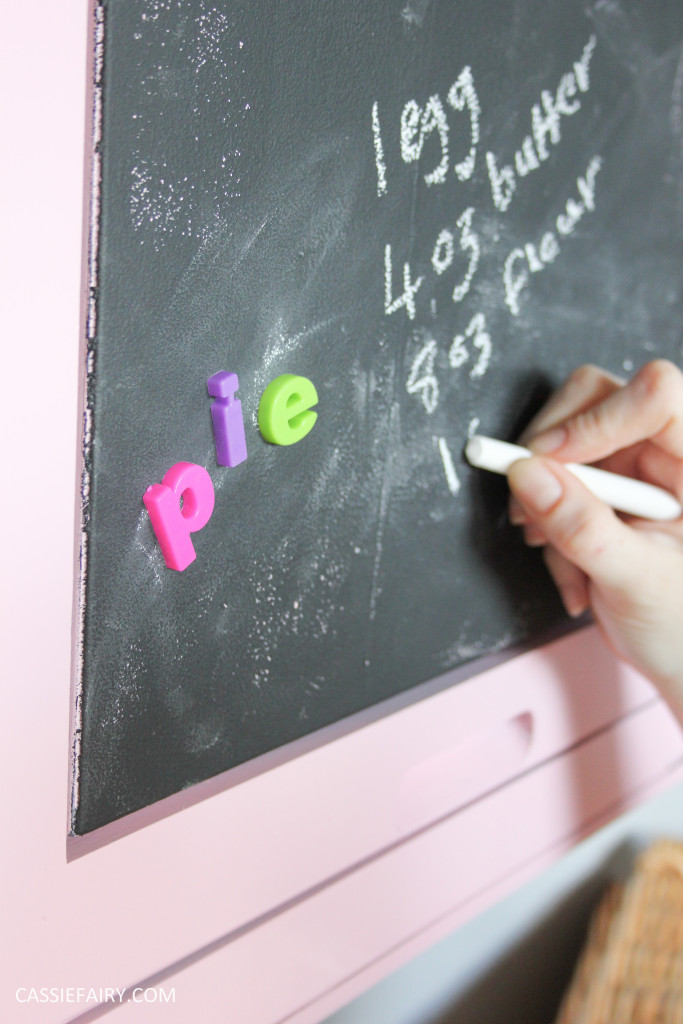
I was so impressed with the results of the DIY chalkboard projects that I couldn’t resist adding it to the front of my “Bake Station” to create somewhere to make recipe notes & meal plans. The chalkboard ensures that the “Bake Station” matches the rest of my kitchen and I chose to paint the rest of the unit to lighten up the dark wood and finish it off nicely.
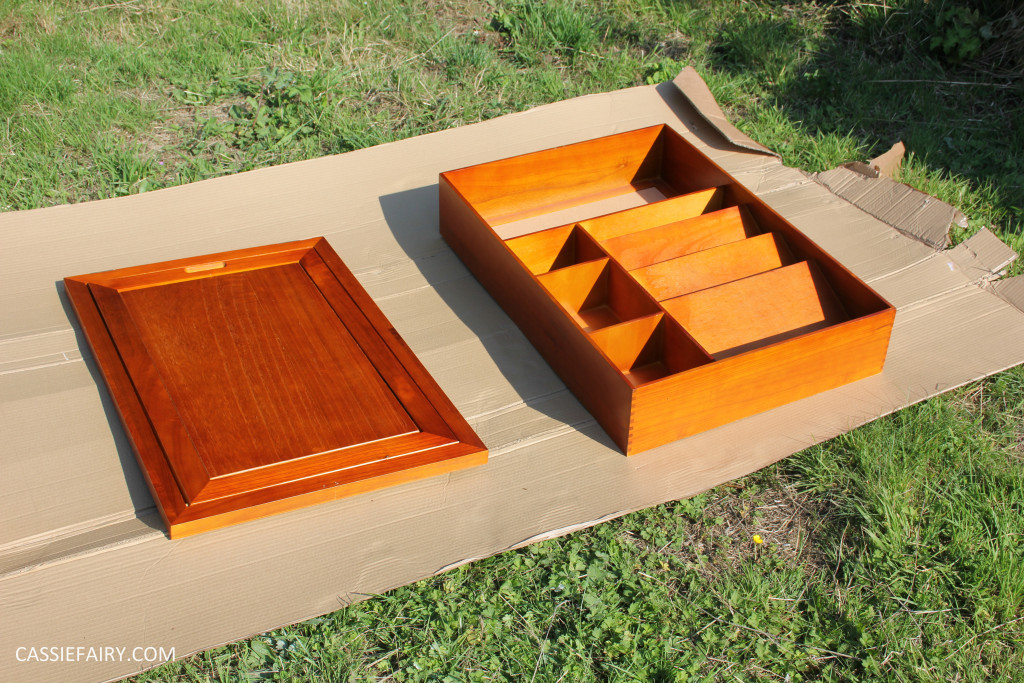
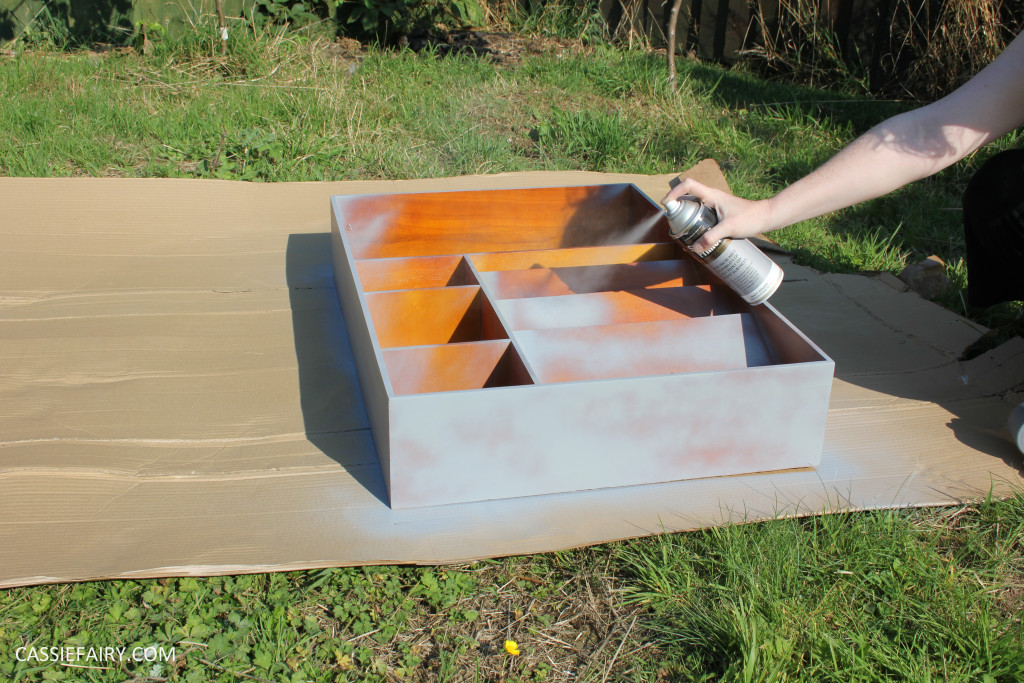
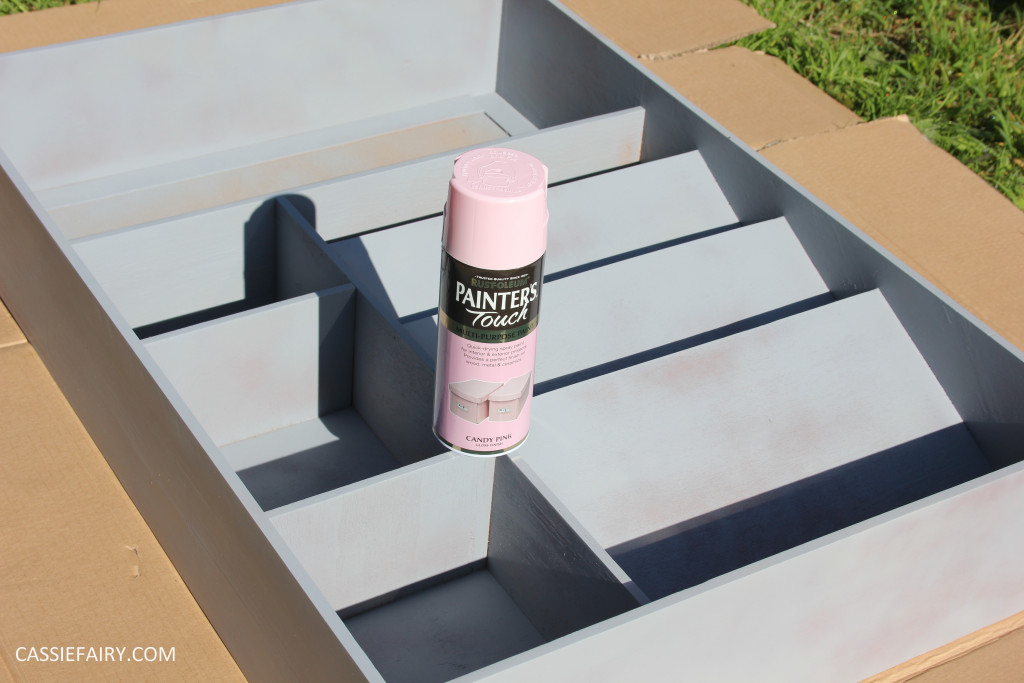
I used 2 cans of Painters Touch in Candy Pink Gloss. Once the paint had dried and the unit has been reassembled, I enlisted my husband to help me install it. Within minutes, I’d started work on a new recipe – I think the “Bake Station” gave me a boost to try out a recipe that I’d never attempted before; a lemon tart.
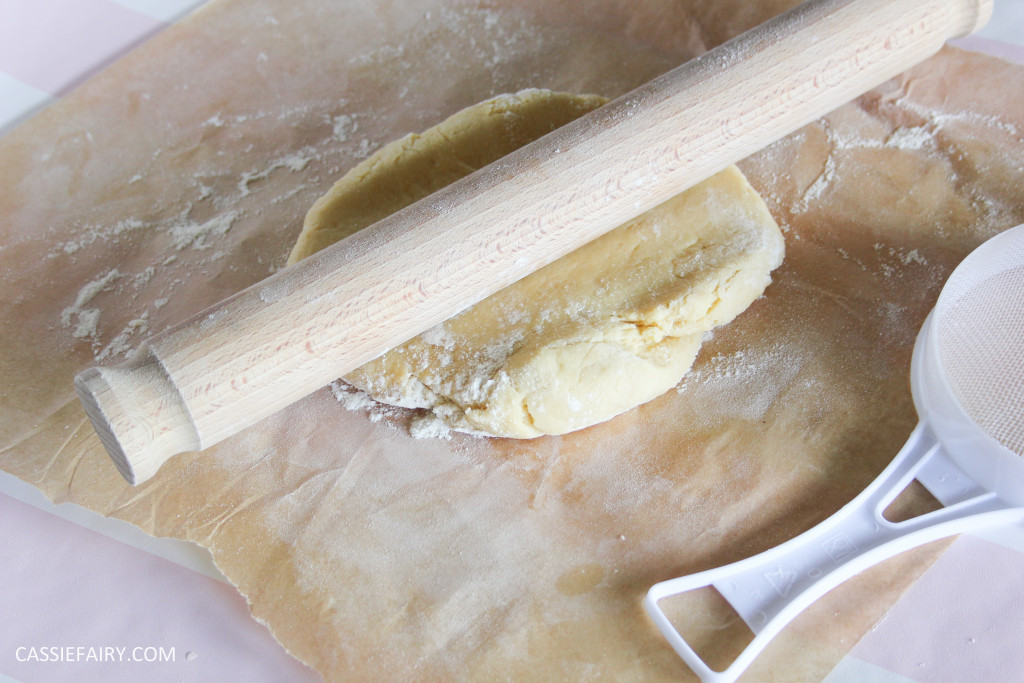
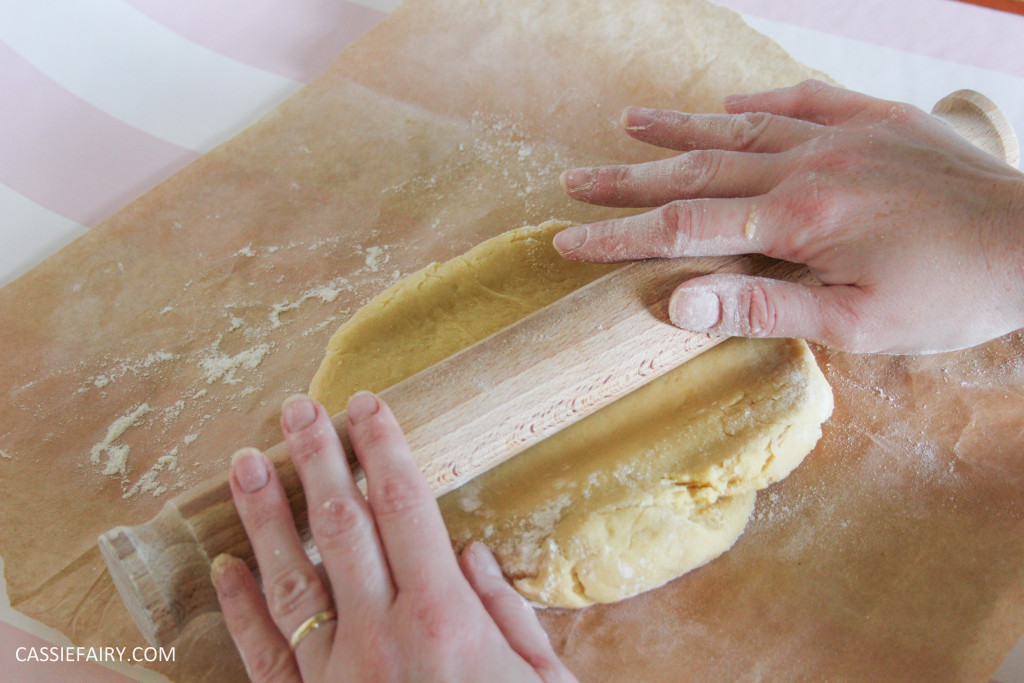
Okay, I’ve made shortcrust pastry tons of times but have never attempted to make a lemon curd or pie filling before so this was a new challenge for me. I used Mary Berry’s recipe for a Lemon Meringue Pie (who else?!) to get the ingredients and method for making a lemon pie filling.
I skipped the meringue part because I already knew that I wanted to add sweetened whipped cream on top of the pie so here’s the ingredients I used for the lemon filling: 6 lemons, 6 egg yolks, 65g cornflour and 250g caster sugar. After blind-baking the pie case (as the filling wouldn’t be baked in the oven) I left it the pastry to cool and set to work on the filling.
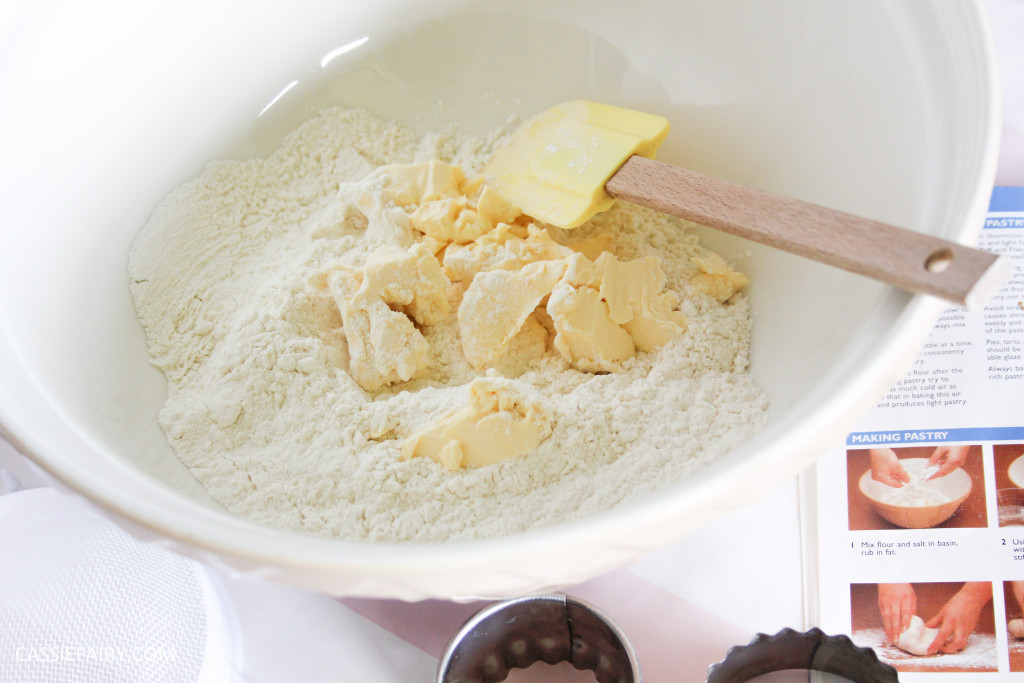
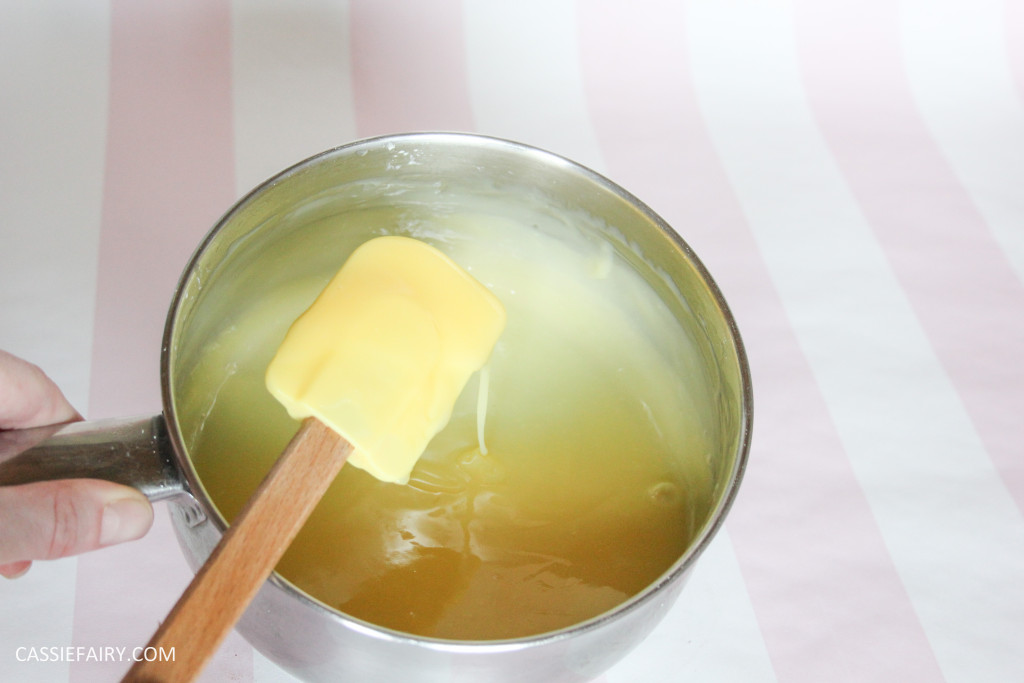
As Mary suggests I created a cornflour-and-lemon paste before adding to boiling water and stirring to thicken. I added the 6 egg yolks and stirred over a medium heat until it bubbled and seemed to be the right texture. I’m not the best at separating the egg yolks from the whites but I managed it this time – again, I think the “Bake Station” gave me more confidence in the kitchen, haha!
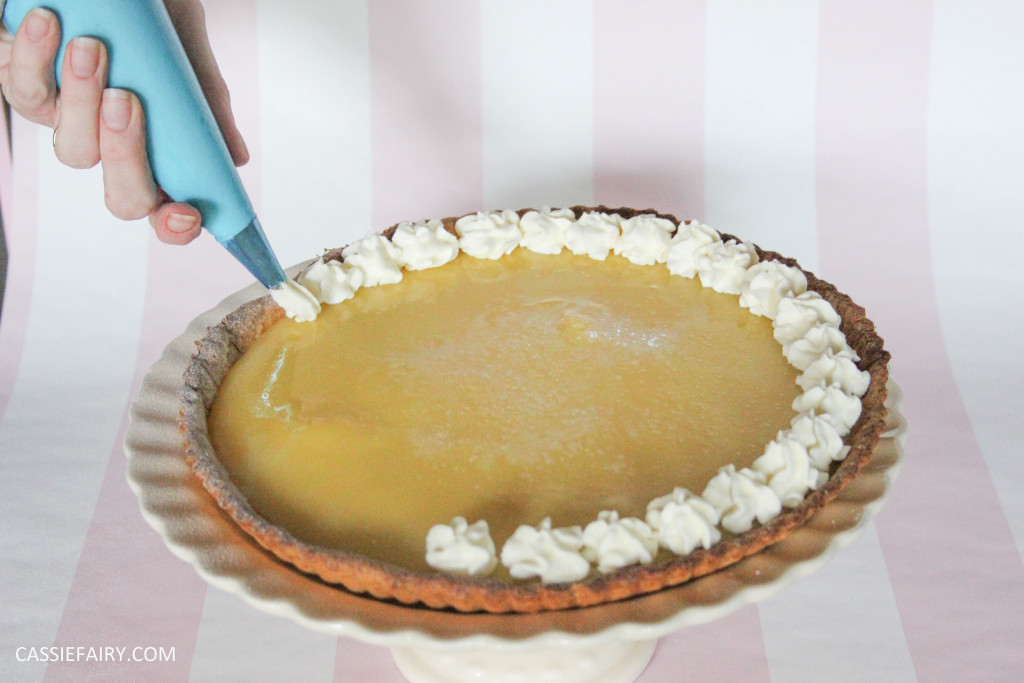
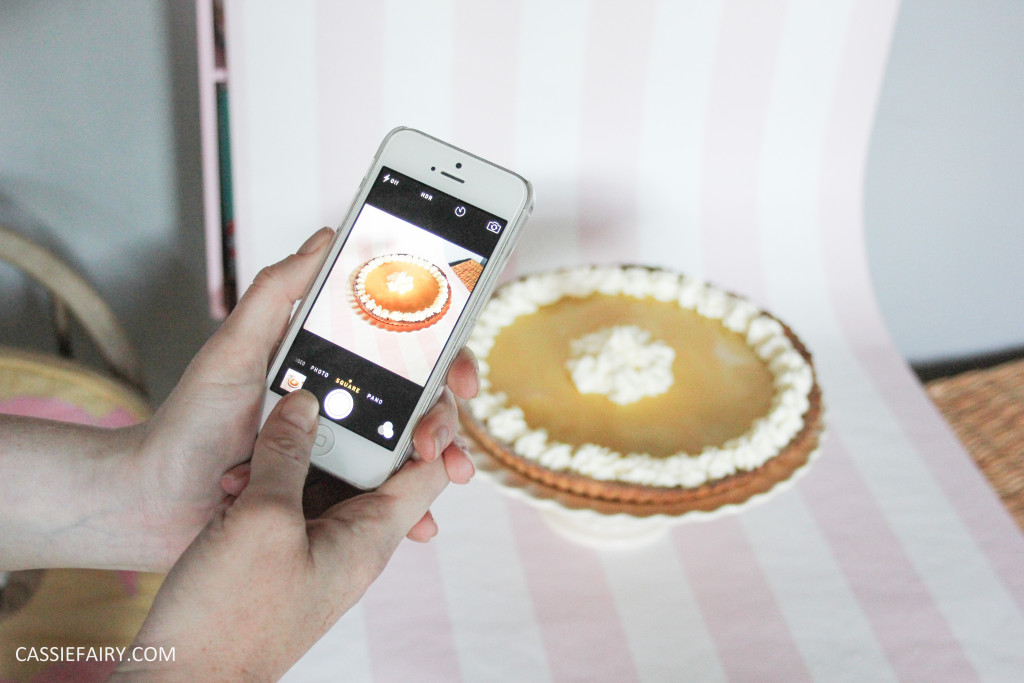
I poured the lemon filling into my shortcrust pastry case and left it to set for a couple of hours before piping some sweetened whipped cream on top. Of course, I used the new “Bake Station” backdrop to photograph my finished pie and shared it on my instagram gallery during this week’s Great British Bake-Off to impress all my friends.
Most importantly, I really impressed myself and had to seriously resist polishing off the whole pie with my husband and we watched the show! I owe it all to the “Bake Station” I’m certain!
Let me know what you think of this thrifty furniture project and let me know if you have a go at making this bake station for yourself! I’d love to hear how you get on in the comments below. 🙂
Pin it for later
Some items in this blog post have been gifted to me and the pink links indicate a gifted product, affiliate link or information source. All thoughts and opinions in this post are based on my own experience and I am not responsible for your experience 🙂




4 responses
It’s great for small spaces Georgina so you definitely need one! Go for it!! 😀
Oh my goodness I absolutely love this!! Wish I could have one in my flat x
Georgina | Rent or Chanel?
Thanks so much Lotte glad you like it! I prefer dual-purpose furniture, I get the most out of the tiny space available this way! 🙂
Such a cool idea and great how you can use it for photography too! 🙂