Today I’ve teamed up with online DIY retailer DIYDirect.com to give you some advice when it comes to decorating – and in particular, how you can be as thrifty as possible in your project…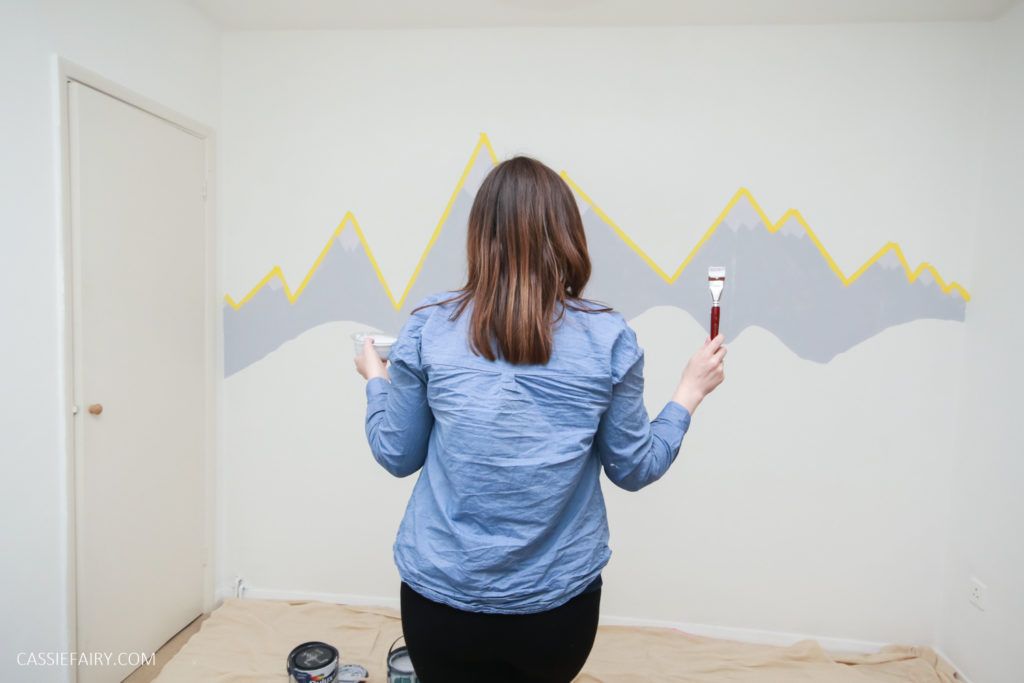
CHOOSE QUALITY OVER PRICE
Price is directly proportional to quality when it comes to paint brushes. Quality is visible in all aspects of a brush, from the handle which may be plastic, wooden or rubber moulded, to the size, material and finish of the ferrule (metal band that holds the bristles) – a good quality ferrule won’t rust. The bristles will also vary greatly. Under a microscope you’d be able to see a distinct difference, a finer bristle will have a pointed, tapered finish compared to a blunt end. The results will be visible in the drag lines on the wall, with a finer bristle giving you a much cleaner finish. Plus bad quality brushes will shed bristles, giving you an imperfect finish and also making them unsuitable for multiple use.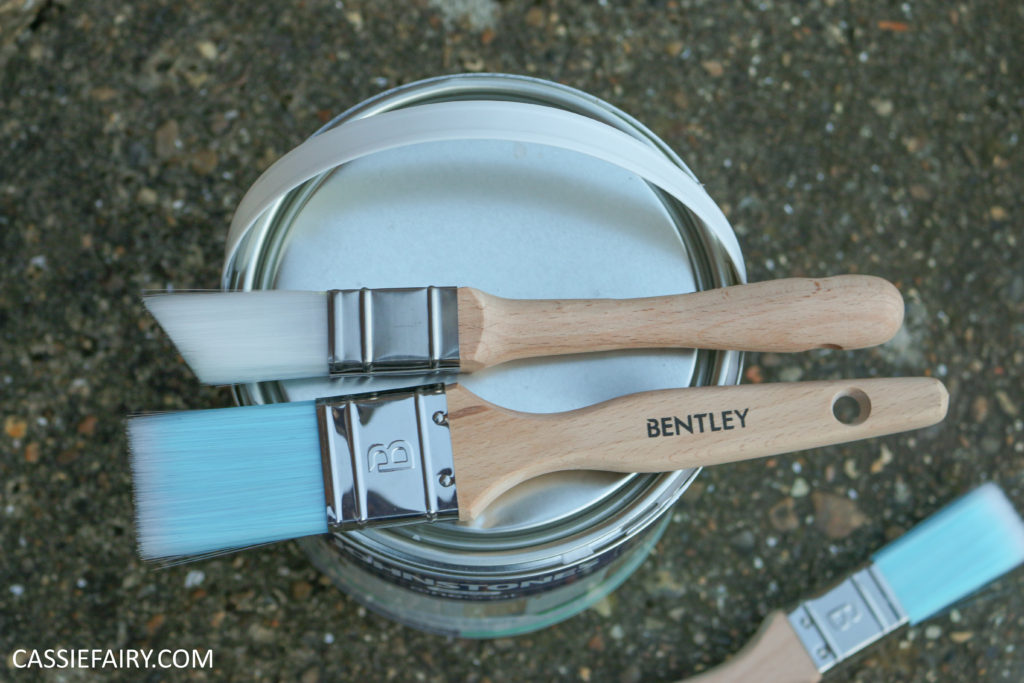 In essence, cheap brushes won’t last you as long and won’t give you as good a finish whereas a mid-range priced brush will last a lot longer so you won’t need to buy a new brush for every new project.
DIY Direct recommend their Harris paint brush range for a good balance of price vs quality, or if you’re looking for a set of professional quality brushes, try the Hamilton range.
CLEANING YOUR BRUSHES
If you do choose a better quality paint brush you’ll probably be more inclined to treat it well. If you’ve used it for water-based emulsion then you can run it under tap until the water runs clear, if you’ve used a gloss paint then you’ll need some white spirit or clean spirit to clean it up. The trick to keeping it fresh and ready to go for your next project is to wrap it in clingfilm. It’ll retain some moisture and won’t be stiff next time you need to use it.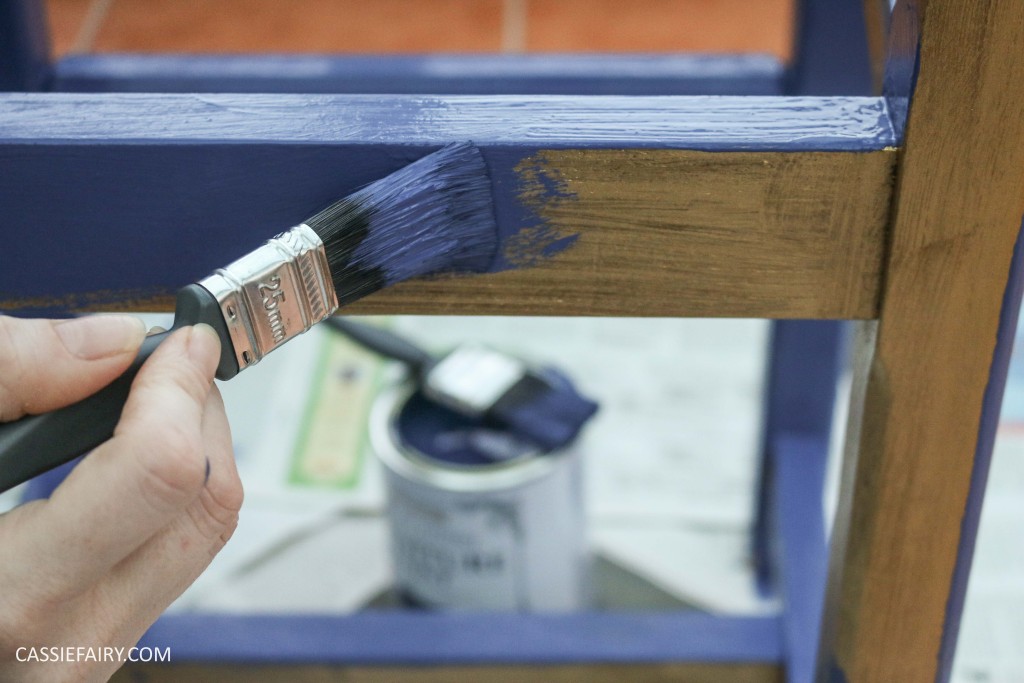
CHOOSING A ROLLER
Rollers are a worthwhile investment if you’ve got a large space to cover. The roller heads can come off the frame to be cleaned and reused. There are many choices of rollers in terms of size and roller head pile, each designed for different wall qualities. If you want something that will work well on everything, go for a 9-inch (225mm) roller with a short to medium pile. This works for nearly all smooth finished walls and will give you a great professional finish. This video from a professional painter gives you tips on rollers and brushes, and which to choose for your paint job:
DECANT YOUR PAINT INTO A PAINT BUCKET
By de-canting your paint into a paint bucket you minimise wasting excess paint, you can pour a little at a time and only use what is necessary to paint your room. It’s a top tip that painters and decorators use because not only does it help give an even finish (as you can submerge your brushes and rollers right into the paint bucket) but it keeps the original pot of paint fresh with the lid sealed, and also helps to mix the paint ready for application. It also reduces any contamination with the main pot of paint – such as water, dirt or stray brush strands that may appear on your brush whilst you’re painting.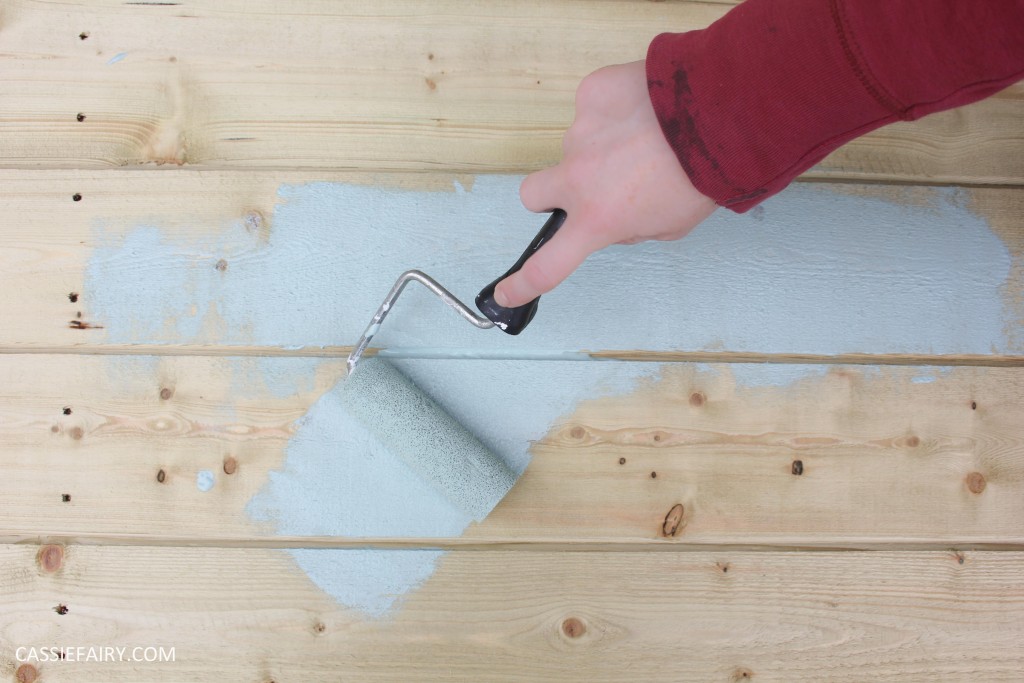
CUT OUT THE MIDDLE MAN AND GO DIRECT
DIY Direct sell thousands of professional-choice DIY items, at trade prices which are now available direct to the customer, so cut out the middle man and save yourself some money. They are confident their prices are the best around, but they also offer price matching if you do find the same product somewhere cheaper. Plus, if you sign up for their newsletter you’ll get 10% off your first order instantly!
Thanks to DIYDirect for collaborating with me on this post and for sharing their best money-saving DIY tips. Let me know your own thrifty decorating advice in the comments below so that I can tackle my hallway project while cutting costs at the same time!
This article is a sponsored collaboration. The pink links in the content indicate a sponsored link or information source. The blog post reflects my own experience and the sponsor hasn’t had any control over my content 🙂


