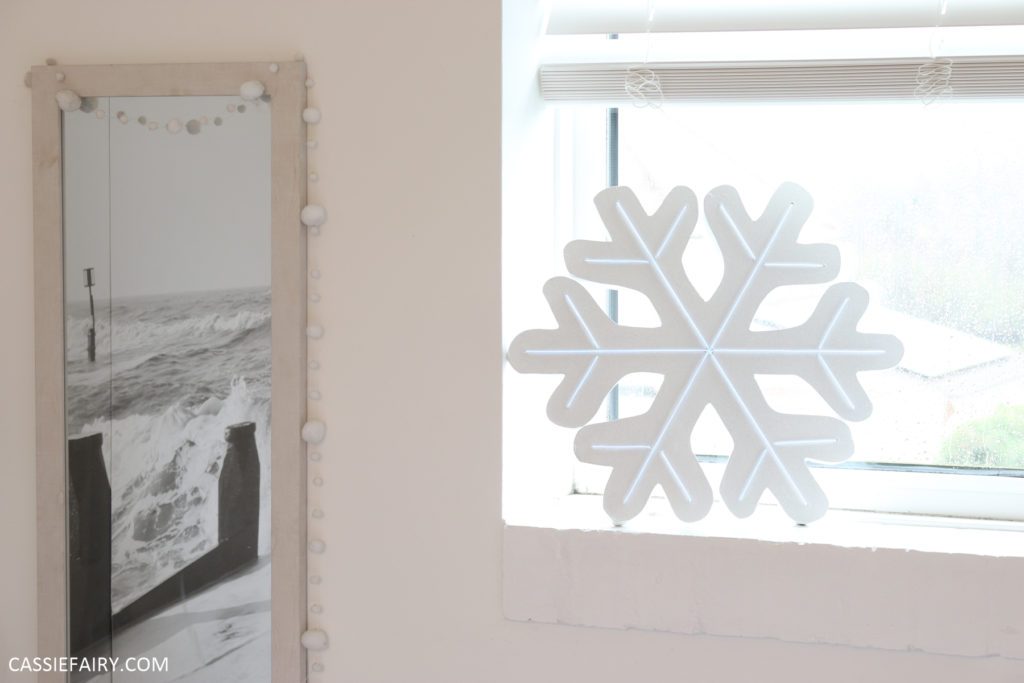
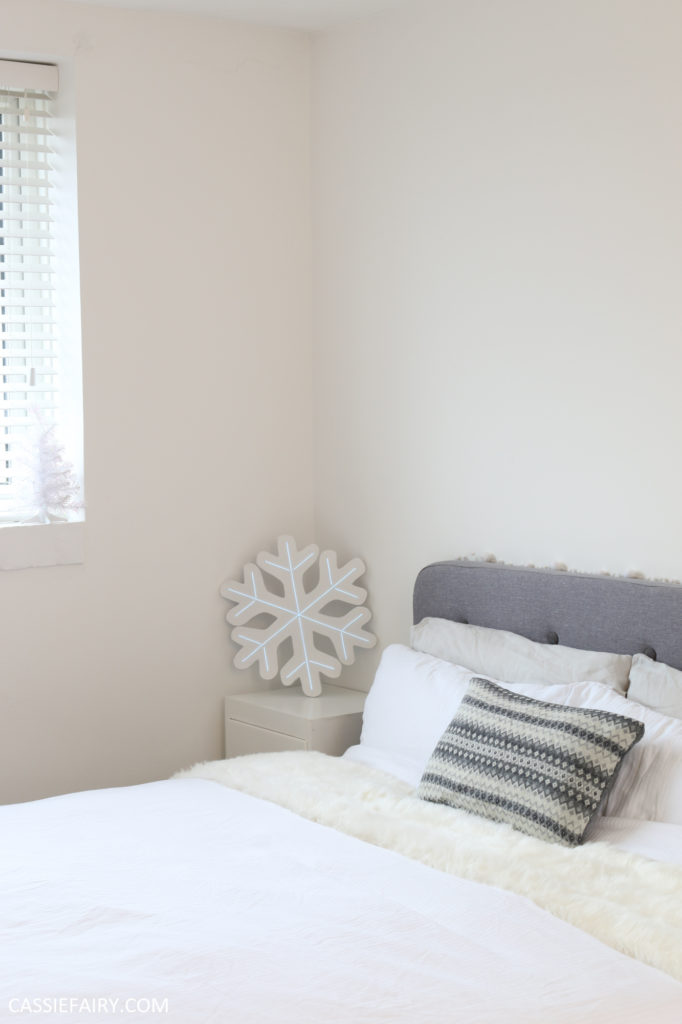
Check out my neon snowflake project photos below and please visit the step-by-step guide to make your own neon light!
Pin it for later
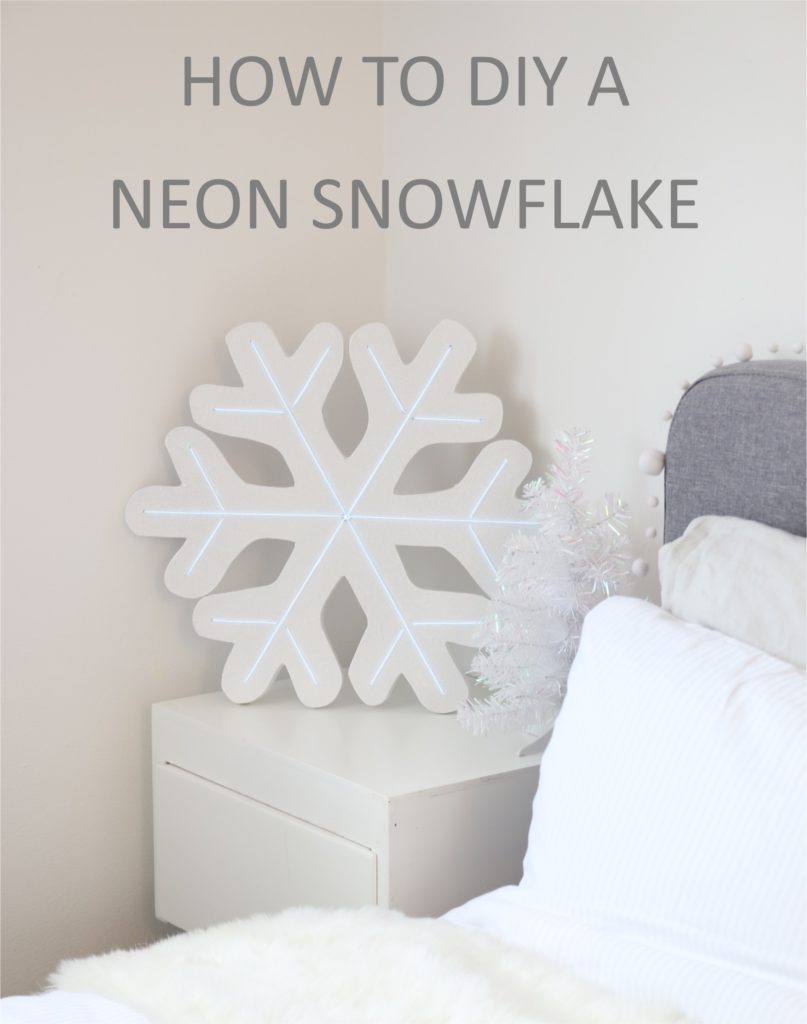
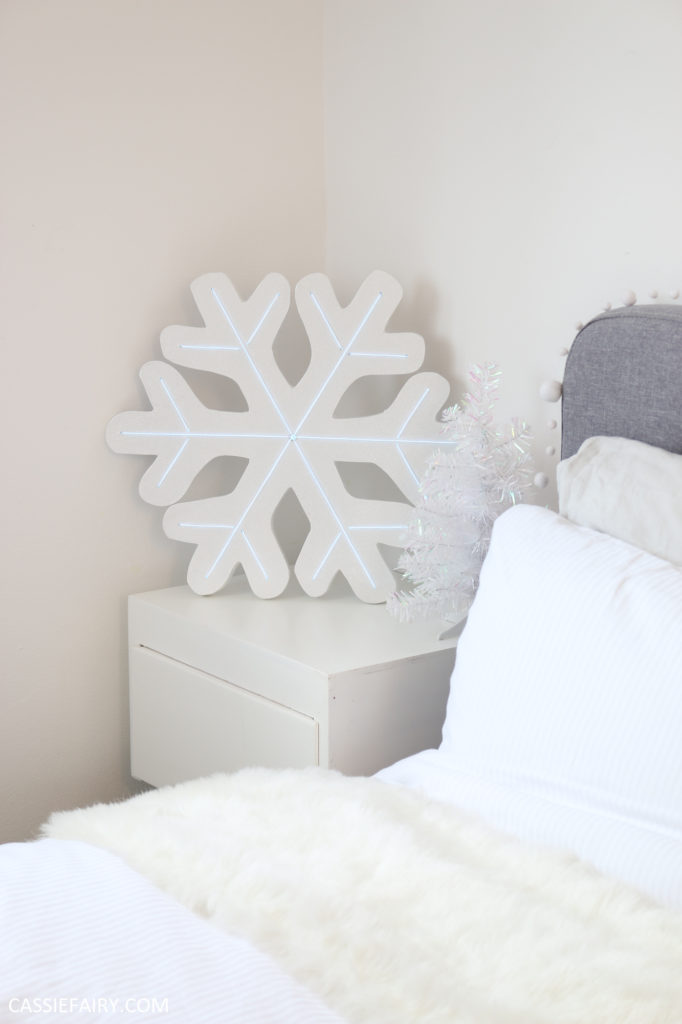
Check out my neon snowflake project photos below and please visit the step-by-step guide to make your own neon light!