If you’ve been reading my blog over the past couple of years you’ll probably have noticed that many of my posts are about my own home renovation project. When we moved into our fixer-upper home over two years ago, we had no idea just how much work it was going to be – and I’m pretty sure that we’re only half the way through!

So today I thought I’d look back at the projects we have done in order to keep myself motivated – and to kind of give you a bit of a tour of our remodelled home. Over the time that we’ve been working on our home, it’s been helpful to use this Home Remodeling & Renovation Guide to work through the list of renovation tasks and for advice on flooring, plumbing, decorating and lighting. It’s been good to look back over our renovation project and tick off some of these bigger DIYs…
BATHROOM
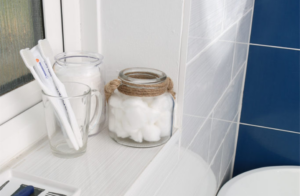
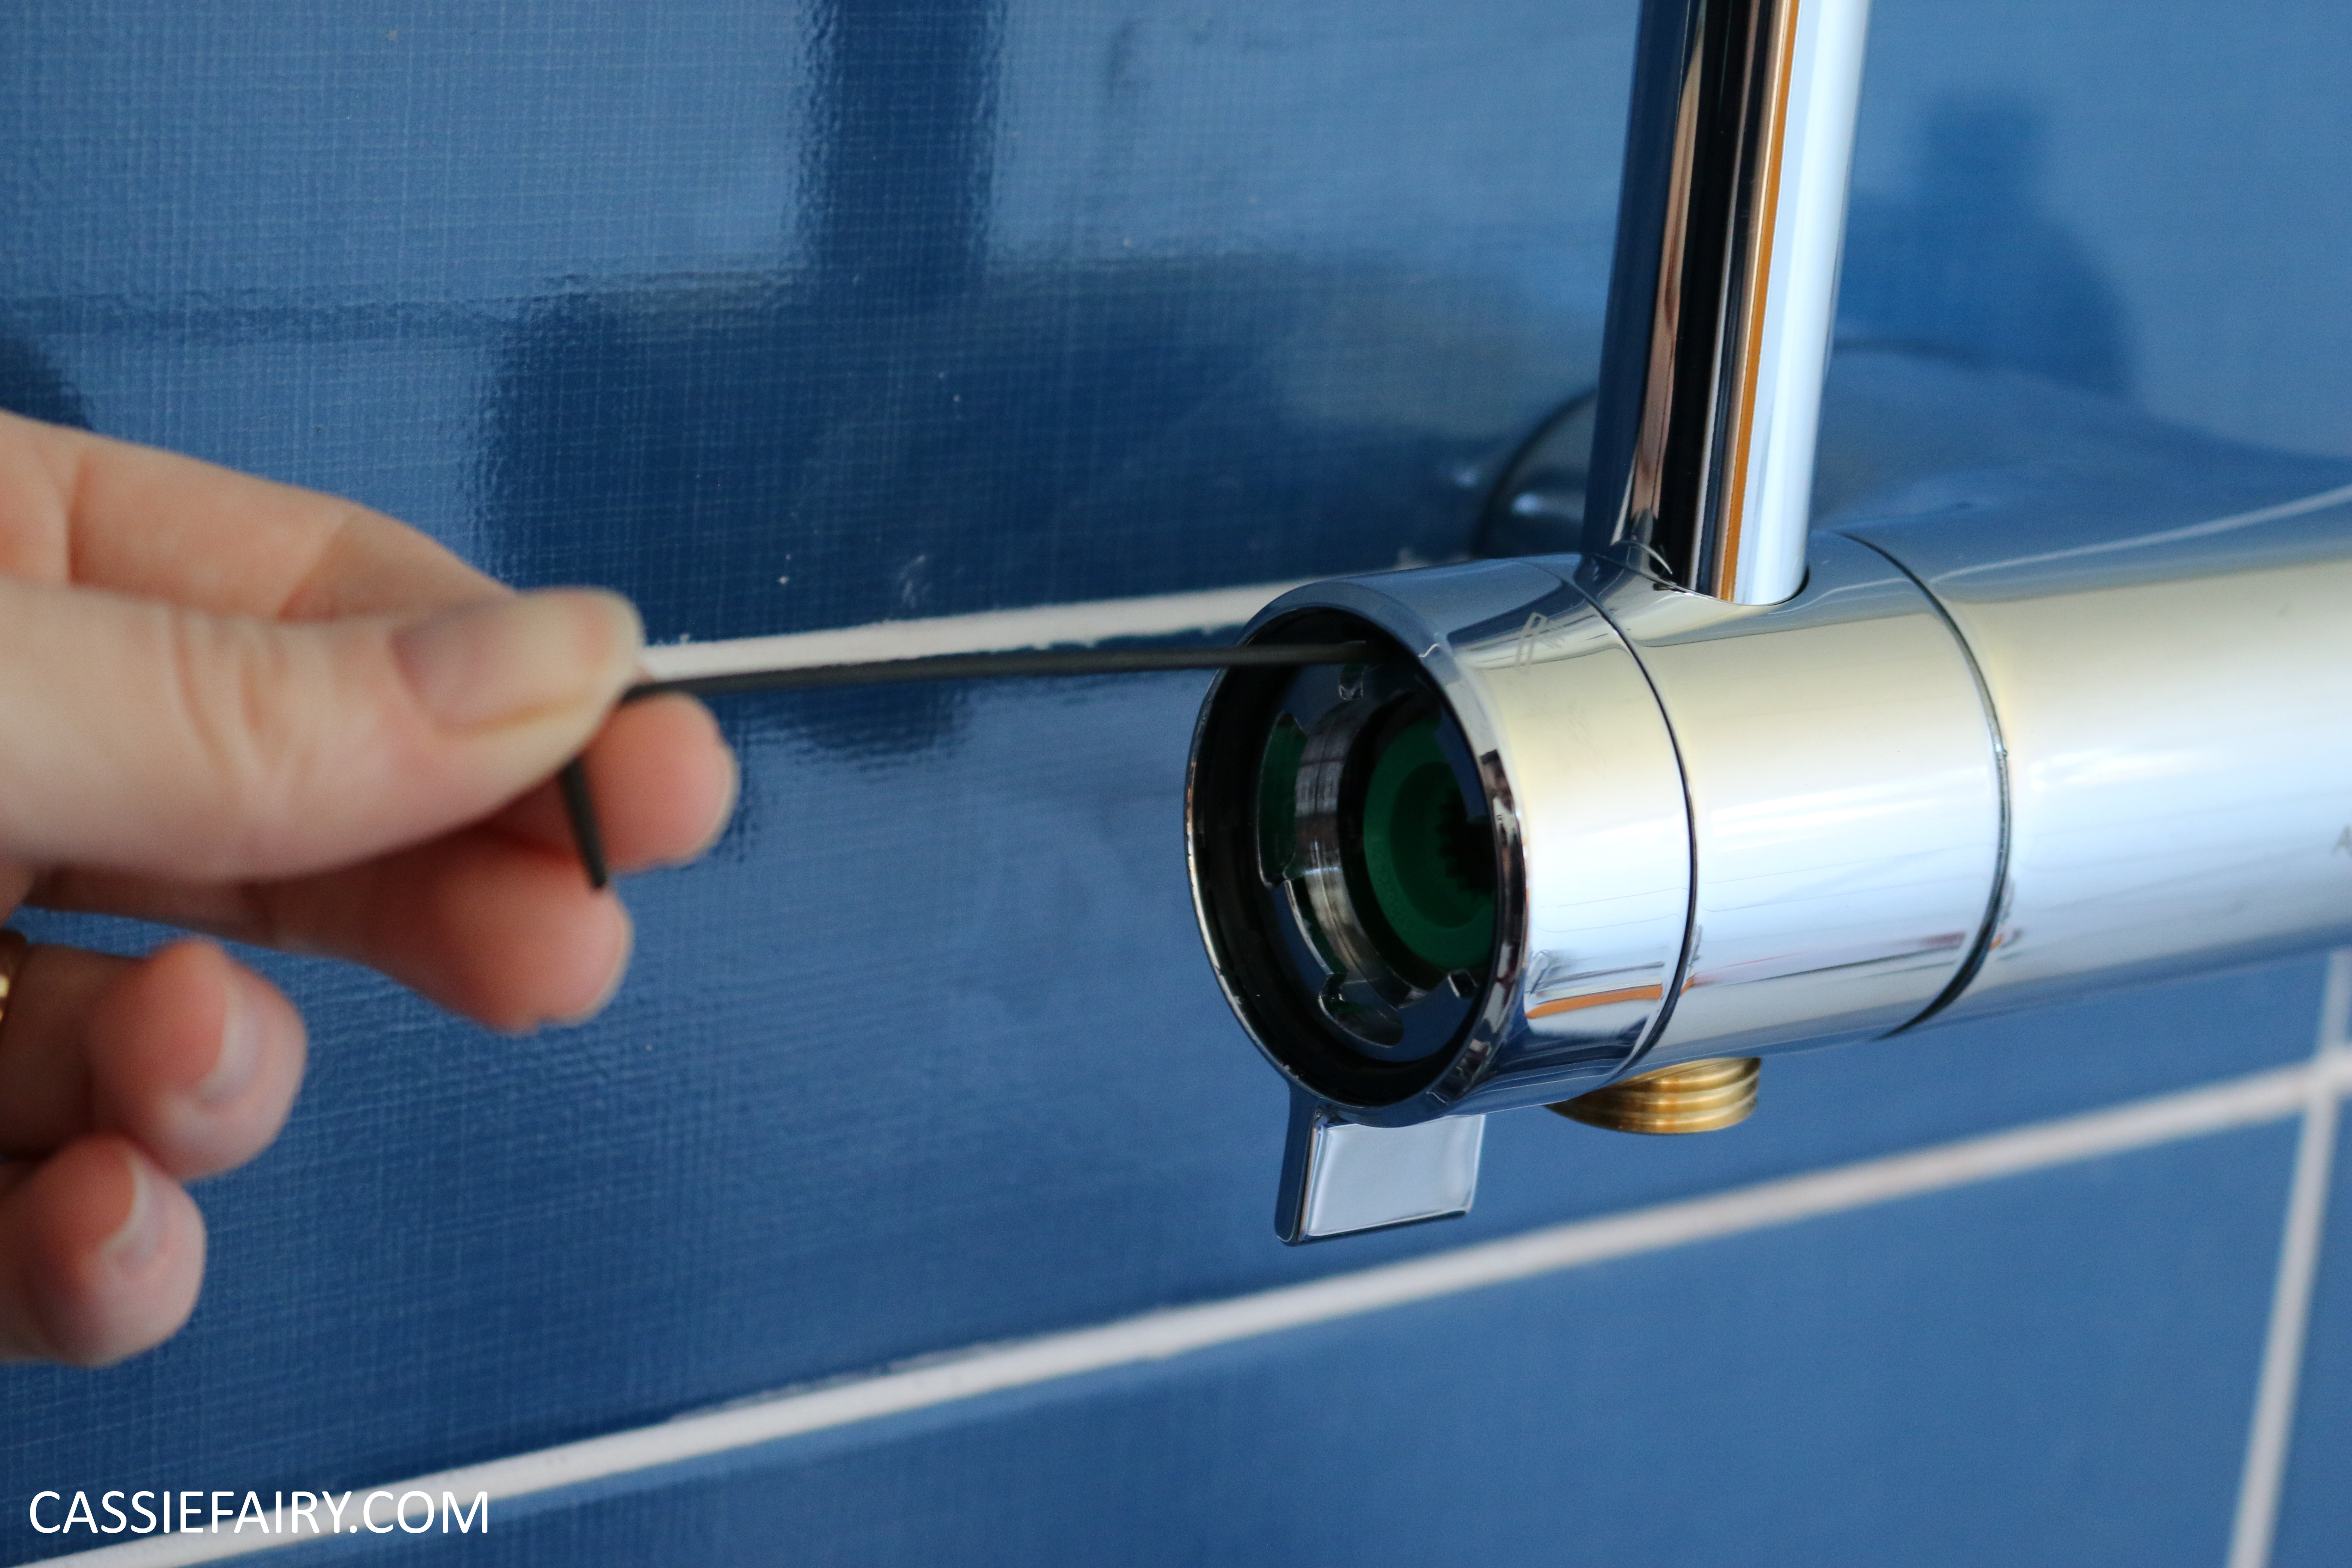
I’m going to start with the room that’s seen the biggest transformation: the bathroom. It was a weird layout when we moved in and – we later discovered – had a hole in the back of the loo, allowing everything to spill out onto the floor and soak into the floorboards, eww. Have a look at the ‘before’ photos of the bathroom and you’ll see what I mean about the weird layout. And you can see just how grim it was.
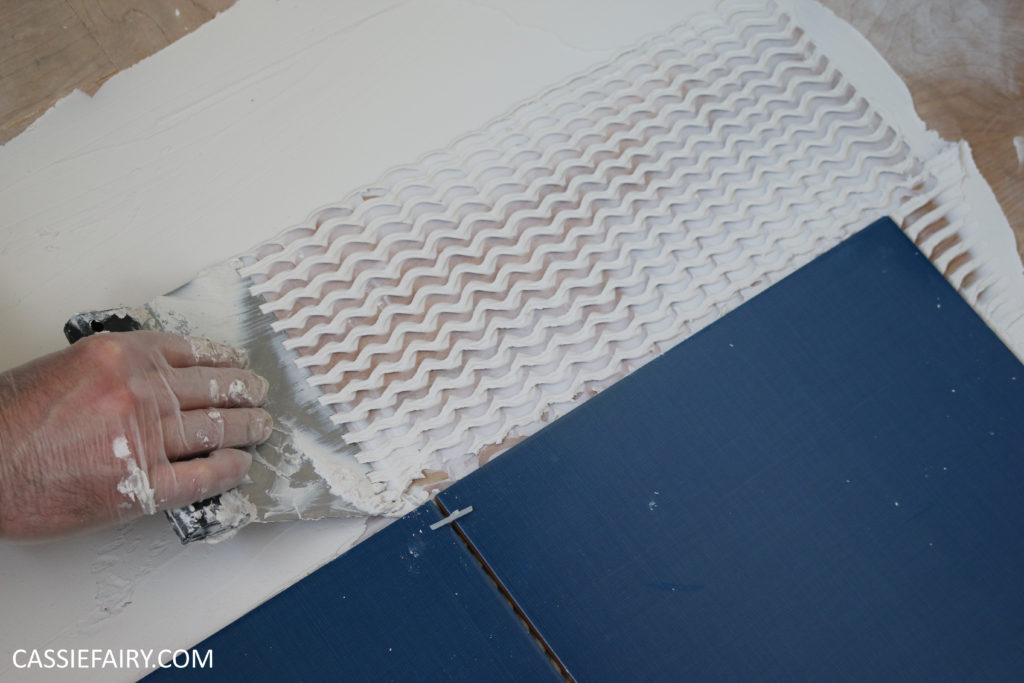
We’ve since removed everything in the bathroom and added a new bath, sink, loo and shower. In fact, we had already ordered the new bathroom suite in the January sales before we’d even got the keys for the house. I knew that we’d need to do tackle the bathroom first (before we even moved in) as there’s no good time to be without a bathroom!
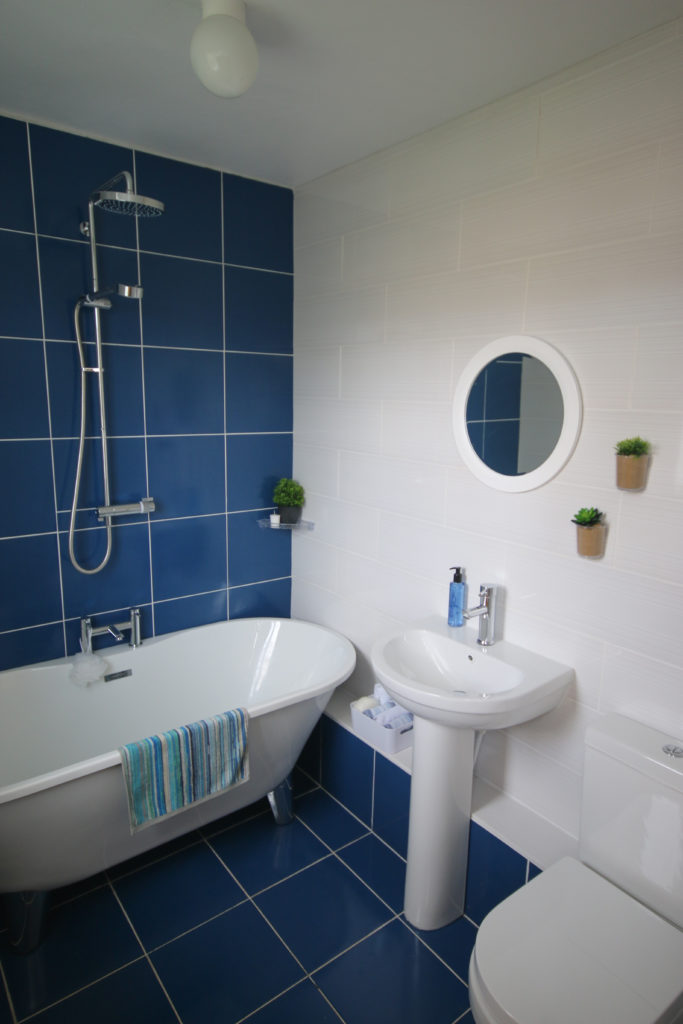
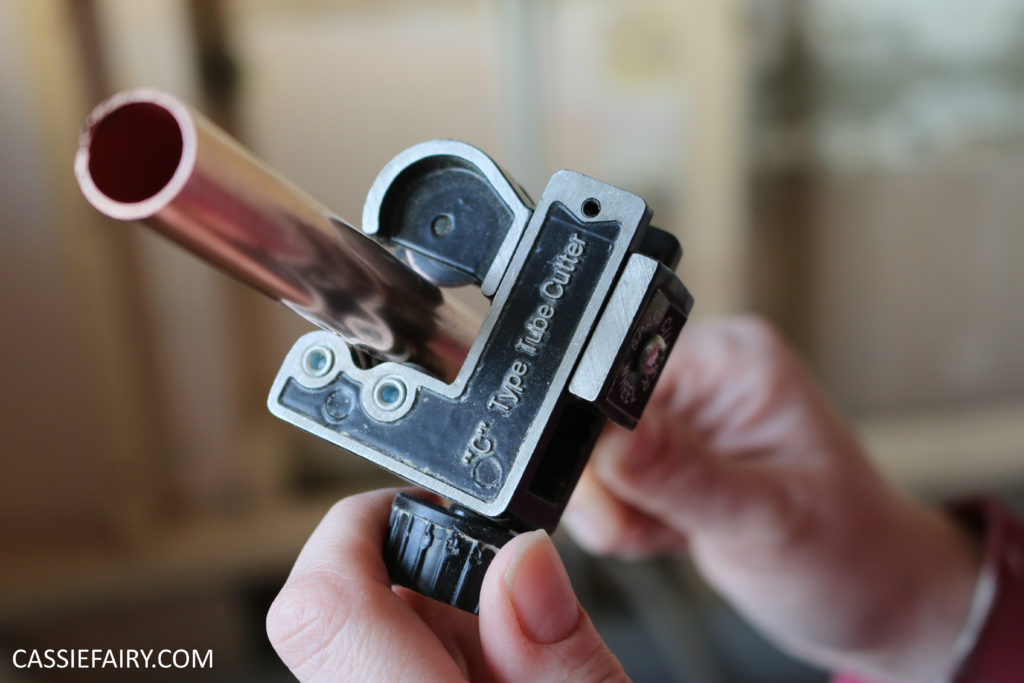
It took weeks to re-fit the bathroom and there were tears when I was grouting the tiles, but I was really happy when I could finally enjoy a bath in my new freestanding tub, in a room with a much better layout and leak-free plumbing!
BEDROOMS
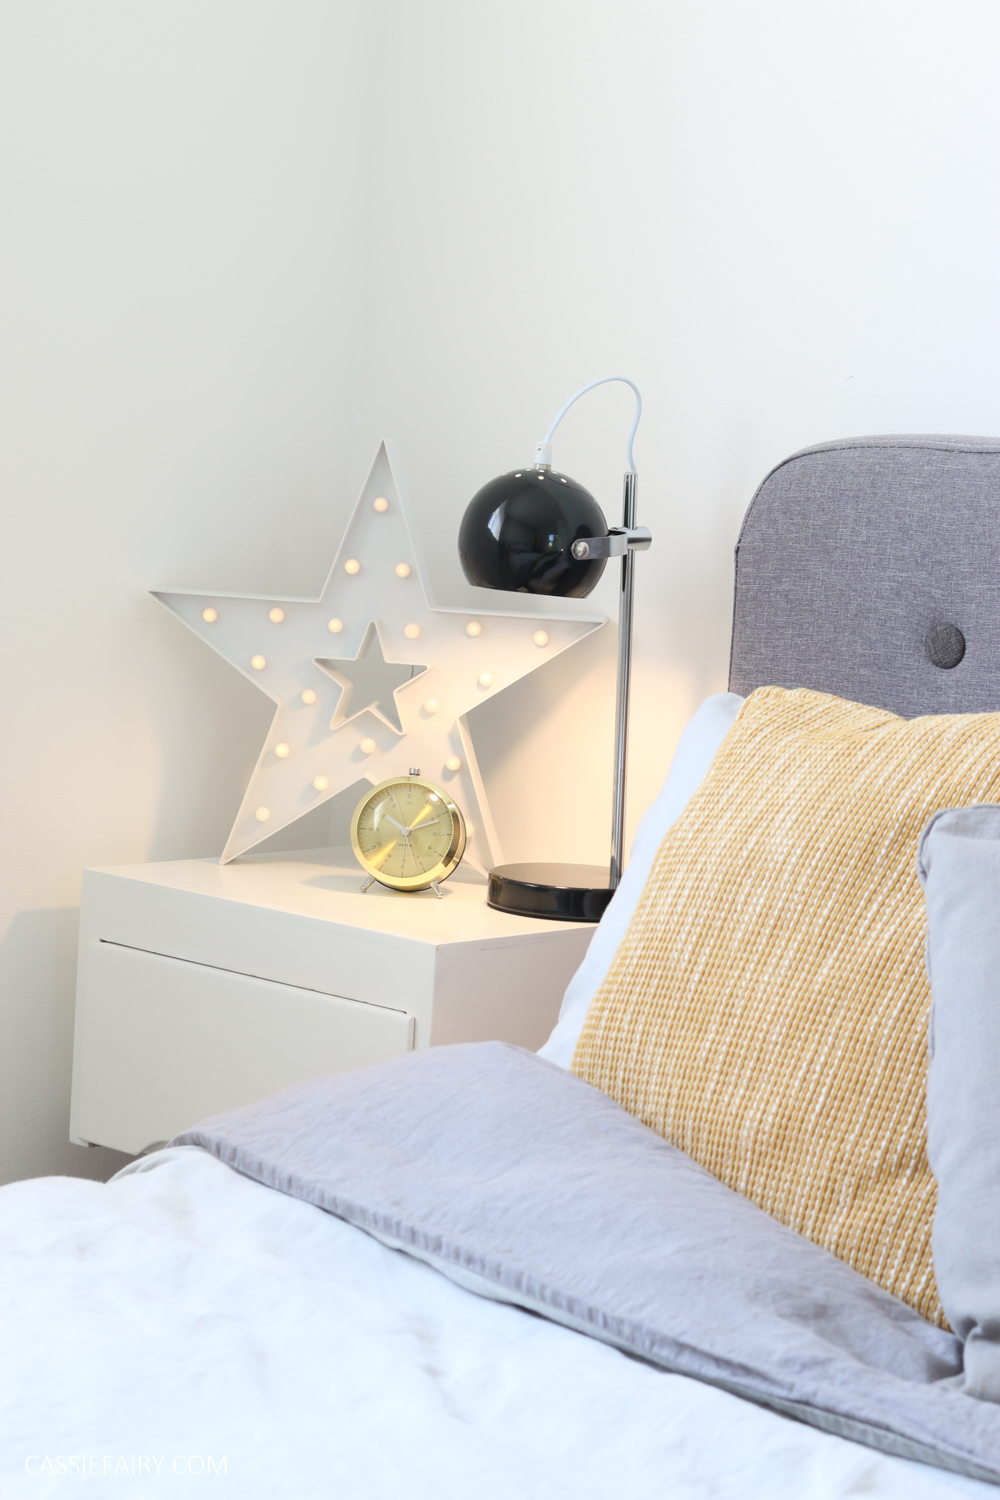
When we wanted to move into our fixer-upper home I figured that, as long as the bedroom and bathroom were decorated, we’d be able to move in. We’d lived in bed-sits and annexes before so the bedroom was really all the space we needed and meant that we could start living ‘on site’. The ‘before’ photos of the bedroom show that it was dark, with patterned floral wallpaper and peach (!) woodwork.
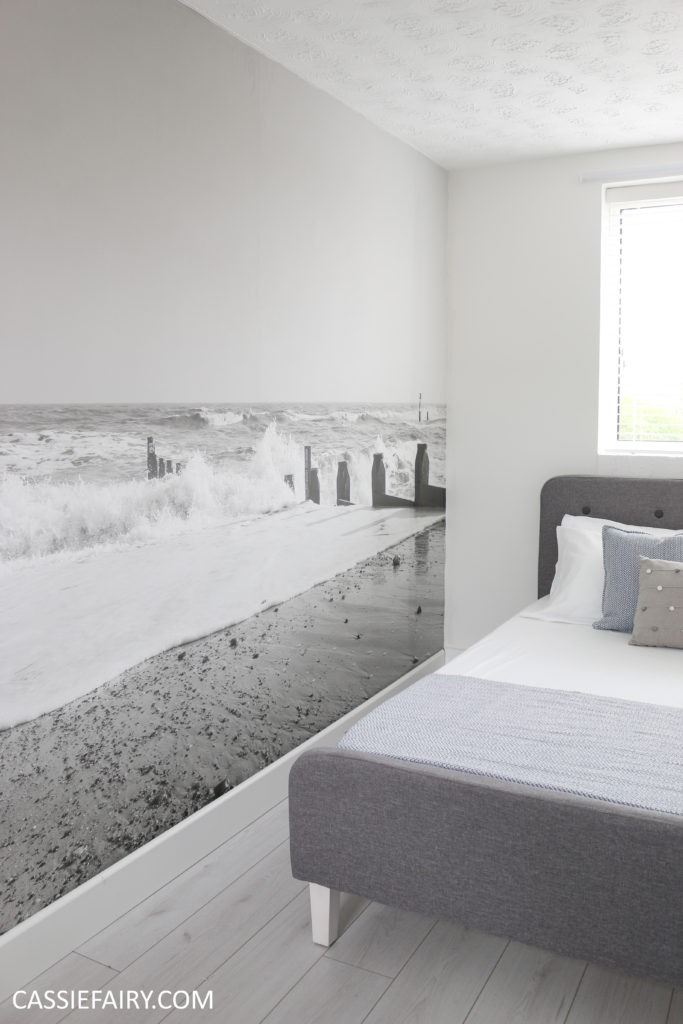
We decided to turn the room into a blank canvas with white walls, white laminate flooring, and white fitted wardrobes. This all made the whole space feel much bigger and brighter. And it didn’t take too long to decorate this room either – I hadn’t really planned to tackle the whole room when we started but the wallpaper came off easily and we managed to lay the flooring in a matter of hours. The wall mural is a photo that my husband took on Valentine’s Day before we moved in.
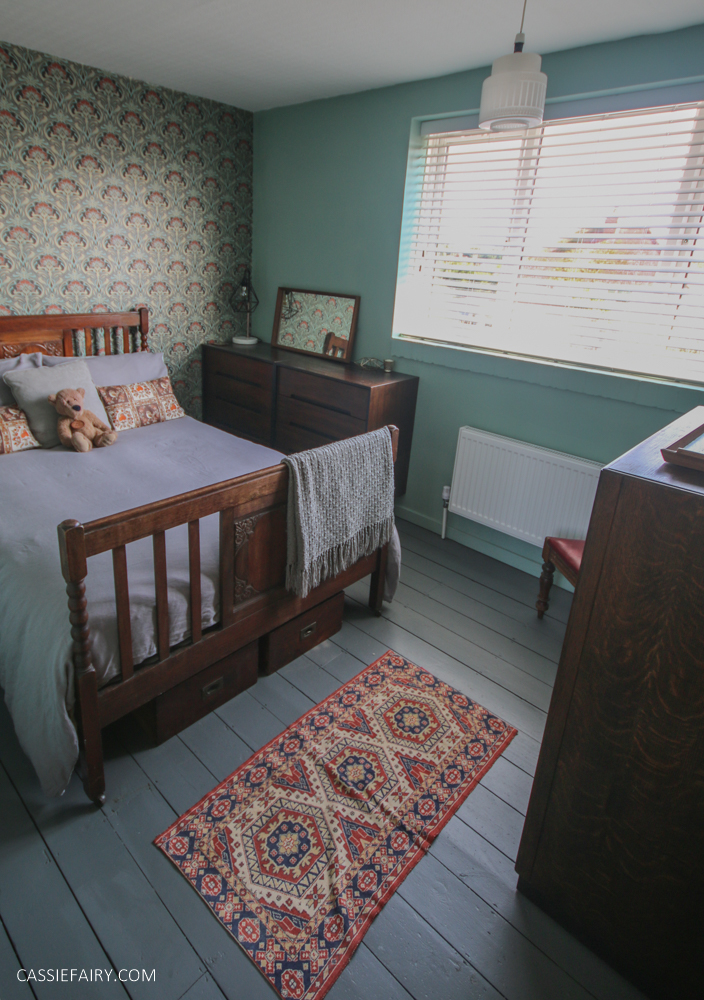
A lot later into our renovation, we decided to decorate the second bedroom and this is the only space where my husband was given complete control over the design! He chose Art Nouveau-style patterned wallpaper, dark matt paint and painted floorboards. The ‘before’ photos of the bedroom show you just how oppressive the previous striped terracotta wallpaper was but it’s now a cosy space and the feature wall isn’t ‘too much’!
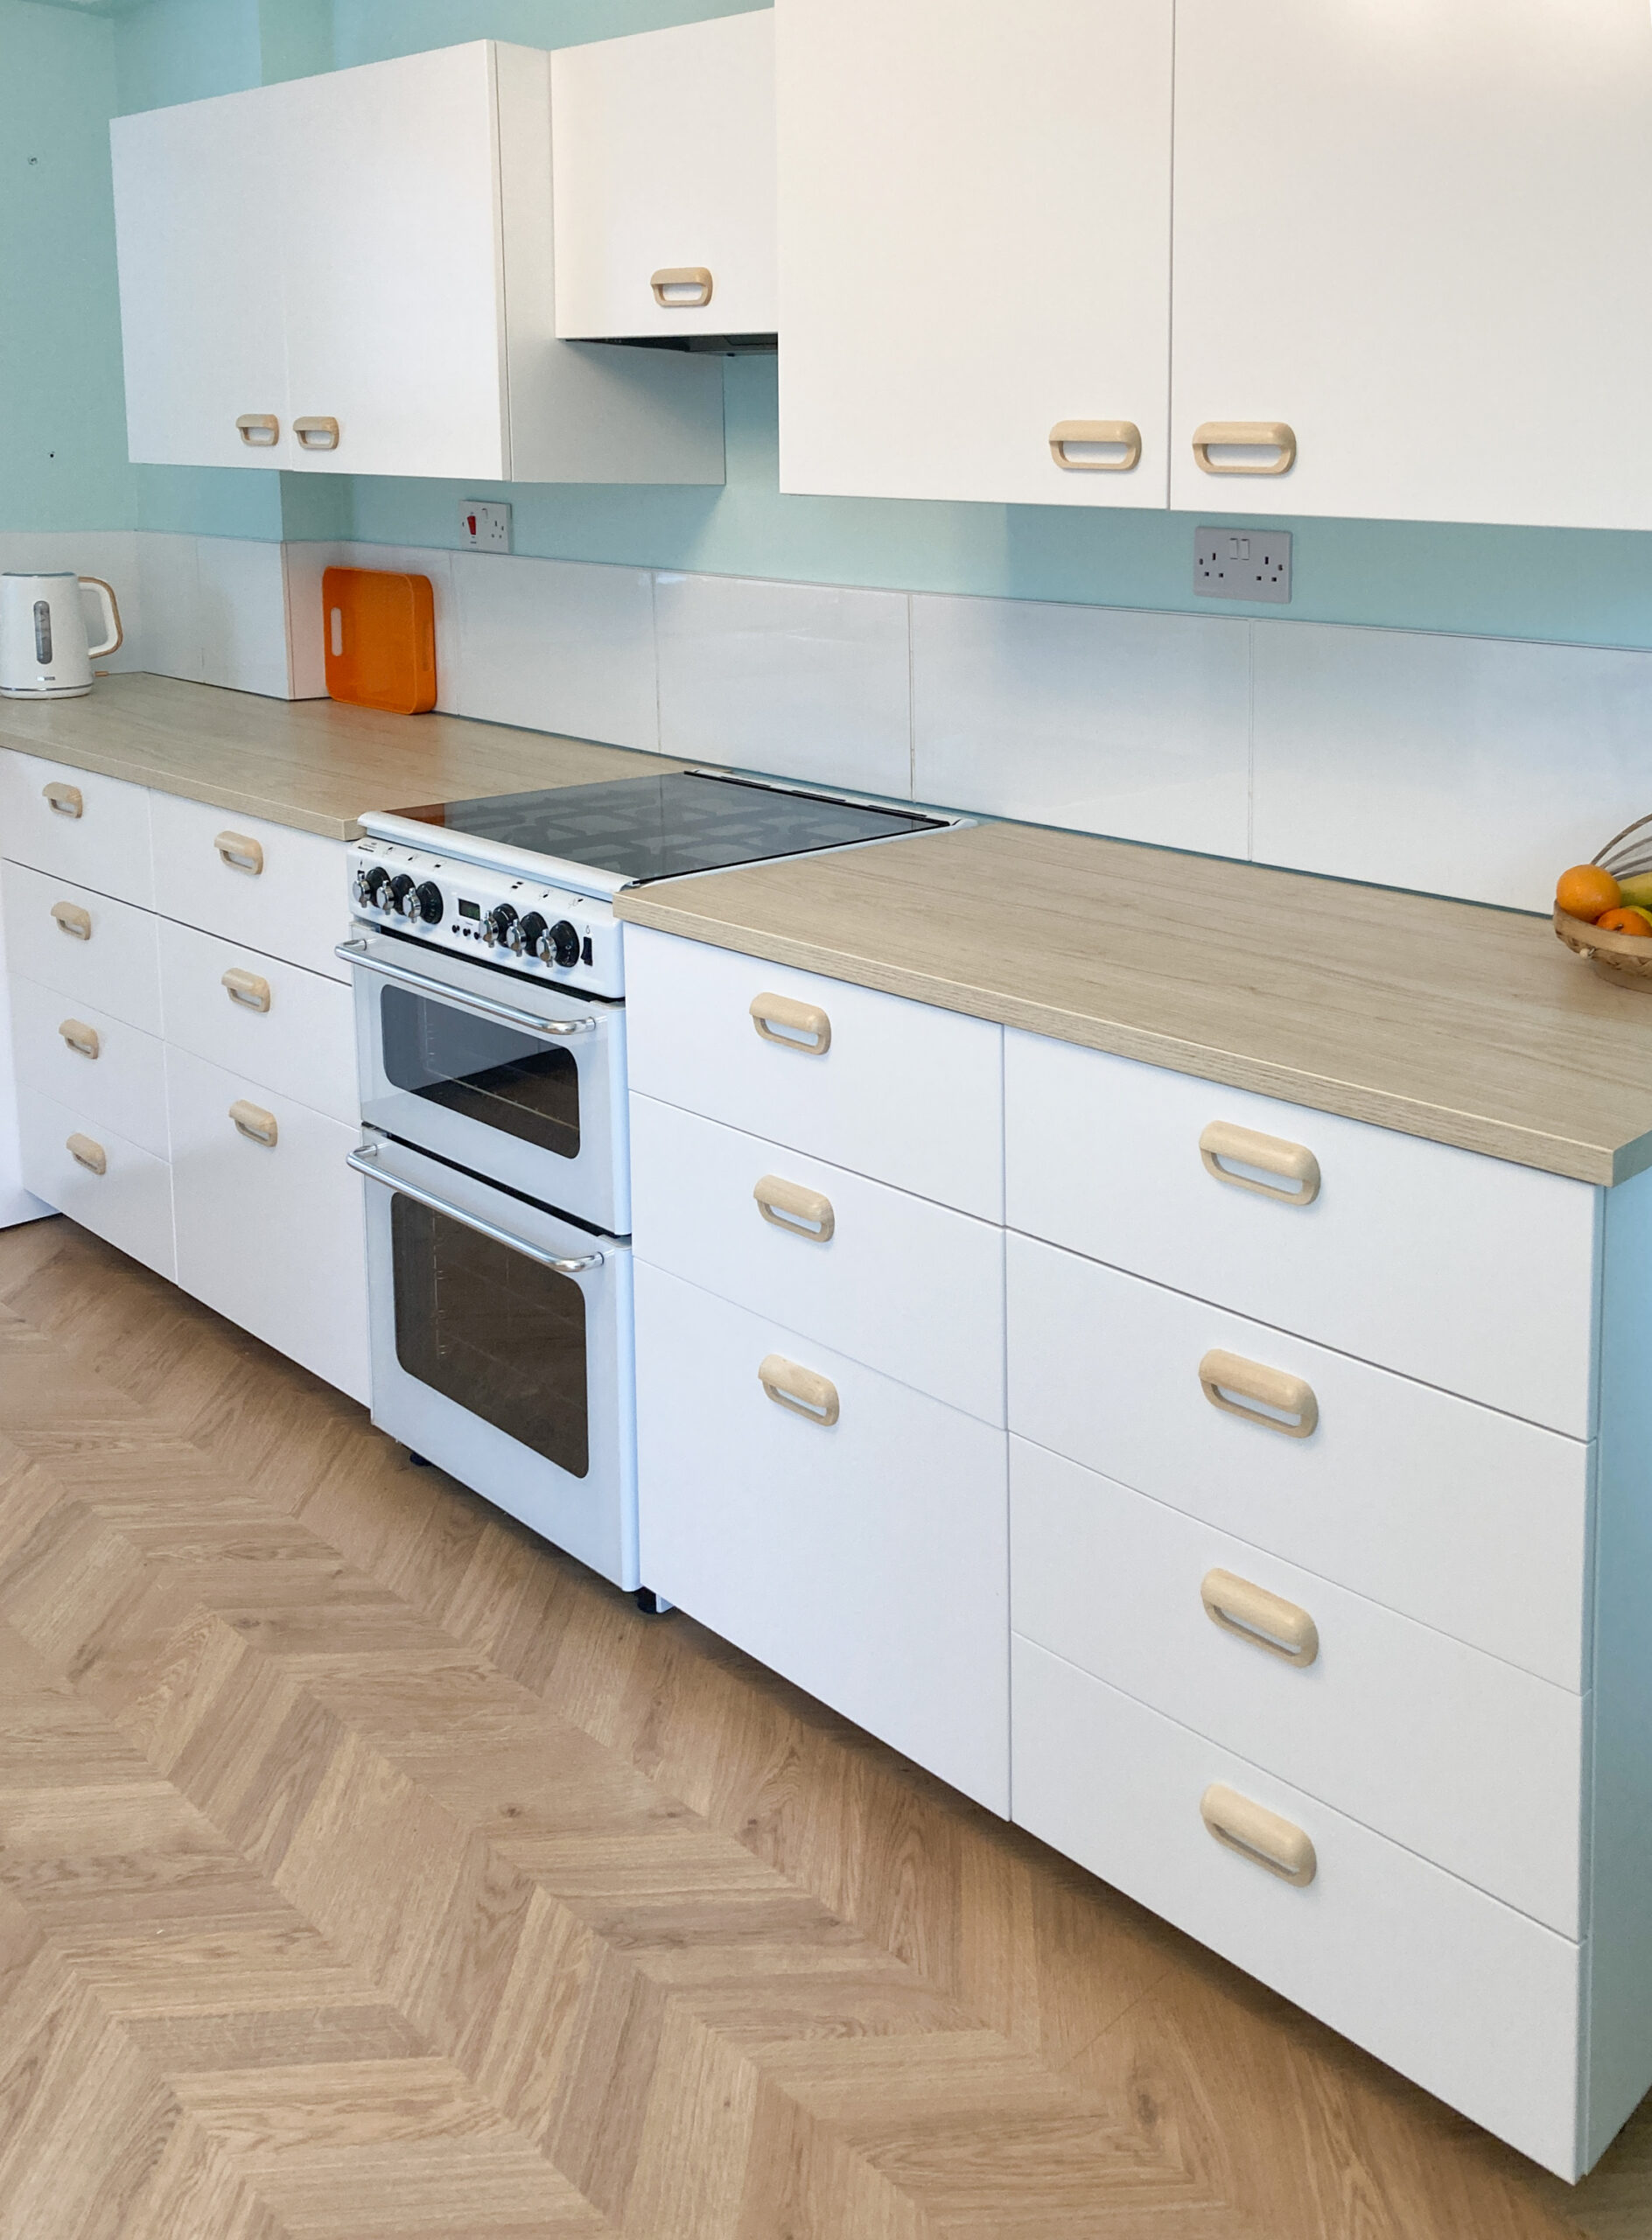
KITCHEN
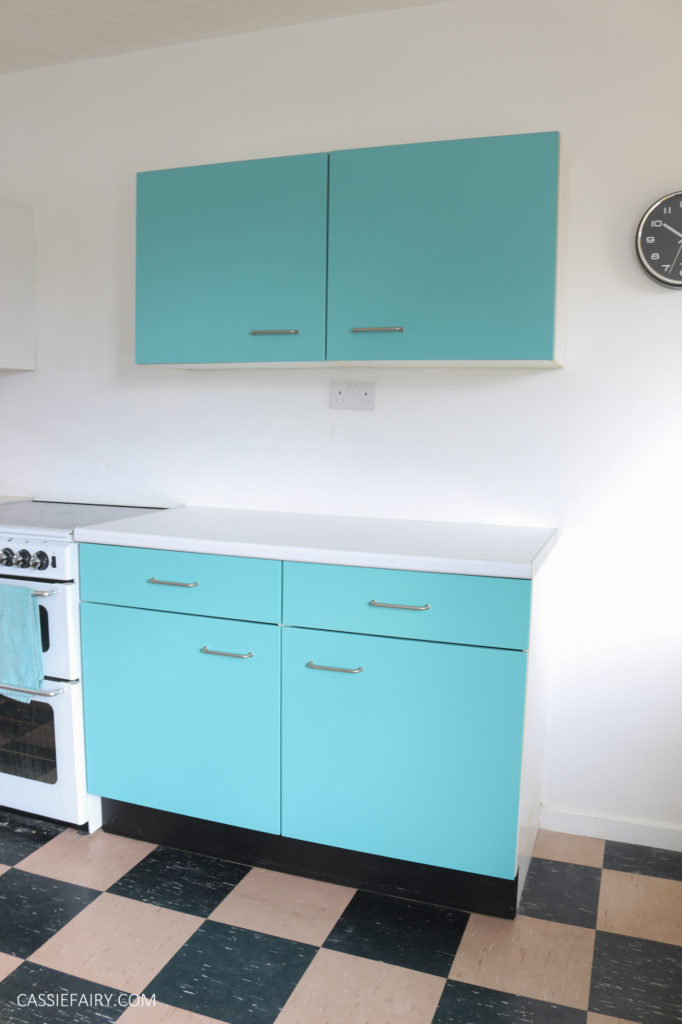
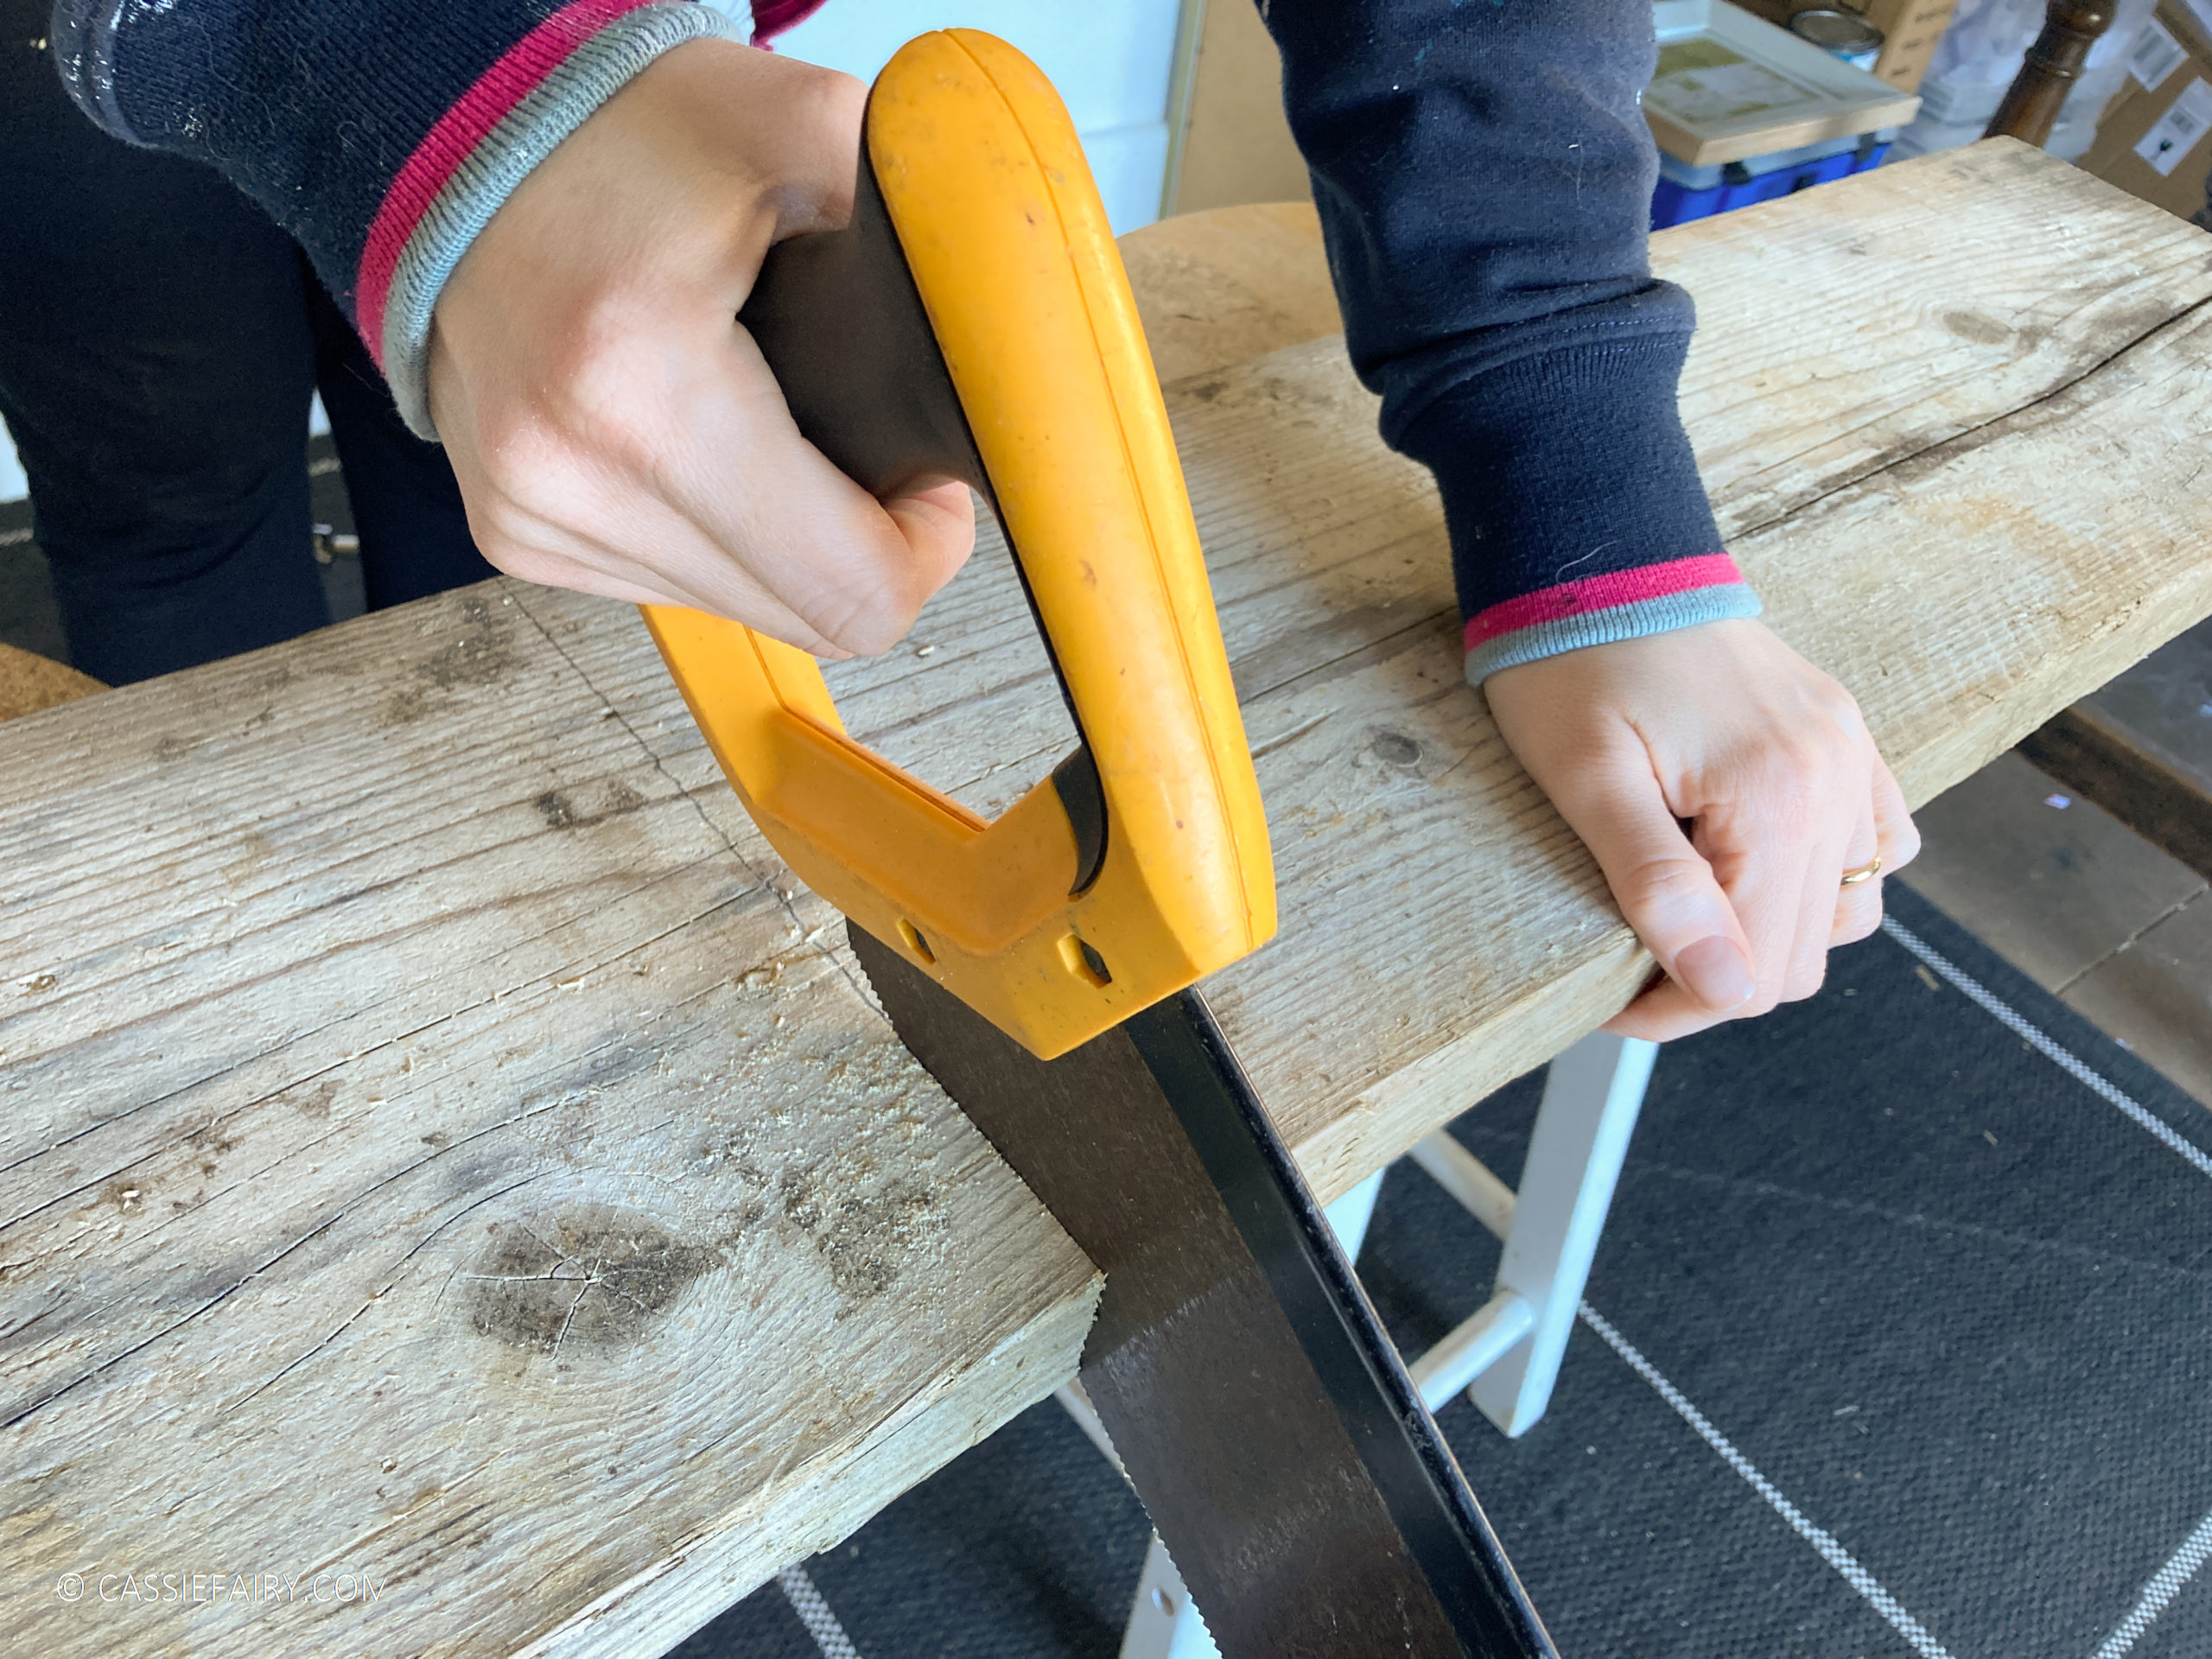
Decorating the bedrooms seems like such an easy task (even though they were a lot of work) compared with renovating the kitchen. That’s probably why my kitchen still hasn’t been fully remodelled. What we have done so far is make it ‘liveable’ and I can show you some ‘before’ photos of the kitchen so that you can see just how disgusting it was.
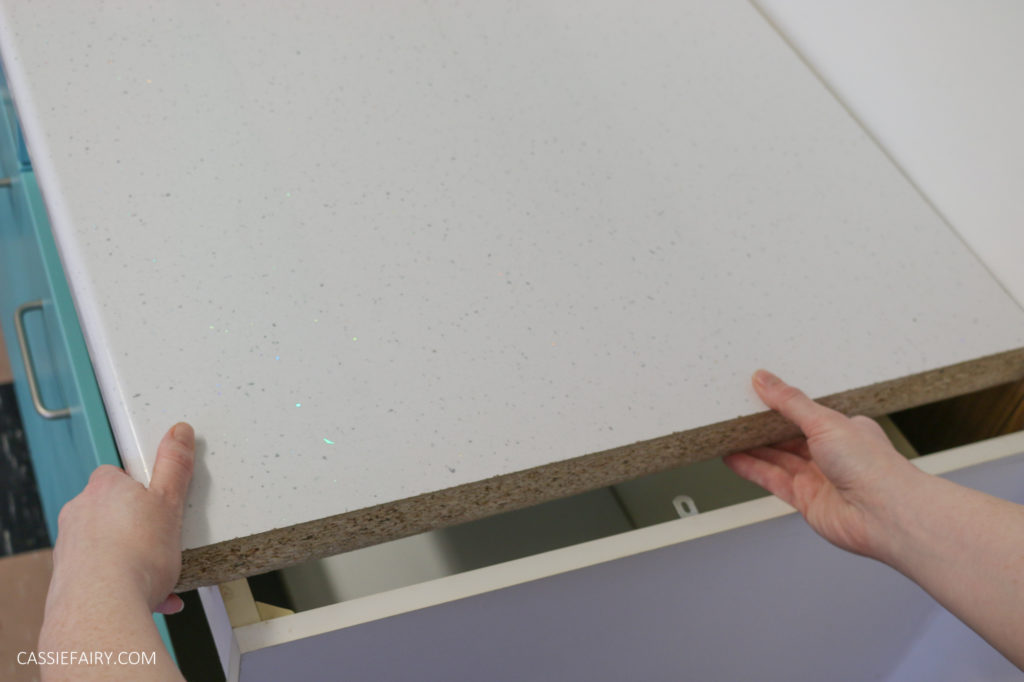
Not wanting to tackle a whole kitchen re-fit after already doing the bathroom, bedrooms and removing a whole lot of wood-chip from the living room, we’ve made the best of what was already there by adding new lighting, painting the cupboards, installing a new worktop (well, half of it!) and decorating the walls.
However, we still have a long way to go; we have boxes of tiles that I bought last year (but I hate grouting so much that I’ve been putting it off!), we have another length of worktop propped up in the living room, and a kitchen sink that is waiting to be installed in said worktop. I’ll just skim over the fact that we bought the kitchen sink before we bought the house and it’s still not fitted more than two years later..!
OFFICE
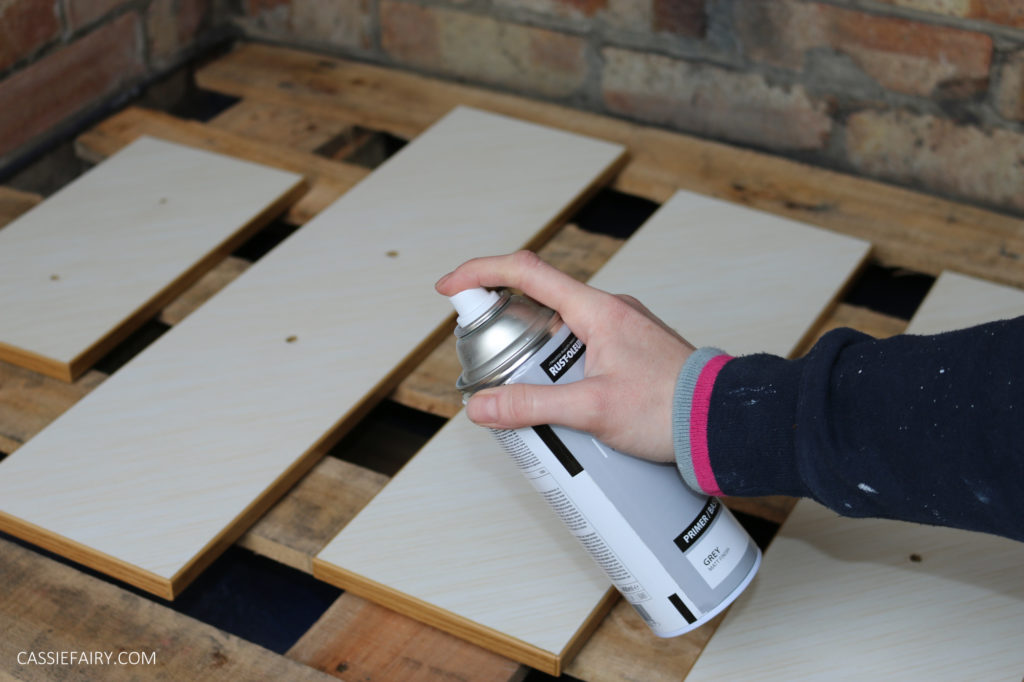
You might have seen my recent blog post about the wall-to-wall desk we DIYed in my home office over the bank holiday weekend – well, that has been a long-time coming! The ‘before’ photos of the box room shows just one layer of wallpaper; there was wood-chip paper and vinyl paint beneath it. And, yes, that green paint on the radiator IS neon. That was a nightmare to get off the walls, I can tell you! Even so, I was very excited to have a space that I could work so I cracked on with the decorating in earnest.
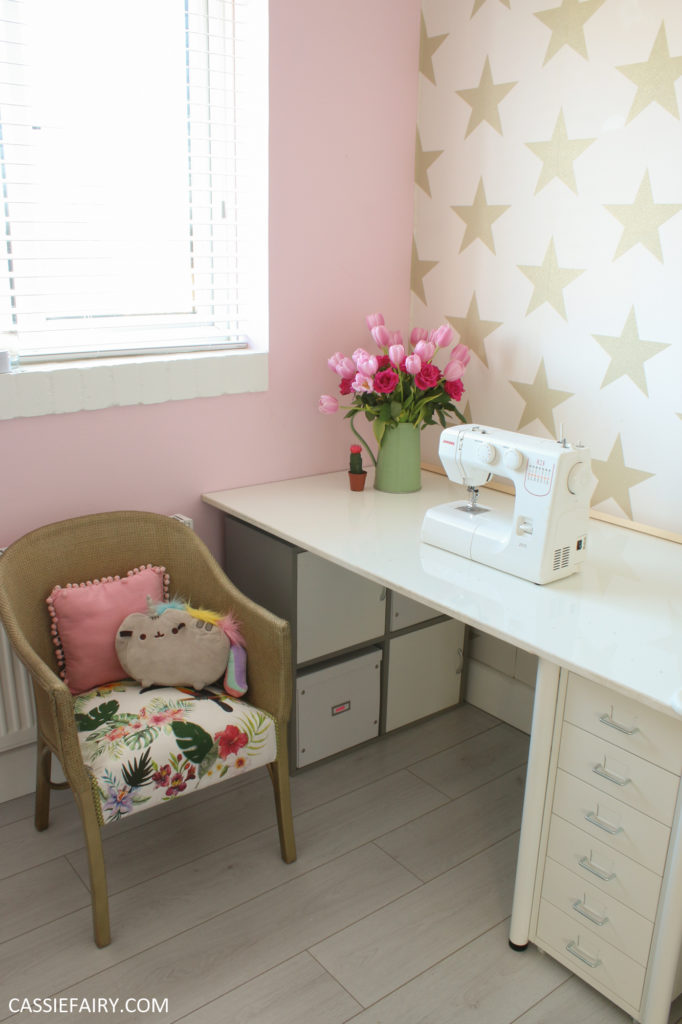
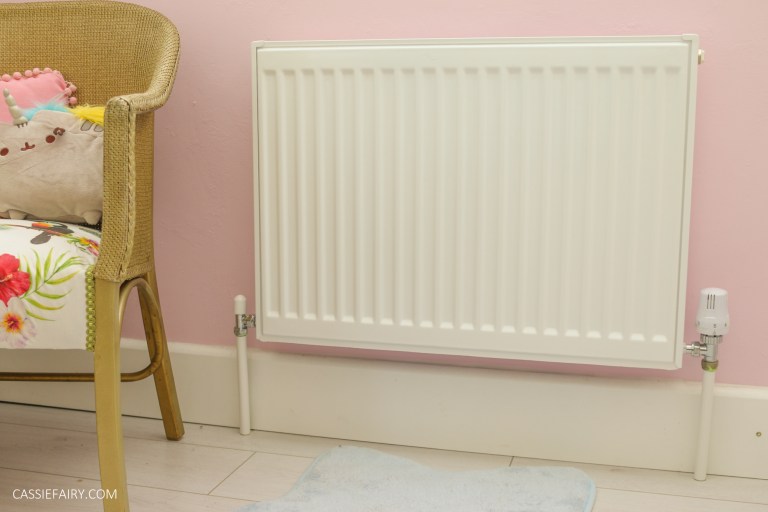
The star wallpaper was a £1 per roll end-of-line bargain and I used up leftover laminate flooring from the bedroom makeover. Now is probably a good time to mention that all the radiators needed to be replaced so that we could stay warm that first winter. So the neon green radiator was ditched in favour of modern radiators with a much higher BTU rating – cosy!
So, that’s pretty much all the rooms we’ve done and there’s still much more to go. The hallway is probably next of the list to decorate, the living room needs sorting out, the under-stairs cupboard is a stinky, dark place, we need to renovate the porch and the pantry is a state. And we need new windows and doors too – but that sounds like a job that’s too big for us to tackle at the moment.
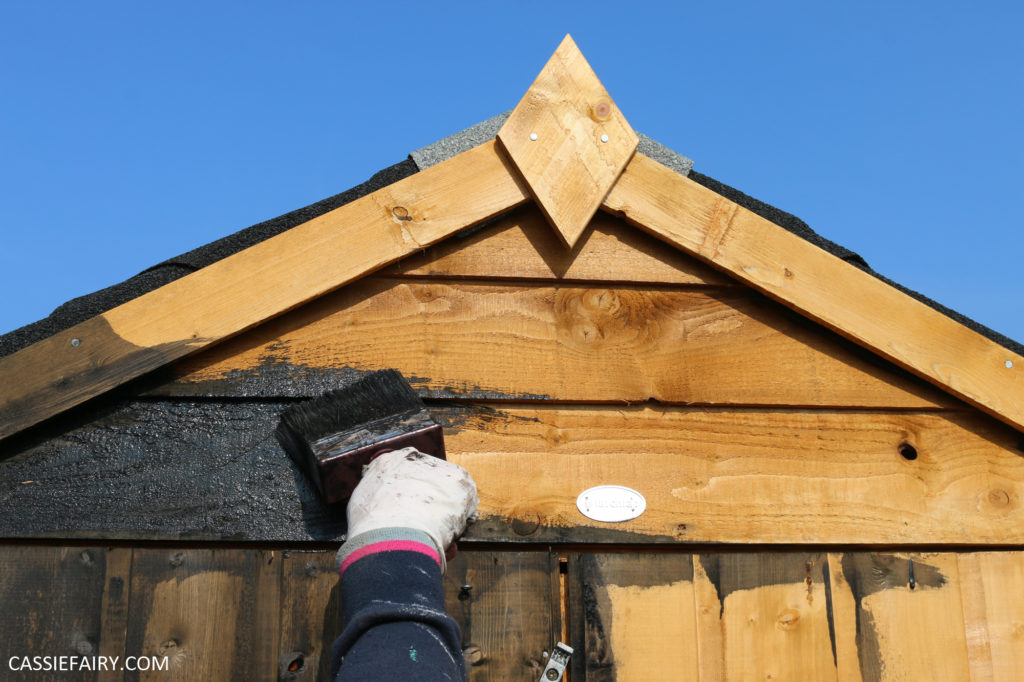
This year we’re focusing our efforts on the garden so you may have spotted an increase in gardening posts on my blog. I think that having a usable garden (rather than a wasteland of rubble) will give us so much more living space once it’s done. It’s like having a dining room and playroom outside – not to mention space to grow our own fruit and veg! So next on our DIY list is the deck, planting, outdoor tap and sink, outbuilding makeover, porch, walls, gates, trellis, planters, outdoor furniture and workshop. Wish us luck!
This article is a sponsored collaboration. The pink links in the content indicate a sponsored link or information source. The blog post reflects my own experience and the sponsor hasn’t had any control over my content 🙂


2 Responses
Thanks so much Lucy, it been a learning curve but we’ve had fun and saved money doing it! 🙂
You’ve done a fantastic job. I particularly love the free standing bath!