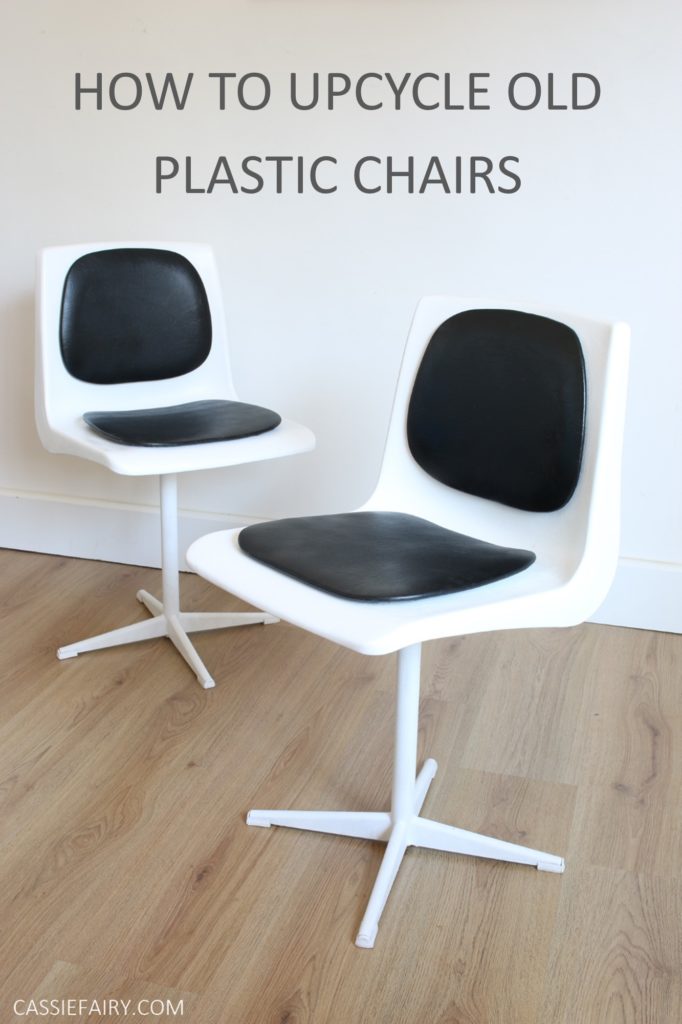
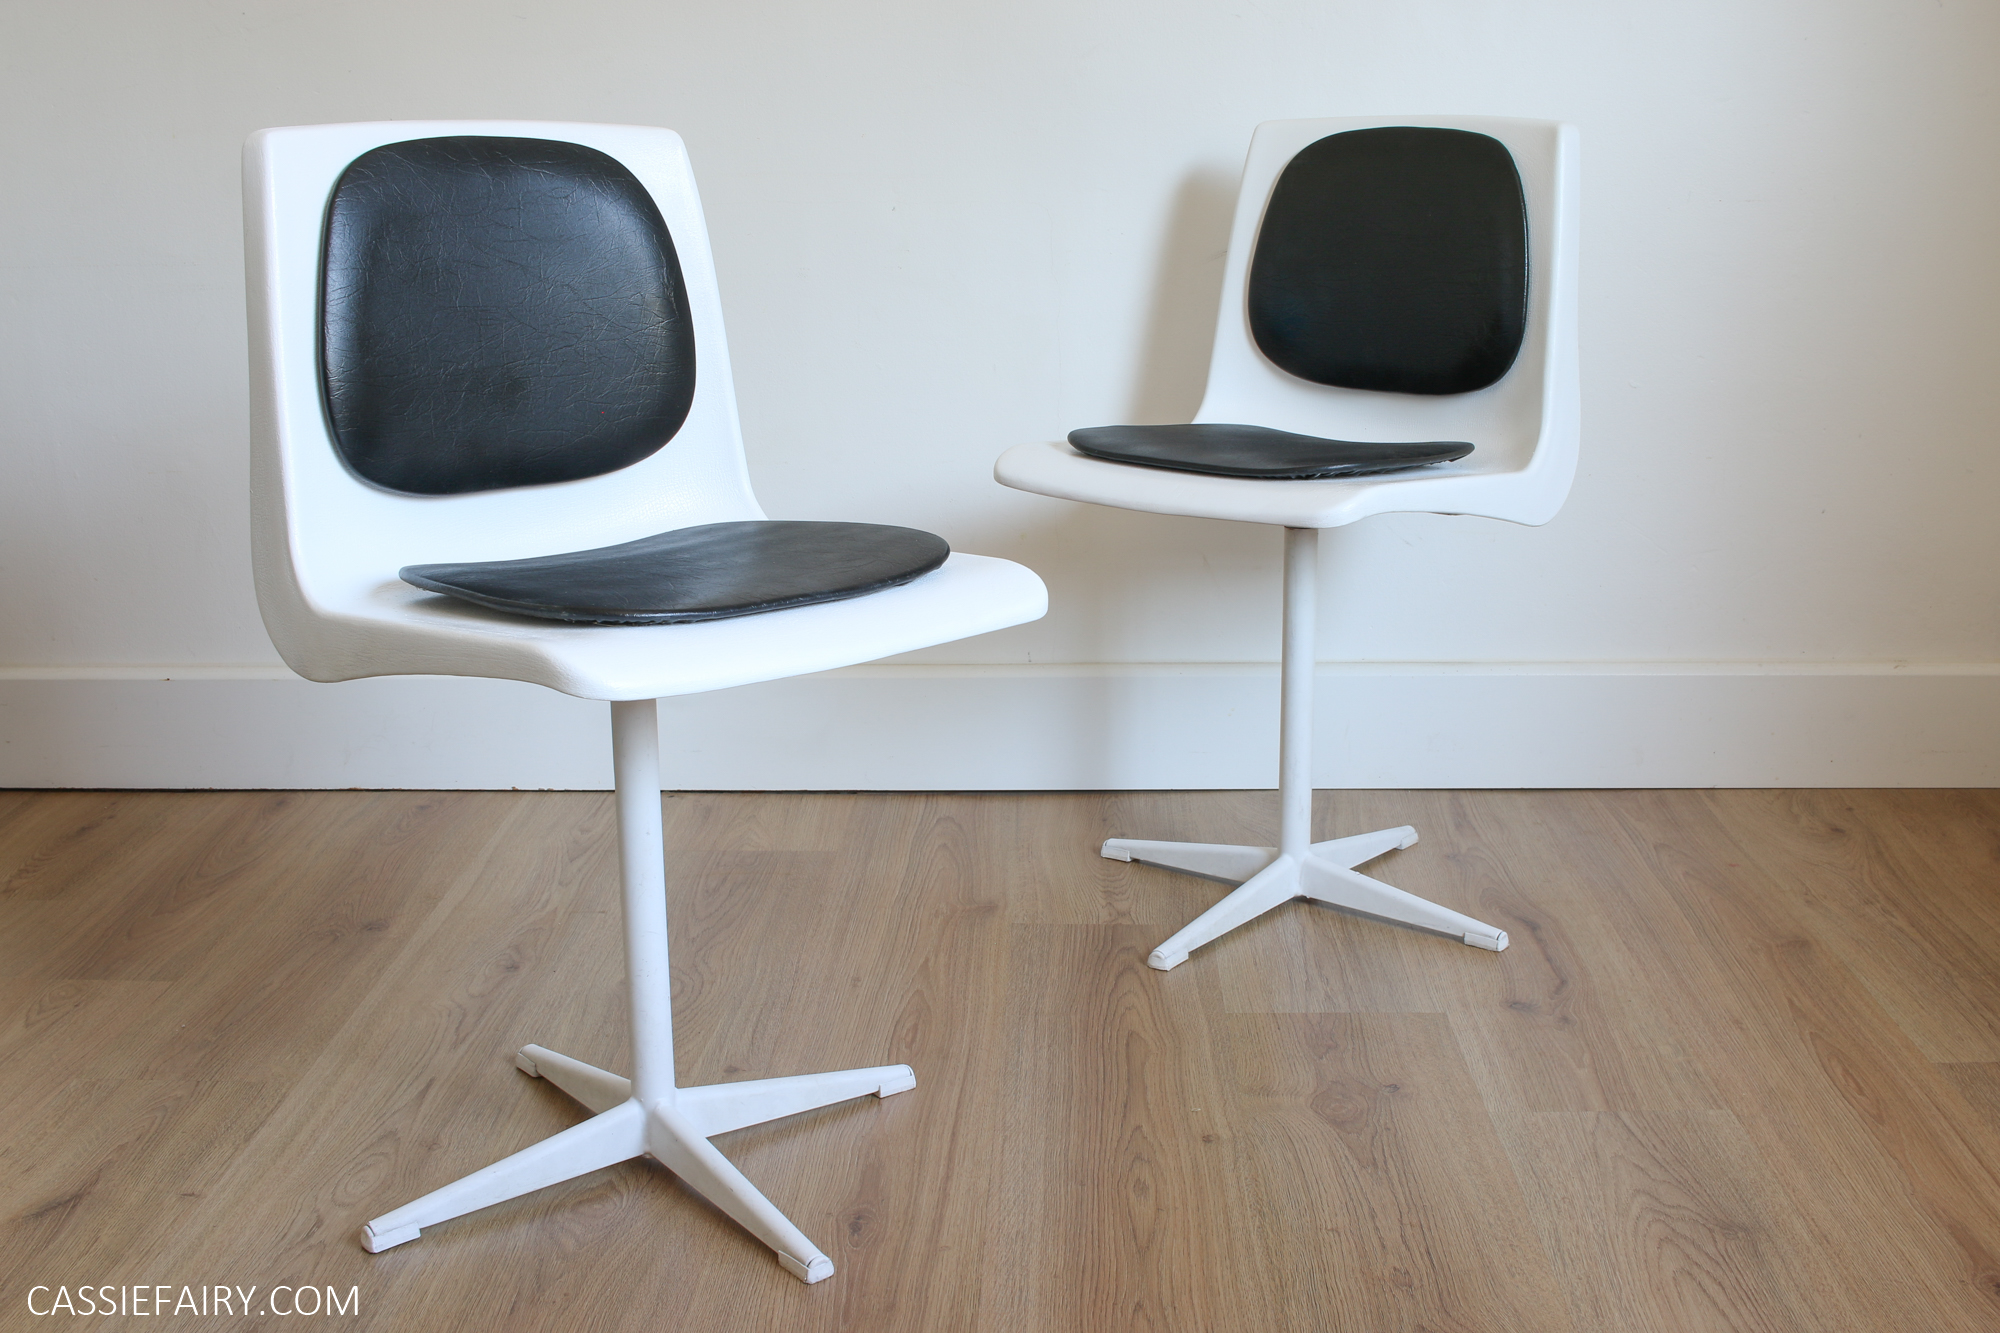
I’ve had these plastic chairs in my shed for years. I bought them at a car boot sale with the intention of giving them a good scrub and using them in my home. That was two-house-moves ago! Considering that they were already too mucky and stained to use when I got them, the chairs have only got worse since being stored in the outbuilding.
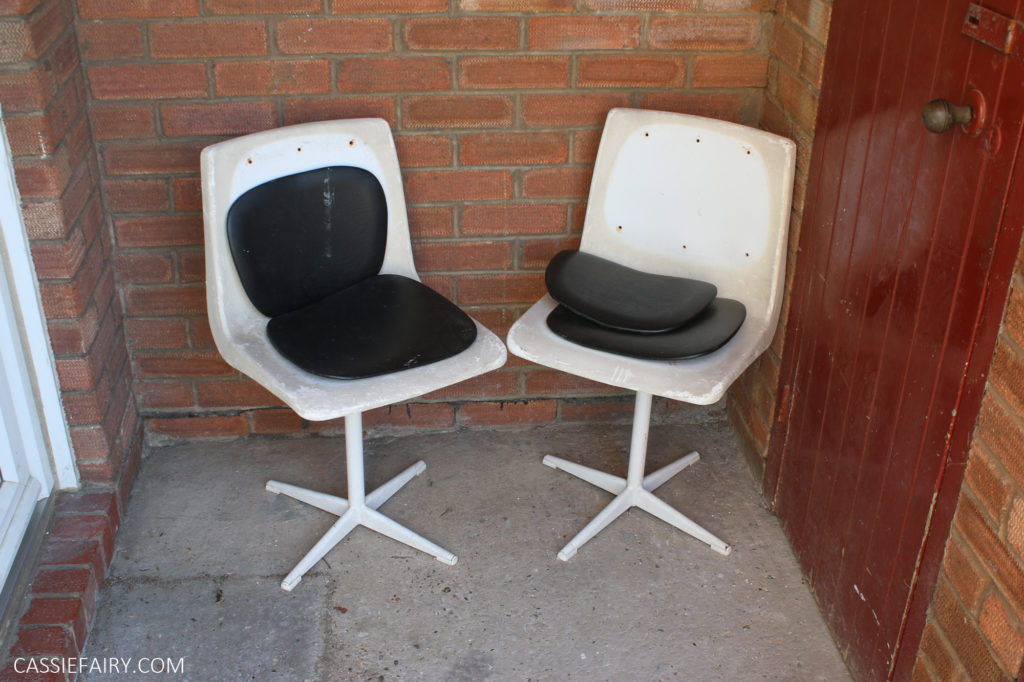
So I thought I’d finally tackle the project and try out some plastic upcycling methods to see if I could revamp them. If you’ve got old plastic seating – whether desk chairs, garden loungers or old school seats – it IS possible to refresh the faded and stained plastic rather than taking them to the tip. Here’s how I got on…
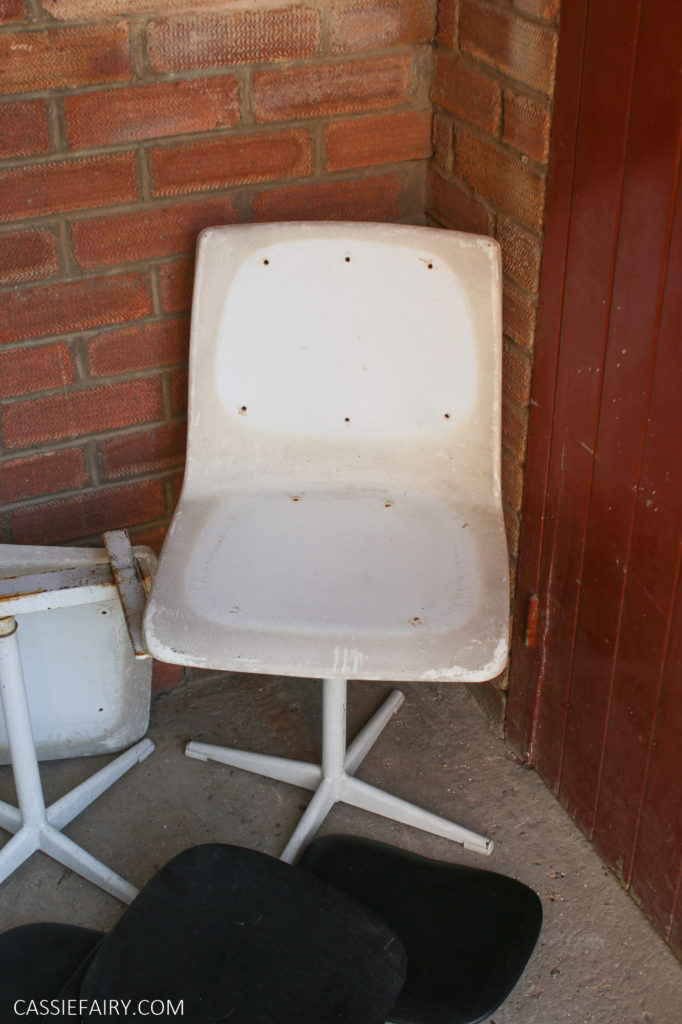
When cleaning doesn’t do the job, there’s only one thing for it. Paint, right?! But how can you paint onto plastic? I’ve tried it in the past and the paint simply separates when you brush it on. Even primer isn’t much help when it comes to painting plastic surfaces.
And you can’t exactly sand down the surface to create a ‘key’ like you would with wood. The plastic fibres would fly everywhere (very dangerous to breathe in) and the once-smooth seat would forever more feel rough to sit on. And no-one wants to snag their tights on a rough plastic surface, do they?
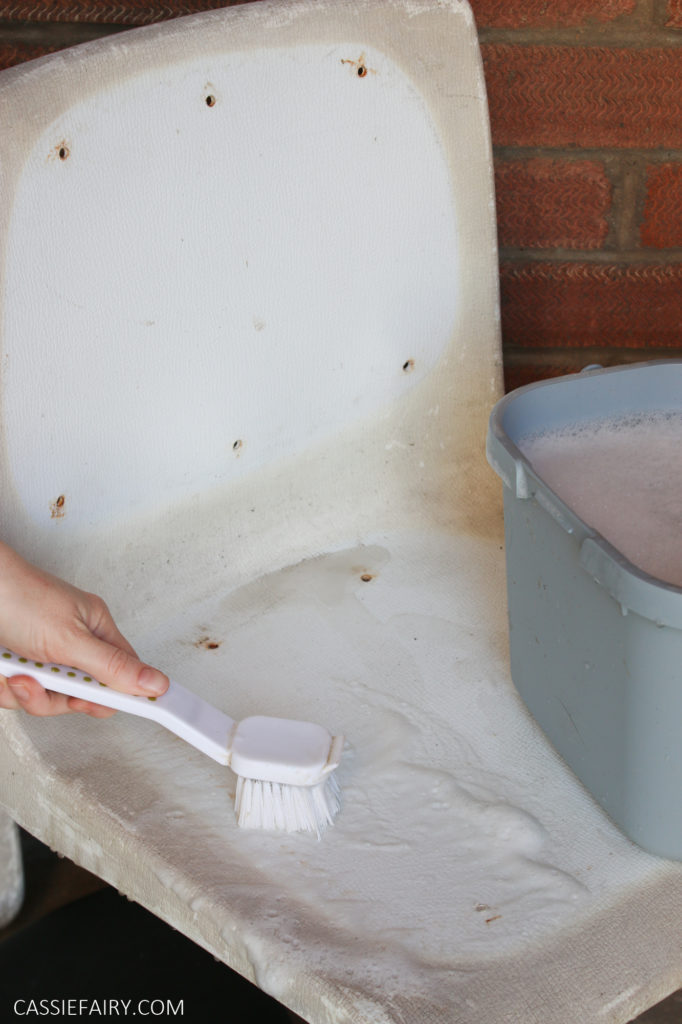
But don’t despair – it’s simply a case of taking your time, doing some heavy cleaning and using the right products for the surface. To makeover these Steelux chairs I had to tackle plastic, vinyl and metal!
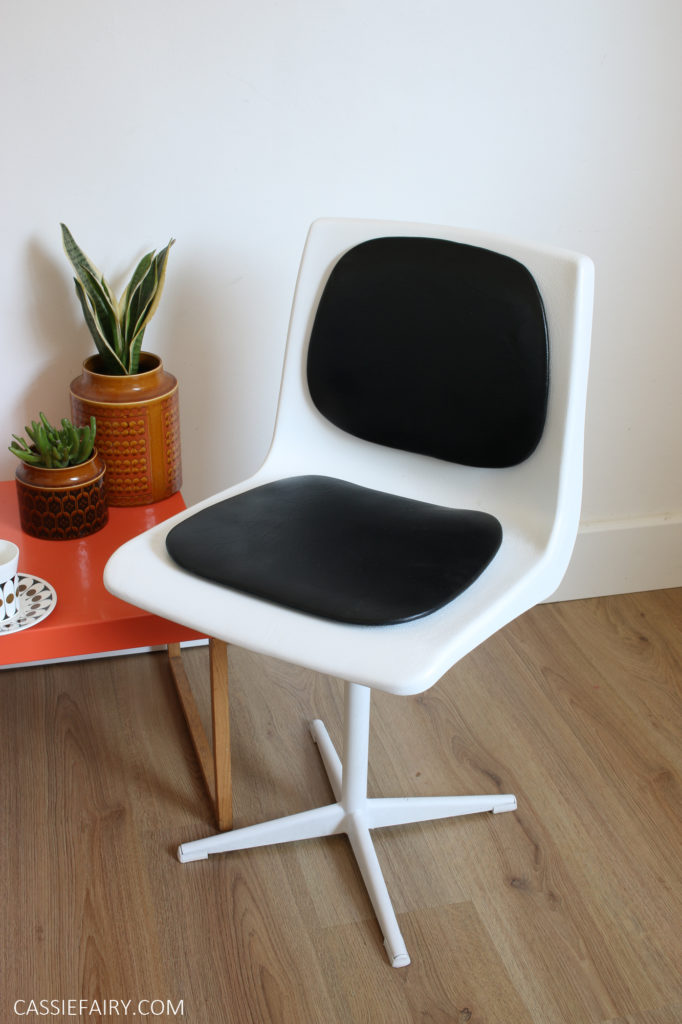
Throughout the ‘renovation’ of these chairs I took plenty of step-by-step photos so that I could share the process with you. I’ve popped these onto the Safestore blog (along with my other upcycling projects) and I’ve shared the full tutorial to revamp plastic seats of ANY kind. Please check out my plastic chairs tutorial blog post here.
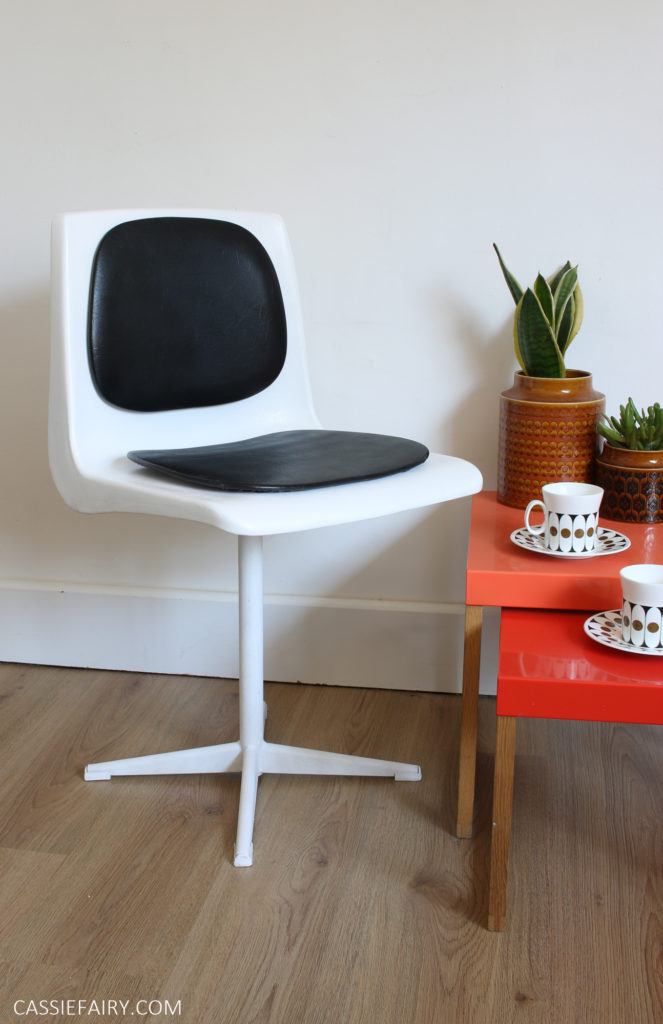
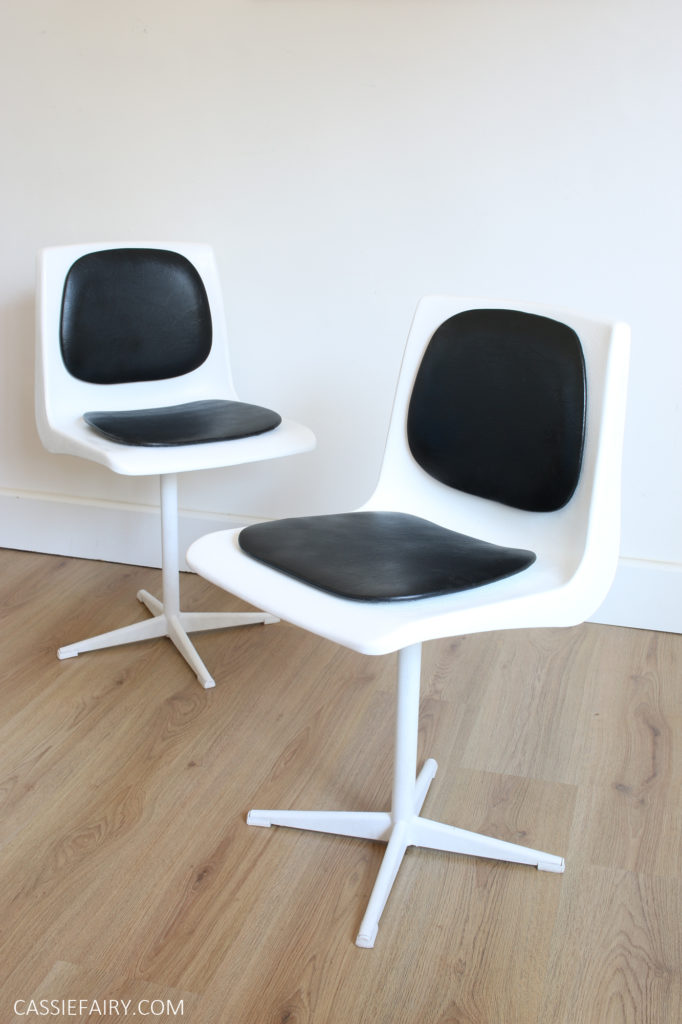
I really like how the chairs have turned out. They’re so much brighter now, and we can finally bring them into our home with pride. The retro style suits our 1950s home and they make the perfect desk chairs for my home office.
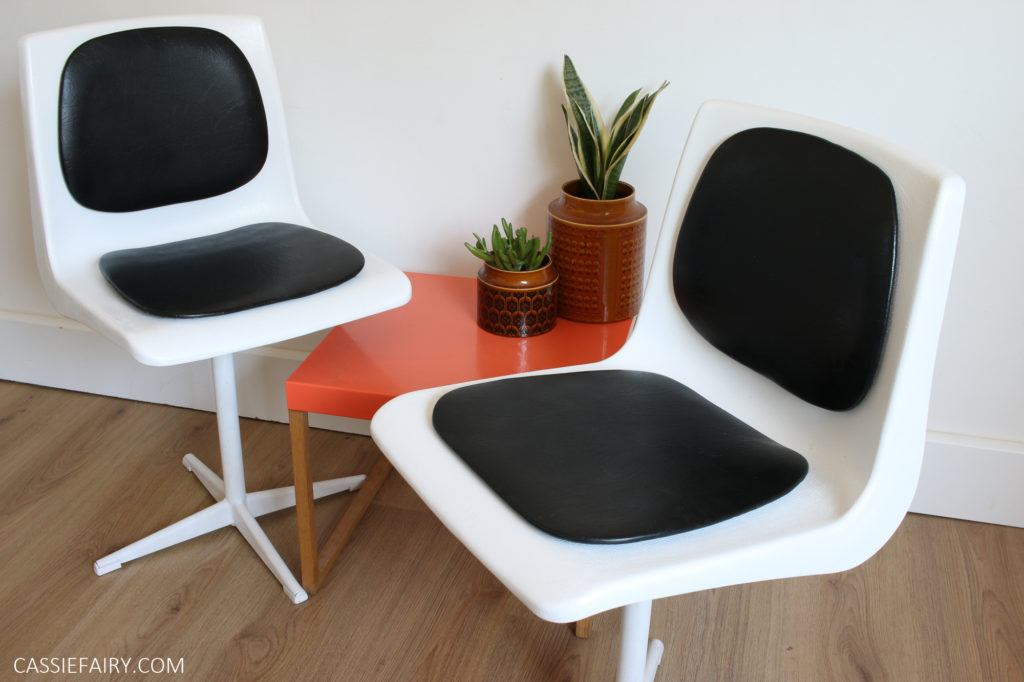
Let me know if you’ve attempted to revamp plastic furniture in the comments below, I’d love to hear your hacks! And please do check out my full blog post on the Safestore blog to see how the makeover took shape. Enjoy!
PIN IT FOR LATER
