Planning a sewing project to make your own soft furnishings? Fancy upcycling a t-shirt with a design of your own? It’s easy to create a pretty pattern with lino printing and here’s how to do it yourself…
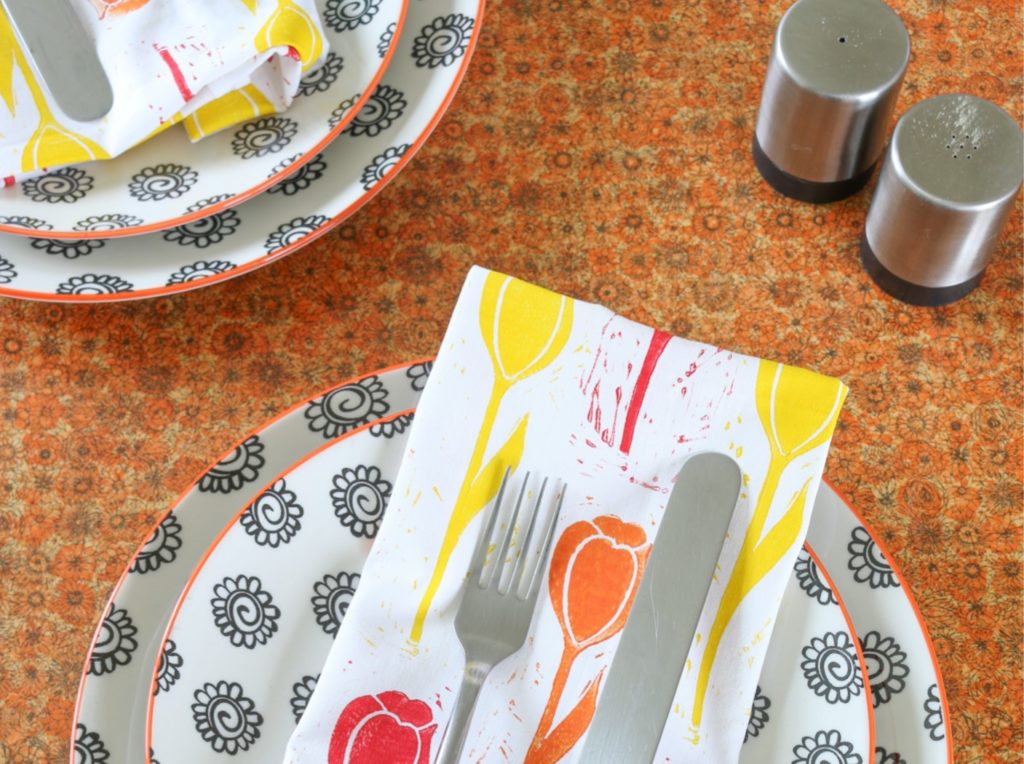
With a lino printing kit sprawled out over the kitchen table and a few hours of crafty fun ahead of me, I was excited to try out printing a pattern onto fabric. I had the helpful tuition of printmaker Unruly Print who explained all the techniques to me before we started.
All you need to get started is a cutting tool and some lino – although I’d recommend giving the old-fashioned hessian-backed lino a miss and go for easy-to-carve SoftCut lino instead. A pencil or Sharpie pen will help you draw your design onto the lino easily.
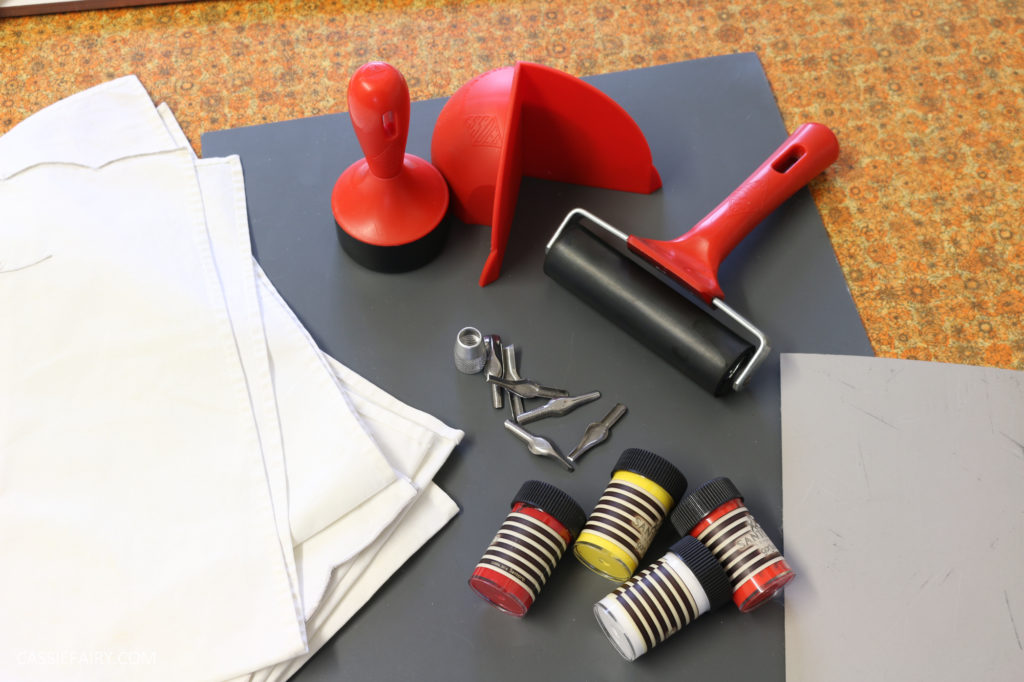
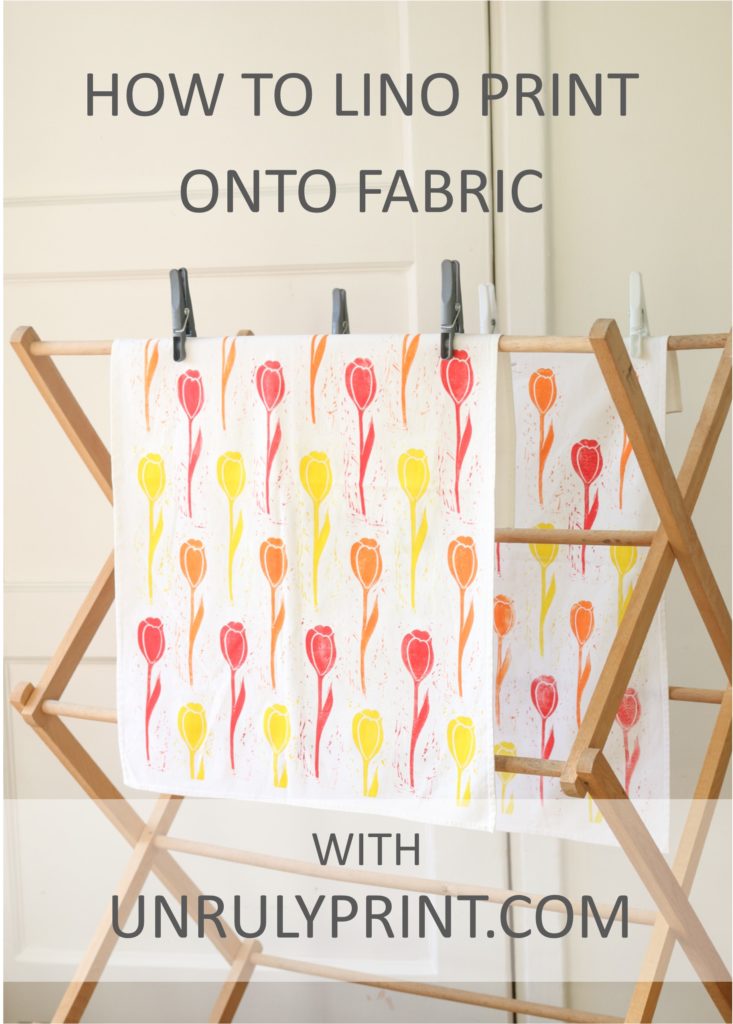
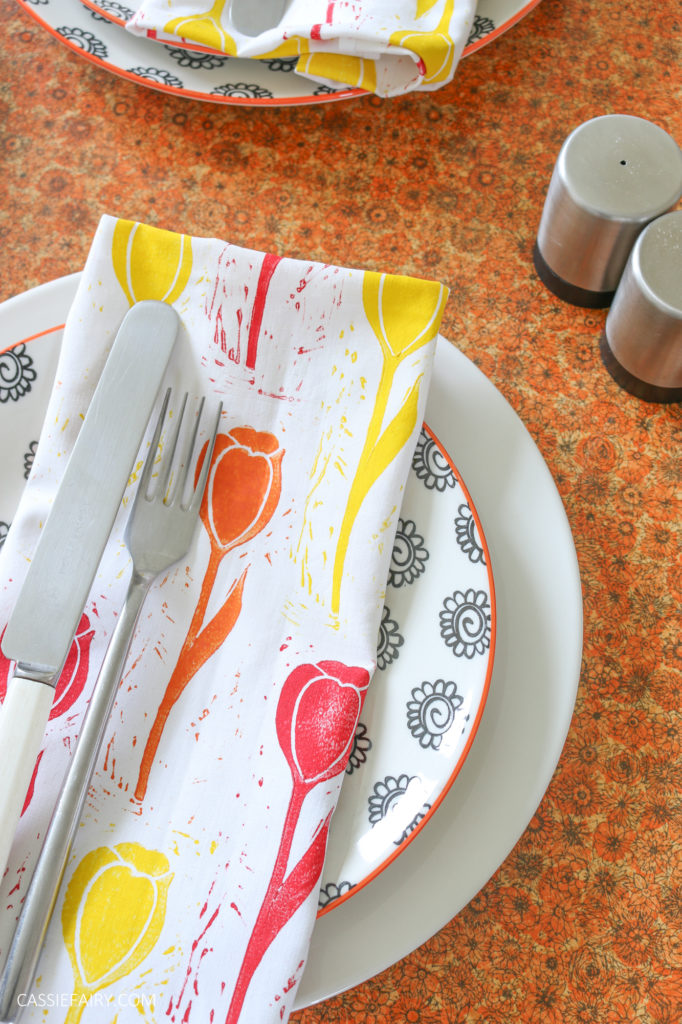
You’ll also need some fabric ink, a roller and fabric. I used some plain napkins for my own printing project but you could use any cotton or linen fabric – just check the instructions on the fabric ink you’re using to ensure that it’ll adhere to the type of fabric you want to use.
DRAW YOUR DESIGN
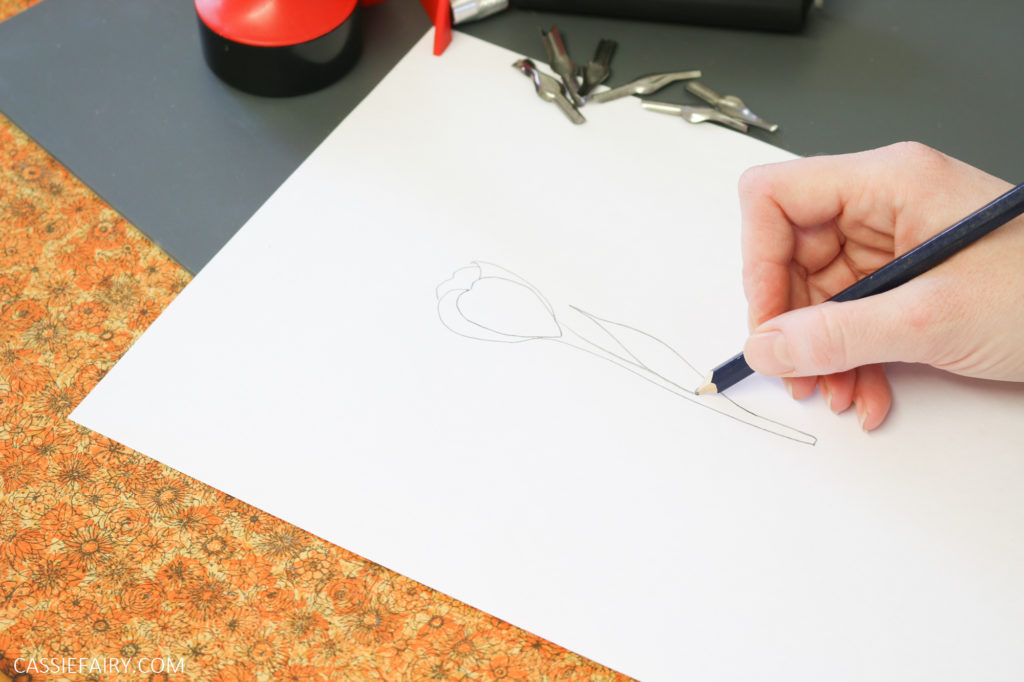
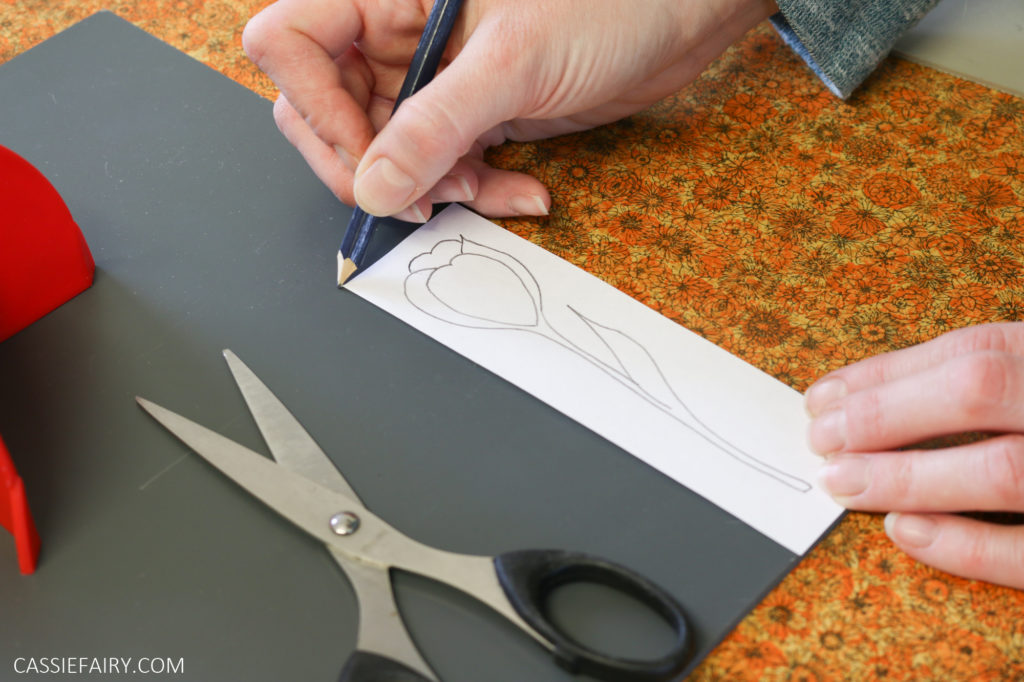
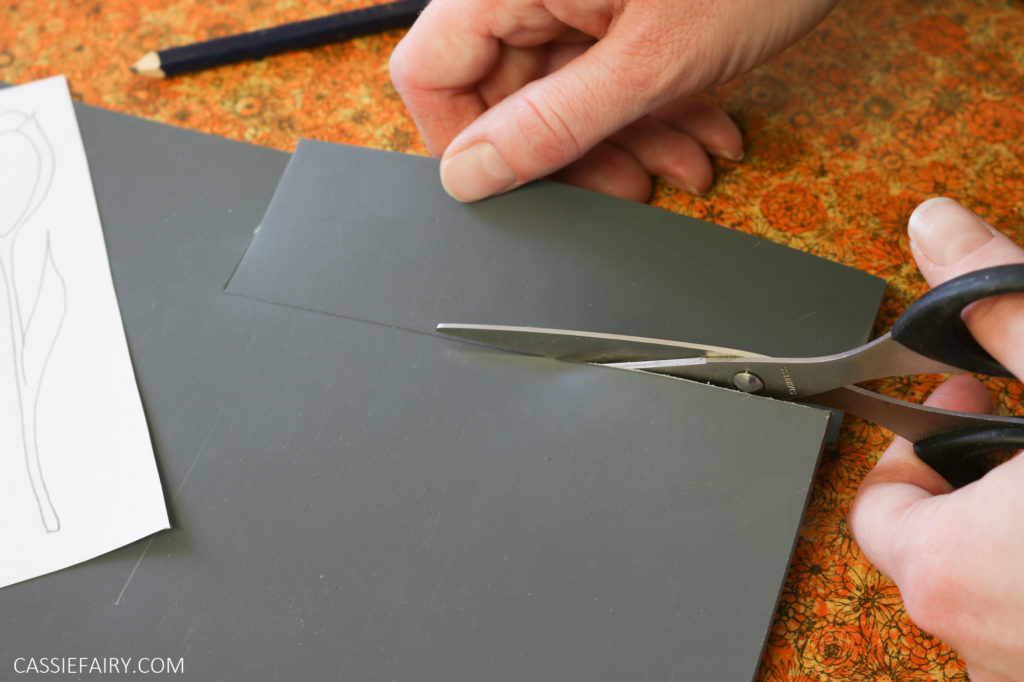
You can either go for it and draw your pattern of choice straight onto the lino usisng a sharpie or you can do what I did and draw test-shapes to start with. I drew the tulip shape onto paper with pencil and then cut out a rectangle of lino to fit it.
TRANSFER YOUR DESIGN
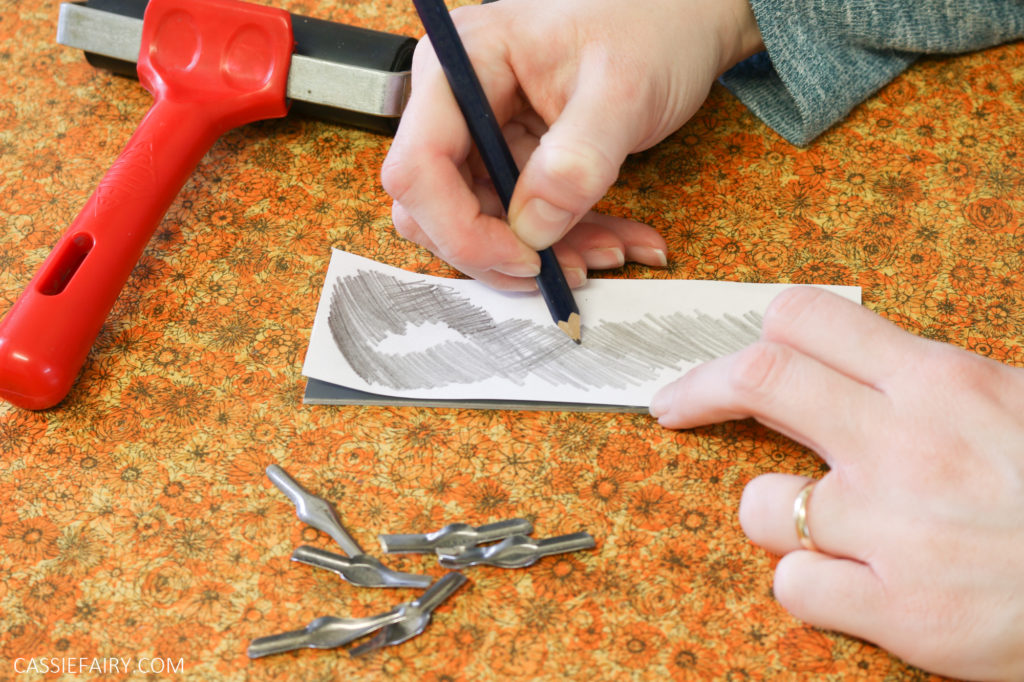
I then turned my design face down onto the lino and used a pencil to rub over the back of the outline to transfer it onto the lino – just like using tracing paper when you’re a kid. Then you can use a pencil or Sharpie to go over the transferred shape to give yourself a stronger outline to cut around.
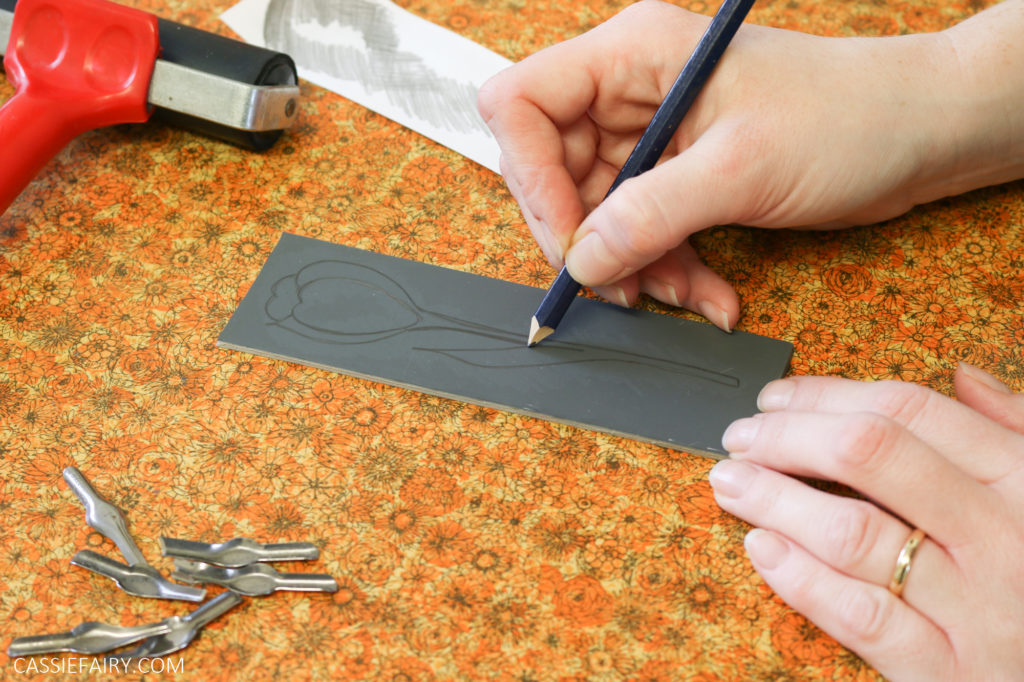
CARVE YOUR SHAPE
You must be super careful when using the lino cutting tool to carve into the lino, as it’s easy to slip and you could cut yourself. It’s therefore a good idea to use a safety blade in your cutting tool and only ever carve away from yourself.
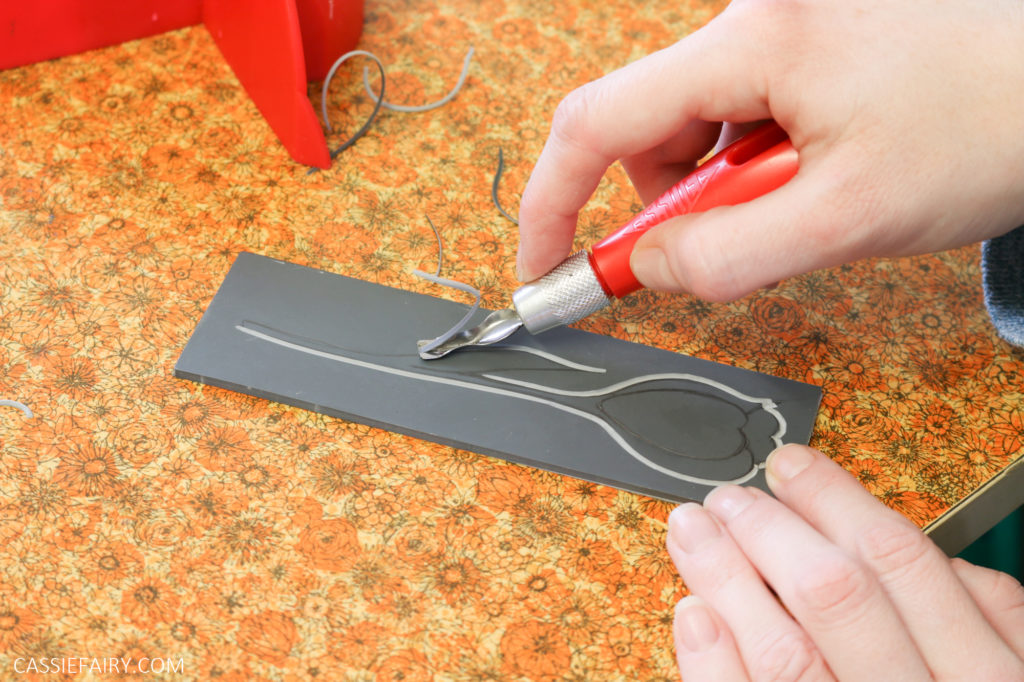
Carefully carve around the outline of your shape. Take your time and do it bit-by-bit. Remember you can always carve away more put you can’t add lino back on if you cut it off by mistake!
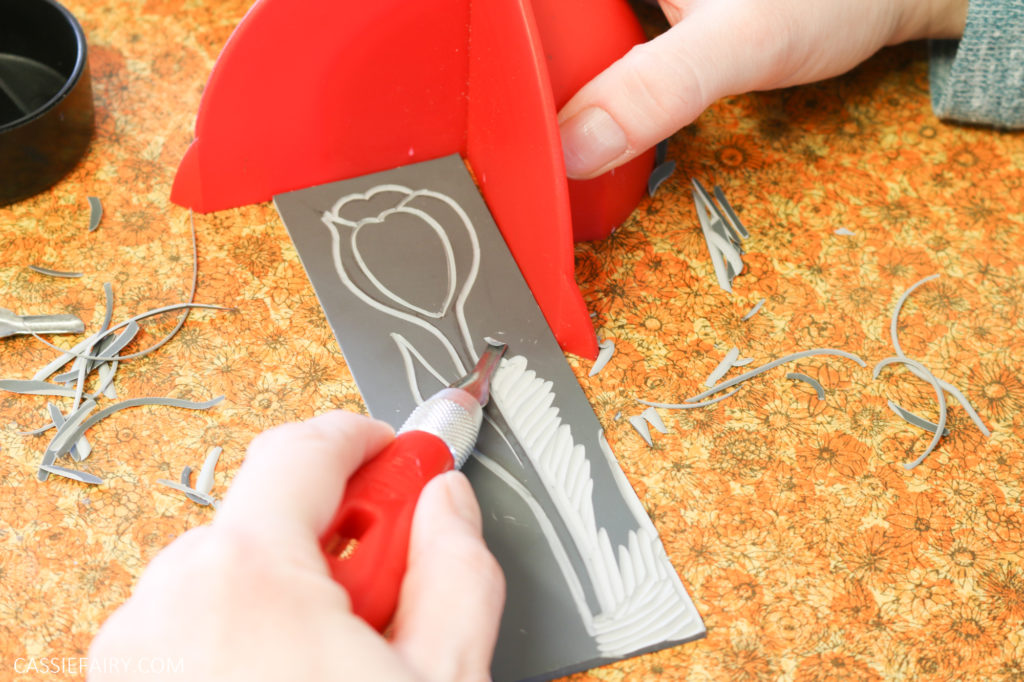
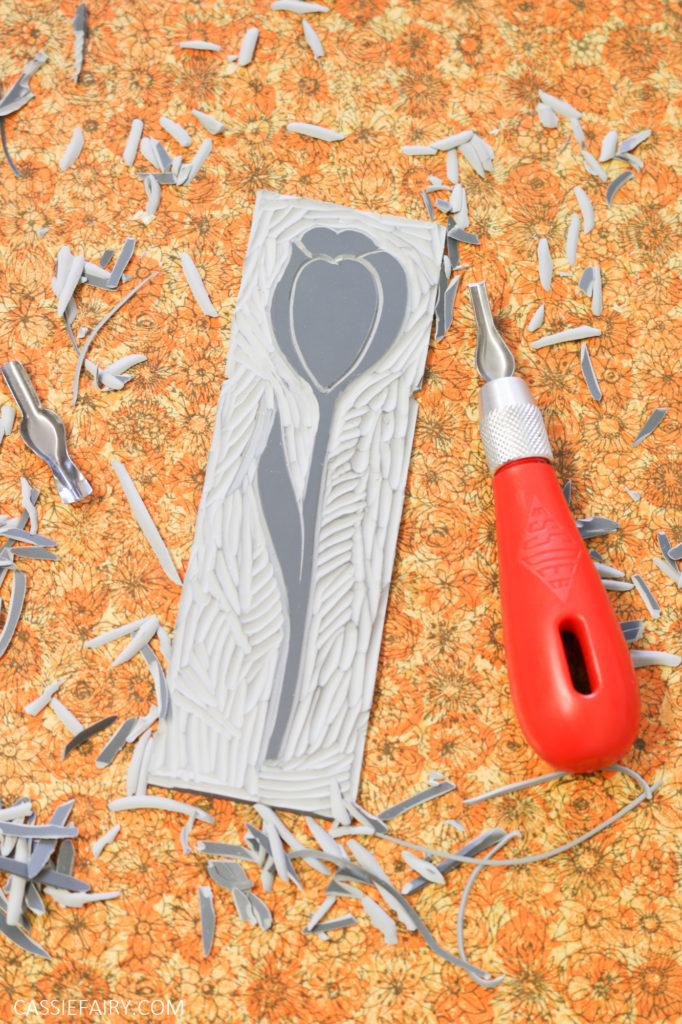
Once the outline is complete then you can cut away the excess lino around the exterior of the shape. Any lino that remains will be part of the design so you can always add extra shapes around the main pattern if you like. I decided to cave away all the lino surrounding the shape, leaving a few ‘flecks’ to make it look rustic.
ROLL OUT THE INK
Use the correct type of fabric printing ink for the fabric you’re using and roll out a small amount. You can do this on an old ceramic tile – this makes a great smooth surface that’s easy to clean afterwards. If you’re using more than one colour you’ll need more than one roller – or print each colour in turn, washing the tile and roller between each print.
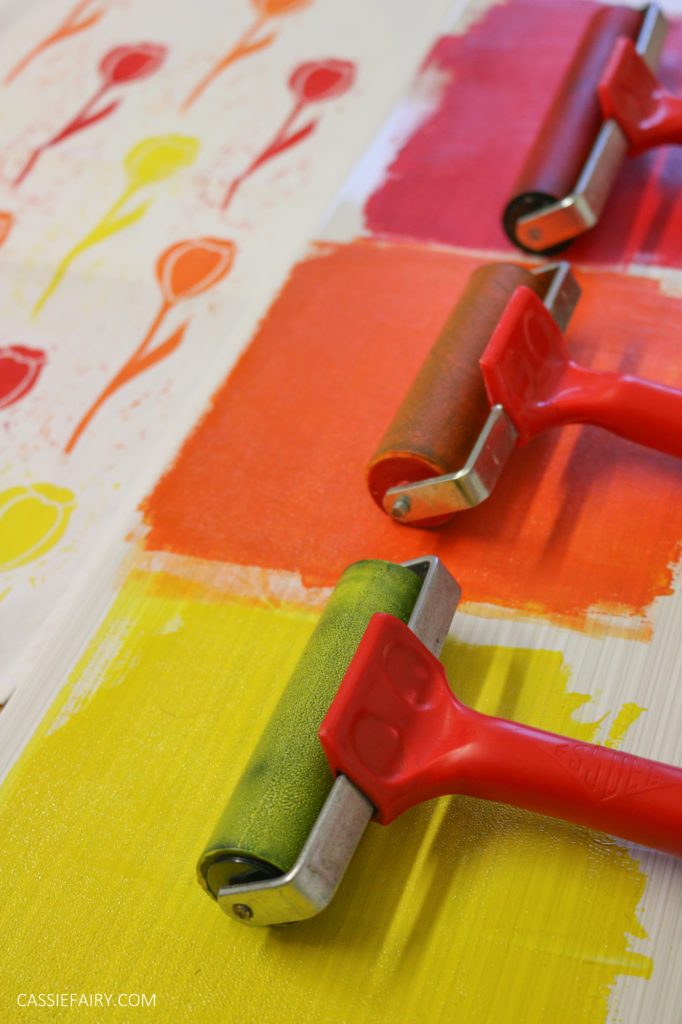
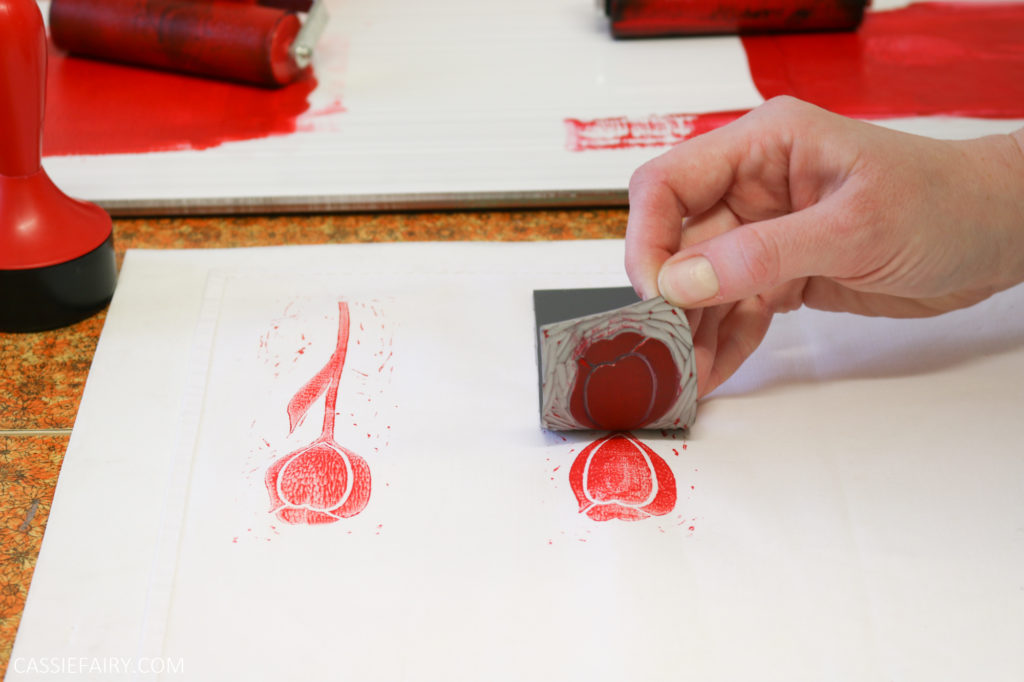
Roll out the ink until it is spread thinly and has an ‘orange peel’ texture. One tip is to only roll the ink in one direction to spread it out evenly. You can then use the roller to apply the ink to the lino. Ensure the design is fully covered in ink.
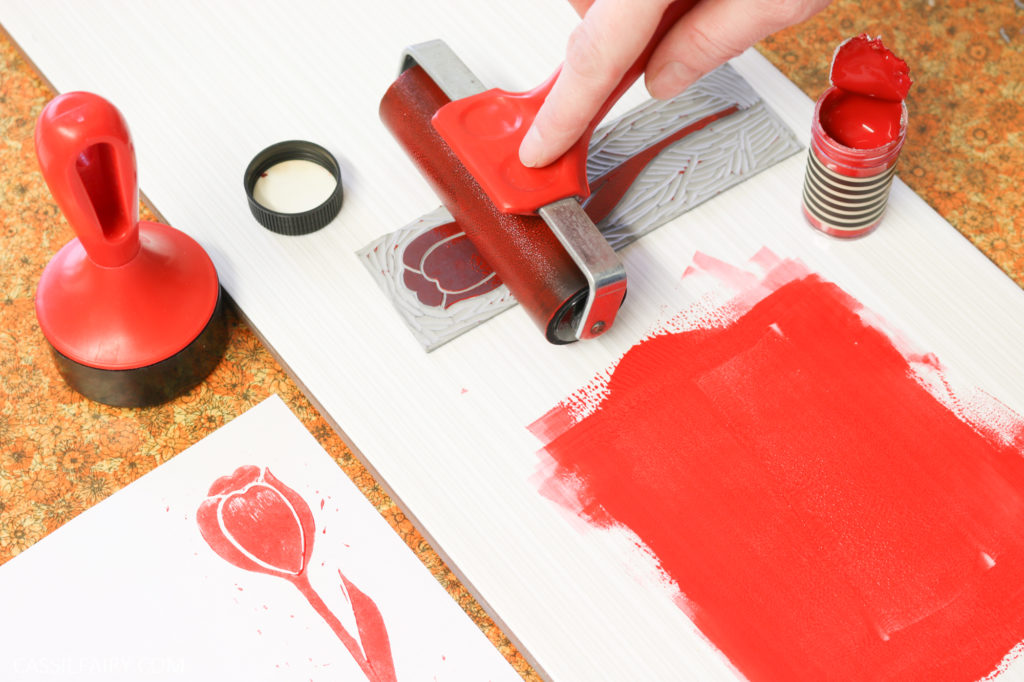
PRINT YOUR DESIGN
Make sure your fabric is wrinkle-free and lay it onto a protected surface, as the ink may soak through the fabric onto the table beneath. If you’re printing a t-shirt you might want to insert a piece of cardboard inside the tee to stop the ink from going through the front and onto the back.
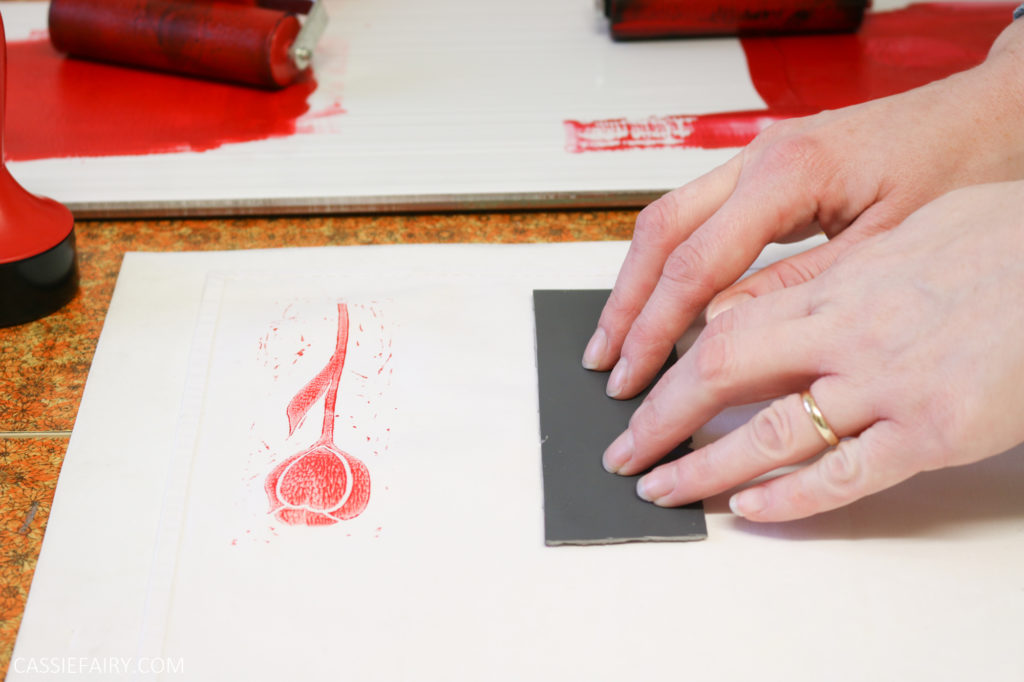
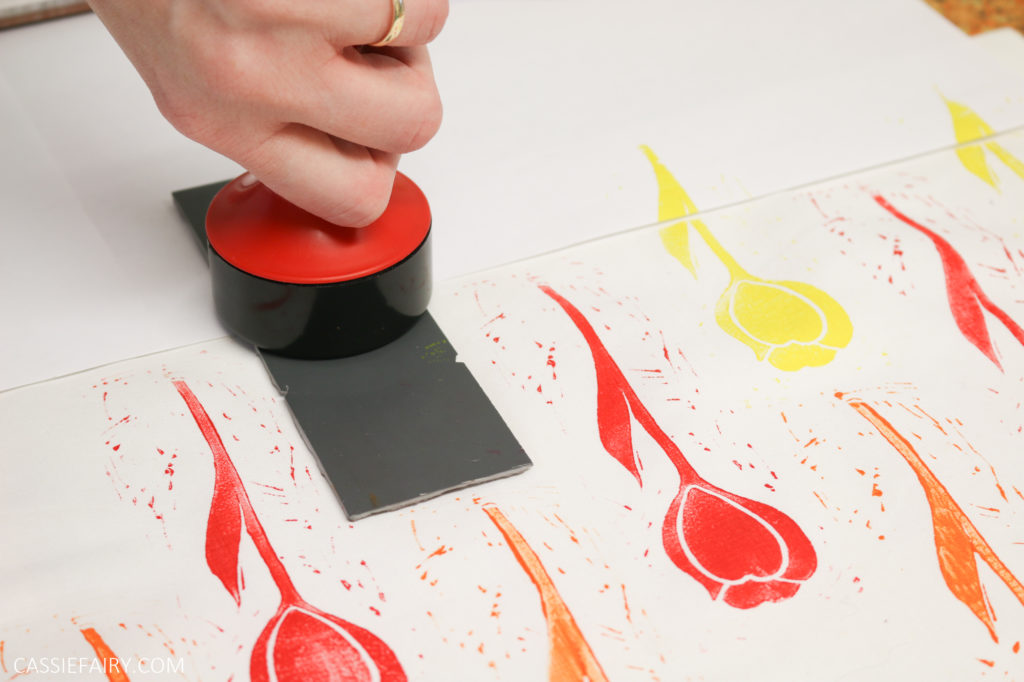
Position the inked lino shape onto the fabric and press it down using your hands. You can then use the back of a spoon to smooth all over the back of the lino or, if your printing kit came with one, use a baren (the red handheld thing in the photo below) to press the design onto the fabric.
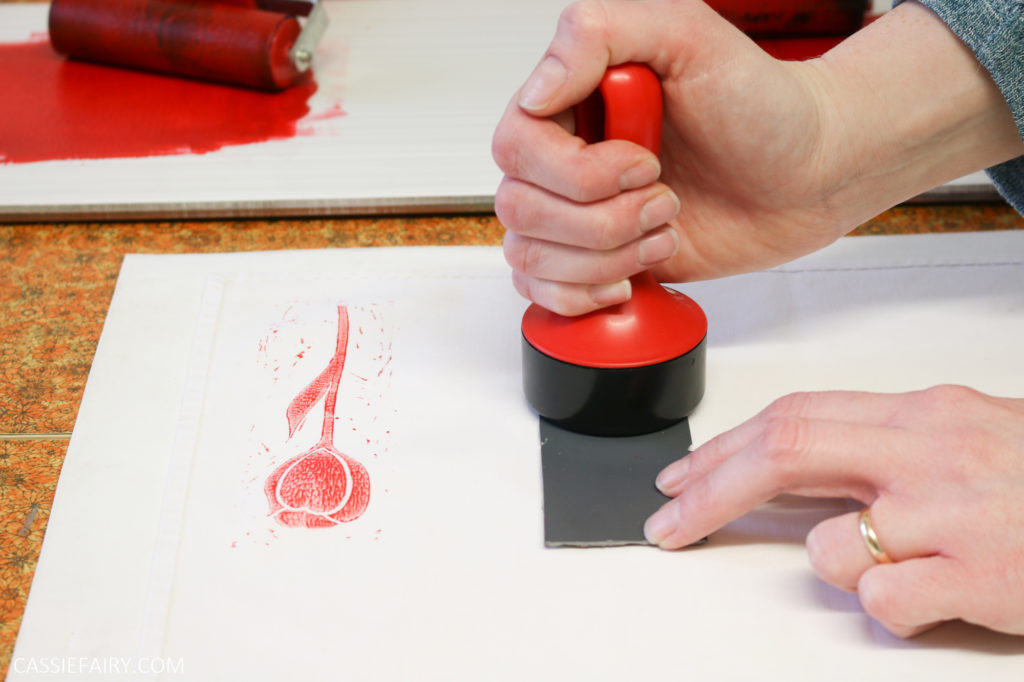
Carefully away the lino from the fabric and admire your printed design! A patchy finish is all part of the hand-printed charm so don’t worry if your design isn’t perfect. Repeat the process of inking and printing until you’ve covered your fabric and are happy with the design.
DRY AND SET THE DESIGN
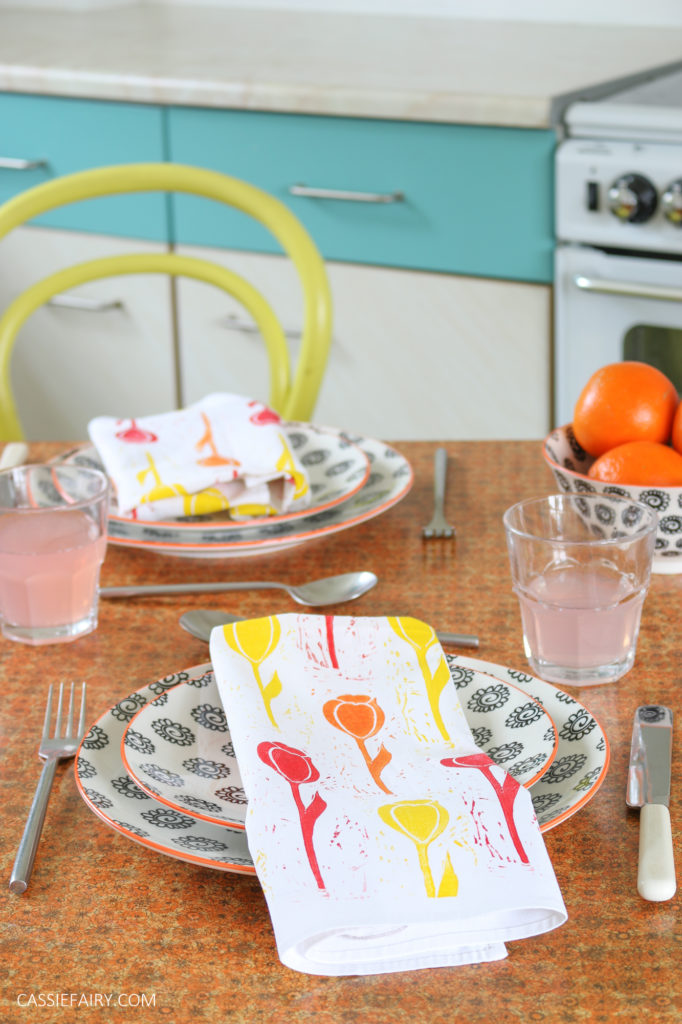
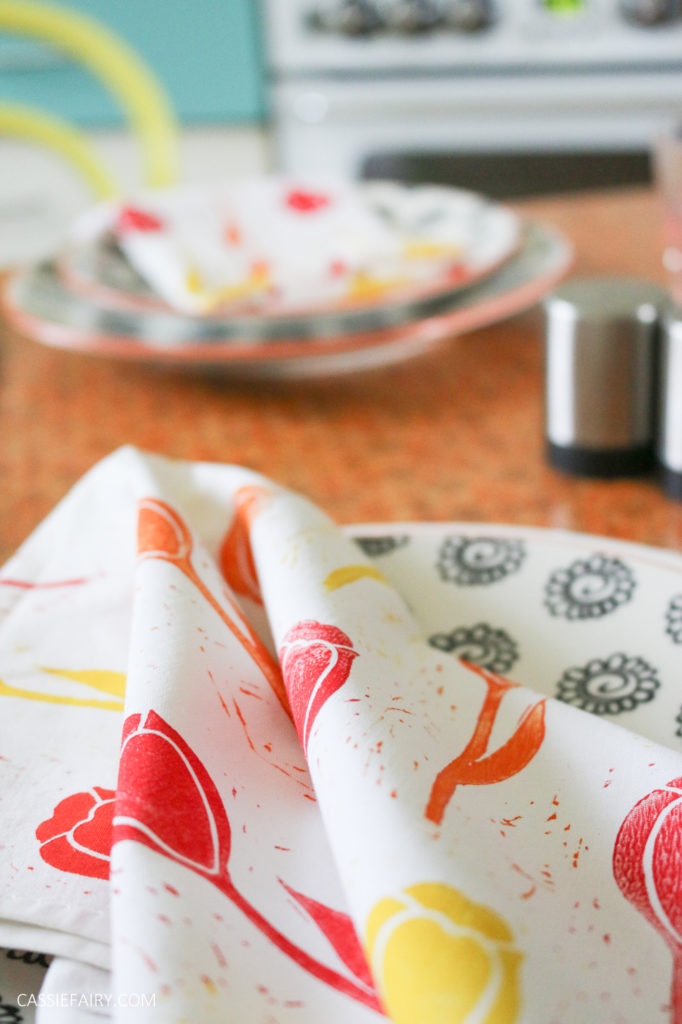
Allow the printed fabric to dry thoroughly before handling it. Remember to ‘set’ your design once the ink is dry by following the instructions on the fabric ink you used. Then you can use the fabric for any project you like such as creating a tablecloth, napkins or cushion.
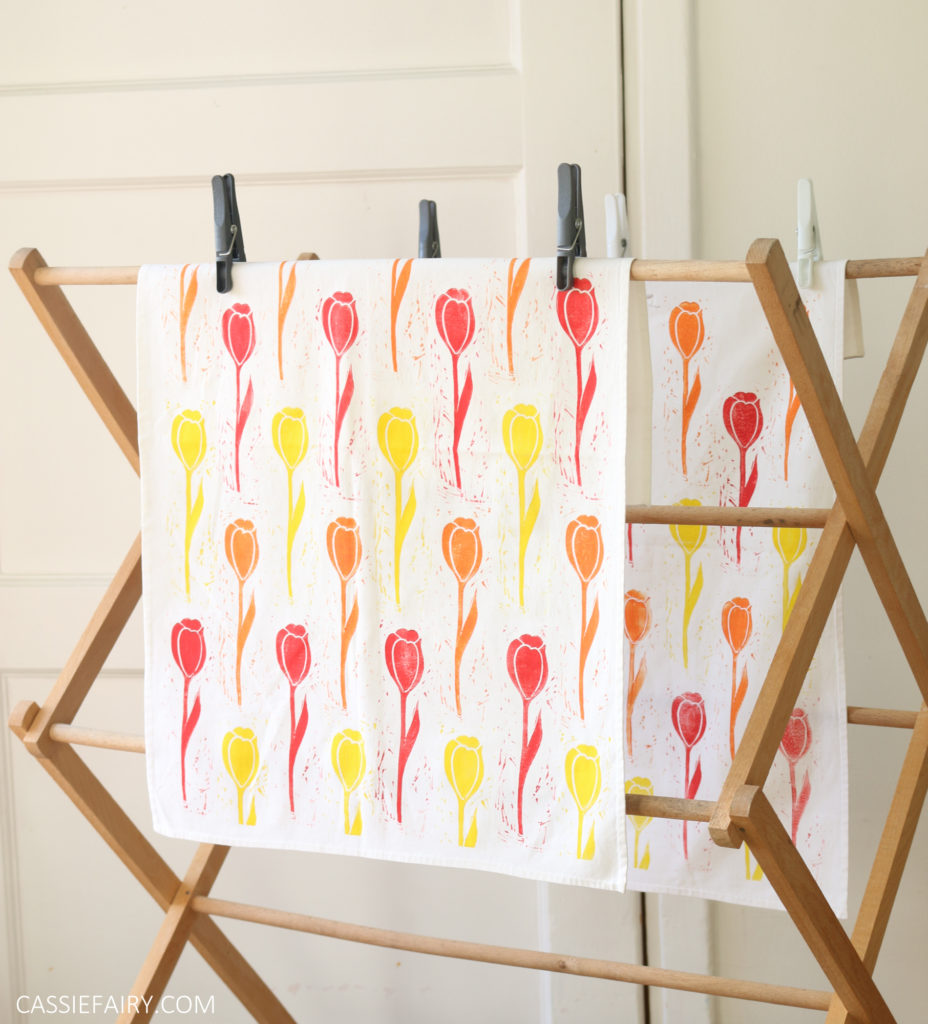
I hope you’ll have a go at lino printing onto fabric at some point. And once you’ve got your own lino printing kit, you can use it to create unique artworks and even make your own Christmas card designs! Let me know if you give it a go and please share your lino printing tips in the comments below 🙂
PIN IT FOR LATER
