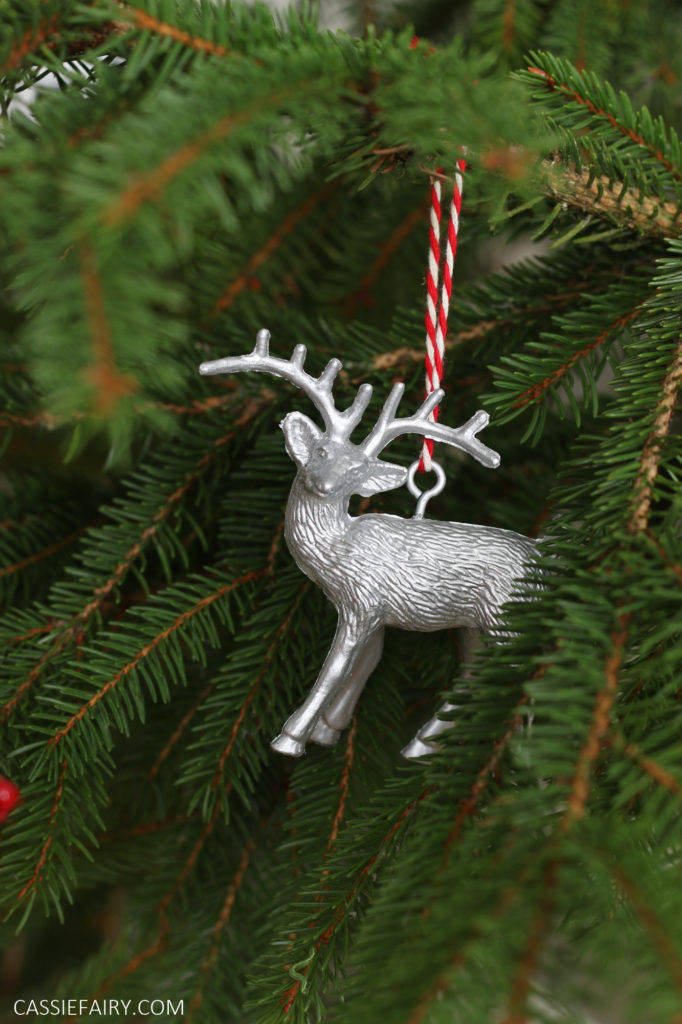
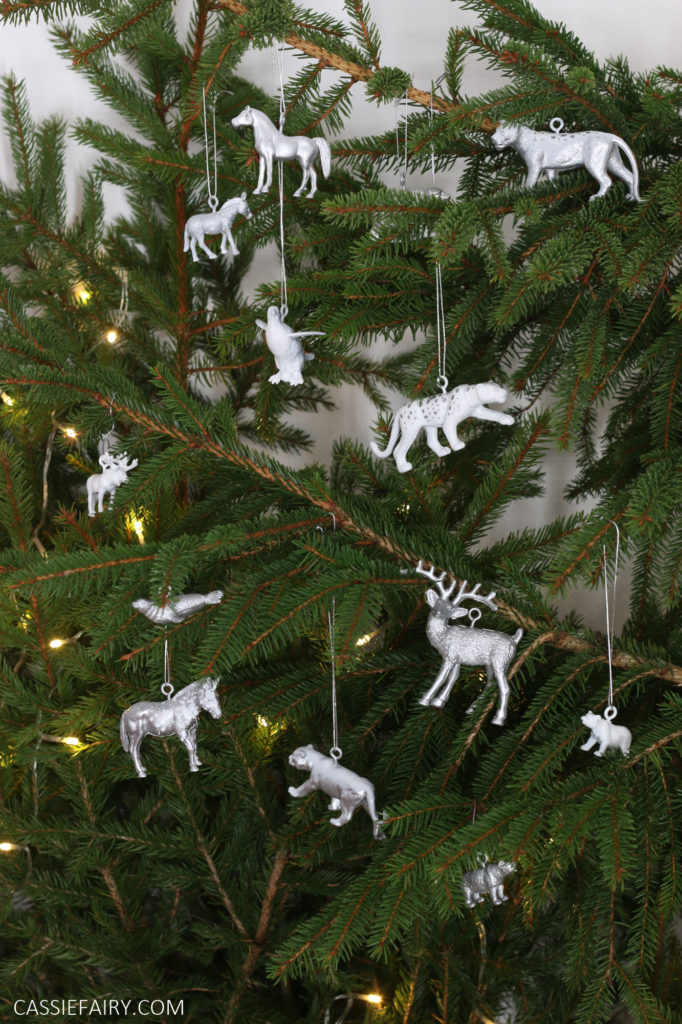
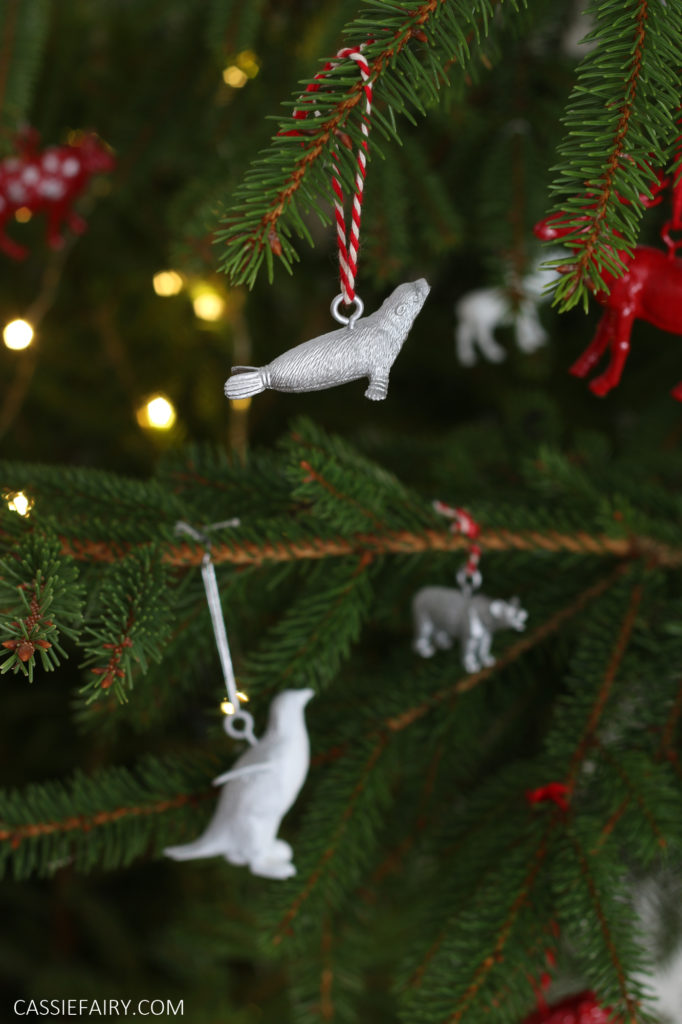
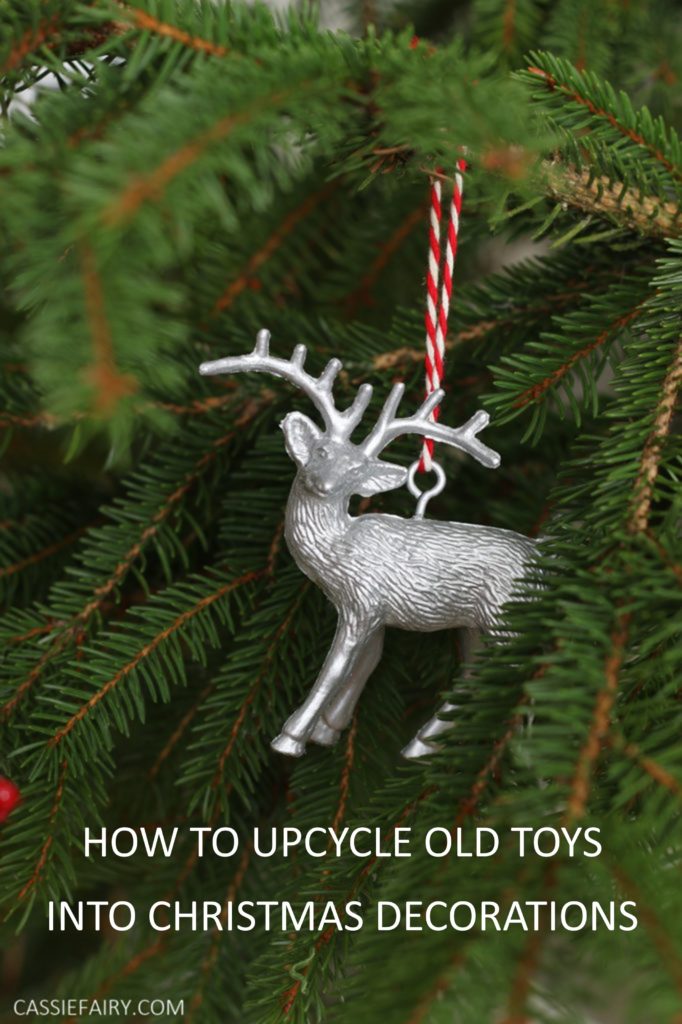
For me, Christmas always evokes that feeling of nostalgia so I decided to upcycle the toys of my childhood toybox to decorate my Christmas tree. Red, white and silver are a classic colour combination, but you can pick jewel tones or even neon brights to coordinate with your festive décor. Create a North Pole scene with stags, seals, polar bears and penguins, or give exotic animals a snowy makeover.

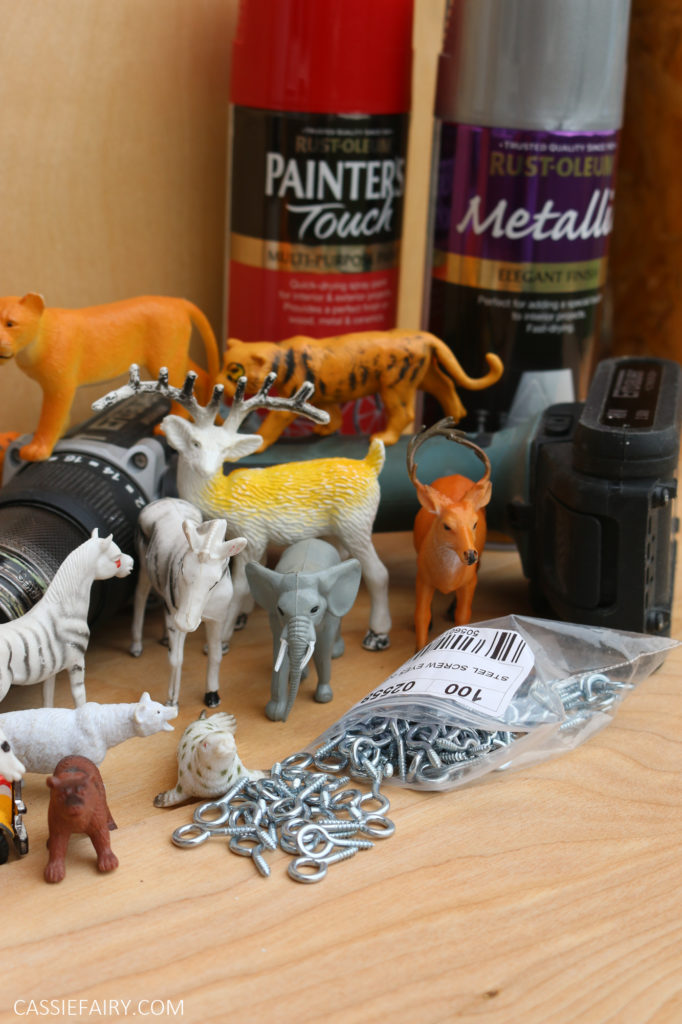
You don’t have to raid the kids’ toy box to make this project – I picked up old plastic animal toys and die-cast metal vehicles from charity shops to upcycle. You could stick with one ‘set’ of toys to create a theme for your decorations – how about using planes, trains and cars for a travel theme? Or you could upcycle some plastic dinosaurs of varying sizes to create a pre-historic Christmas tree for the kids.
Here’s how to upcycle any kid of toys to create retro Christmas decorations for your tree.
YOU WILL NEED
- Small eyelet screws
- Drill with a small drill bit to match the eyelet screws
- Bendable wire or paperclips
- Fine sandpaper or sanding block
- Small paintbrush
- Metallic spray paint in silver
- Matt white spray paint
- Cherry red gloss spray paint
- Silver marker pen
- Coloured thread or ribbon
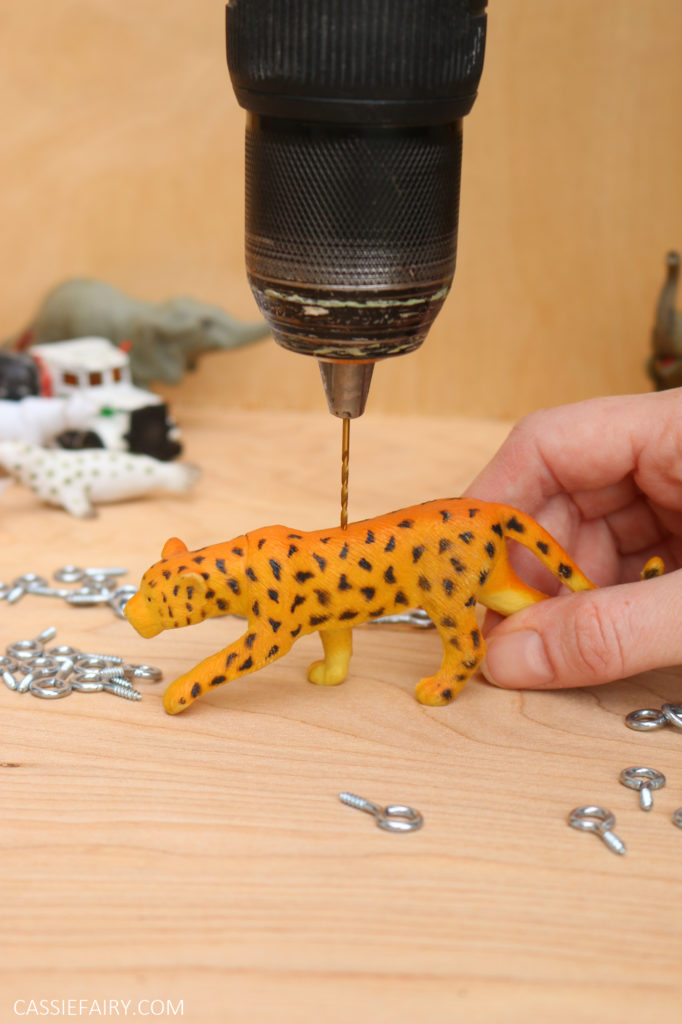
STEP 1
Using a small drill bit that matches the size of the eyelet screws, carefully pilot drill a hole in the toy. Choose a point where you can hang the decoration; somewhere on the back or head of the animal or the top of a car or truck.
STEP 2
Carefully twist the eyelet screws into the pilot hole. Screw it all the way into the toy until all of the threaded part is inside.

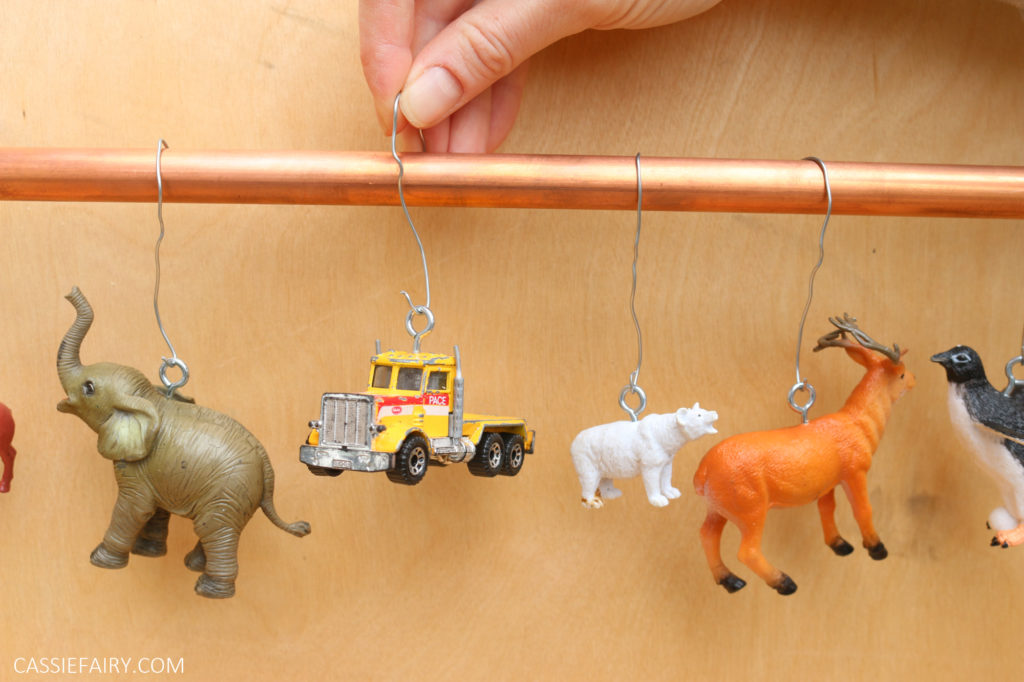
STEP 3
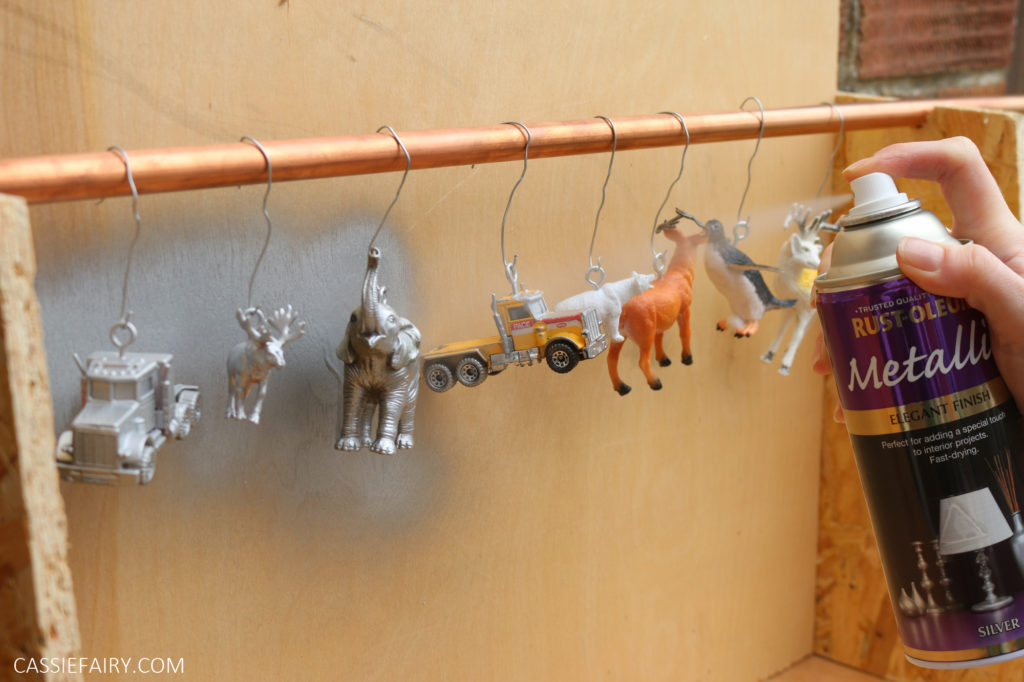
Bend a small piece of wire (or use Christmas tree hanging hooks) to loop through the eyelet screw and hang the toy over a pole or broom handle in preparation for painting.
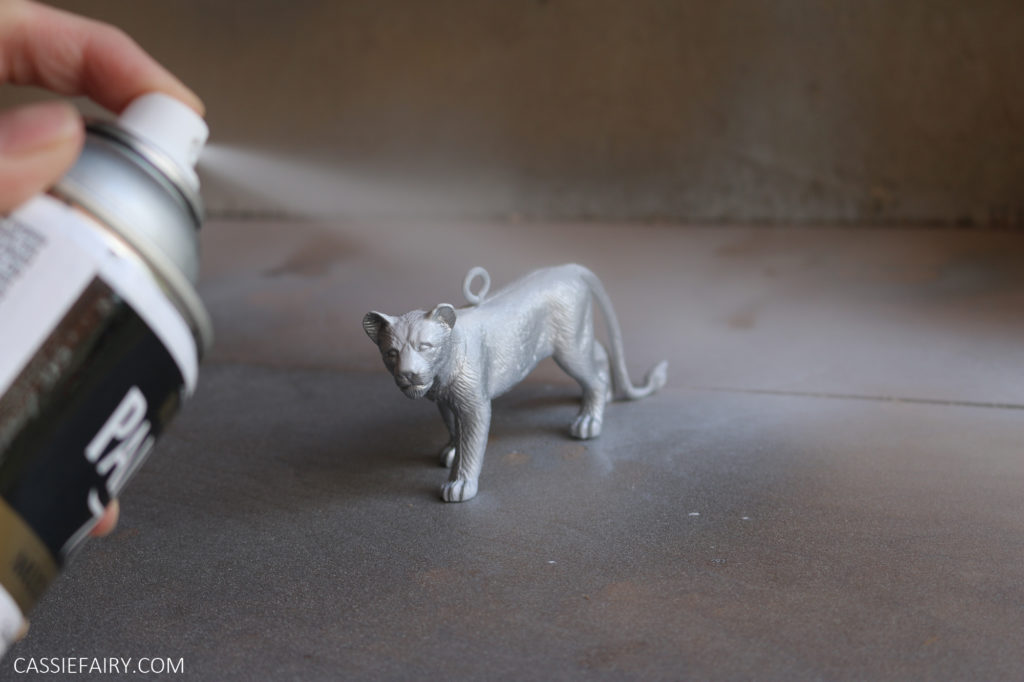
STEP 4
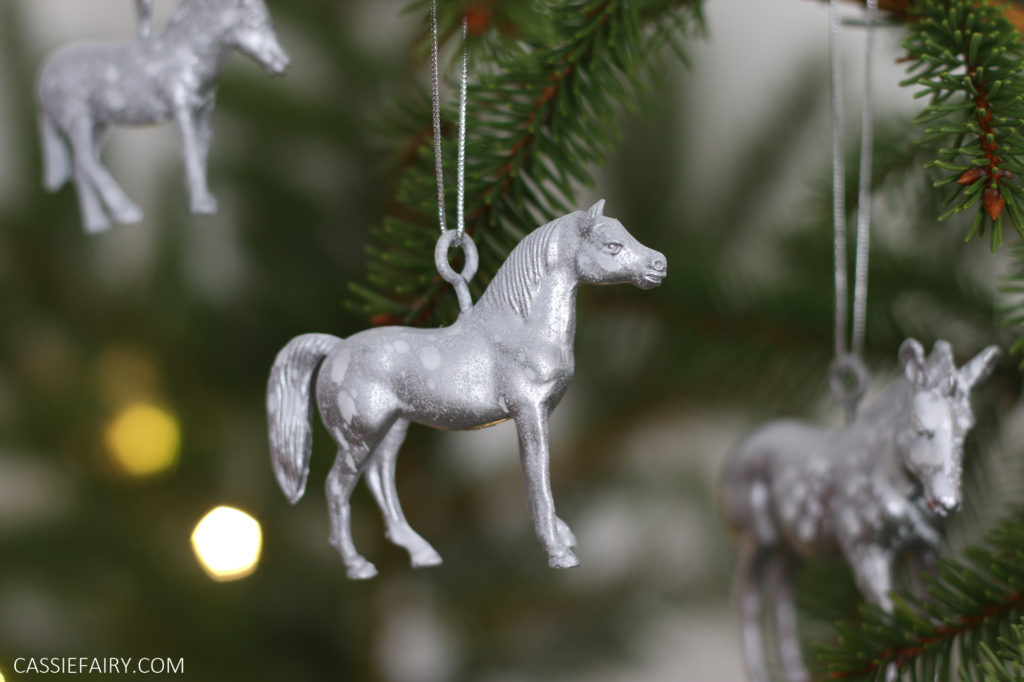
Spray paint the toys with a fine coat of metallic silver paint. Once one side is covered, turn the toys around to spray back the backs. Be sure to cover the tops and bottoms too.
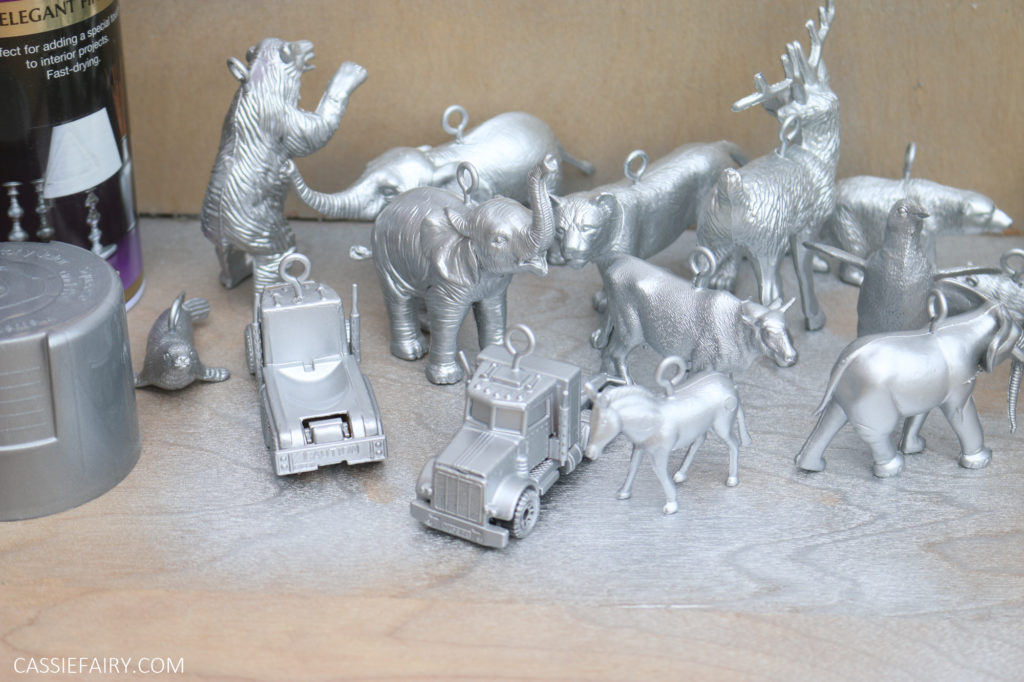
STEP 5
When the paint is touch-dry, give the toys a second coat of the metallic spray paint to make sure that all surfaces are completely covered.
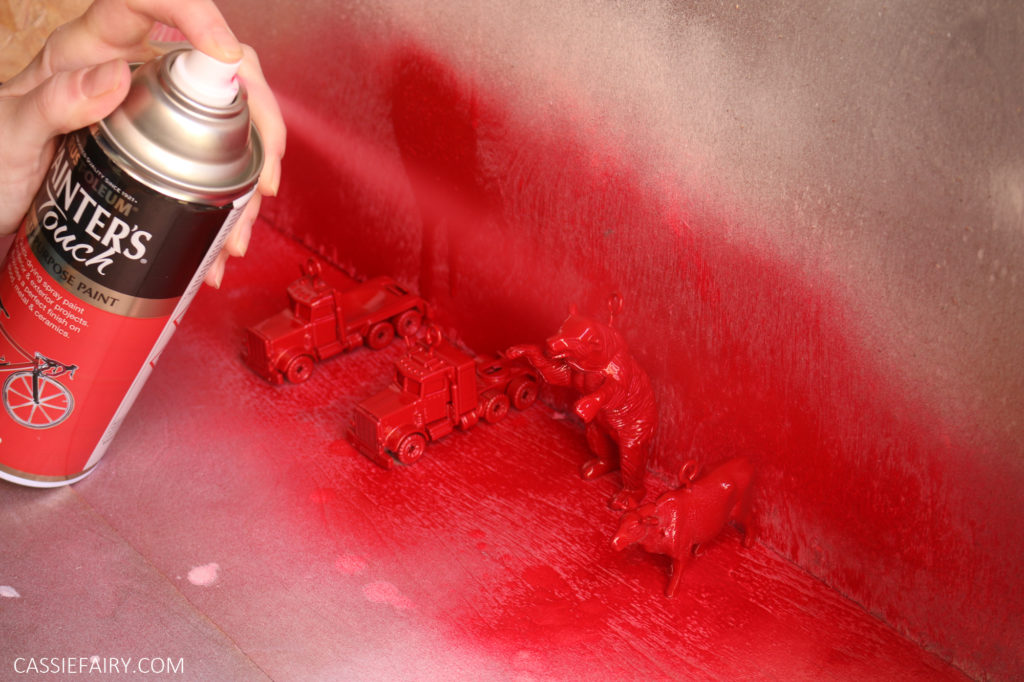
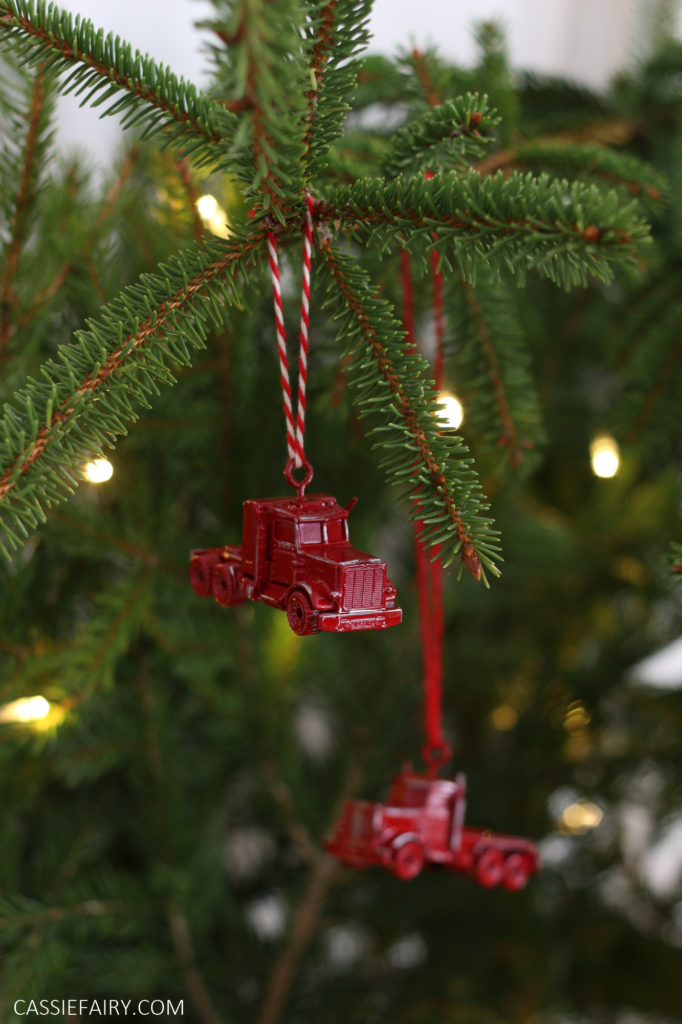
STEP 6
Spray paint some of the toys with a top coat of red paint, again making sure to coat the toy from all angles. Hang them up to dry.
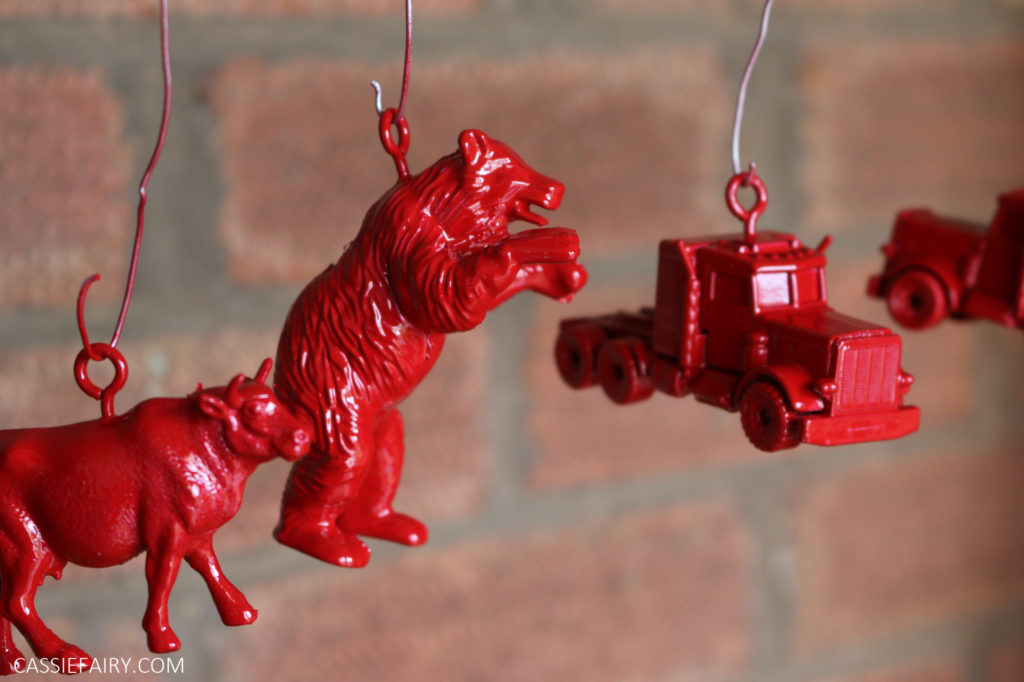
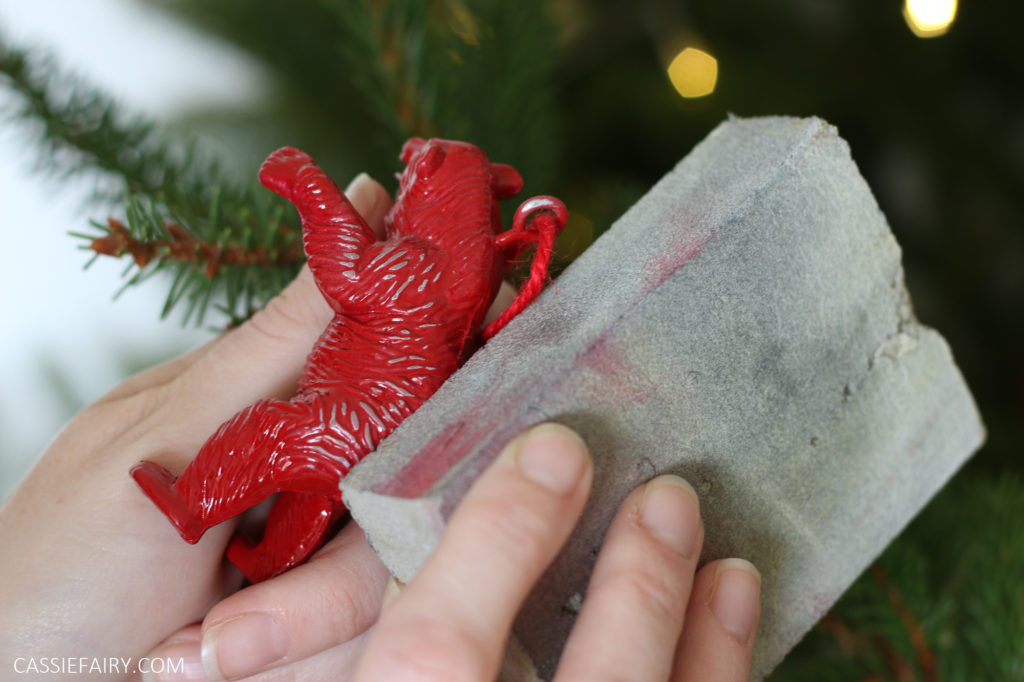
STEP 7
Once the red paint is completely dry, use a fine sandpaper to rub away some of the red layer to reveal the metallic silver underneath. This effect looks great on small vehicles or on textured surfaces.
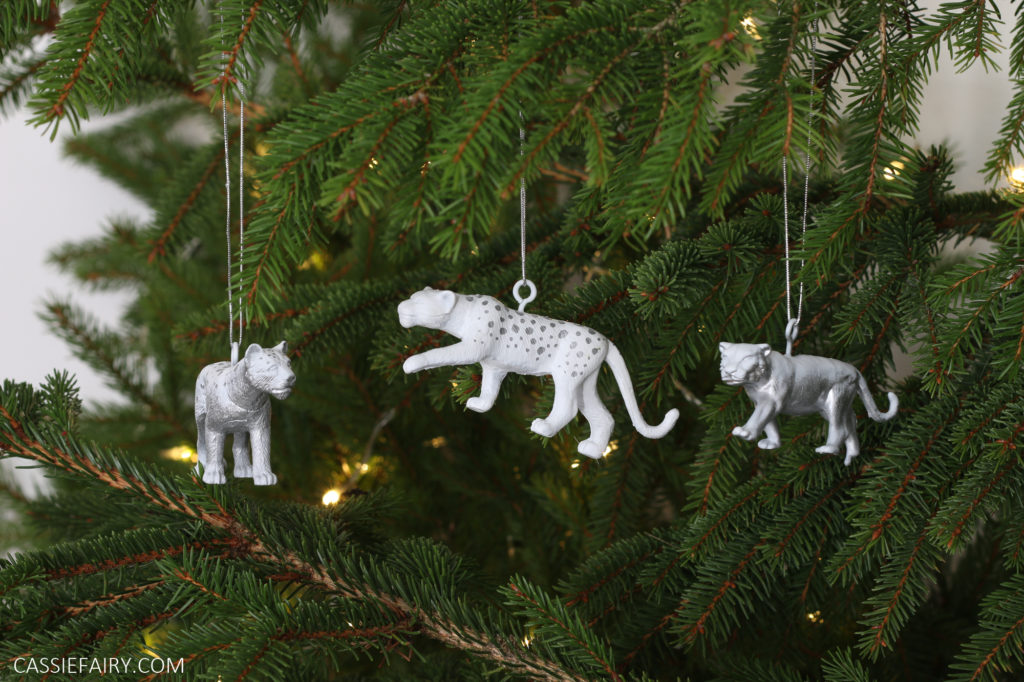
STEP 8
Spray paint some of the toys completely white or use the spray paint to give animals a light dusting of ‘snow’ over their backs, leaving a sparkling silver underside.
STEP 9
When the white paint is dry you can use a silver marker pen to draw dots onto the animals’ backs, or to decorate red toys with a silver star pattern.
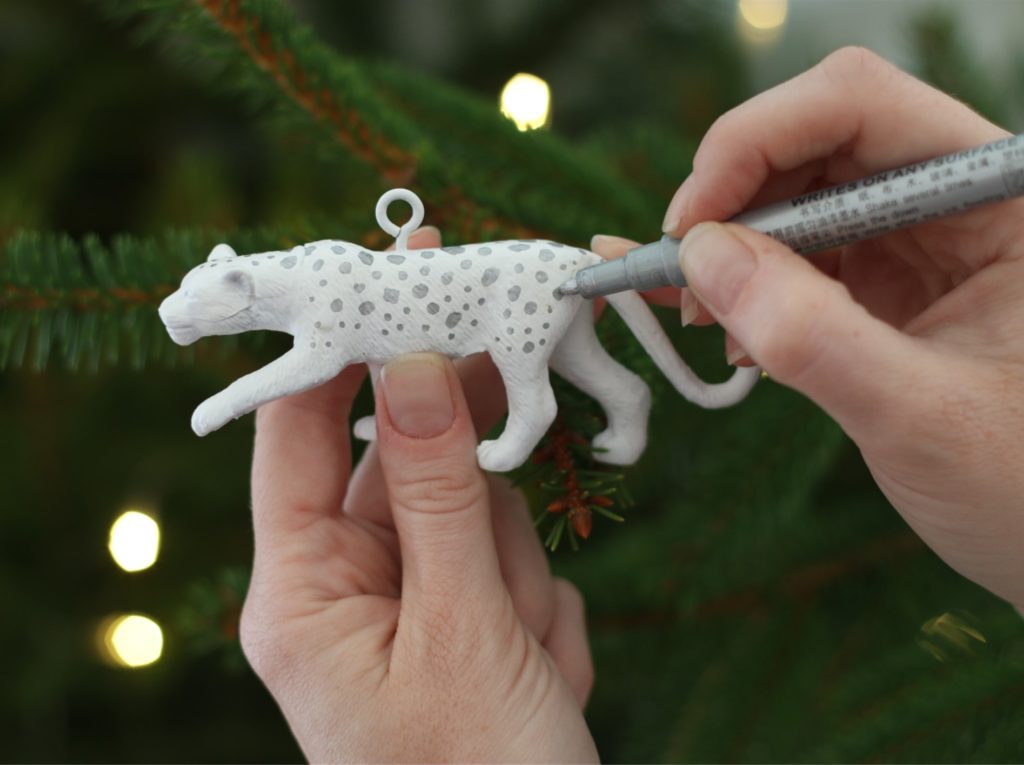
Another technique for decorating the toys is to spatter them with paint. I dipped a small paintbrush into white paint and flicked it at the silver horses and zebras to create a snowy, dappled design on their backs.
STEP 10
Thread metallic cord, striped string or red yarn through the eyelet screws to create a loop to hang the toys on your Christmas Tree.
Let me know if you have a go at upycling some toys to use as Christmas decorations, I’d love to hear what type of toys you used so please leave me a comment below. And it would be great to see your creations, so feel free to tag me in your photos on Instagram @cassiefairy too!
PIN IT FOR LATER


4 responses
That sounds fantastic Holly, I’m so pleased my project helped you to create such fun decorations for your game shop! Using dragons is a great idea! 🙂
I bought a tube of plastic dragons, added spiral pins, and made little signs for the bowls of dice we have at our game shop. Everyone loves them and keeps trying to g to buy them lol
Thanks so much!
Super