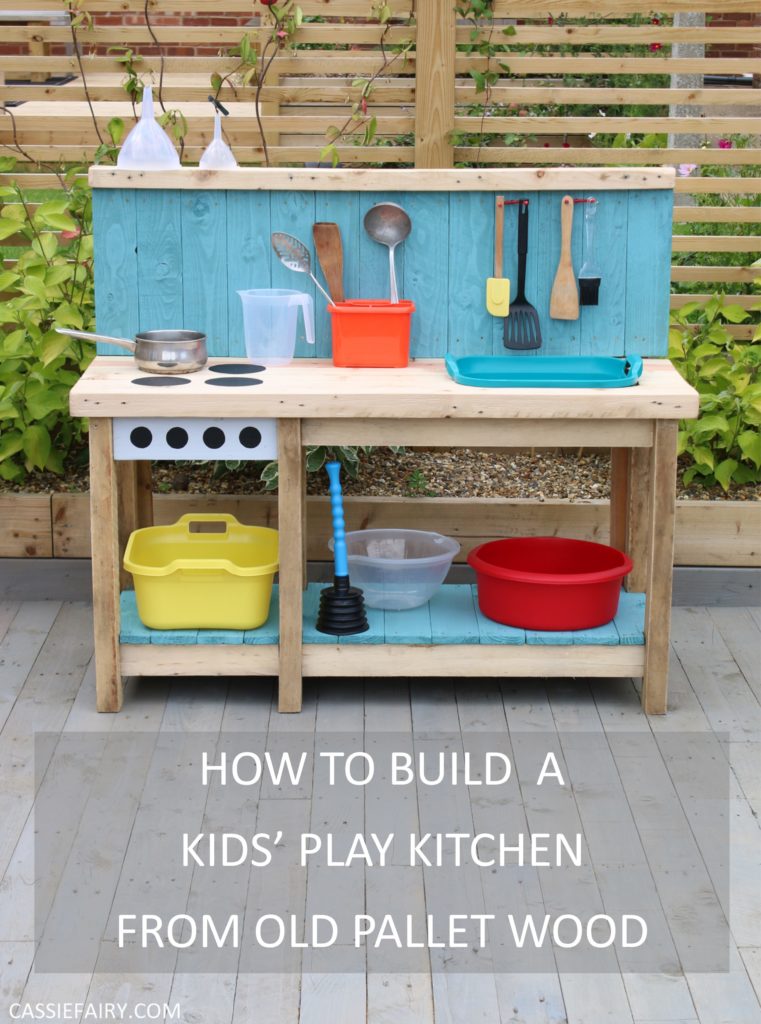
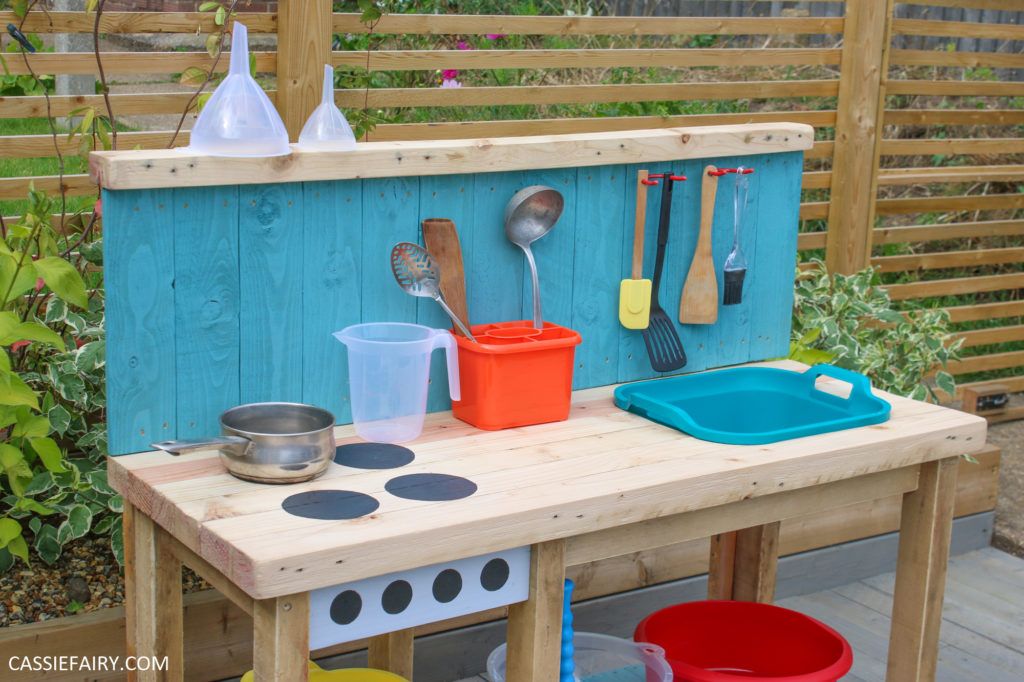
When I found a few brick pallets in a building site skip (and asked if it would be okay to re-use them!) my mind starting whirring at the possible projects they could be used for. The result is this kids’ mud kitchen and I thought I’d share the step-by-step project with you today…
Click here to go straight to the step-by-step tutorial for this pallet mud kitchen project.
You see, brick pallets are just a little sturdier than regular pallets. They have planks across the top and underside, and they have wooden supporting beams in the middle rather than blocks at the corners. This means there’s three or four pieces of 3 x 2 inch wood in each pallet that makes excellent framing material.
We used the supporting wood from brick pallets (along with some scaffold boards for the worktop) to build an outdoor kitchen cupboard for our rainbow basin. If you haven’t already spotted my DIY alfresco kitchen project have a read of the blog post today so see how we made it.
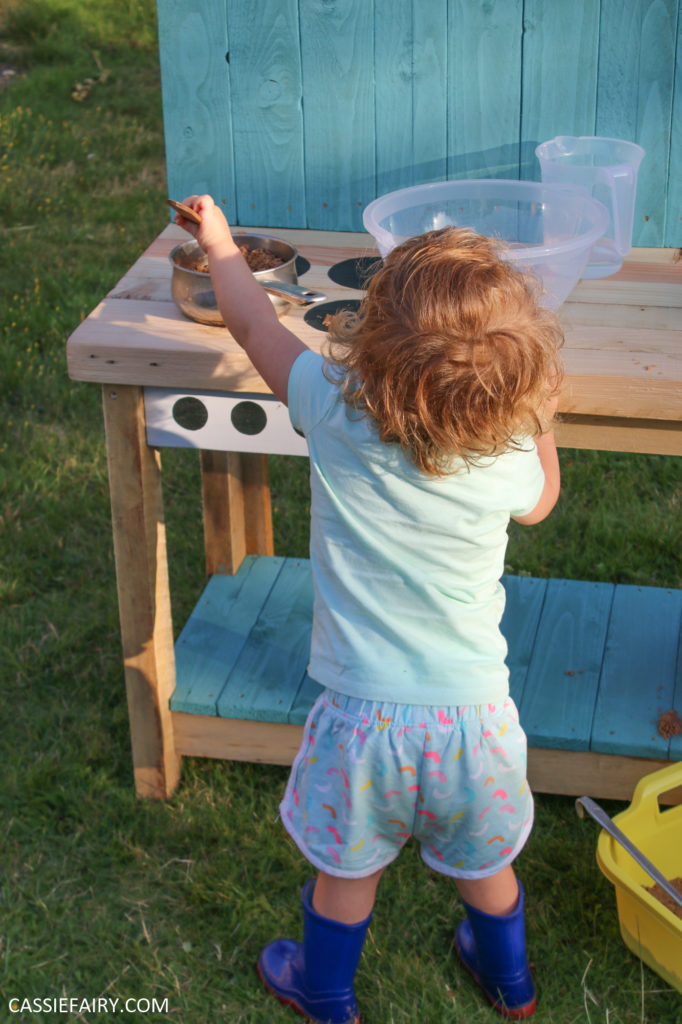
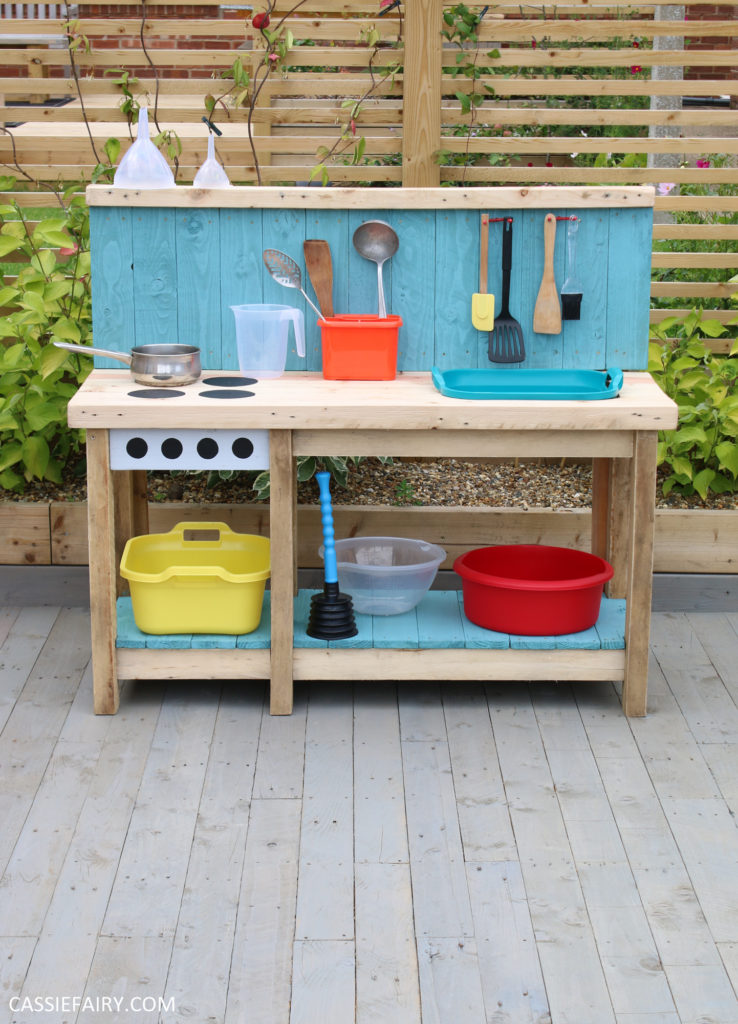
Anyway, I couldn’t leave those brick pallets in the skip so I figured out a way to put them to good use – with this kids’ mud kitchen. It’s a simple frame made from the chunky pallet supports with the planks used as ‘cladding’ for the back panel and the shelf.
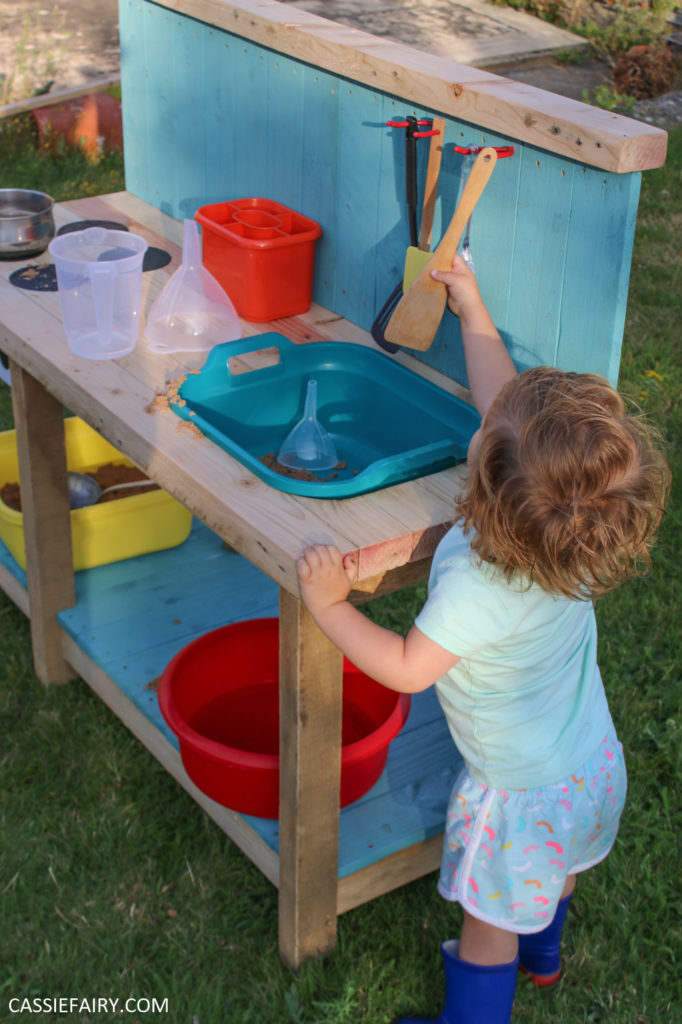
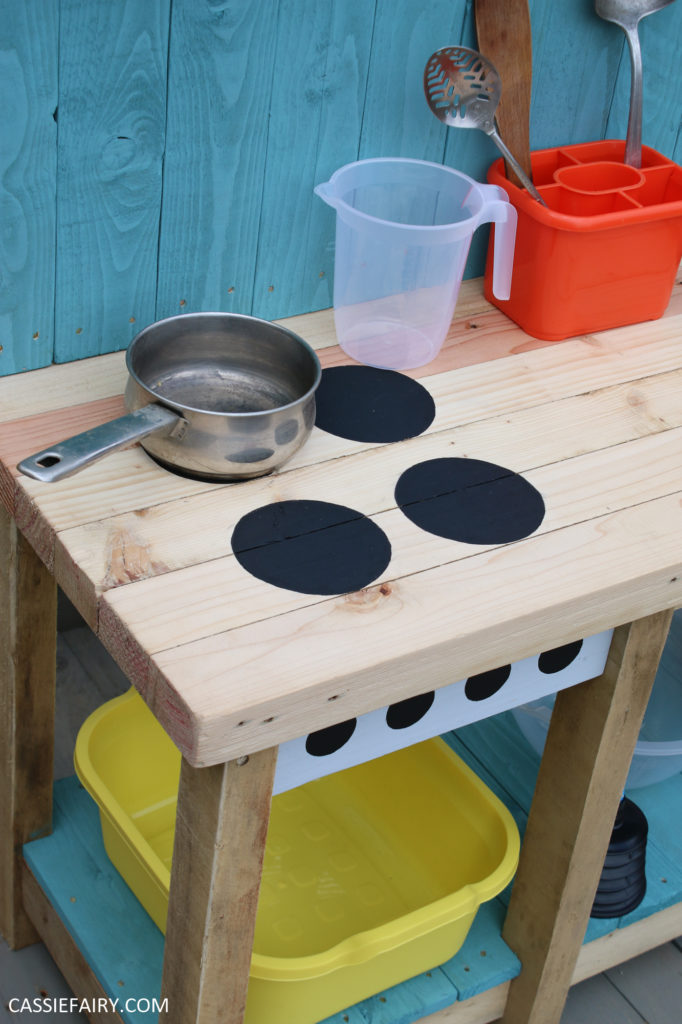
I even used the thick supporting wood side-by-side to create a butchers’ block style mini-worktop for this mini-kitchen. And, of course, we painted it in a bright turquoise colour to match our own (full-size) kitchen indoors!
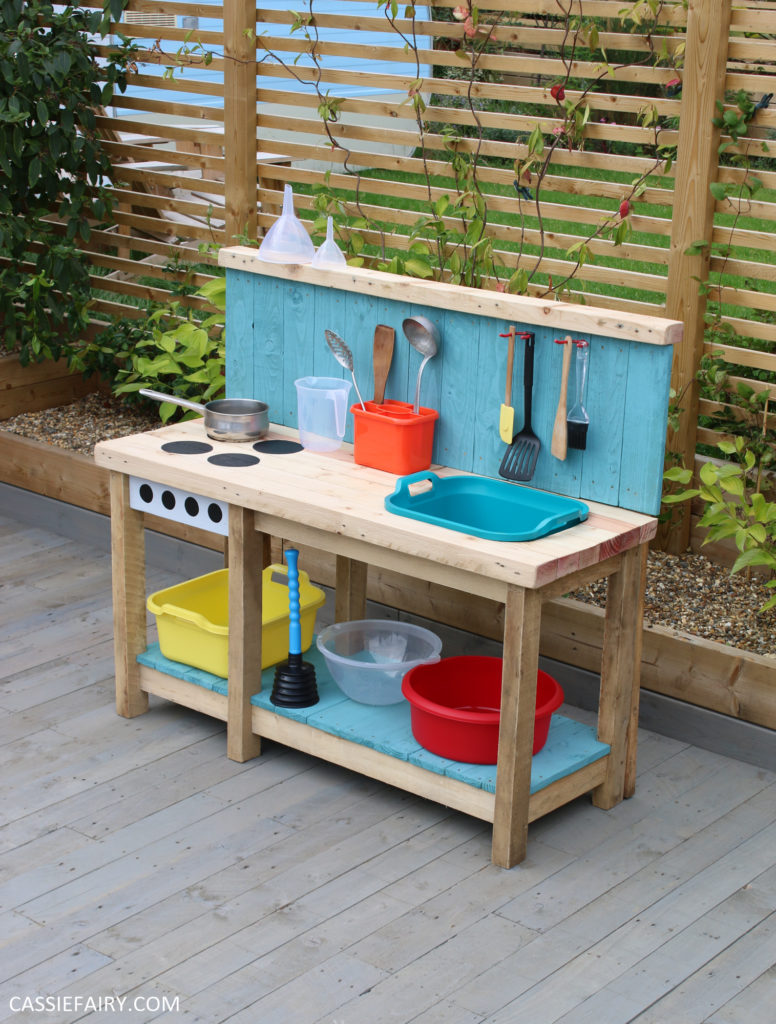
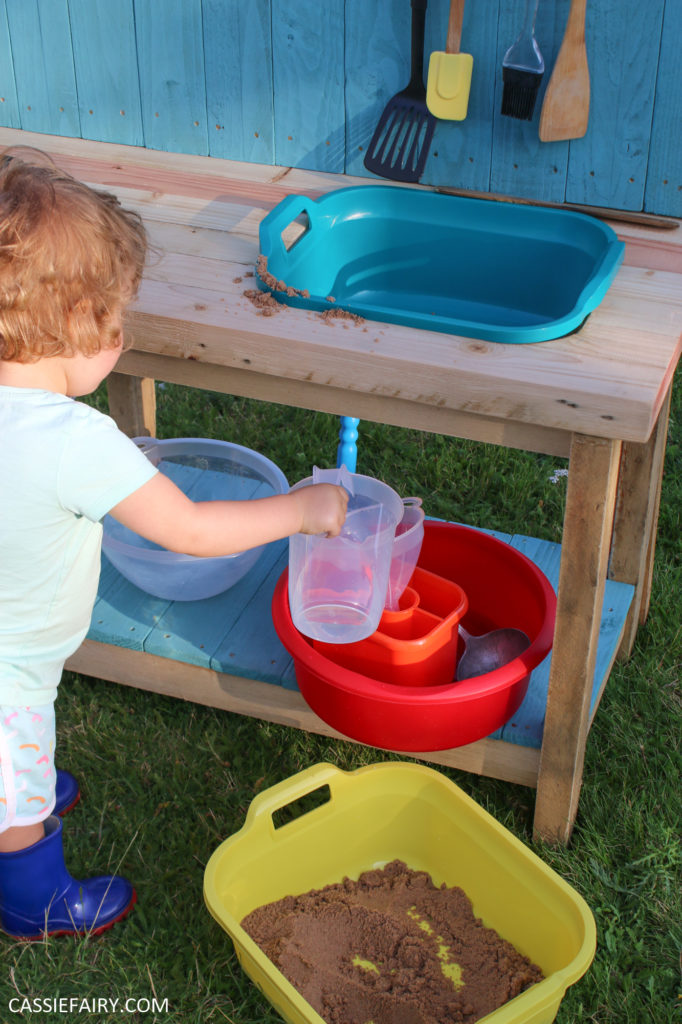
To accessorise the mud kitchen I searched for the most colourful washing-up bowls and drainers, which I found on the Addis website. The funnels and jugs were also absolute bargains, starting at just 39p for the mini funnel up to £1.49 for the 4 litre mixing bowl.
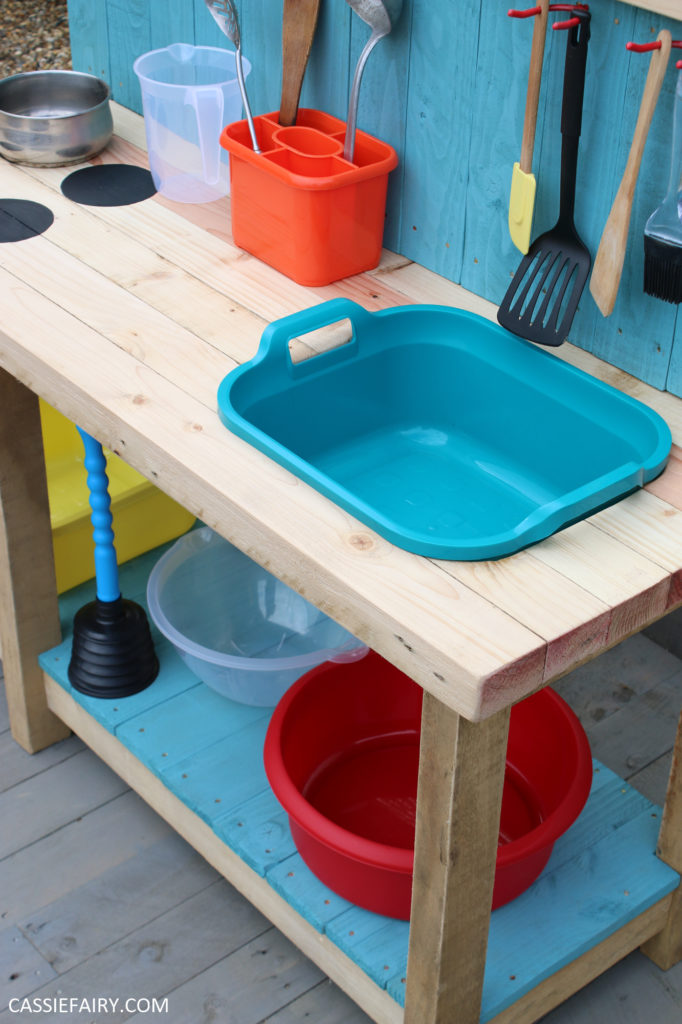
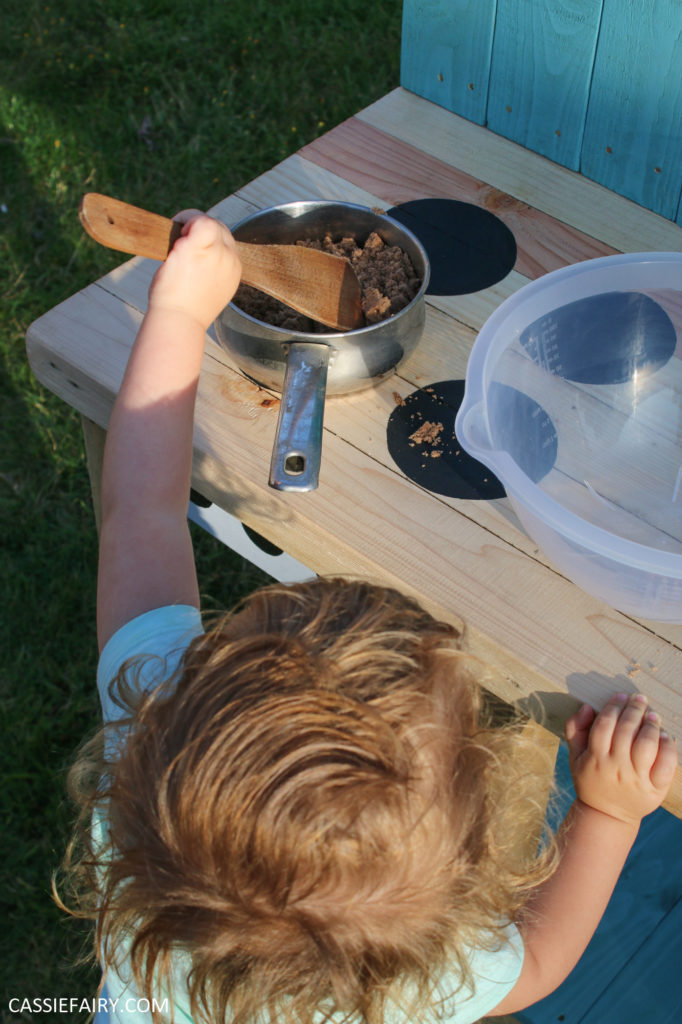
I also dug out some old wooden spatulas and utensils that we’d finished with in the kitchen so that my niece had everything she needed to get on with ‘cooking’ with sand and water in her mud kitchen.
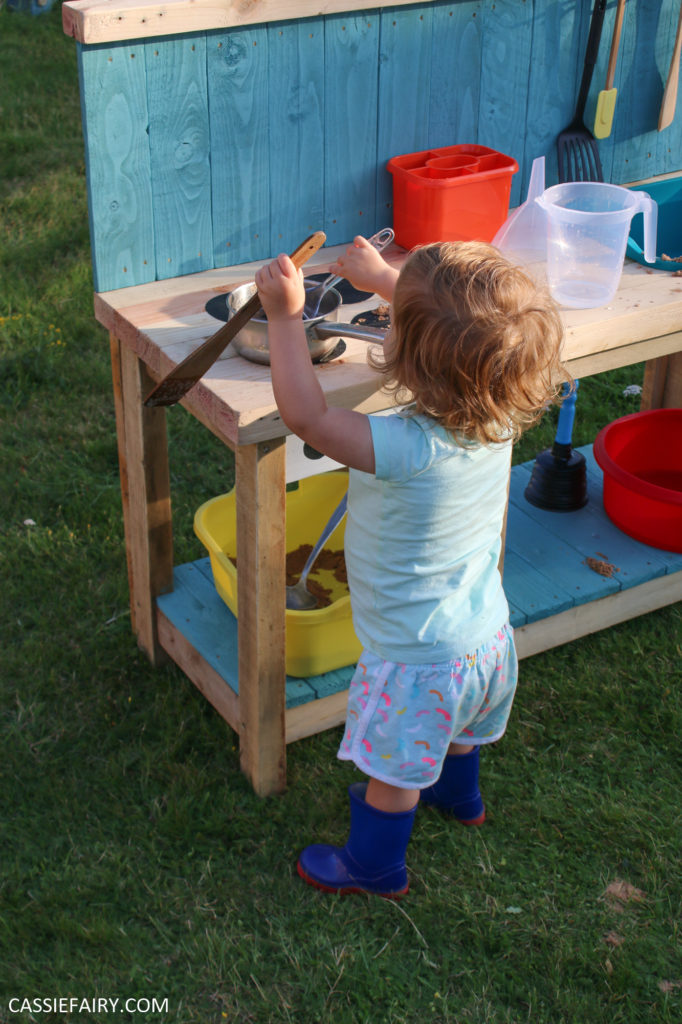
If you want to build one for yourself (it’s surprisingly easy and you could complete the project on a sunny Saturday) have a look at my step-by-step mud kitchen tutorial and let me know if you have a go in the comments below! Plus, I’d love to see photos of your own mud kitchen so tag me on instagram @cassiefairy too!
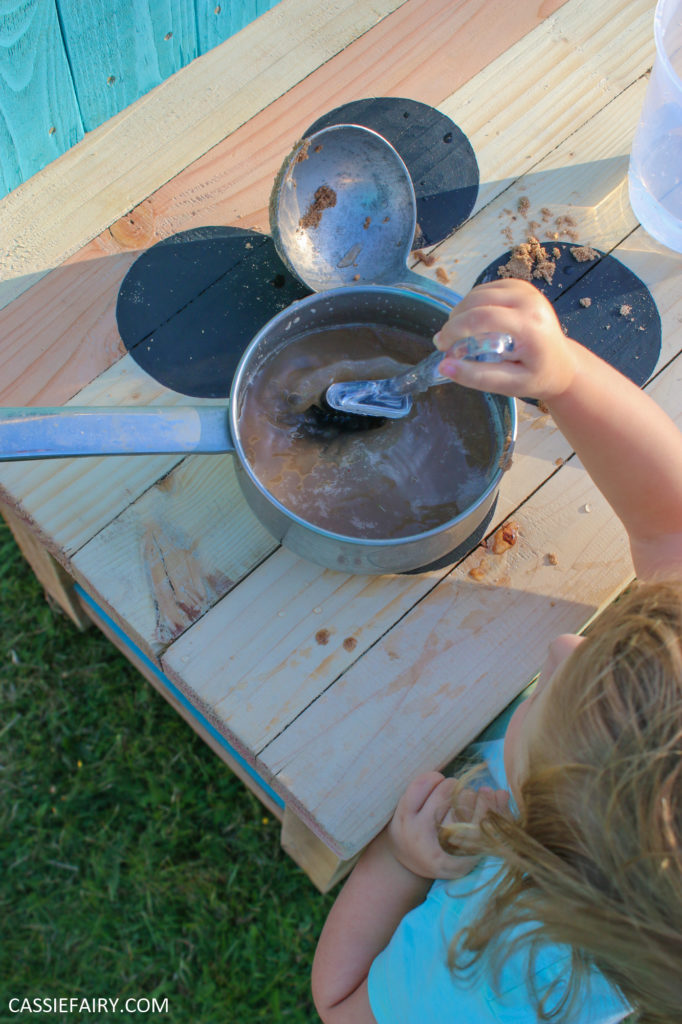
PIN IT FOR LATER…
