Despite the boiling temperatures and no rain for almost three months, the allotment hasn’t withered away just yet! We’ve got a giant water butt that fills up all winter so we were able to keep on top of watering the veggies for a while, until the supply ran dry.
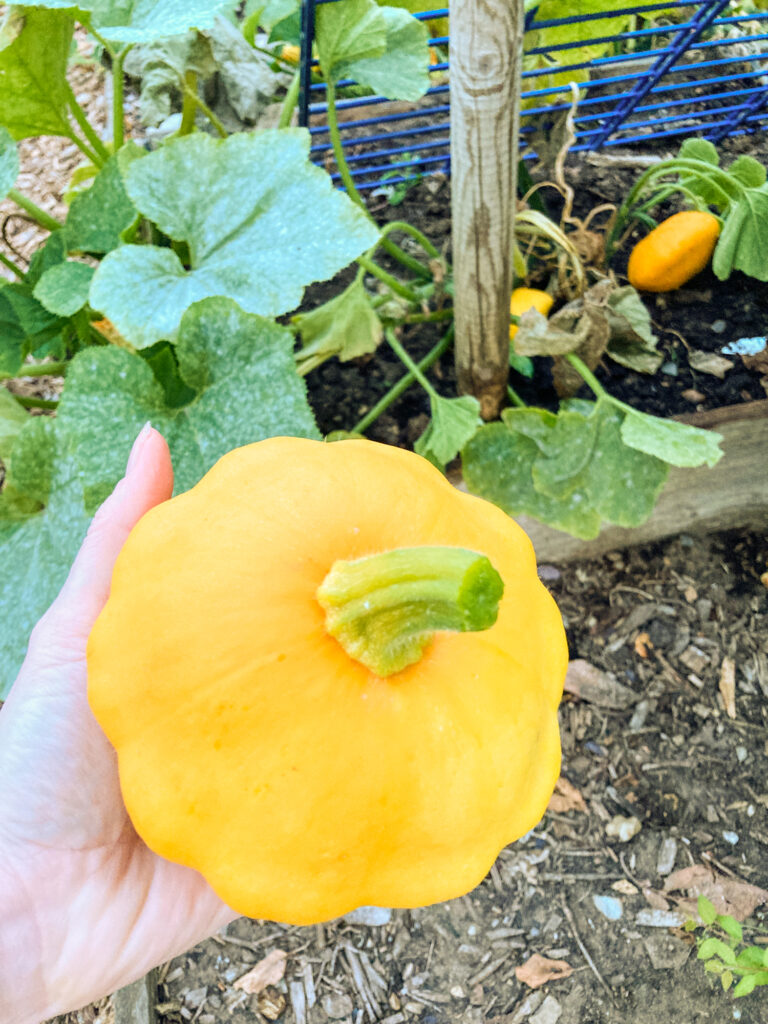
Even so, I think we’d watered the squashes enough to help them withstand the drought conditions – and it probably helps that they are in the shade of the fruit trees, with their tendrils wandering around the trunks and between the rows.
So, I’ve had an abundance of yellow patty pan squashes to enjoy this month. I’ve never grown this variety before but I’ve found it to be really easy to grow and very tasty. In fact, even chopping it up is a little easier than bigger squashes, as the skin isn’t too thick.
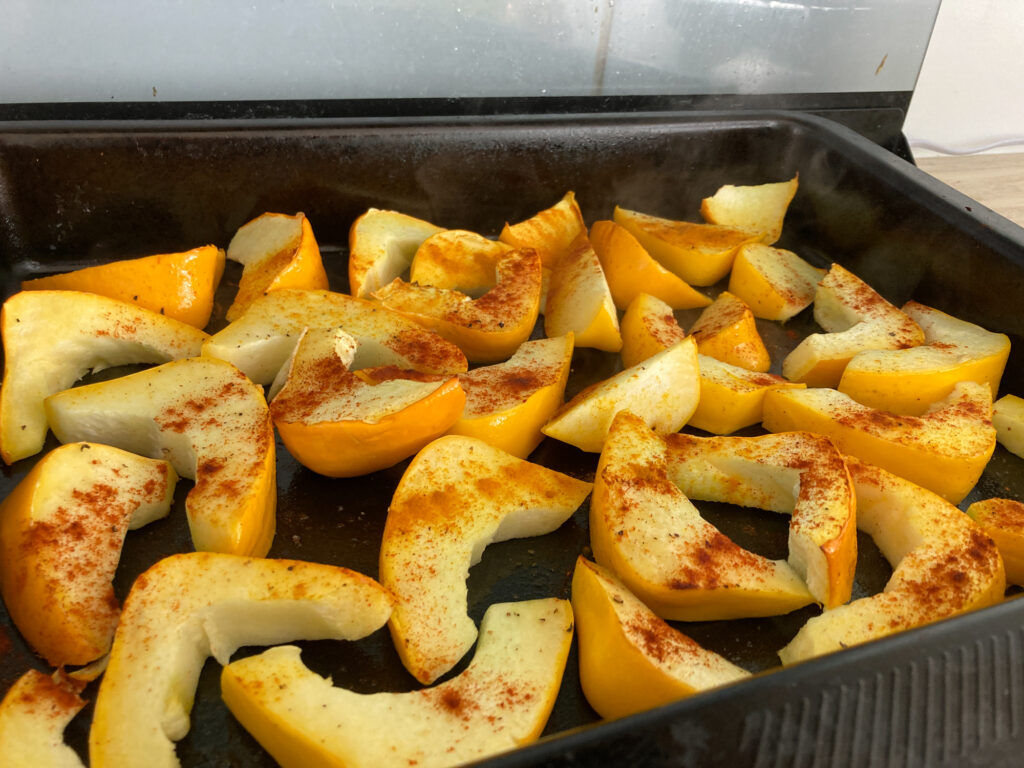
Roasted squash & pasta sauce
I’ve roasted it in chunks to store in the freezer and then I looked up a recipe to make a squash sauce for pasta. I have to recommend it to you – it was absolutely delicious and really creamy. It made a nice change to have an non-tomato-based pasta sauce too.
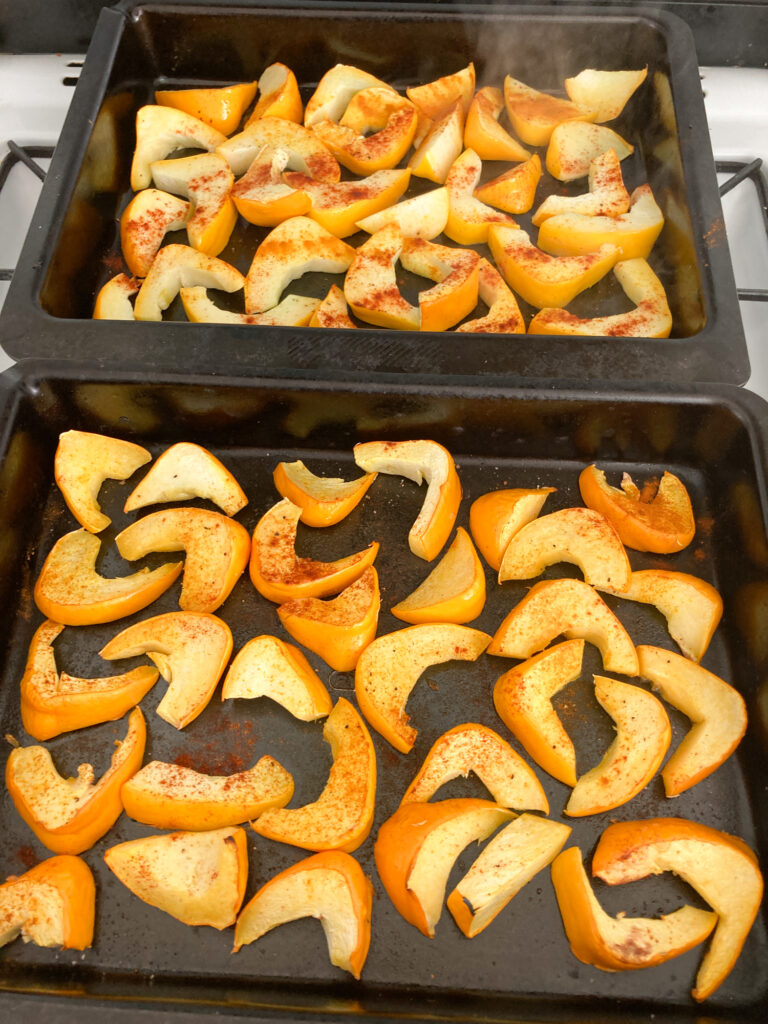
Simply chop your squash into chunks (it can be a patty pan, butternut squash etc) and toss it in olive oil, seasoning and, if you like, turmeric and paprika. Roast it until the flesh becomes soft. Peel away the hard skin.
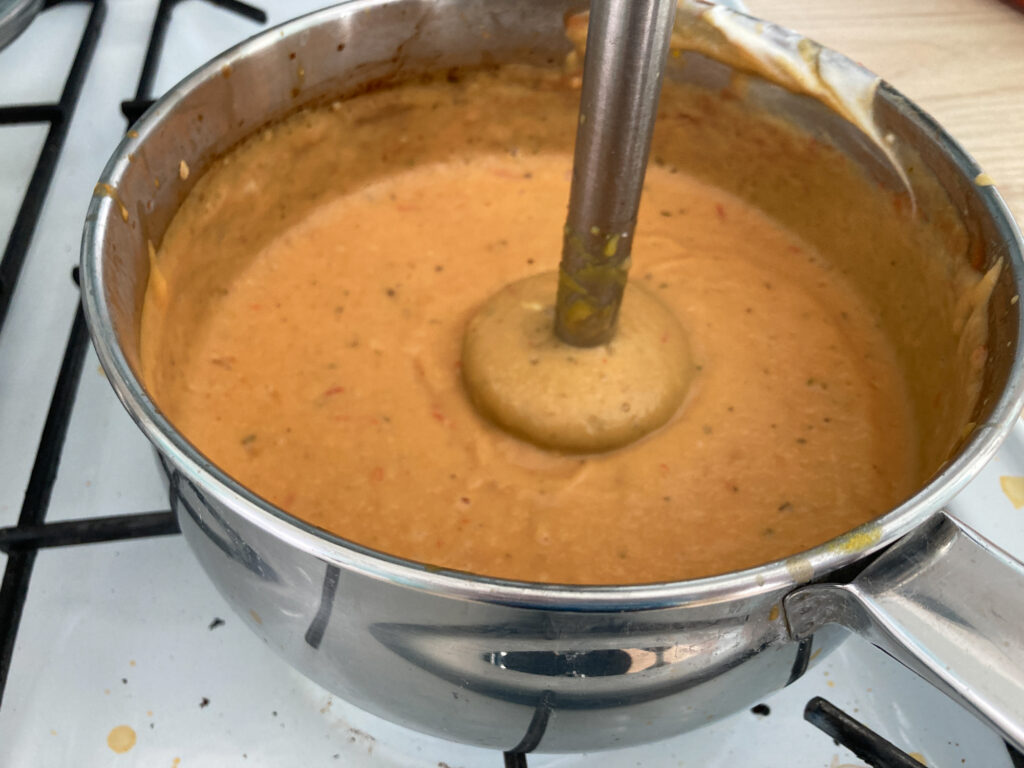
Soften some onions and crushed garlic cloves in a pap then pop in the squash flesh. Add couple of tablespoons of creme fraiche or cream cheese and blend it all together before seasoning to taste and tossing through the pasta of your choice. Yum!
Sundried tomatoes
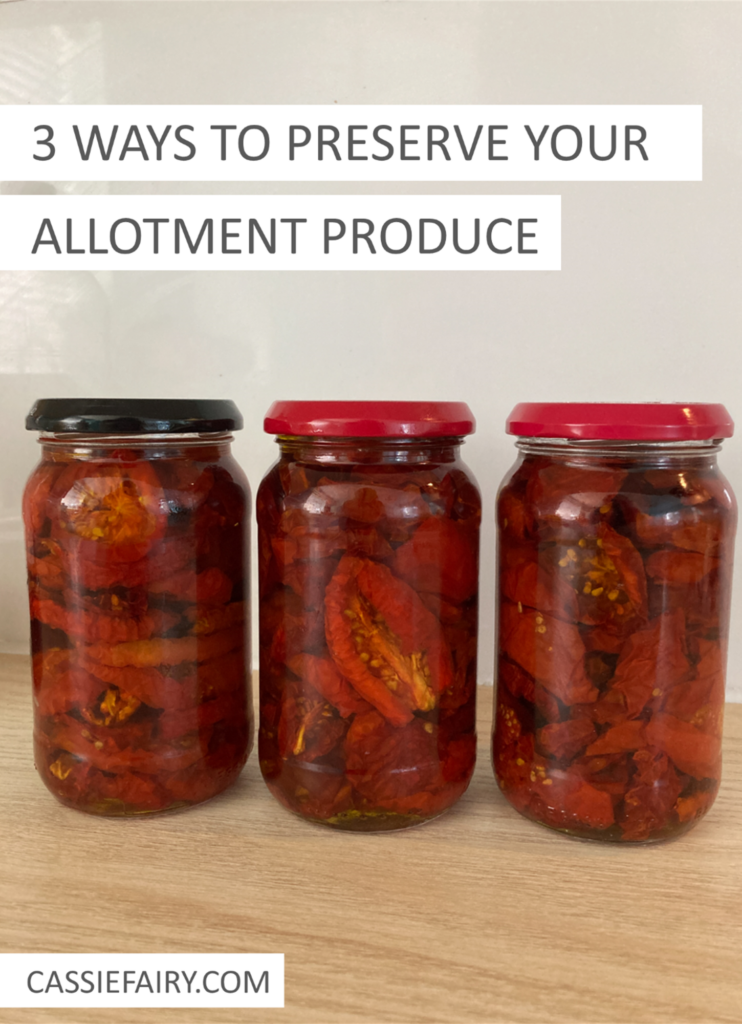
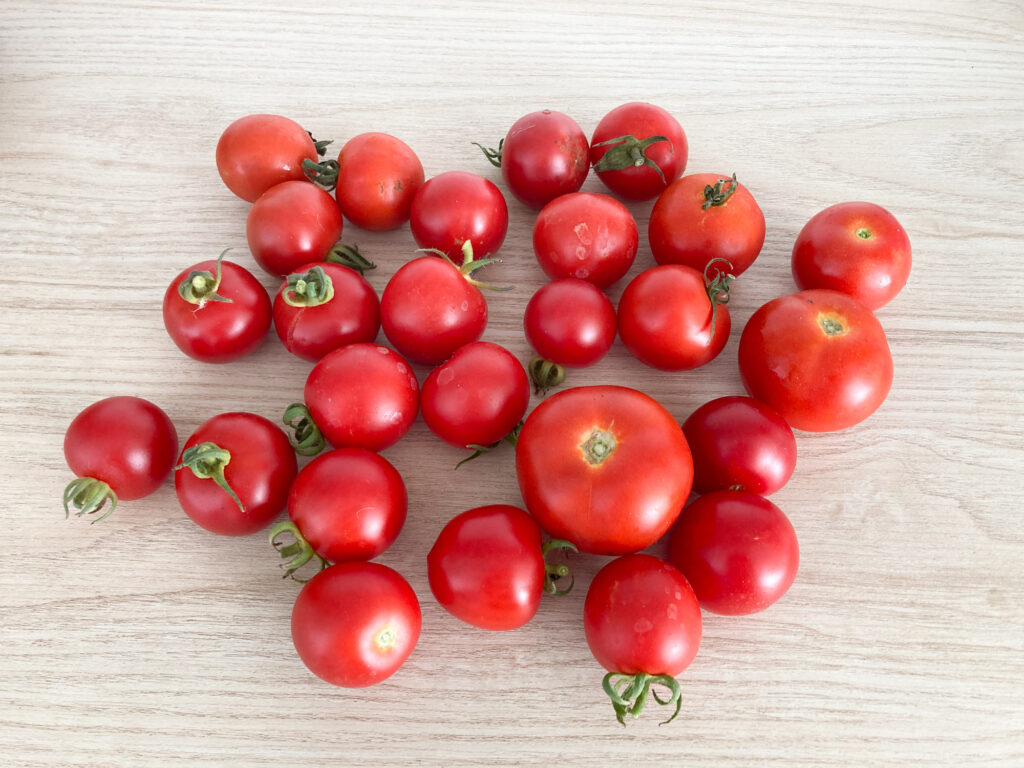
I’ve also tried making ‘sundried’ tomatoes for the first time. I add the quotation marks because I didn’t dry them in the sun – I used our dehydrator instead. It was super-easy to do; I just chopped the tomatoes in half, squished them down a little and layered them onto the dehydrator shelves.
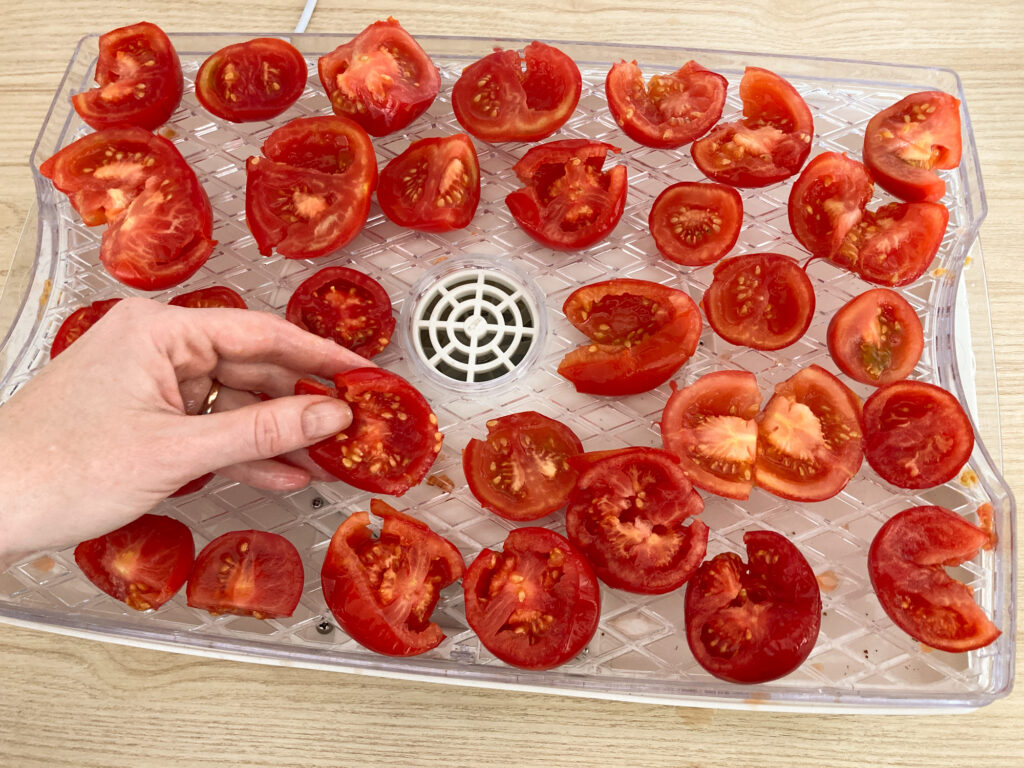
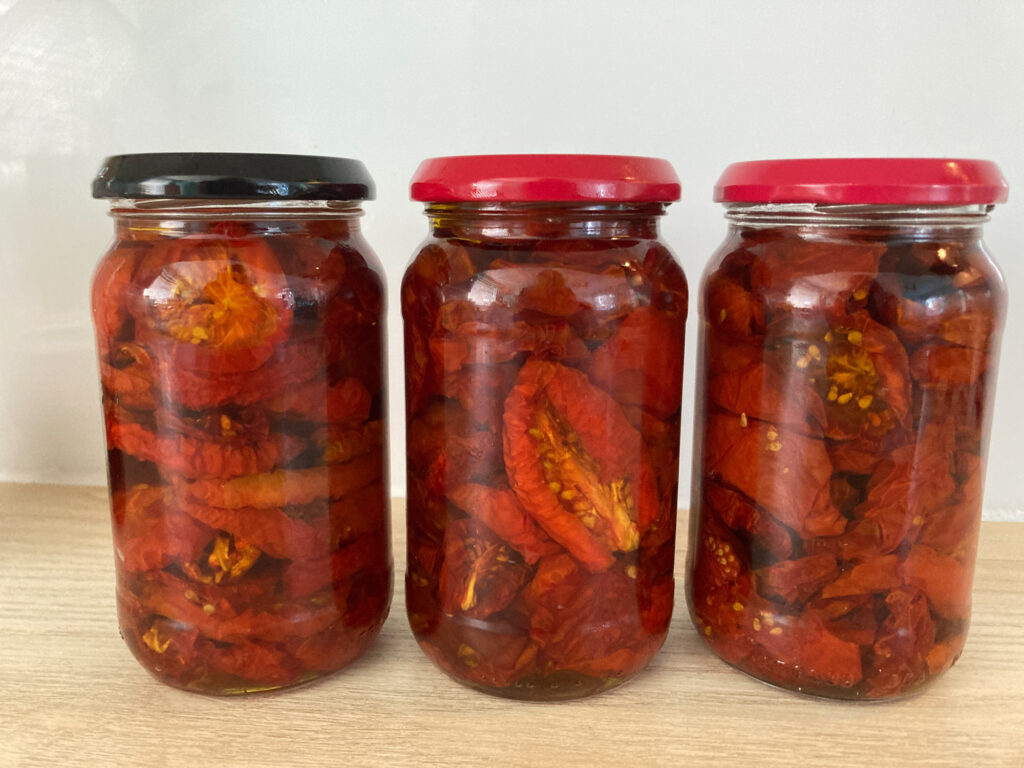
I did 5/6 shelves all at once and left the dehydrator on for 10 hours. This left the tomatoes with a little bit of squishiness to them, which is how I prefer my sundried tomatoes, but you could dry them out completely if you wanted to store them fully dried in an airtight container. I was adding them to sterilised jars with olive oil so I wanted to keep them softer rather than crispy!
Plum chutney
The final preserving recipe I tried out was plum chutney. We had a huge amount of plums so I used my biggest pan to simmer 2kg of pitted plums, along with 6 diced onions, 4 chopped apples, 200g sultanas and 800ml malt vinegar.
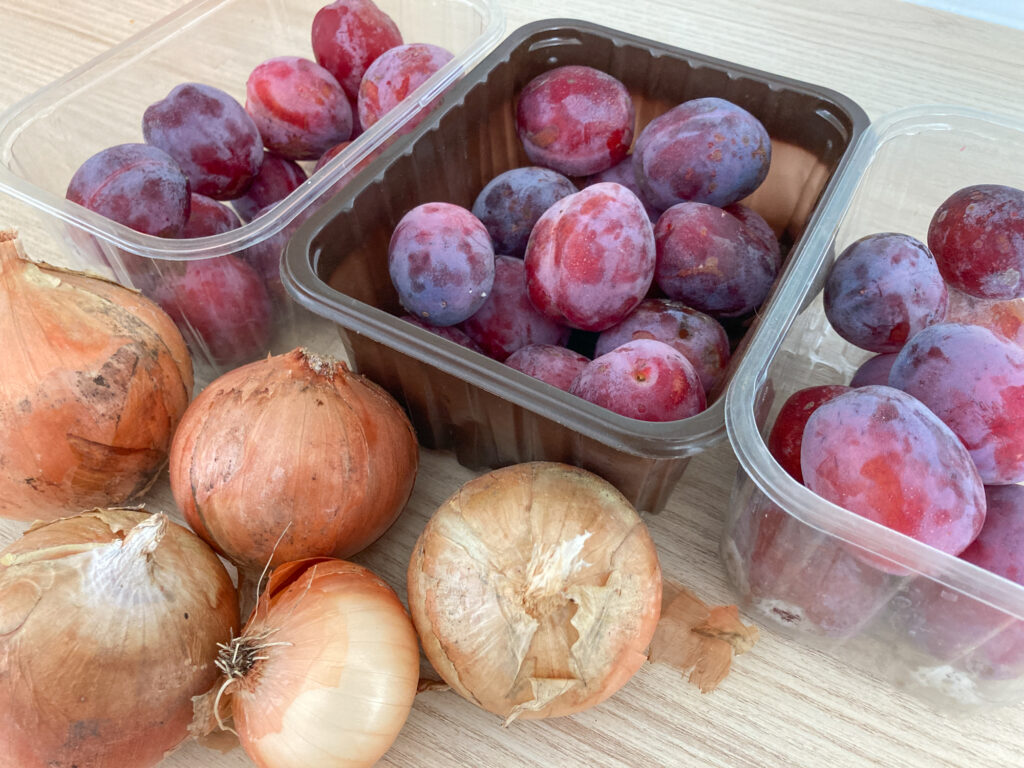
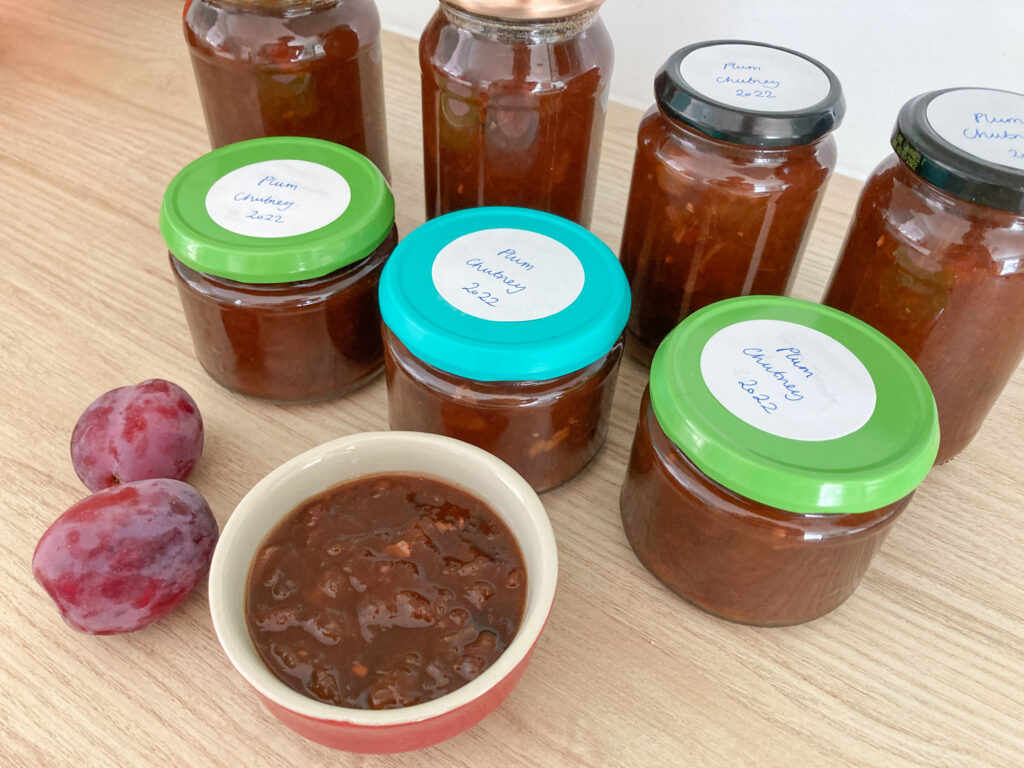
Once softened, I added 1kg dark brown sugar and brought it to the boil for about 30 minutes while stirring to make sure it didn’t burn on the bottom. Once the mixture looked thick and syrupy, I spooned it into sterilised jars and now the chutney should keep for at least 6 months in the pantry – ready for Christmas!
Let me know what allotment produce you’ve been preserving in your own kitchen this month. I’d love to hear your recipe tips for storing fruit and veg so please leave me a comment below.
Pin it for later
