This week’s recipe was inspired by one of the gifts that my husband and I received for our 10th wedding anniversary. Ten years is traditionally “tin” so we received quite a few items made from tin (lovely cake and biscuit tins, metal jug and even a wall clock!) and we were especially excited to be given this lovely baking tin by my brother and sister-in-law for creating chocolate brownies. This tin would also be good for flapjacks and I’d like to have a go at making mini toad-in-the-hole with chipolatas!
So, it inspired me to get baking and make some chunky chocolate brownies. I used the following recipe and added extra chunks of white and milk chocolate to the centre of each brownie – and with this tin, it was good to know that every brownie will have the sneaky treat inside! If you don’t have a tin like this, add the chunks of chocolate and mix to distribute throughout the mixture.
Ingredients: 185g unsalted butter, 85g plain flour, 40g cocoa powder, 185g dark chocolate, 50g white chocolate, 50g milk chocolate, 3 large eggs, 275g golden caster sugar
- Put the cubed unsalted butter into a medium bowl and break up the dark or plain chocolate into the bowl. Either melt over a pan of boiling water or as I did, heat in the microwave on high for a minute or two – keep checking it regularly until the butter and chocolate have melted and stir occasionally to mix them. Leave the melted mixture to cool to room temperature while you whisk the eggs.
- Break 3 large eggs into a bowl and add the golden caster sugar then whisk with an electric mixer on maximum speed, until they look thick and creamy, which can take up to 8 minutes – the mixture is ready when the it is around twice its original volume and leaves a trail on the surface of the mixture in the bowl for a second when you lift the whisk out.
- Pour the cooled chocolate mixture over the egg and sugar mixture, then gently fold together with a rubber spatula until the two mixtures become a mottled dark brown.
- Sieve the flour and cocoa powder into the chocolate mixture and gently fold in but don’t overdo this mixing! Finally, stir in the white and milk chocolate chopped into chunks (or drop them into individual brownie squares, as I did.)
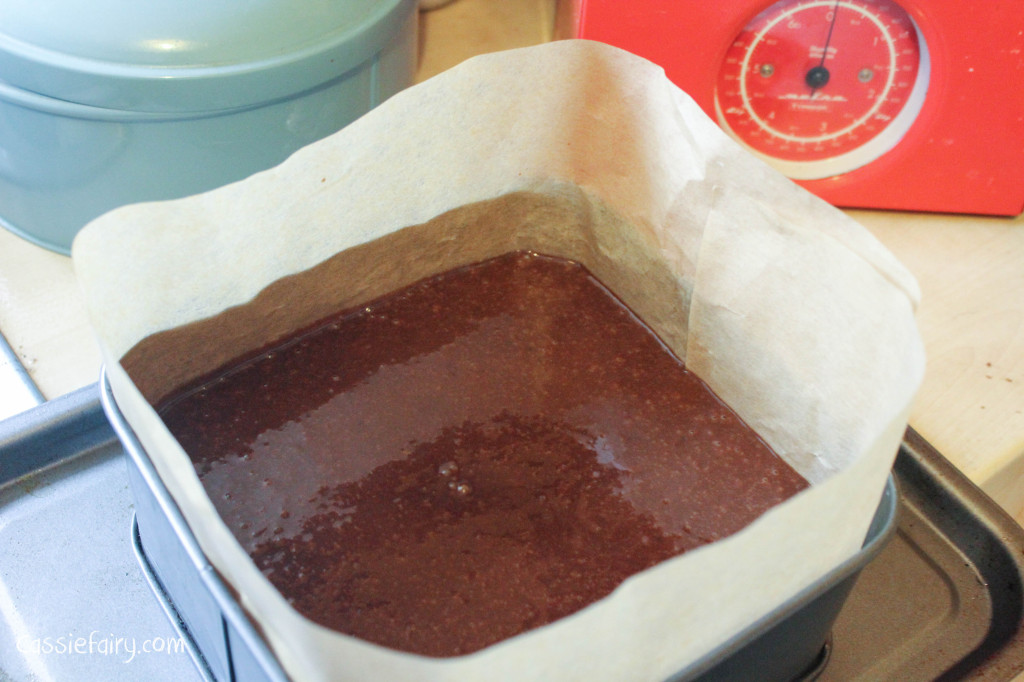
- Pour the mixture into the tin (any tin will do, just grease it first!) and bake in the oven for around 15 minutes. To check if the brownie is cooked, shake the tin a little and if the brownie wobbles in the middle, it’s not quite done!
I found that cooking the brownie in the smaller portions meant that the cakes cooked a lot quicker – about half the time of making one big brownie! I also found out that the mixture above filled my brownie tin AND a second square cake tin – so I had more bonus brownies for the following day 😉
Related articles
- Pieday Friday ~ National Potato Day (cassiefairy.com)
- Pieday Friday ~ Tasty lemon muffins (cassiefairy.com)
- Pieday Friday ~ Make your own BBQ burgers at home (cassiefairy.com)
- Pieday Friday ~ summer couscous recipe (cassiefairy.com)
