Okay this might not be the most interesting subject of a blog post, but it is part of my vintage caravan makeover, so I’ve snapped some photos of the window trim being replaced. Although it’s not exciting, it is essential, because the old brown window trim had cracked and was falling off, and therefore had the potential to let rain into the caravan during the winter. So it needed to be replaced, and fast.
I hopped on Ebay (where else can I find something as unusual as caravan window trim) and I ordered a 10 metre roll of bright white trim. Here’s the kind of product we used: Static caravan white plastic window capping trim

The trim comes in very specific millimetre-by-millimetre width measurements and for the first time in my life, I actually checked what size I needed before ordering it. I needed to measure the inside space within the trim so I carefully measured the inside dimensions of the original trim that I had removed.
When the trim arrived, I realised why it needs to be so precisely measured – any smaller and it wouldn’t have fit over the edge and would have pinged off, and just one millimetre later would have made it loose and flappy with potential for letting damp in again.
I thought replacing the trim would be an easy process – the original brown trim crumbled off pretty easily anyway – but no. It turns out that there are a lot of window fixings to remove before you can start and the fixings were mostly rusty and firmly screwed in place.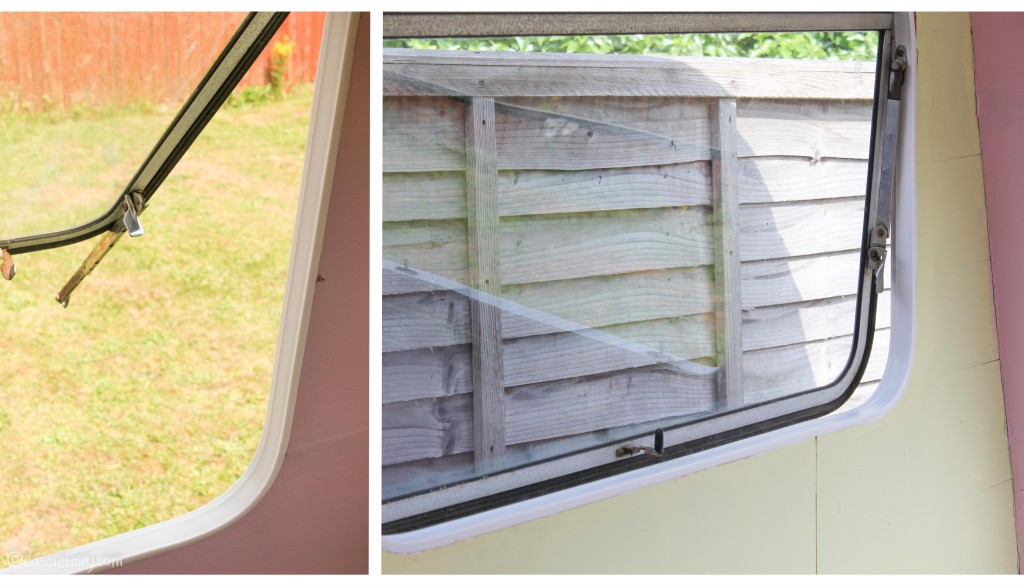
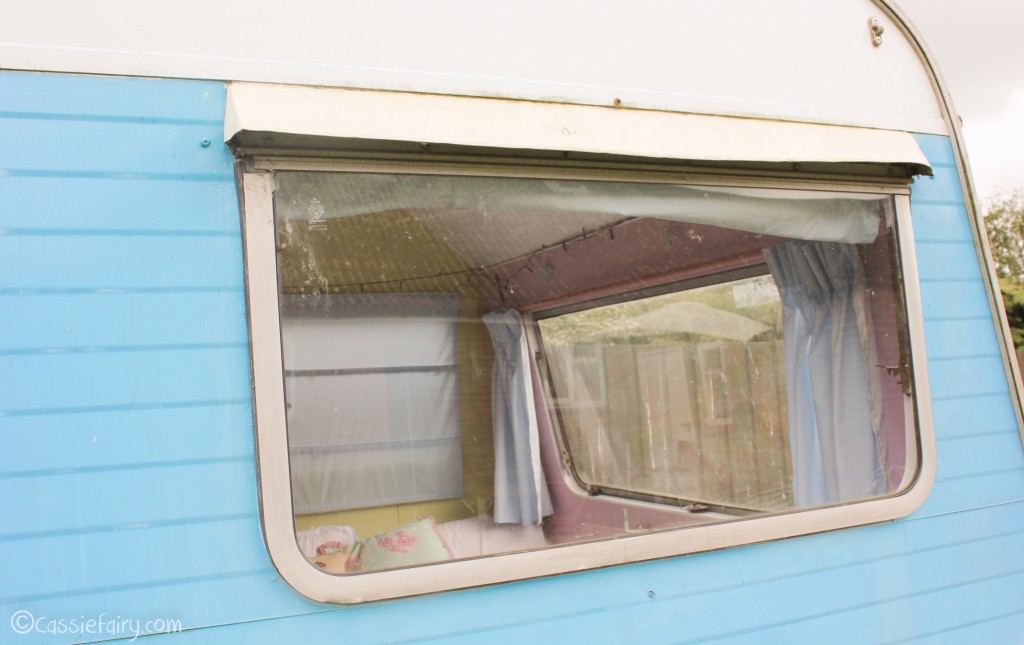
We also had to move the caravan down the garden because we had parked it too close to the fence to be able to open the back window, so we pulled it out of its parking space and got to work on replacing the trims. After a couple of hours of working in the garden on a boiling hot day, we were flaking out and we still had to get the caravan back into position.
I now realise that there is a very slight slope in the garden – not enough to notice in everyday life, but certainly noticeable when you’re trying to push a caravan up it! To make a long story short, after a lot of huffing and swearing (and bruising) we got the beast back in its place, and slightly further away from the fence so that we don’t a repeat incident!
Anyway, I’m very happy with the new trims – I’m certain that it even deters creepy crawlies, because I’ve seen non since it was fitted. Just look at that lovely white curve in the photos above – very pleasing! Also, I’ve found that I’m opening my windows a lot more, simply because it is easier to open them now.
So, also it might seem rather dull to share my window makeover, it’s definitely one of the projects I’m pleased most with, and it will help to keep my caravan in good shape for many years to come.
If you want to check out some ideas that I’ve found on Pinterest have a look at my Caravan Love board for caravan seat covers – because the next thing I’m working on is soft furnishings yaaay!
Check out my other vintage caravan articles below to follow the progress of my little makeover project and tweet me @Cassiefairy with photos of your own caravans, campers or workshops – I need all the inspiration I can get and I’d love to know what you think! ![]()
More caravan articles:
- See all caravan project blog posts (cassiefairy.com)
- My little vintage caravan project – patchwork (cassiefairy.com)
- My little vintage caravan project ~ Ice cream colours (cassiefairy.com)
- A massive new project for Cassiefairy ~ my vintage caravan (cassiefairy.com)
- My little vintage caravan project ~ A fresh start with a new look (cassiefairy.com)
- My little vintage caravan project ~ Clearing out the old… (cassiefairy.com)
- Weekend photos ~ a tasty afternoon treat (cassiefairy.com)







10 Responses
Hi Liz, Oh how wonderful, good luck with the restoration! I didn’t use a sealant when we added the window trim – the one I bought just clipped into place. The only places where the trim is ‘attached’ to the caravan is where the window fixings/closings are positioned at the sides and centre, as these needed to be screwed into place. Hope this helps! 🙂
Hi Cassie! I am currently renovating my aunt’s 1969 Sprite which she has had since new. It has been very well loved and looked after but needs a little tlc. I have the trim already but tried and failed miserably to replace the old with the new last weekend. Ended up with sealant everywhere (in my hair, on my clothes etc) except where I wanted it! Can you remember what product you used to fix the window trim in place? Did you have to wait for the sealant to go off before you put the trim in place? Any advice warmly received!
Hi thanks so much, I’m delighted that you like my little caravan 🙂 Ooh, that’s so wonderful that you’re fixing up your very own Sprite! Sure thing, I’ve added the photos again – don’t know how they disappeared! Good luck with your project x
Hi Cassie – love your Sprite caravan project <3
I'm about to replace the trimming on the windows of my Sprite Musketeer 1972 as well and got super inspired by your post. Somehow the image of the details where you're replacing the windows trimming is not available anymore. Could I be so lucky that you could upload it again?
A million thanks in advance – Pernille 😉
Thanks so much Louise! I got the window trims from a caravan specialist shop on Ebay so maybe have a search on there for the things you need? Good luck with your own caravan project 🙂
I would love to know where you got the replacement window catches from, I need 12 and I cannot find then anywhere your make over is super cute x
Hi Kar, the window trim came from a UK seller on Ebay, it needed to be the correct measurement for the depth of the window so I had to search for a long time to find the right one! I guess that specialist caravan suppliers might have the same trim available too. Hope this helps 🙂
hi i would like to know where you bought the material as im from makta imand i couldnt find any thanks and well done
I’m loads more happy now that I know my caravan is watertight!! 😀
Well worth all the effort. They look fabulous, easy to clean and just gives a lovely finished look to it all