This week I have made great inroads into using the caravan for its intended purpose as a workshop space – I have made a table. This is my version of a desk until I sort something else out at the ‘other’ end of the caravan, so if I want to start working in my new ‘office’ I needed to fabricate a table, and fast!
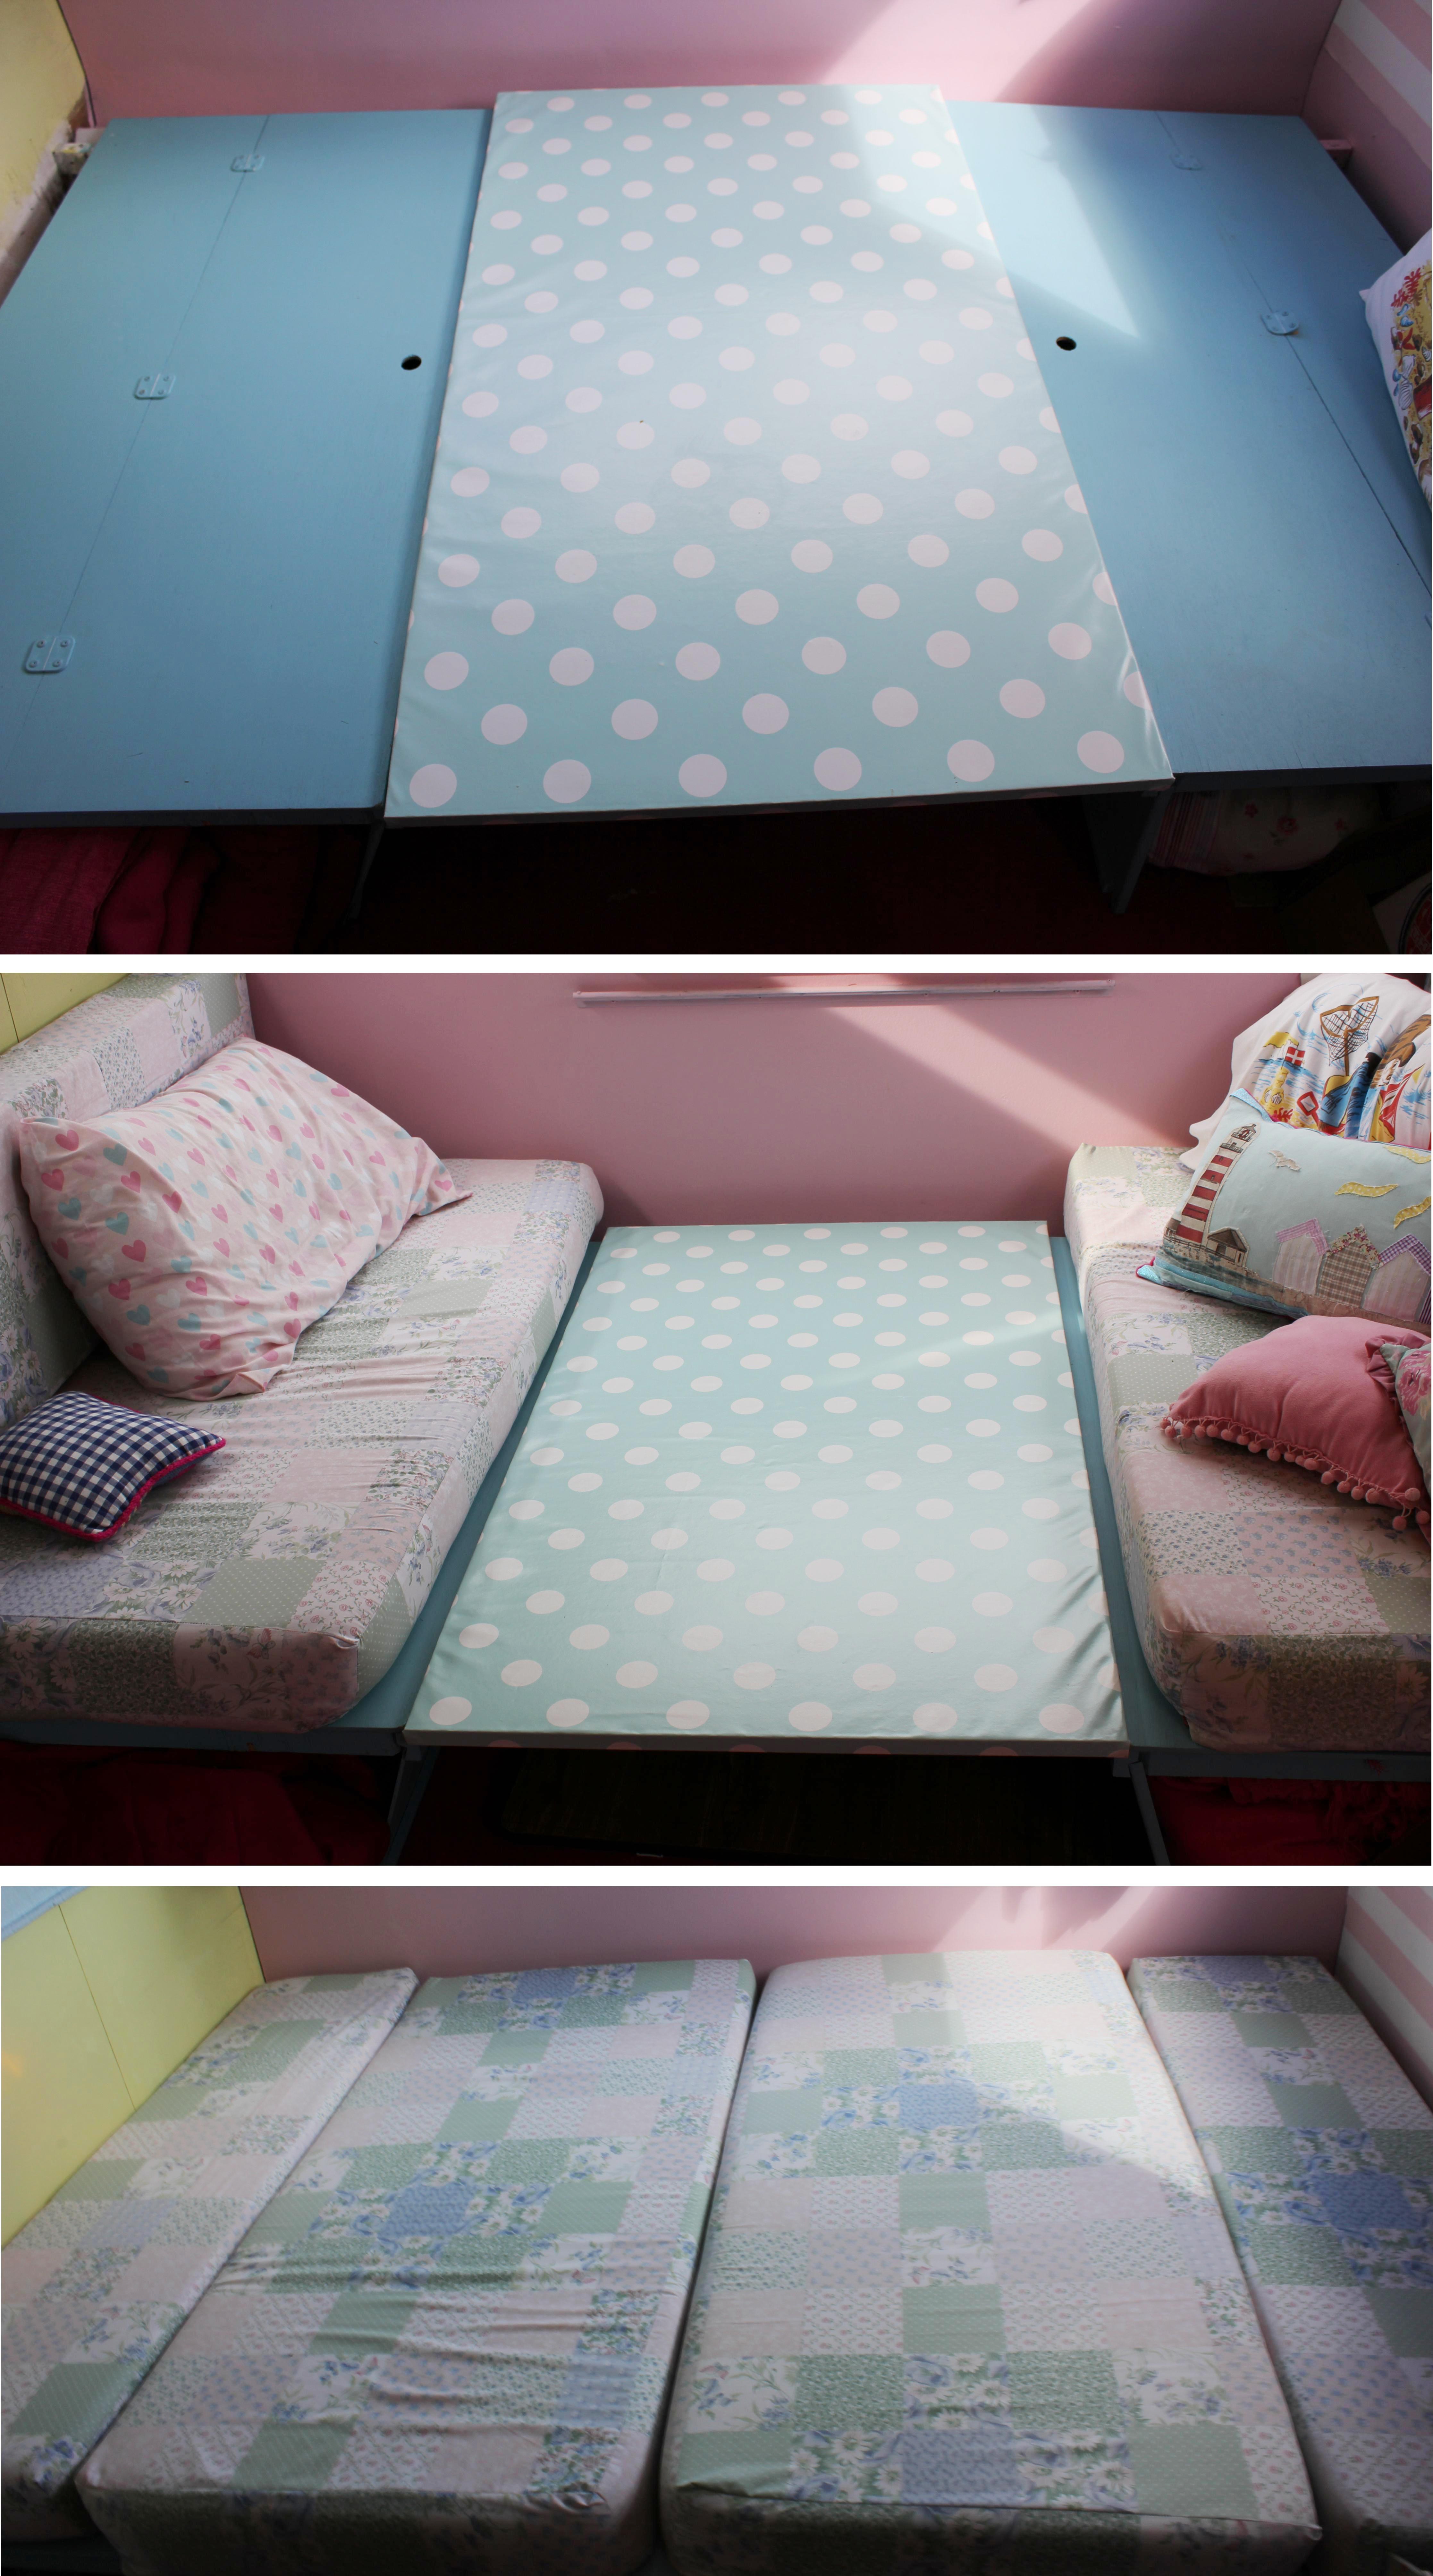
There was already a small 2-person table in the caravan when I bought it, and this clips nicely onto the wall fittings at either end of the caravan. However, the table is so small that I can barely use it to write on, let alone start any sewing projects on. It’s more of a cuppa-tea table than a desk. But it is the starting point for my new table, because my table top will have to rest on-top of this mini-table in order to be supported in the middle of the caravan.
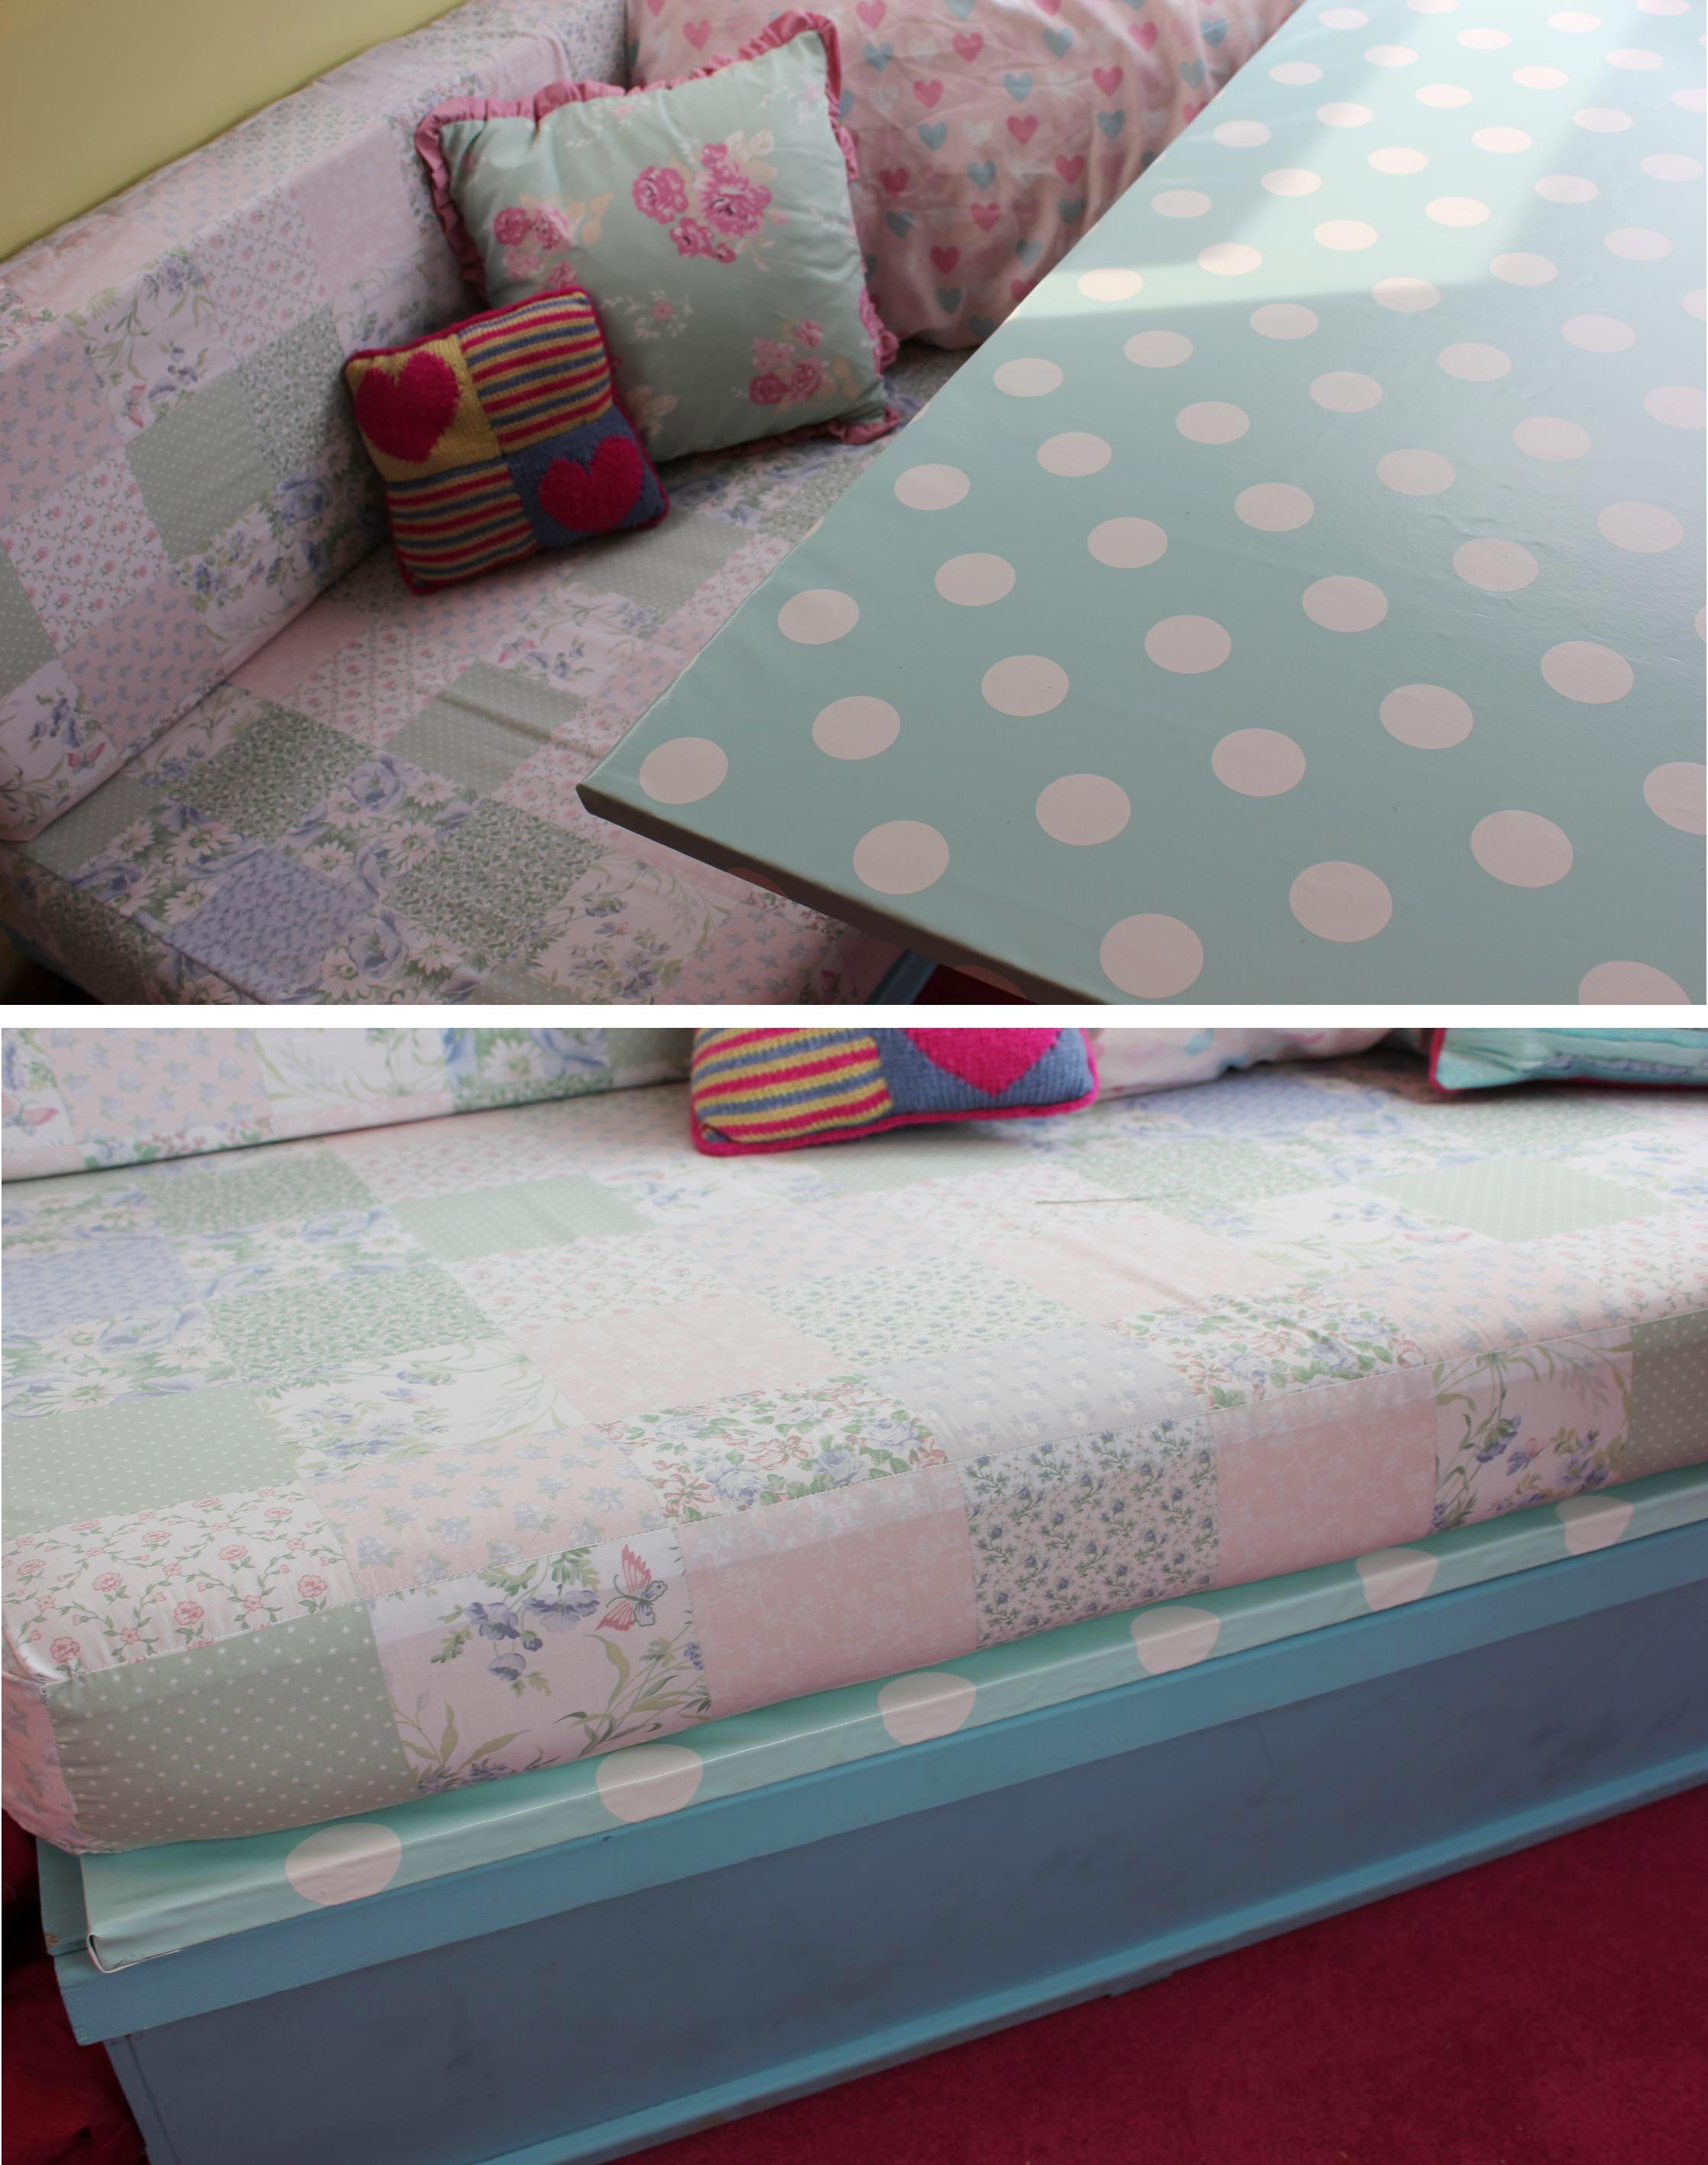
The table also traditionally doubles up as the base for the bed, so I needed a piece of wood that was exactly the right width to span the gap and sit on the lip-edges of the seat-bases. So a lot of measuring and help from hubby with cutting it, we had a piece that would fit the gap. But it looked terrible; it was just a bit of old plywood from the back of the shed with paint stains on! So I decided to funk it up with a length of spotty aqua oilcloth. My reckoning was that it would be wipe-clean (good for crafts, and my regular tea spillages) and would brighten the place up in an instant.
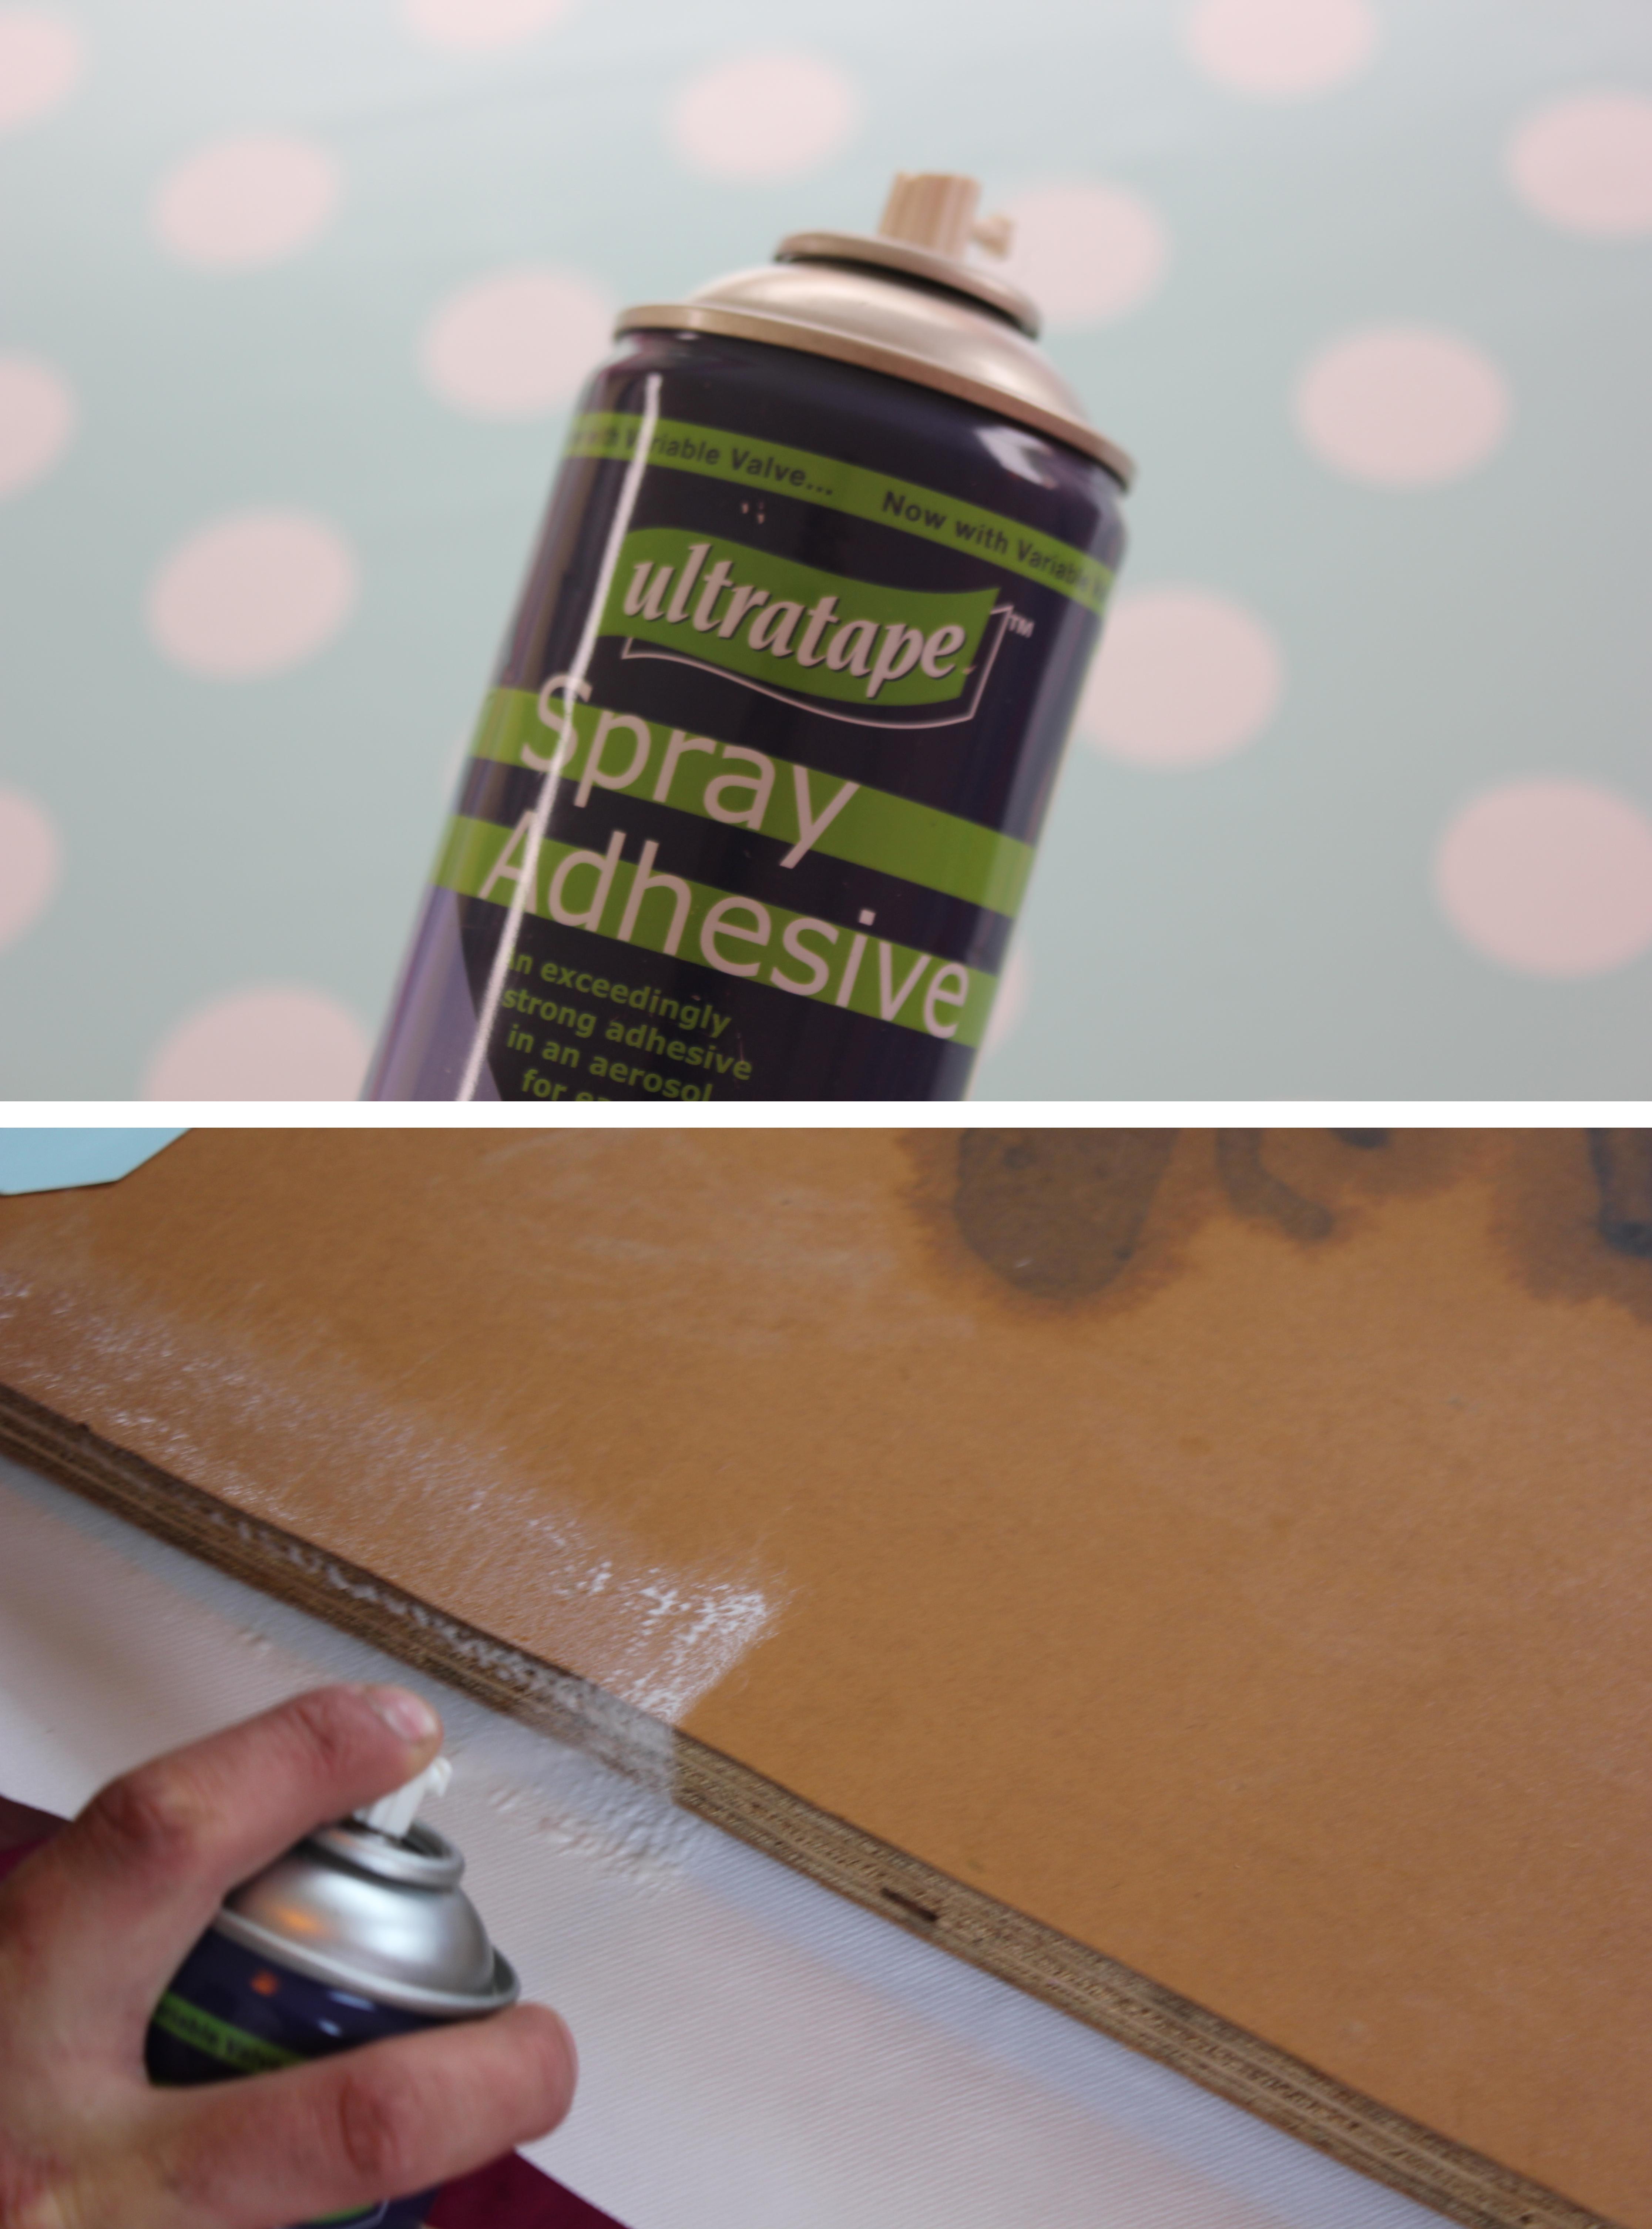
In reality it involved 2 people trying to use spray adhesive to fold the edges over and glue them down while stretching the fabric in the opposite direction to try to remove the creases. In hindsight, I think I could have done with using a thicker oil-cloth (this was a softer tablecloth oilcloth fabric) which may have minimised the creasing – as you can see from the photos, there’s a few creases along the edges of the table top. But as I’ve used the table this week, these seem to have relaxed a bit and don’t look as bad as they do in these first photos of the table!
I asked hubby to screw a baton to the back wall of the caravan for the tabletop to brace against when it is sitting on top of the small table in a kind of counter-levered way. It holds the table up nicely, although I might keep an eye out for a folding leg to make it even more stable in the future. When it’s not in use, the table tucks away on top of one of the seat bases with the seat pad on top.
Importantly, the table spans the gap between the seats and I now have a bed in the caravan! Whoop! I know the weather is getting a but worse, but it’s not been freezing cold yet, so maybe I’ll get a night ‘away’ sleeping in the caravan this month?!
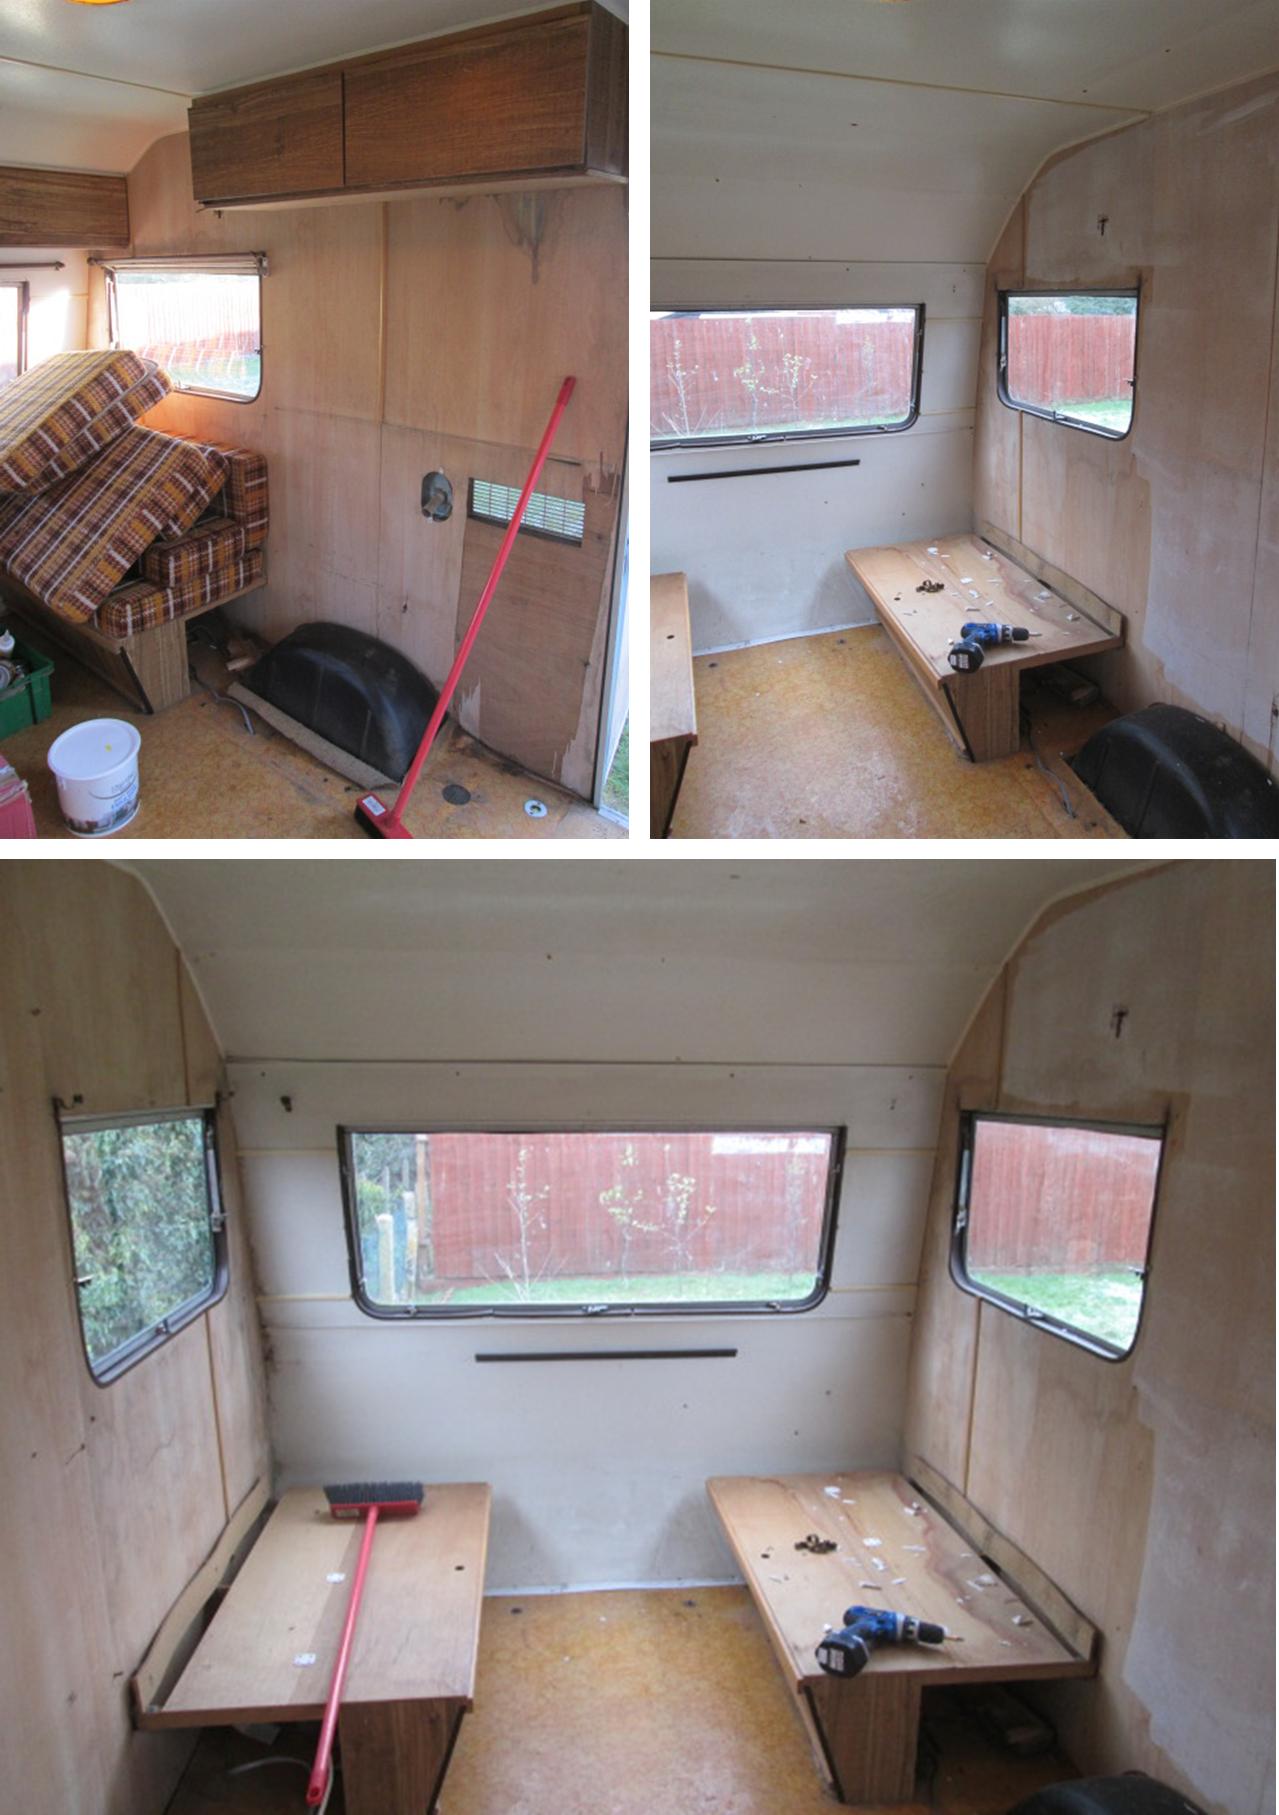
Please check out my other caravan project blog posts below and let me know what you think of my project 🙂 The next plan is to create a bit of privacy with curtains and blinds so watch this space for another blog post later this week! Here’s a reminder of what the inside looked like before I started painting and stitching. It makes me feel good about my progress when I look back on it, even thought it’s taken me 6 weeks to get to this stage, because at least I can sit, work and sleep in my caravan now!
Related caravan articles
- My little vintage caravan project ~ Sprucing up the woodwork (cassiefairy.com)
- My little vintage caravan project ~ Clearing out the old… (cassiefairy.com)
- My little vintage caravan project ~ Floored or flawed? (cassiefairy.com)
- My little vintage caravan project ~ Ice cream colours (cassiefairy.com)
- My little vintage caravan project ~ A fresh start with a new look (cassiefairy.com)





2 responses
I know this reply is to an old post but I’m new to your website and I was looking for ideas for refurbishing a vintage caravan myself. I covered my sewing table in thin oilskin tablecloth fabric I found that heating it up with a warm hairdryer on low made it stretch enough that you lost the creases and ripples when it cooled and shrank back. I also use the same technique when I recover old record players with oilskin instead of rexine. Hope this tip helps although it’s a little late. Love your caravan think I need a sprite or a montage. Regards Craig.
Well done you