After a few weeks of doing little DIY projects here and there, the kitchen makeover is finally coming together. After we painted the walls a classy shade of duck egg blue (which we’d been planning to do since we moved in three years ago!) the room was the perfect canvas for adding some bright, colourful accessories.
My husband helped me to fit a striped roman blind (see my first kitchen makeover blog post) which reminds me of deck chairs at the seaside, and I ordered a new yellow rug for the floor. I’m really pleased with the results because I’ve not had to spend out on any new fixtures or kitchen cabinets – I just gave the existing units, tiles and sink a good scrub! We’ve transformed our tiny kitchen with just a few coats of paint and some accessories – much of which we already owned – so it’s been a really low-cost makeover.
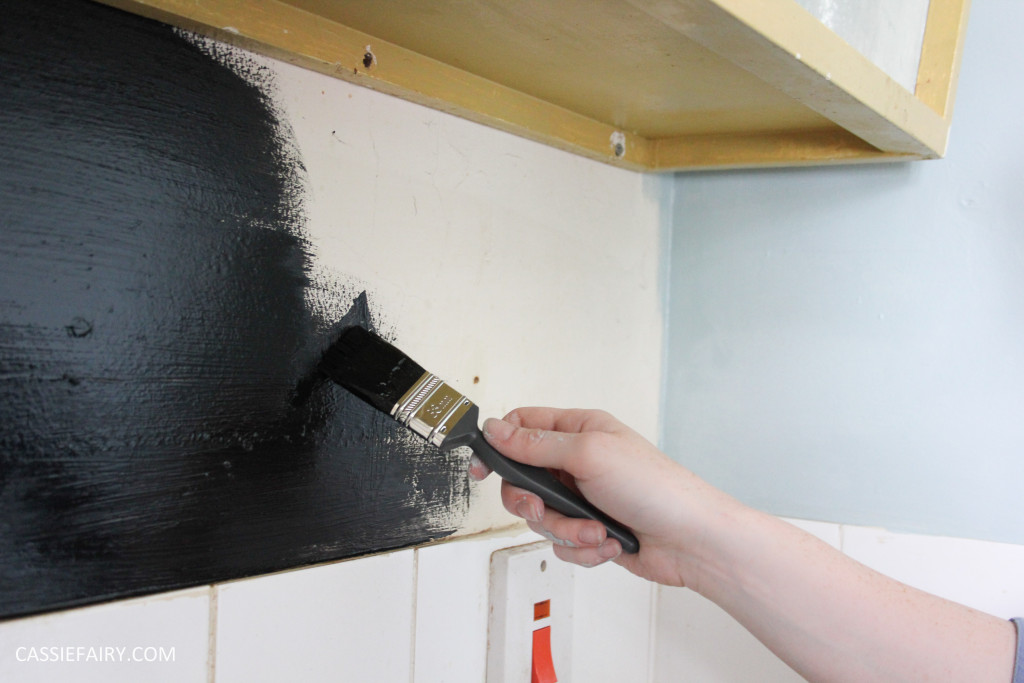
Once the blue walls had dried, the first mini-DIY project I wanted to try out was chalkboard paint on the walls. I was gifted a tin of magnetic chalkboard paint from Rust-Oleum, which adhered to the wall very easily and looked very impressive after just one coat. The tin suggests three coats of paint in order to get the magnetic effect, yet I found that some of my stronger magnets were able to hold after just two coats! It was really quick-drying so we were able to finish the project quickly; the first coat of paint dried within a couple of hours (on a warm day, well ventilated!) so I painted a second layer and allowed it to dry overnight.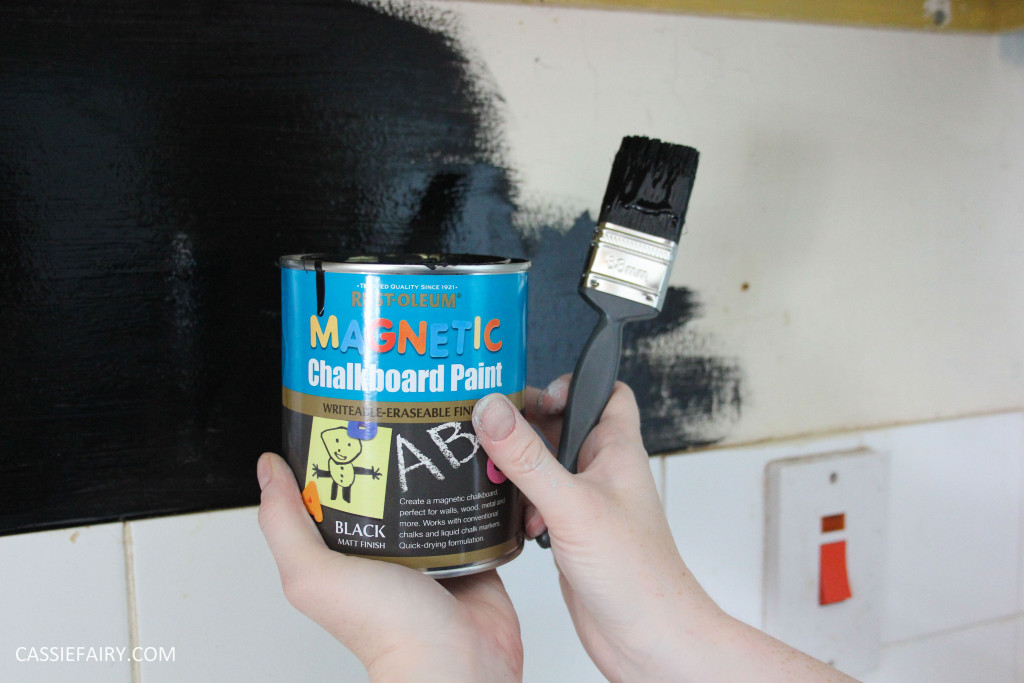
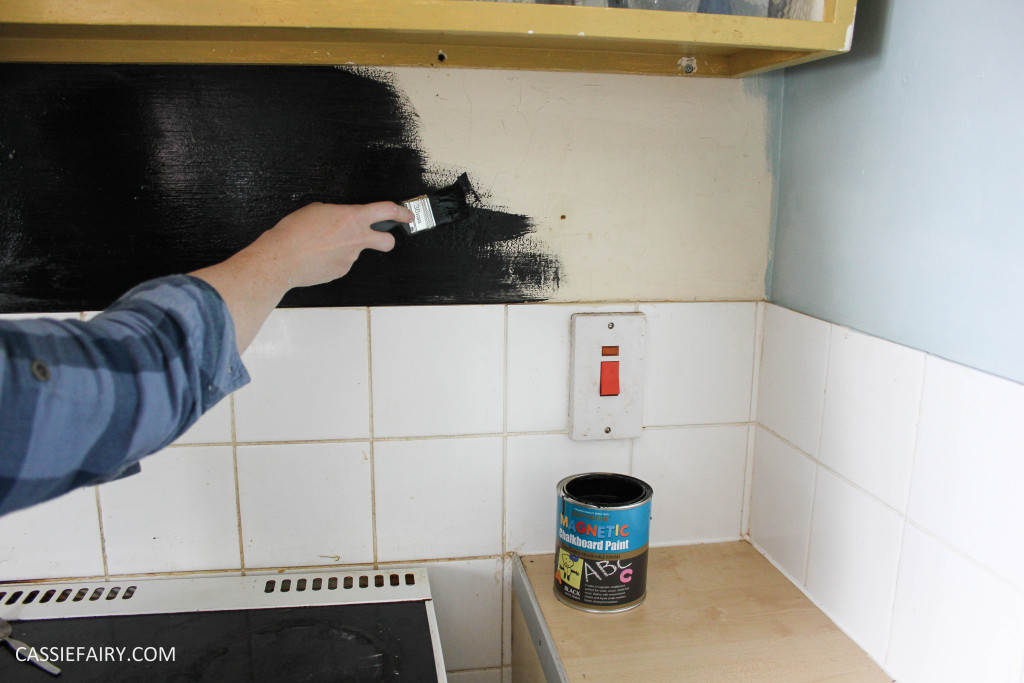
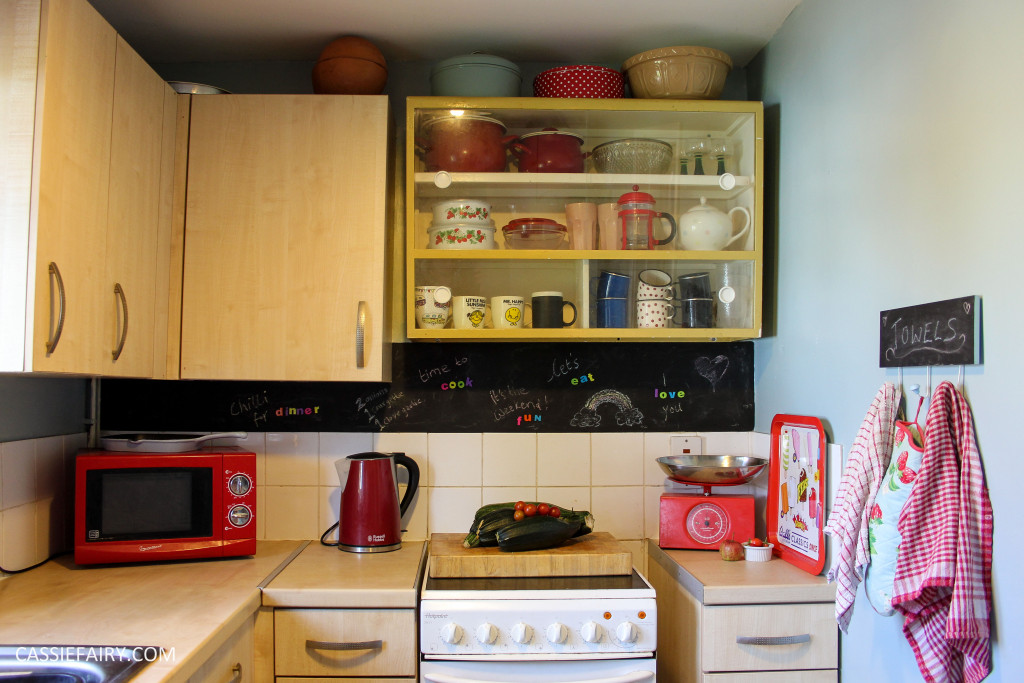 The instructions on the tin suggest lightly sanding the paint before the final coat to get a smooth finish so I wanted to be sure that the paint was completely dry before doing this. The final coat went on easily and again it dried really quickly, which surprised me because the paint is really thick. I was actually able to put some magnetic letters up on the wall the very same day!
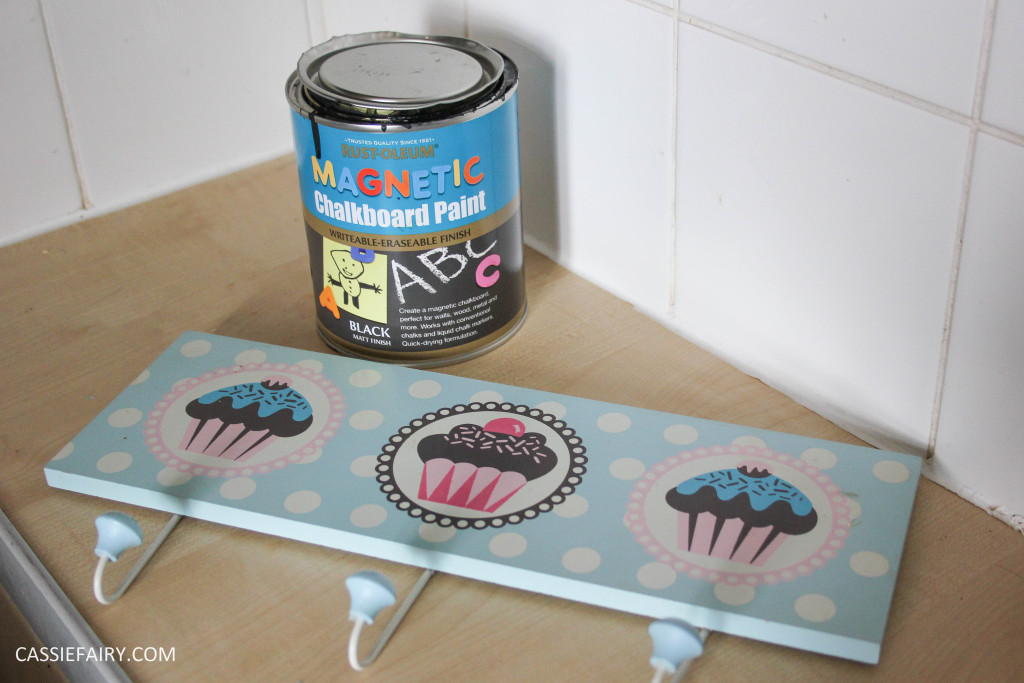
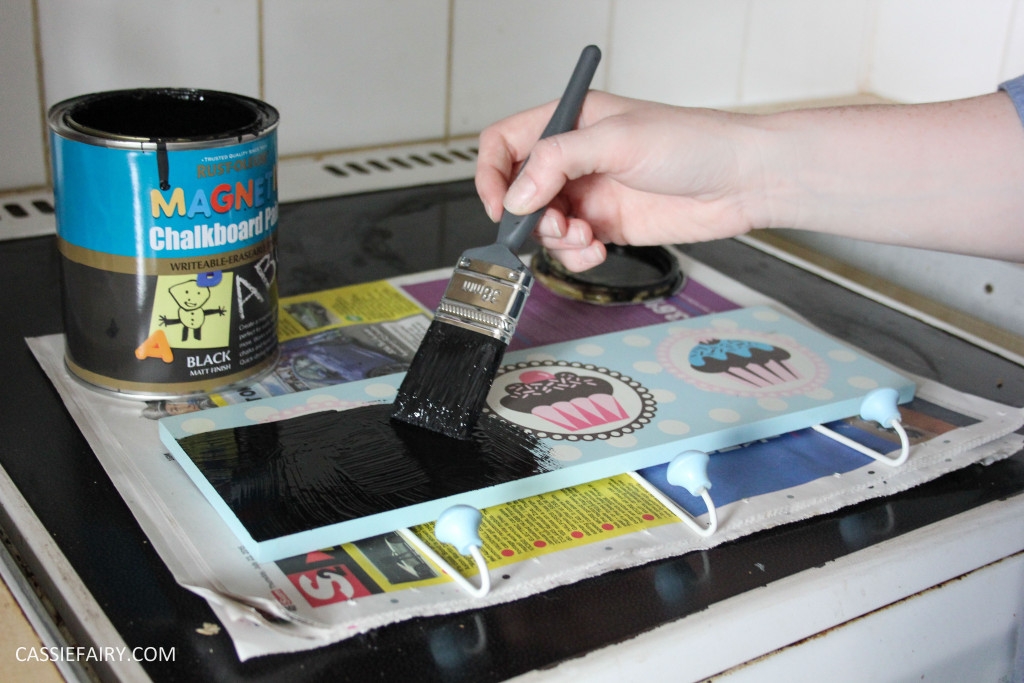
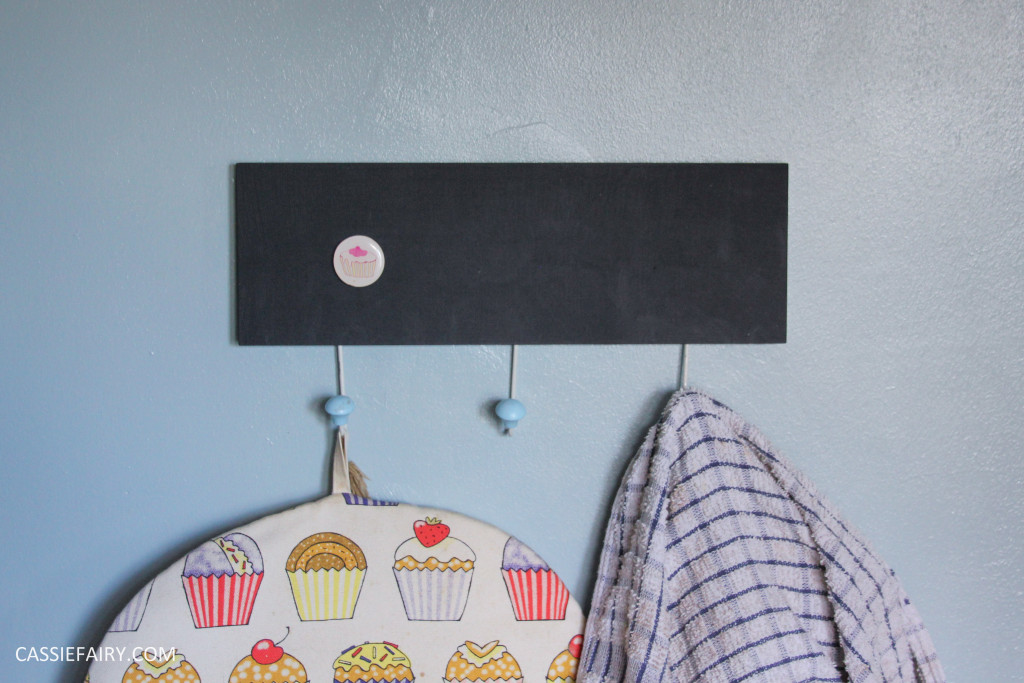 While I had my brush out, I decided to paint my old towel hook with a couple of coats of the chalkboard paint too. I’m sure many of you will like the cupcake design and couldn’t imagine painting over it, but I’d lived with it since my student days and wanted a change. Again, I was able to reuse an old fixture and made it look as good as new with a coat of paint. And you won’t be surprised to find out that I also painted the kickboard of the kitchen units with the same chalkboard paint. Okay, I’m probably not going to be chalking up recipes or notes at foot-level but it does finish off the kitchen and covers up the badly stained kickboard that was there before.
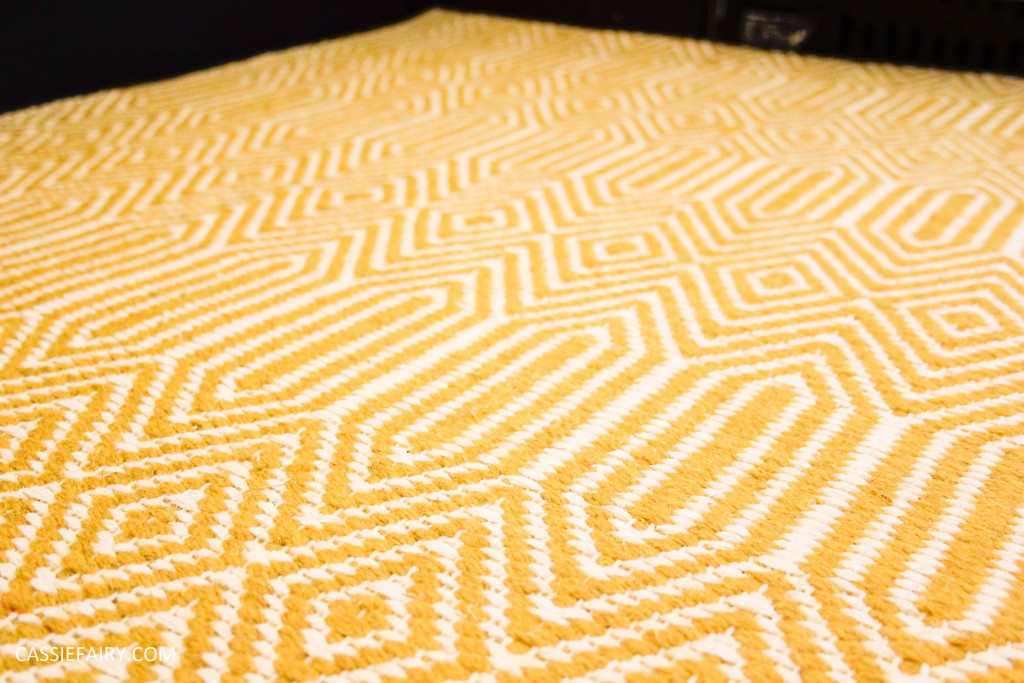
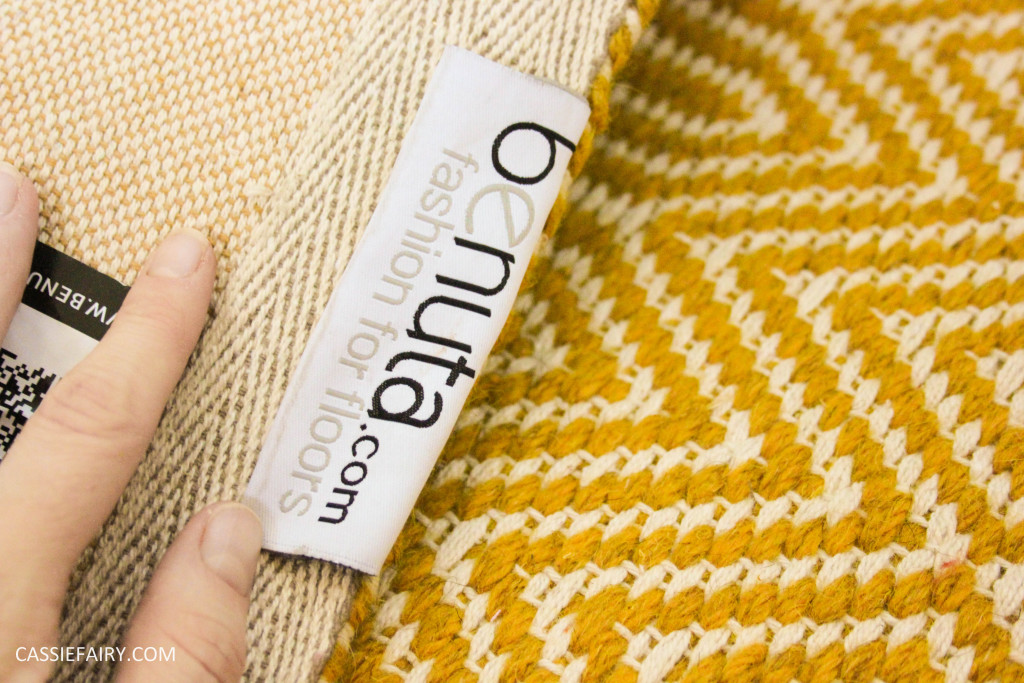 Rather than fit a new floor, we decided to invest in a durable rug to cover up the old vinyl tiles. I shopped around and found a low-cost solution at Benuta. This Sloan Rug in yellow is exactly the same mustard colour as the retro kitchen unit that we’d bought for £4 from a car boot sale a few months ago. Thankfully, because the kitchen is so small, we only needed the smallest rug in the range which, of course, was also the cheapest PLUS it was reduced in the sale! I also picked up a rug for my caravan at the same time so I’ll be sure to take some photos when I put that in the caravan too.
This rug has a flat weave so feels very robust and the website claims that it wears well with extensive use. The colour is fade resistant and the cotton/wool mix is supposed to be easy to clean so I’m confident that it will survive in the kitchen. I’ve had it on the floor since Saturday and I’ve noticed that I’m being more careful than usual while cooking and am taking care not to splash my tea around as much. So even if the new rug just improves my own clumsy habits, it’s a good investment!
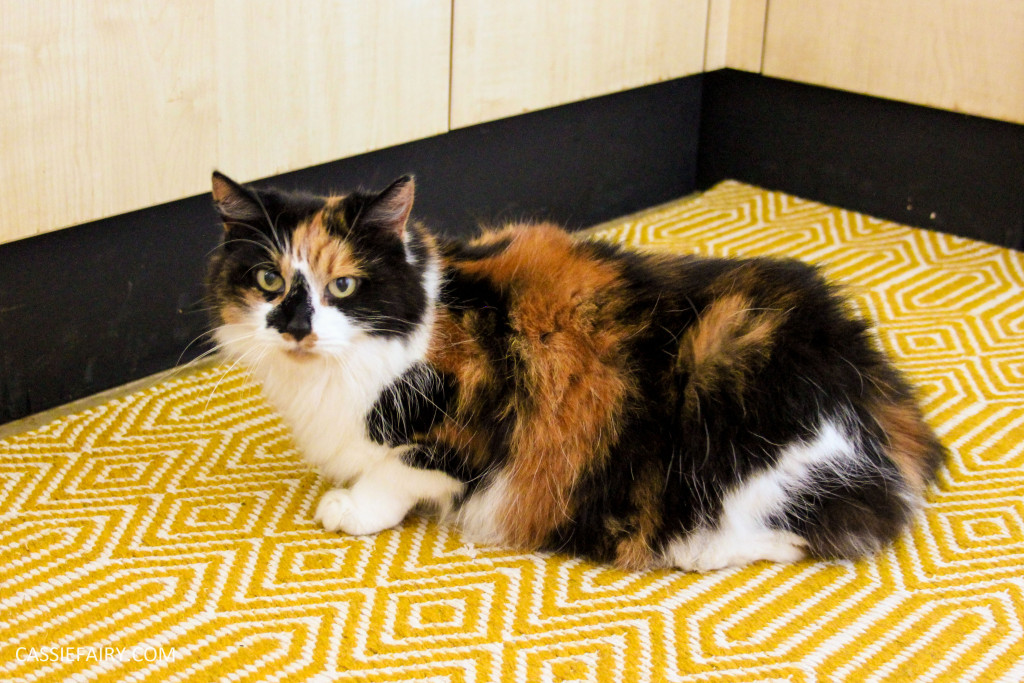
Of course, the cats love to get their claws into anything new so Muffin came in for a lie down before I’d even finished taking photos of my newly improved kitchen. I’m pretty sure she just wants to get into cat modelling so I obliged and snapped some photos of her too.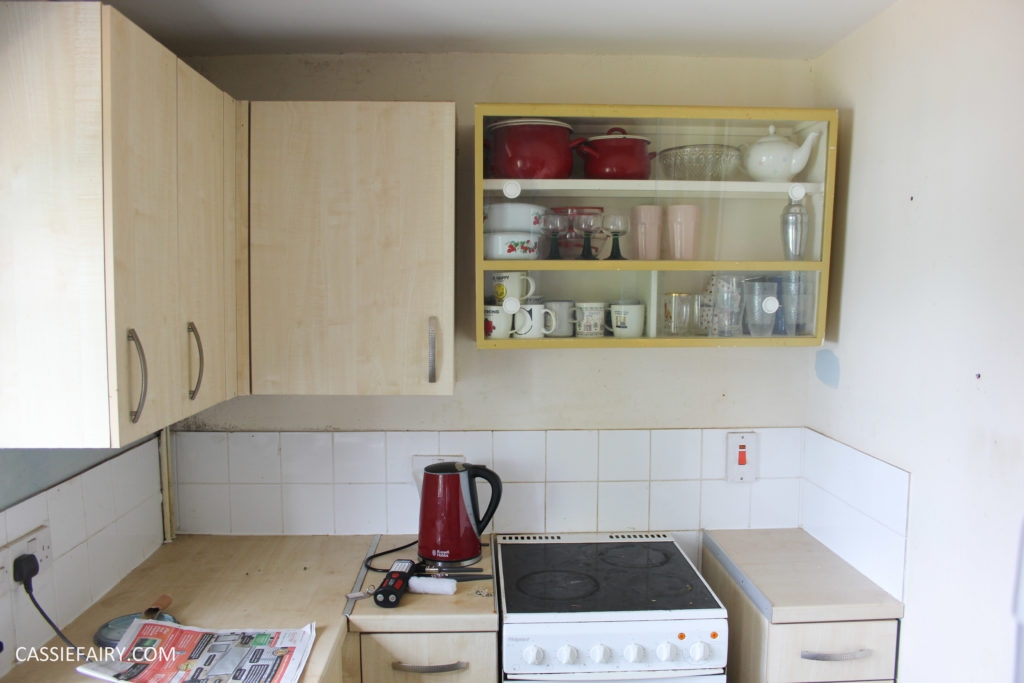
 What do you think of the ‘new’ kitchen? It definitely seems more homely to me now that we’ve put our stamp on the previously bland room. I was a little worried that the chalkboard would make the room feel smaller or darker but it actually doesn’t feel any different. If anything it feels a little bigger because the brightly coloured rug is reflecting light back up from the floor, plus everything looks neat and has a ‘home’ now so I can keep it tidy. Anyway, let me know what you think by leaving me a comment below or tweet me @Cassiefairy.
Some items in this blog post have been gifted to me and the pink links indicate a gifted product, affiliate link or information source. All thoughts and opinions in this post are based on my own experience and I am not responsible for your experience 🙂







2 responses
Thanks Abel so pleased you like it! Just git a few more DIY bits to finish off and I’ll be done! 🙂
Love the make over 🙂 It looks very bright and fresh and the rug is just beaut! It definitely works to make the space look larger and more spacious. Hope you’re very happy in it!
Abel x
http://www.brain-food.co.uk