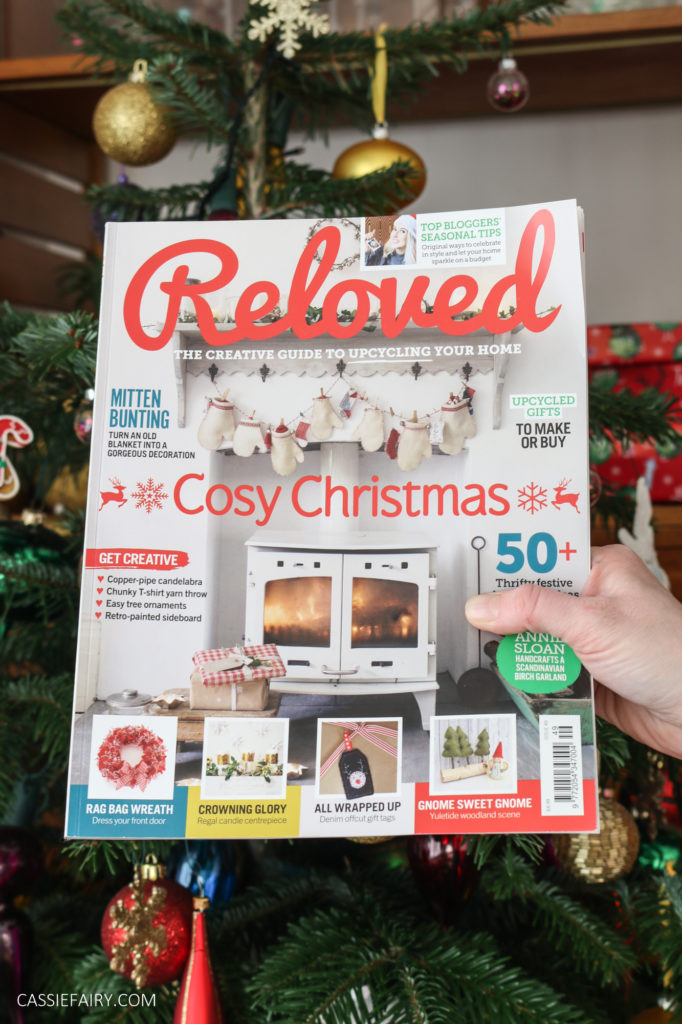
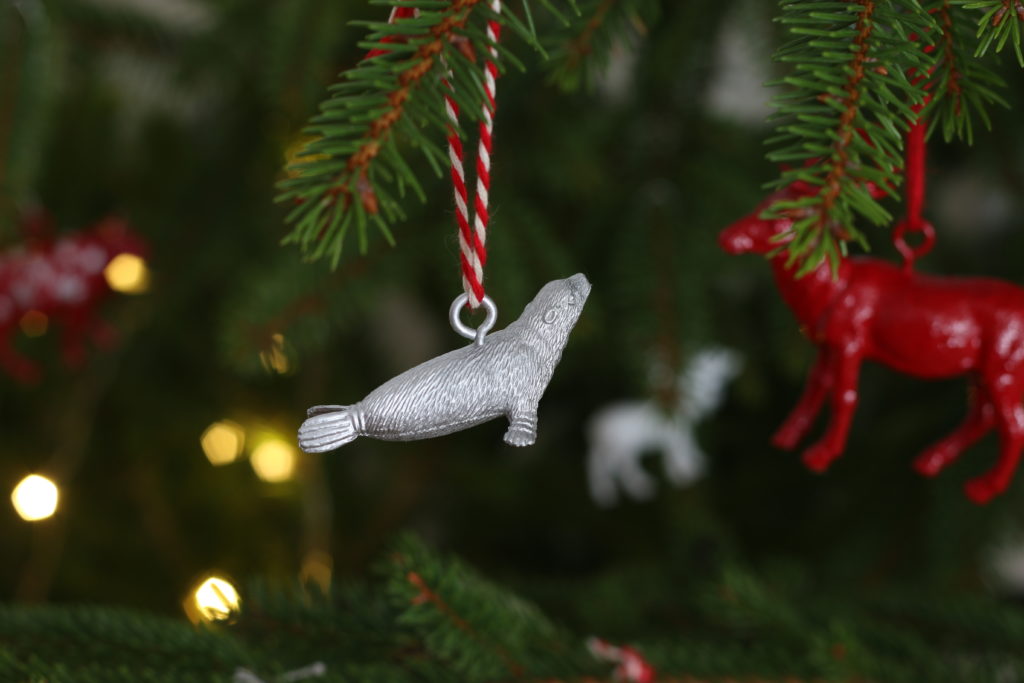
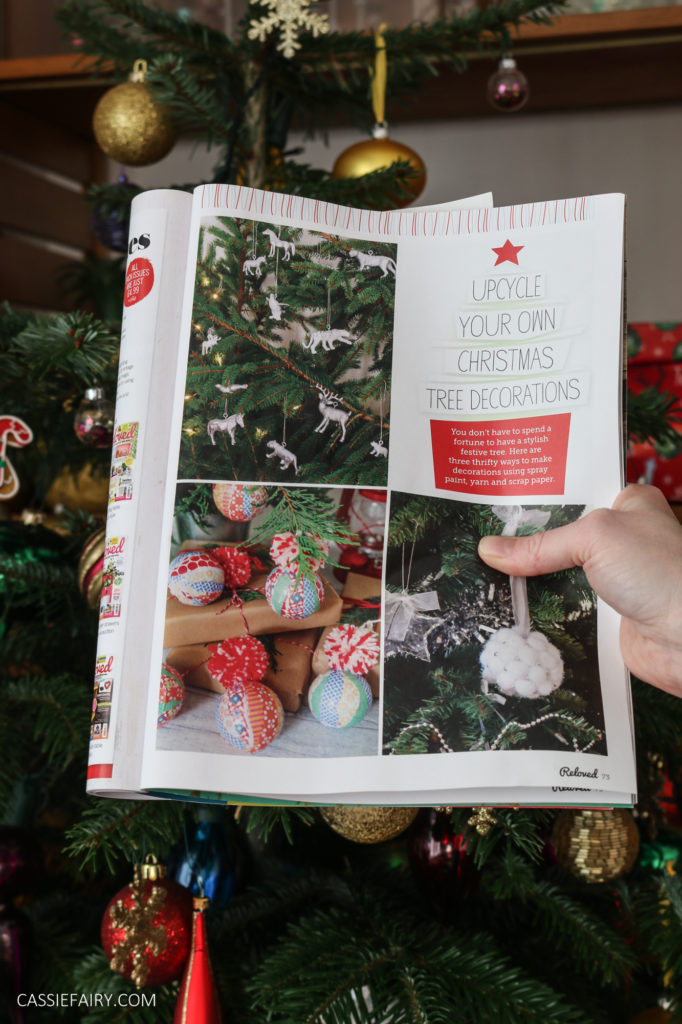
If you’ve got a bigger-than-usual tree this year and are thinking that your baubles are looking a little sparce, here’s a quick and easy DIY project to make your own Christmas tree decorations. Simply raid the toybox (or head to the charity shop, like I did!) and give some retro toys a festive makeover. Here’s what I made…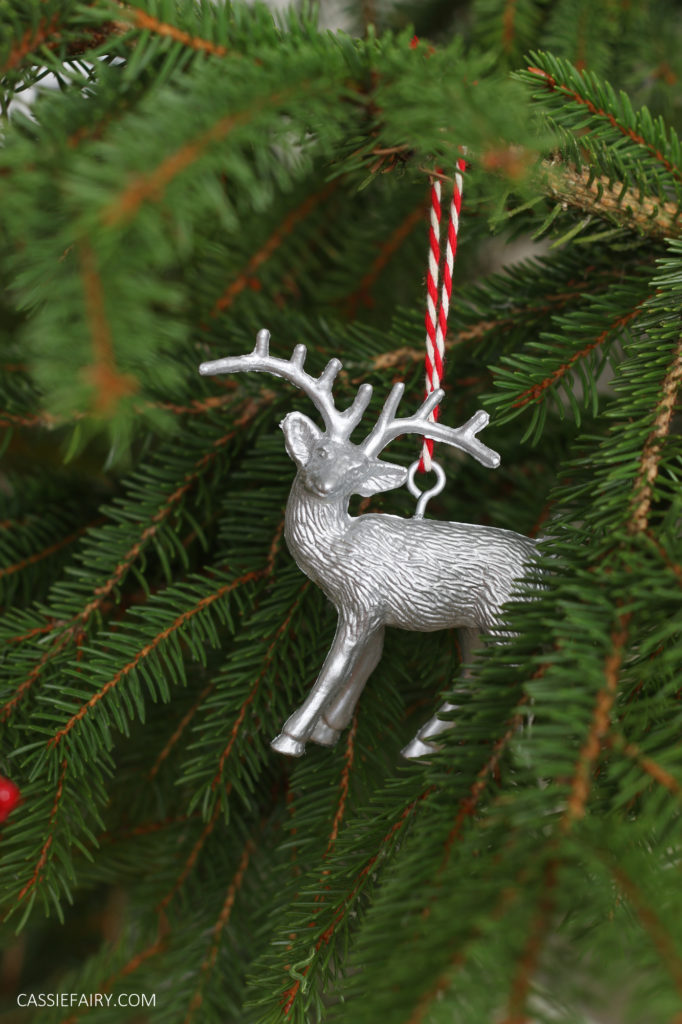 My “Toy Box Decorations” project is in this month’s Reloved magazine, which is still in the shops at the moment, so head down to the supermarket or WH Smith to pick up a copy and check out the full step-by-step on page 74-75.
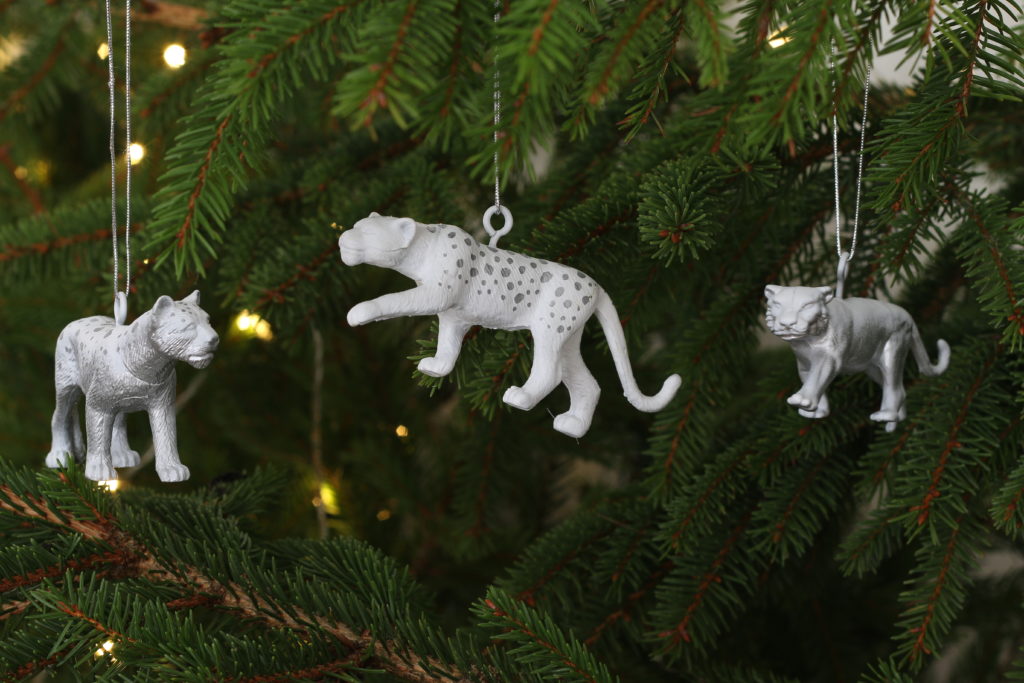
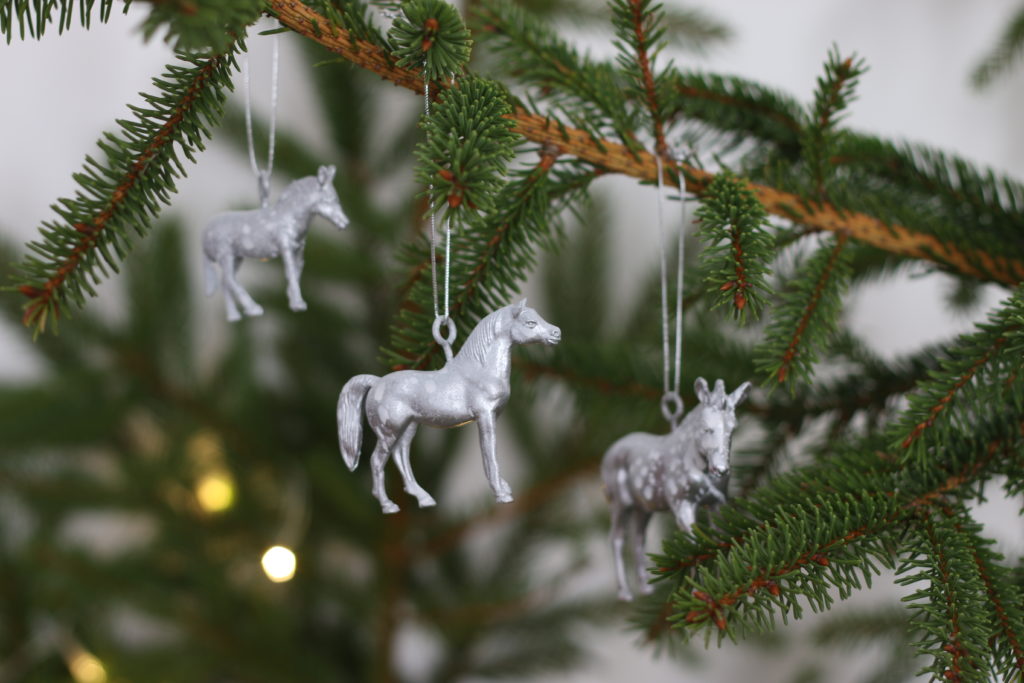
 It’s a simple project that involves tiny eyelet screws and a whole lotta spray paint! It’s easy to make a big batch of animal decorations in just one go, especially if you’re planning to paint them all one colour. Plus, you can use paint and metallic marker pens to embellish them in any way you like.
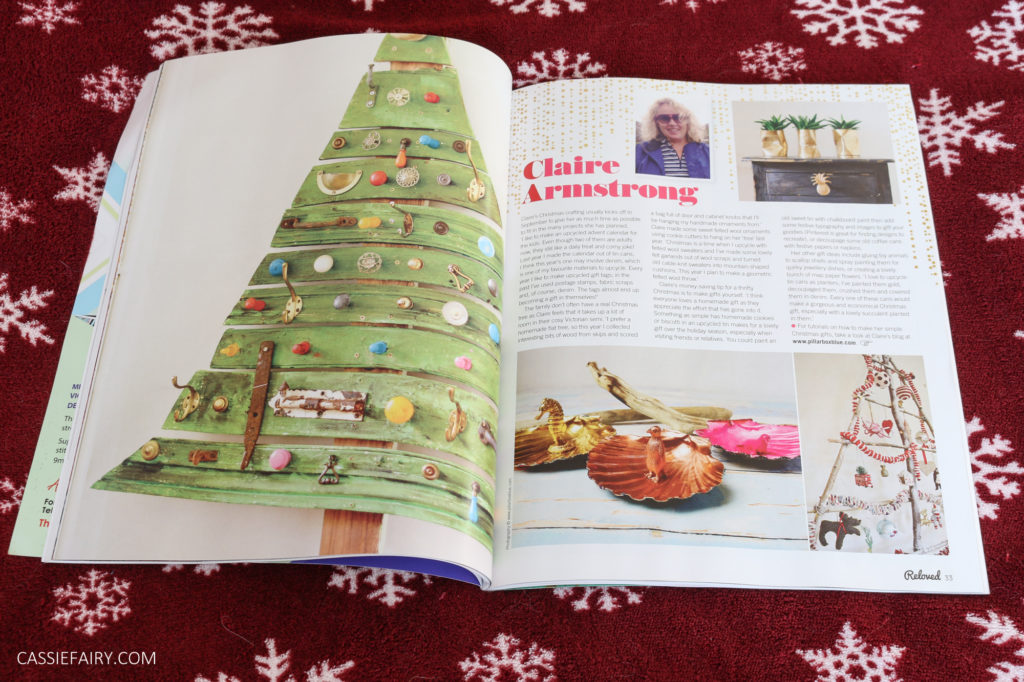
 This month I’m in Reloved magazine twice, because I also wrote a piece on top bloggers’ seasonal tips! I got the chance to interview my buddy Claire from Pillar Box Blue, and she’s shared a fantastic idea for a space-saving Christmas tree, with door knob decorations. I also chatted to Natasha from CandyPop.uk.com about her scandi-chic, minimalist Christmas tips.
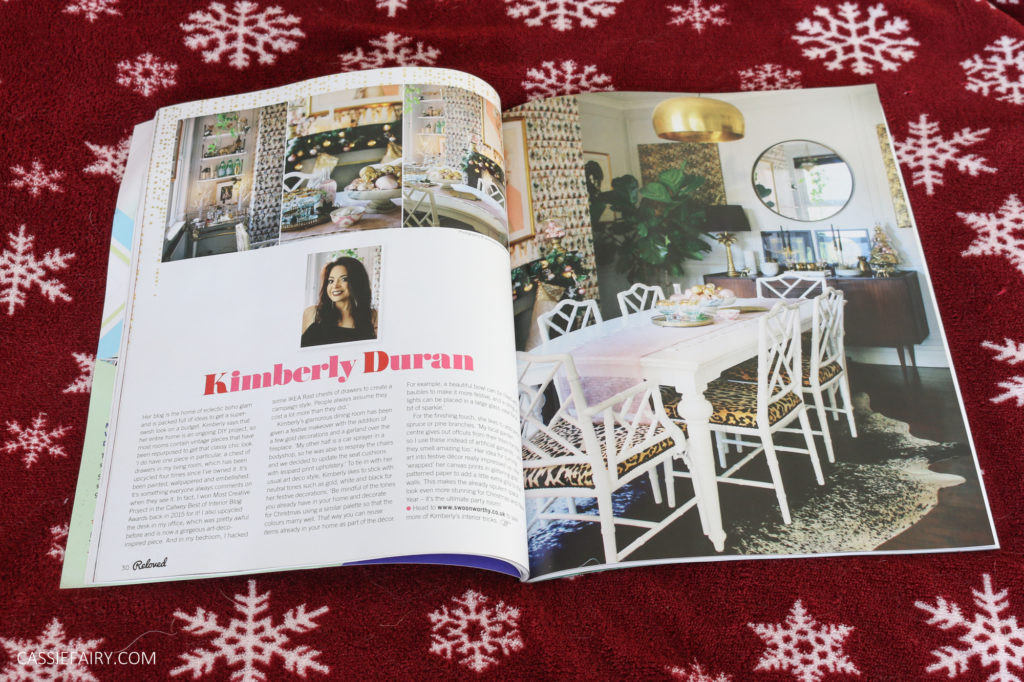
  My fellow budget interiors blogger Kimberly was a pleasure to interview, and I learnt a lot from her about using what you already have to style up a Christmassy dining room. I love her art-deco ‘more is more’ style – check out her blog SwoonWorthy to see more photos of her stylish home.
 And finally, I got the chance to speak with Sarah Akwisombe, who decorated a tree for Kirstie’s Handmade Christmas last year. She shared her tips for making a personalised tree using instant photos and pom-poms.
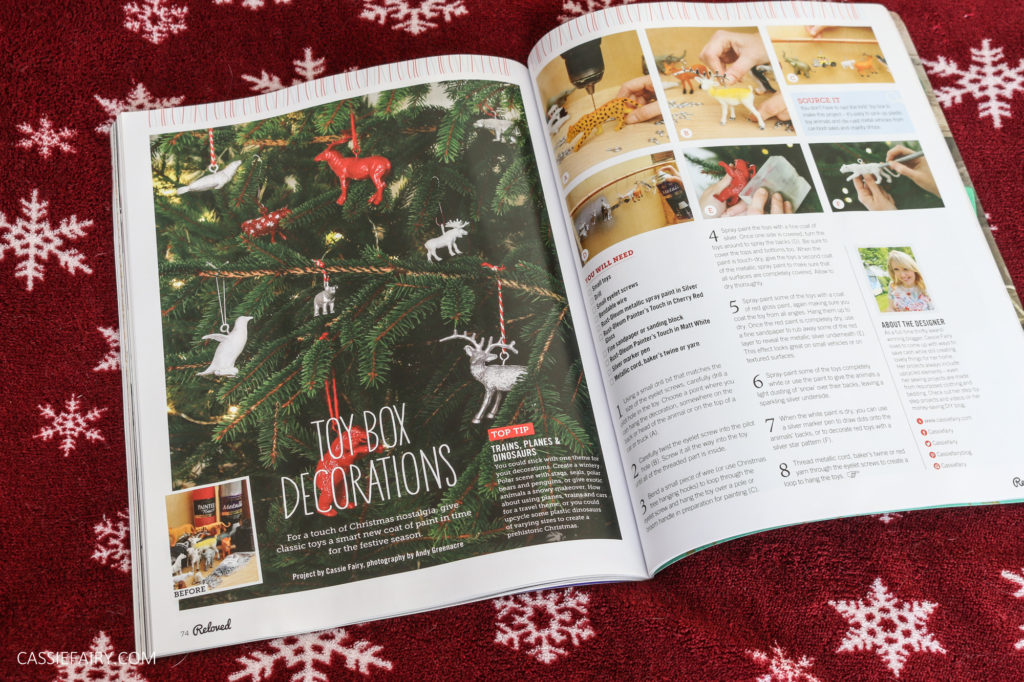 What do you think of my toy box Christmas decorations? This is a great way to reuse battered old toys that have lost their paint etc. And it’s easy to pick up a while range of animals, cars etc from the car boot sale for just a few pence so, if you don’t have time to do this project this year, you can collect up a stash of old toys throughout the year and make these decorations in time for next Christmas!





One Response