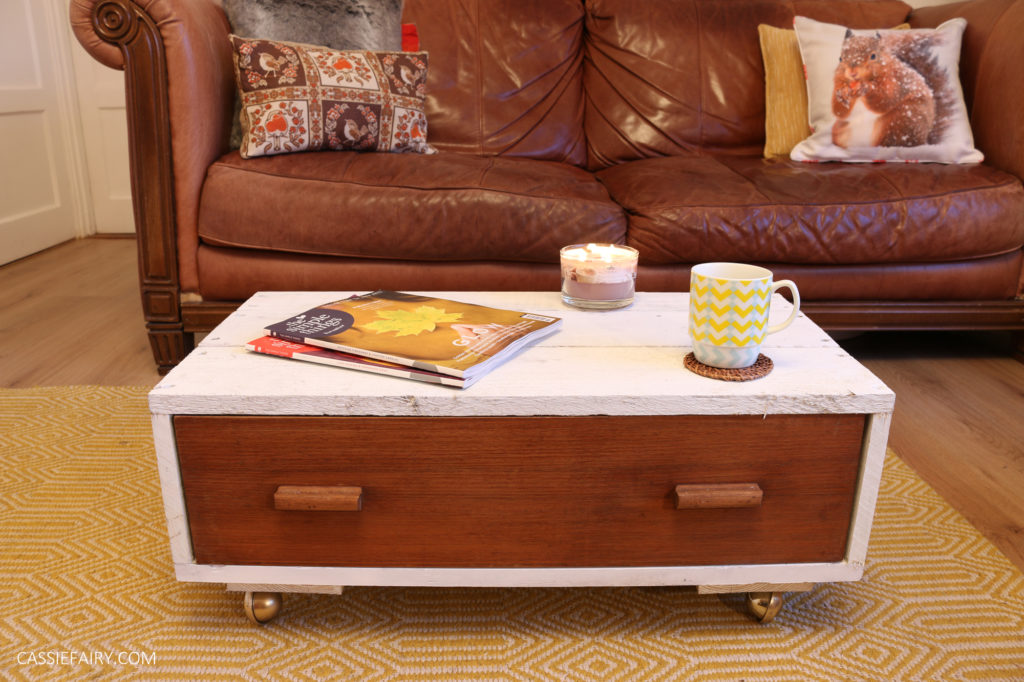
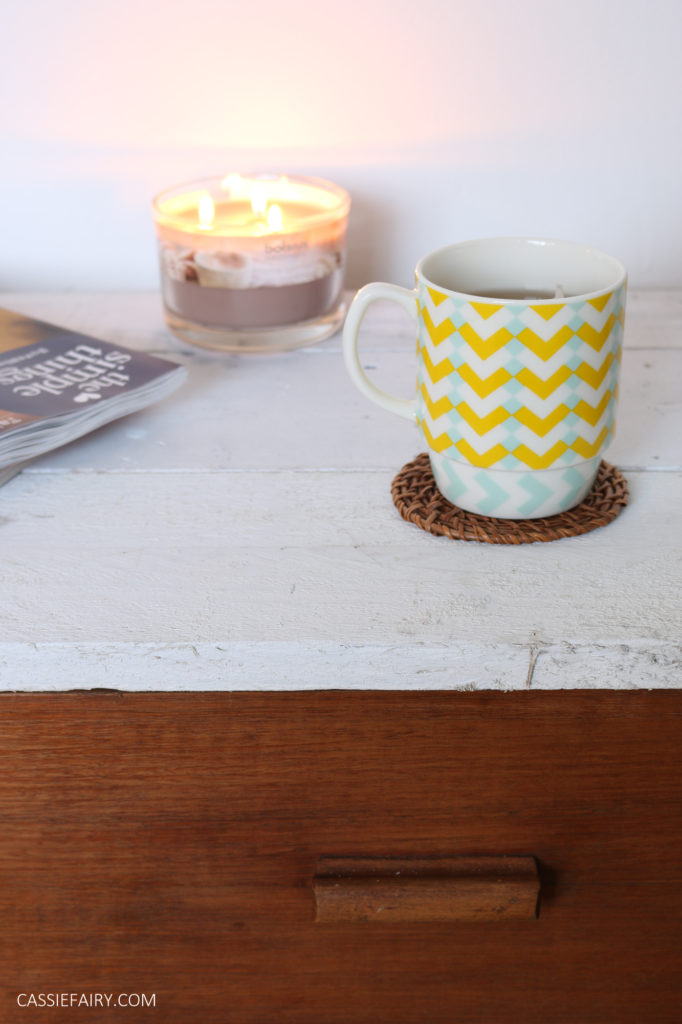
Today I’m sharing an easy project to make a DIY wheeled coffee table. My husband made this within an hour, while I was painting another of our DIY furniture projects so I’m sure it’ll be simple enough for any enthusiastic DIYer to make for themselves.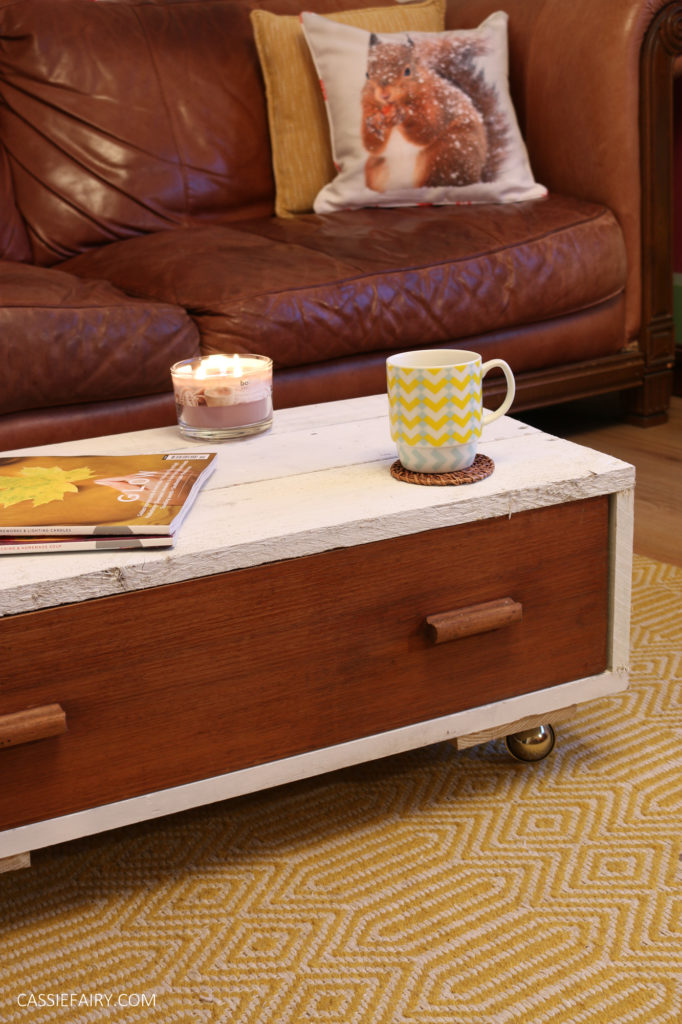 The coffee table was constructed around an old drawer. A friend brought a few old mis-matched drawers round (we’re always getting offers of old bits n pieces – our pals know that we’re always up for a bit of recycling!) so we used one of the drawers to create a low coffee table.
STEP 1
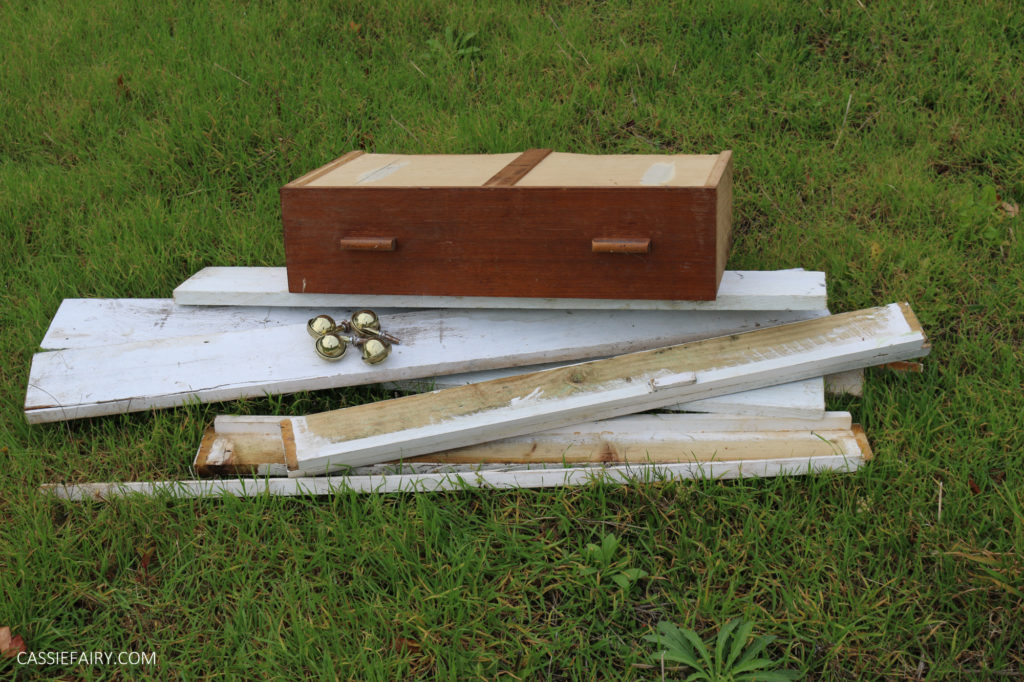
Measure the pieces of wood for the frame so that it fits around the drawer. The top and base will be the width of the drawer plus the depth of the wood, and the sides will fill in between these pieces.
STEP 2
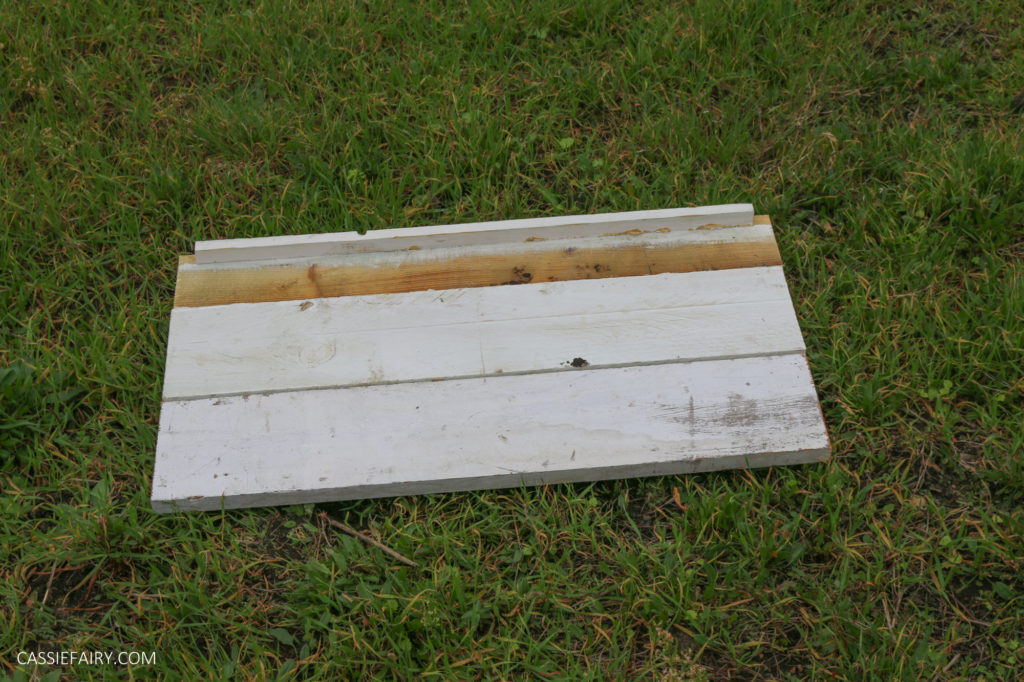
Add a 1 inch baton at the back of the base piece to stop the drawer from sliding out the back of the frame.
STEP 3
Pilot drill the wooden frame at the edges where you wish to join it together. Screw together using countersink screws.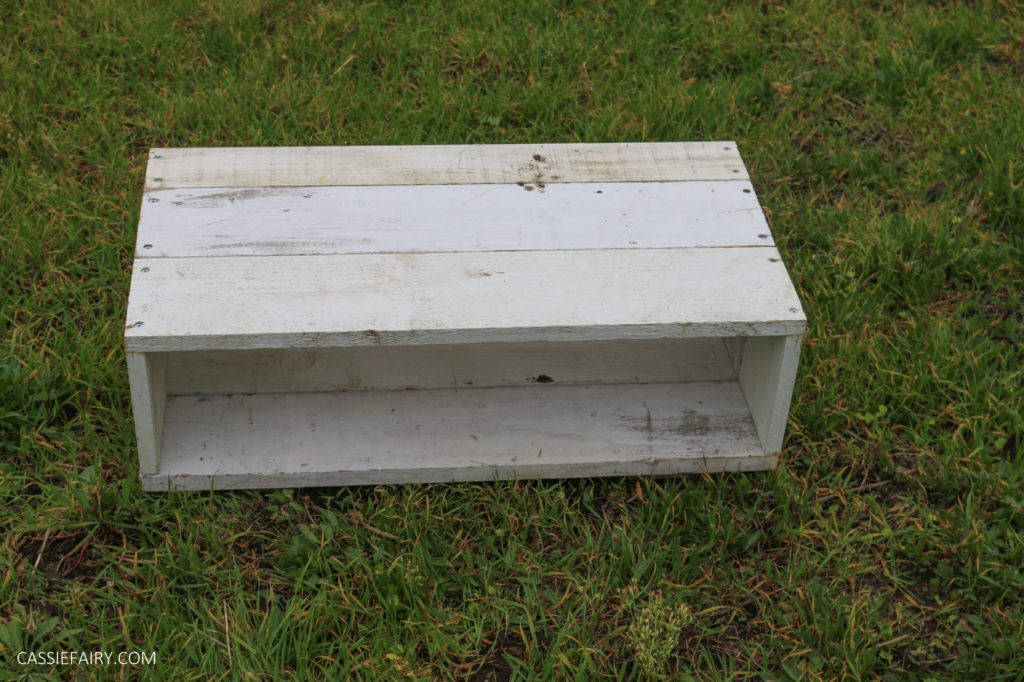
STEP 4
Add two pieces of wood to the base to attach the wheels to.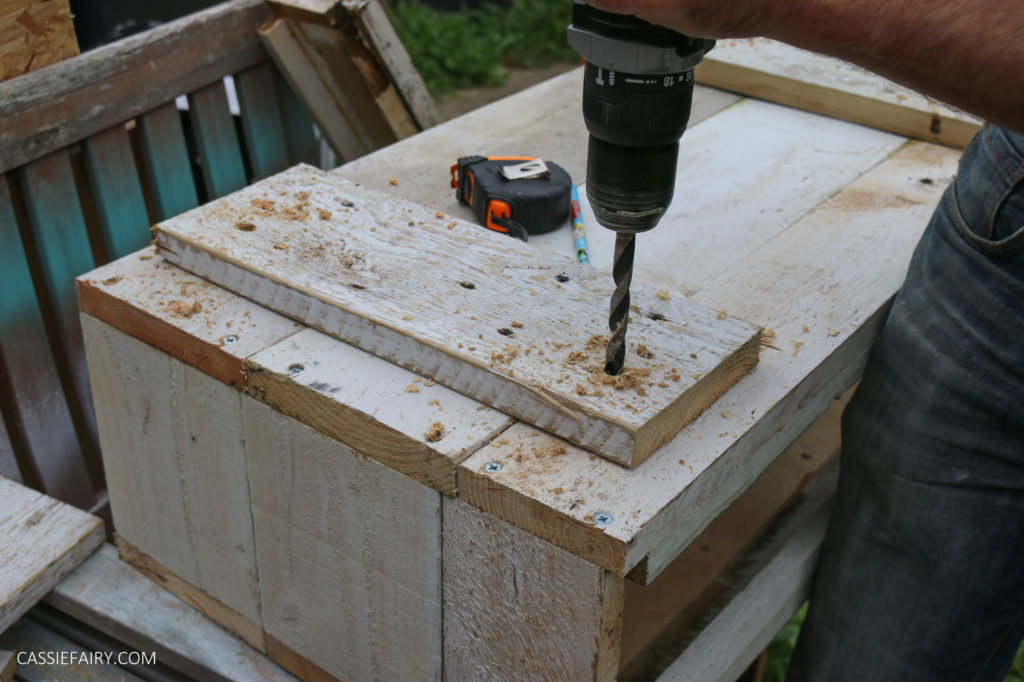
STEP 5
Hammer in (or screw in, depending on the type of castors you have) the wheel attachments.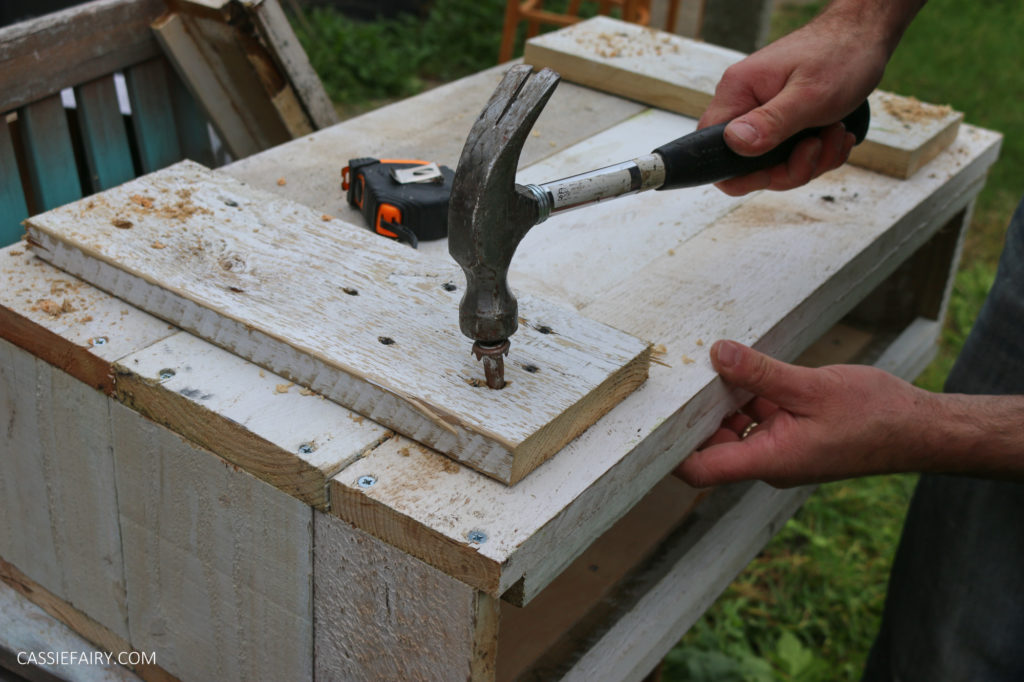
STEP 6
Add the wheels and insert the drawer. Paint or stain as you like! We’ve left the drawer dark, and wood was already white when we found it a skip.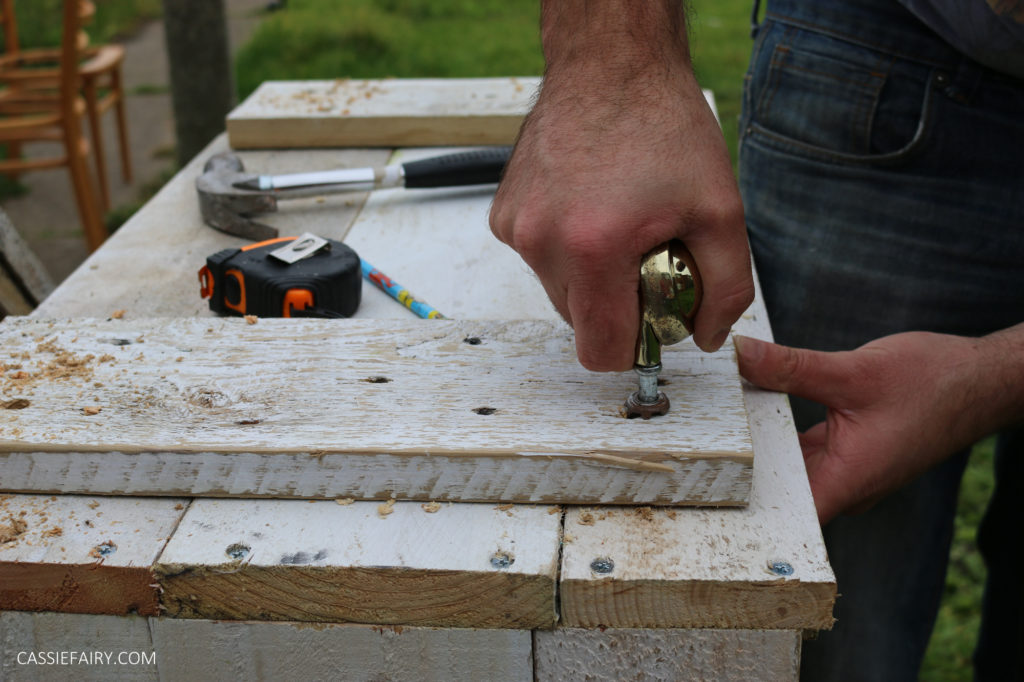
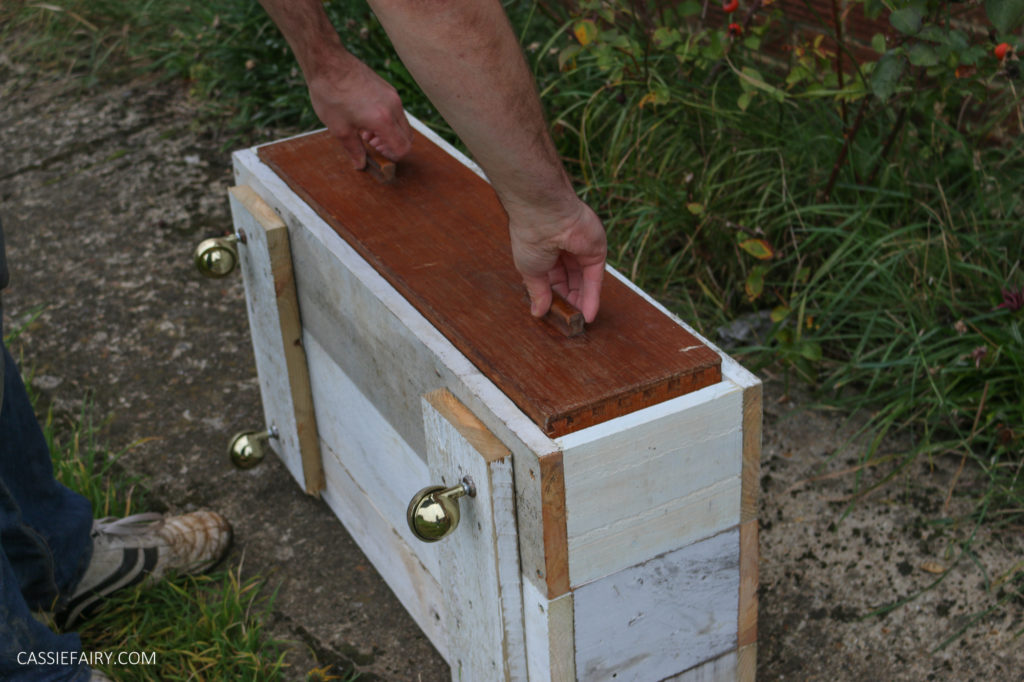
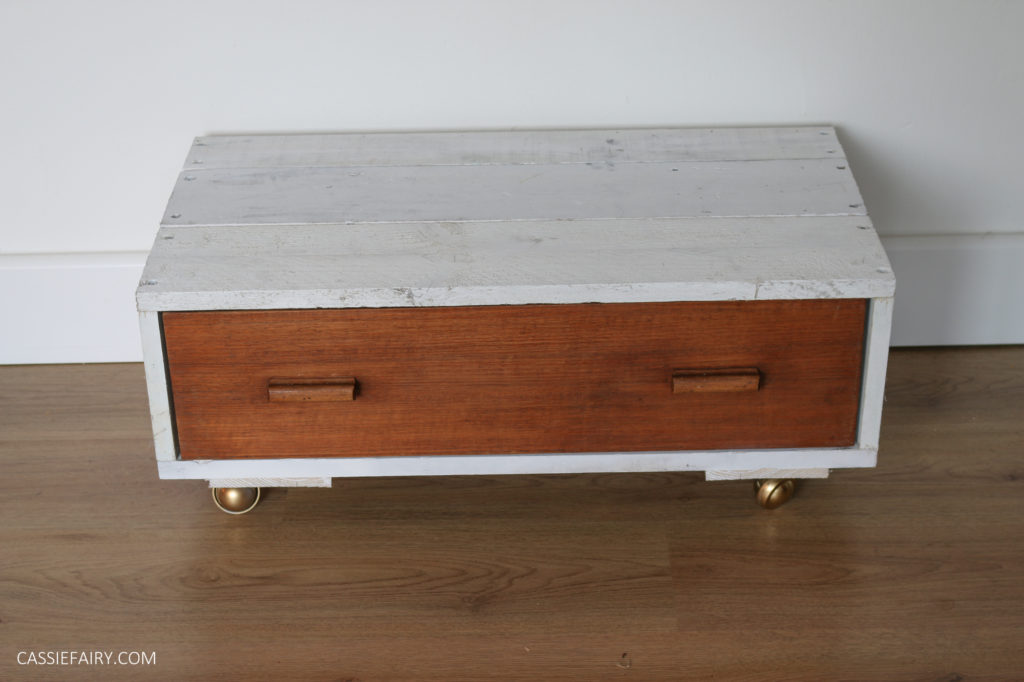
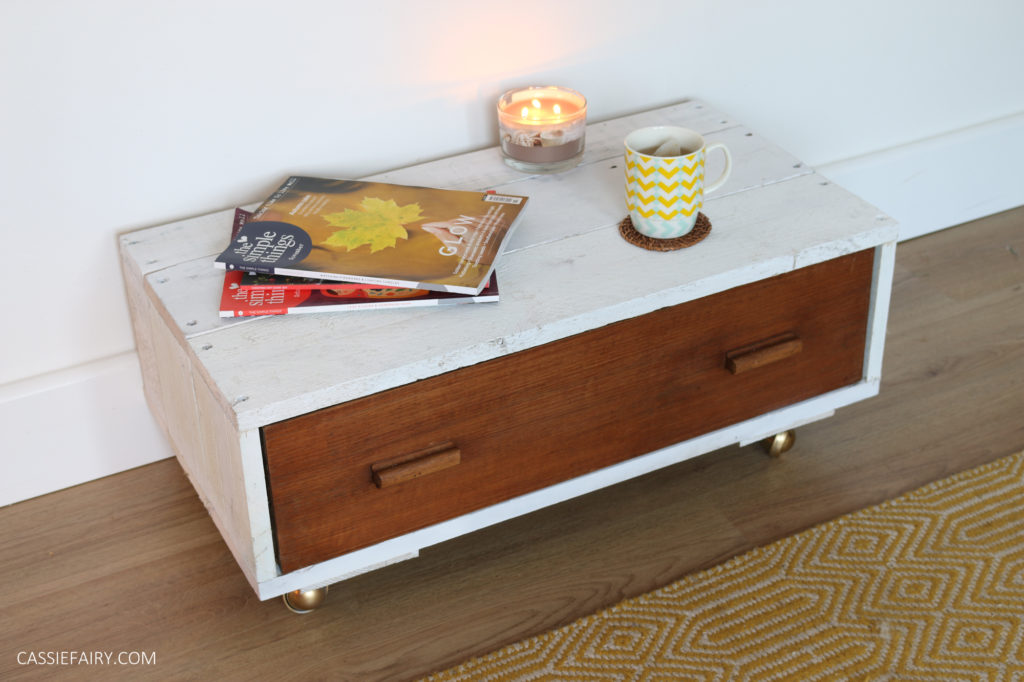 What do you think of this project? We’ve used it for many uses so far; it’s been a great coffee table and we’ve even used it as extra seating with the castors locked and positioned against a wall. A couple of cushions (all the cushions in my photos are from Julian Charles) are all that you need to turn it into a bench seat. Over the Christmas period it was used as a stand for our Christmas tree and provided space for gifts on the table surface and inside the drawer.
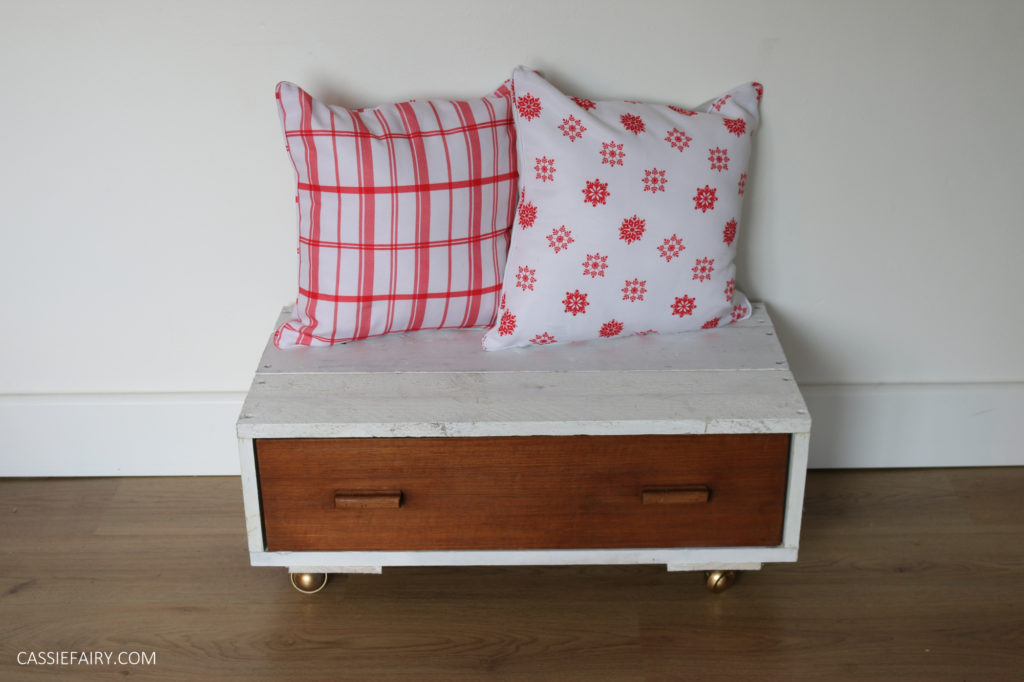
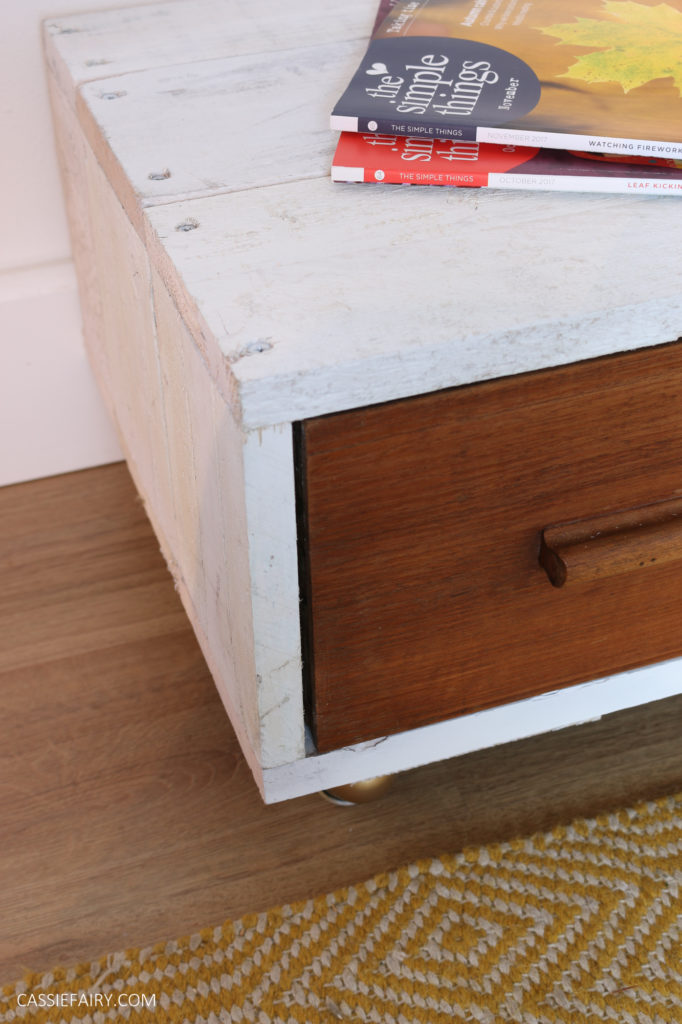 Do you have a spare drawer that you could use for this coffee table project? Let me know if you have a go at making this project for yourself by leaving me a comment below.


