If you’re a keen crafter, today’s blog post is for you! Learn how to crochet a cute 3D ice cream with this step-by-step guide PLUS you could win a copy of newly published crochet book AmiguruMe Eats by Allison Hoffman. I’ve got 4 copies of the book to give away to 4 lucky winners so read on and enter the competition below…
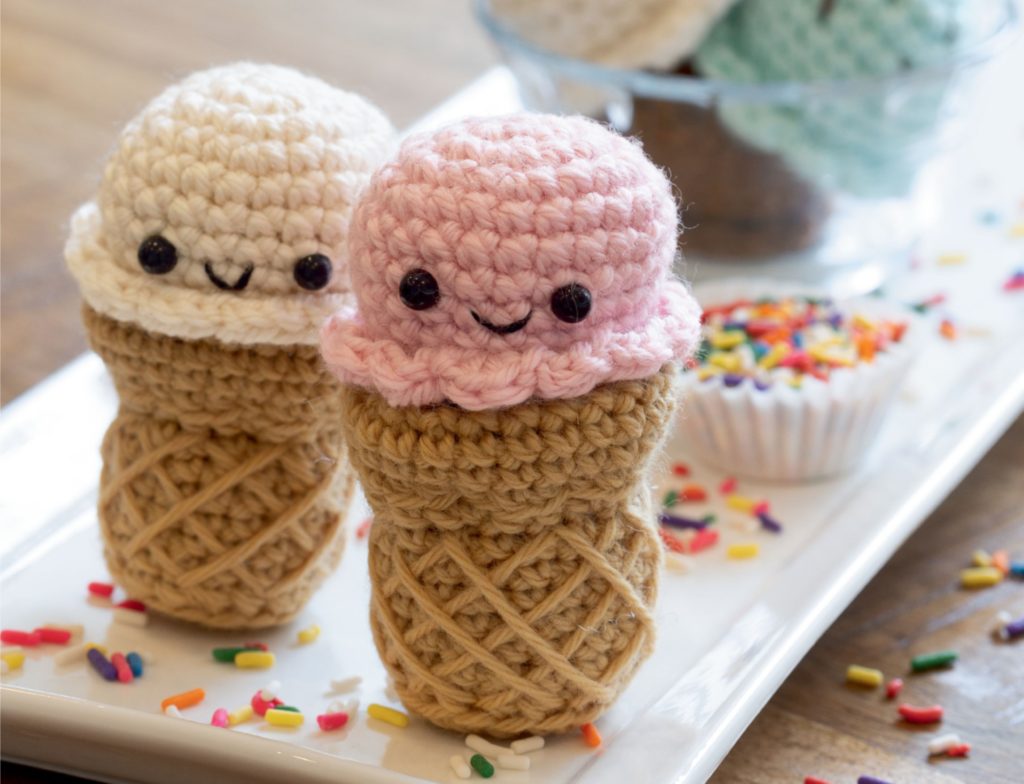
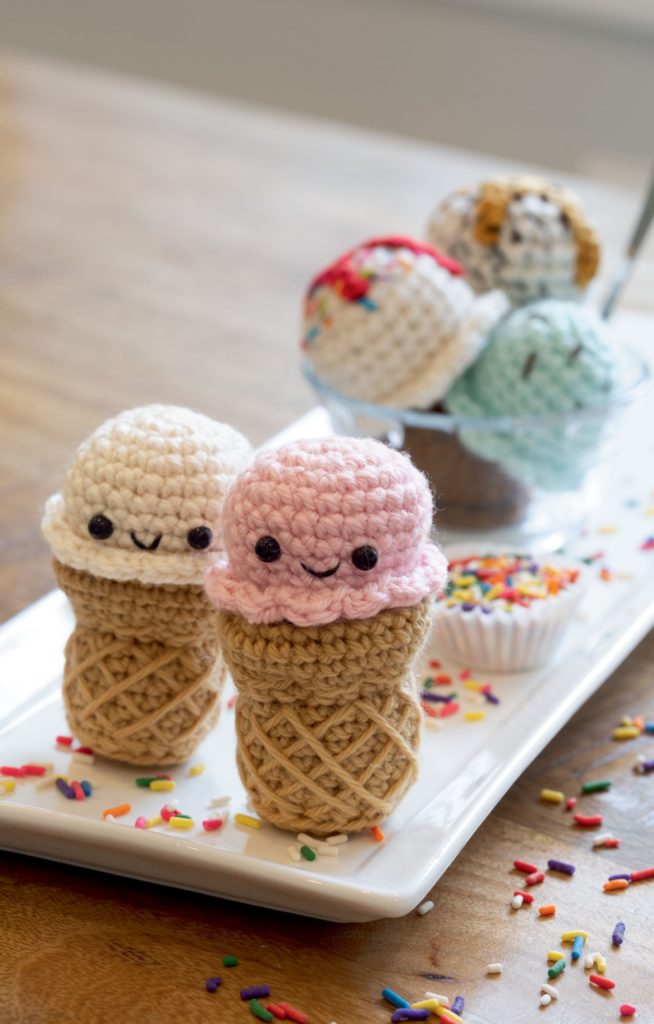
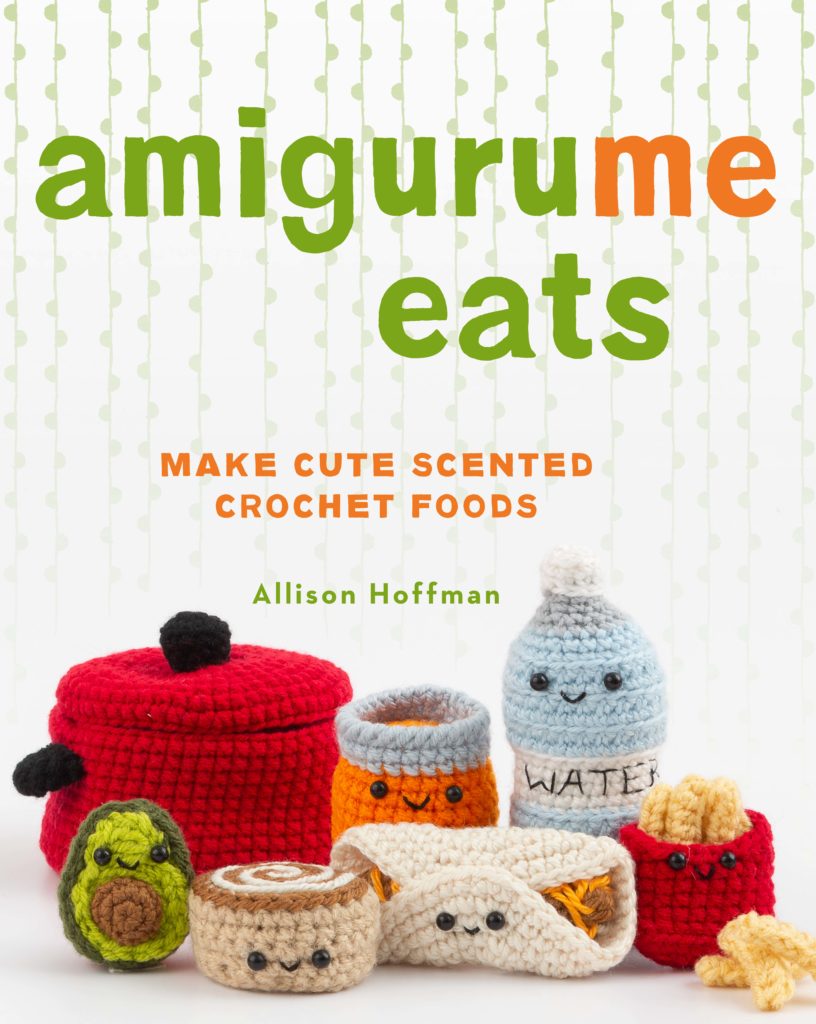
Amigurumi is the Japanese craft of creating knitted or crocheted toys and figures. The recently launched craft book AmiguruMe Eats brings together a collection of foodie amigurumi designs, with step-by-step tutorials to create each decorative, crocheted food project. Today, I’m sharing just one of these projects – an adorable little ice cream cone that you can make in a variety of pastel colours.
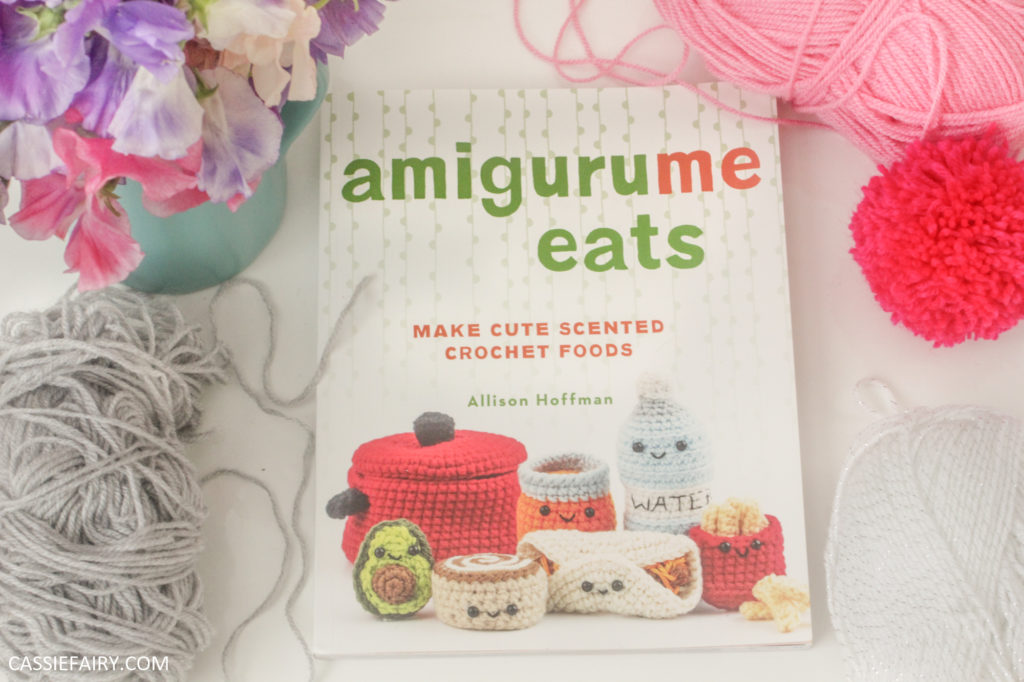
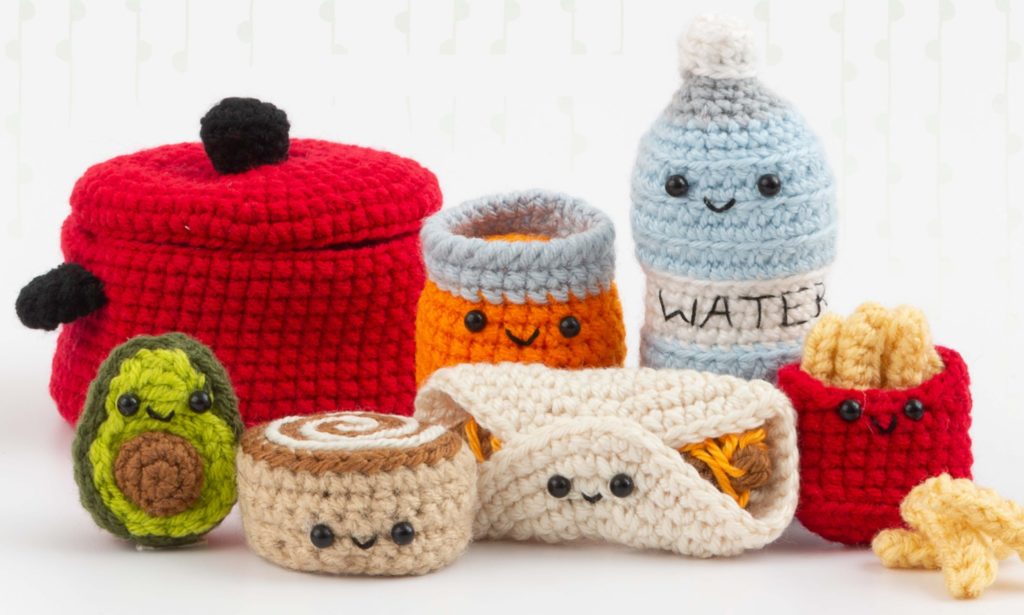
The book contains crocheted projects of everyone’s favourite treats, ranging from pizza and hot dogs to cinnamon rolls and cherry pie. If you’re making toys for your little ones to play with, check out the healthy options of avocados, grapes, baked potatoes and even a bottle of water! Plus, there are suggestions for adding scented sachets inside your crocheted biscuits, bacon and hot beverages to make them smell as delicious as they look!
The author Allison Hoffman has kindly allowed me to share her ice cream cone project with you. This design can be made with off white yarn for a vanilla cone, pink for strawberry, pastel green for mint and brown wool for a luscious chocolate scoop, with scent sachets to match. Here’s how to crochet an amigurumi ice cream cone for yourself:
ICE CREAM CONE PROJECT
Choose your favourite flavour, and you’ll definitely find a yarn to match. Chocolate, vanilla, strawberry, mint chocolate chip, or anything at all—there’s a scoop for you! Crochet a few and stack them up on a cone, or lay them side by side in a dish. Scented sweetly, they will make all your ice cream wishes come true.
Skill Level: Easy
MATERIALS AND TOOLS
- Worsted weight yarn in one or more ice cream colours of your choice, such as brown, off-white, pink, or light green (A) 4
- Golden yellow worsted weight yarn (B) 4
- Sport weight yarn for sauce in colour(s) of your choice (optional)
- Crochet hook: 3.25 mm (size D-3 U.S.)
- Stitch marker
- Yarn needle
- Embroidery needle
- Polyester fiberfill
- Black embroidery floss or coloured embroidery floss for sprinkles
- Scent sachet: chocolate (wax melt or cocoa powder), vanilla (extract, essential/fragrance oil, or wax melt), strawberry (essential oil/fragrance oil or strawberry drink mix), or mint (extract, essential/fragrance oil, or wax melt)
ICE CREAM SCOOP:
Rnd 1: With A, make an adjustable ring, ch 1, 6 sc in ring. Pull tail to close ring— 6 sts. Do not join at end of each round until instructed. Place stitch marker at beginning of round and move marker up as each round is completed.
Rnd 2: 2 sc in each st around—12 sts.
Rnd 3: *2 sc in next st, sc in next st; rep from * around—18 sts.
Rnd 4: *Sc in next st, 2 sc in next st, sc in next st; rep from * around—24 sts.
Rnds 5–9: Sc in each st around.
Rnd 10: Working in BLO, *sc2tog, sc in next 2 sts; rep from * around—18 sts.
Rnd 11: Working in both loops, *sc2tog, sc in next st; rep from * around—12 sts. – Place last stitch on stitch marker to prevent unraveling. Stuff with fiberfill and insert scent, leaving the last few rounds unstuffed so the bottom remains flat.
Rnd 12: [Sc2tog] around; join with sl st in first sc—6 sts. Fasten off, leaving a long tail.
Edging round: Join A with sl st in any unworked front loops of Rnd 9, *3 hdc in next st, sl st in next st; rep from * around, working last sl st in first sl st. – Fasten off. Weave end tail of ice cream scoop through last round and pull gently to close. – If desired, repeat for additional ice cream scoops.
CONE:
Rnds 1–3: With B, work same as Rnds 1–3 of Ice Cream Scoop.
Rnd 4: Working in BLO, sc in each st around.
Rnds 5–10: Working in both loops, sc in each st around.
Rnd 11: Working in FLO, *2 sc in next st, sc in next 2 sts; rep from * around—24 sts.
Rnds 12–17: Rep Rnds 4–9.
Rnd 18: Working in BLO, *sc2tog, sc in next 2 sts; rep from * around—18 sts. – Place last stitch on stitch marker to prevent unraveling. Stuff bottom only (up to Rnd 12) with fiberfill.
Rnd 19: *Sc2tog, sc in next st; rep from * around—12 sts.
Rnd 20: [Sc2tog] around; join with sl st in first sc—6 sts. – Fasten off. To form the top portion of the cone, push Rnds 18–20 of the cone down into the inside. With B and a yarn needle, secure the inside of the cone to the sides of cone by working straight stitches around Rnd 11. Weave in ends. – The sides of the cone will be formed from Rnds 5–17. Referring to the photo and beginning at the bottom of the cone, embroider long diagonal lines with a strand of B and a yarn needle, five rows wide, in one direction as follows: insert needle from wrong side to right side between any 2 stitches of Rnd 5, *skip next 5 stitches, insert needle to wrong side between the next 2 corresponding stitches of Rnd 17, skip next 2 stitches of Rnd 5, insert needle from wrong side to right side between next 2 stitches; repeat from * around. When you’ve made the first set of diagonal lines around the cone, make a second set of diagonal stitches in the opposite direction to complete the crisscross design. Weave in ends.
Finishing:
– If you’d like to permanently attach ice cream scoops to the cone, use matching yarn and a yarn needle to stitch the edge of each scoop around the outside edge of the cone. Stack more scoops on top and stitch into place with matching yarn. Weave in ends.
– With black or brown embroidery floss and embroidery needle, work short stitches randomly on the scoop for chocolate sprinkles. For rainbow sprinkles, use scraps of colourful embroidery floss or a variegated yarn instead.
And now, here’s your chance to win a copy of AmiguruMe Eats by Allison Hoffman for yourself. I’ve got FOUR copies of the book to give away to four lucky winners so be sure to enter the giveaway via the Rafflecopter below and you can earn multiple entries by following and tweeting. Good luck!
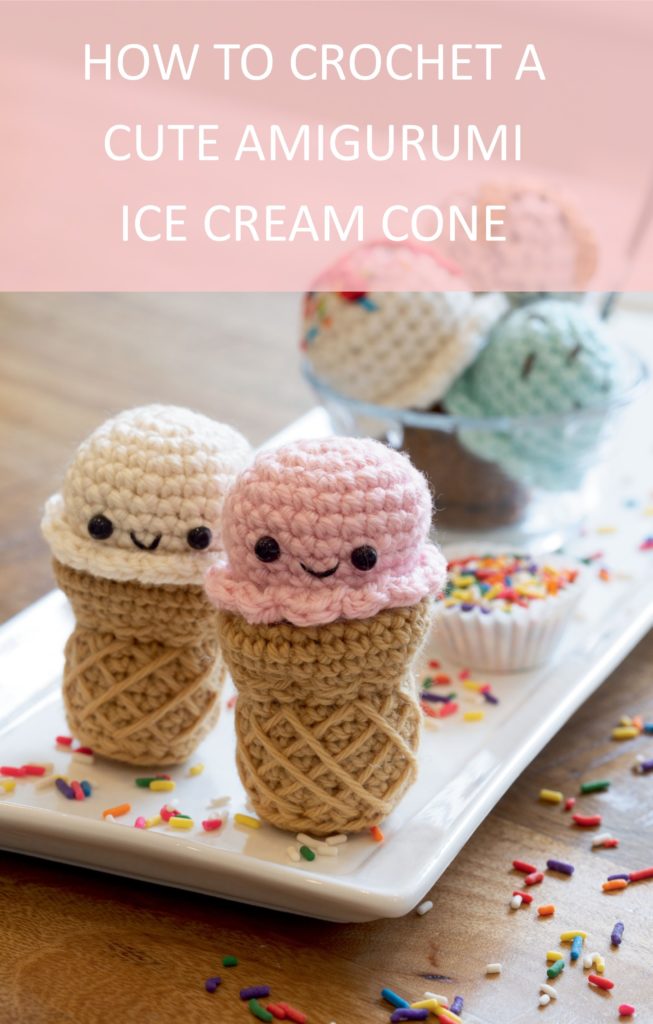
a Rafflecopter giveawayPIN IT FOR LATER
Giveaway open to UK residents only. The competition runs from 12th June – 1st July 2019 at midnight. 4 Winners will be chosen at random from all the Rafflecopter entries. Winners will need to provide a UK delivery address to receive their prize.


25 responses
Not for many years – I would love to start again as it’s such a thoughtful way to give someone a gift
I’ve had hand-crafted toys given to me and I loved them! I’m quite new to knitting, crochet and crafts so I haven’t made one yet but I’m planning to!
Yes, it’s one of my favourite things to do. My daughter has a bunny I made her years ago, she sleeps with it every night.
I love crocheting handmade gifts.
I have made clothes before, but not toys.
Yes, I have. A pin cushion amongst others that I crocheted and an Amigurume cupcake (check out my insta for pictures). I am very pleased because I had attended only 3 classes. I am working on a baby blanket now for my first grandson due any day now.
I have knitted blankets for the family and also made quilts. I have made soft toys for my niece and she still has them, which is rather nice
I have done Christmas Tree decorations
Years ago used to crochet and knit – made Postman Pat!
I have done I’ve made lots of knitted, crochet and sewn toys over the years . Lots of other things too. I’m a bit of a craftoholic just love it
I have but it’s been awhile. This book & those projects are too cute.
I have never done any toys, it has always been clothes
I have made all sorts of toys and gifts over the years – this looks like a great collection
Oh my goodness, these are adorable! I love anything crafty and learning to crochet is something I’ve always fancied trying!
not for a while, but now the kids are at the right age to do it, it’s something we’re keen to enjoy x
I have made toys but a long time ago.
I love to handcraft gifts. I do cross stitch, fimo figures, embroidery, papercuts all kinds of things <3 absolute craftoholic
I have but personally i haven’t done it in a few months
I like to make easter chicks for the kids
I have made clothes but not toys
i once made an crochet dinosaur and thats as far as it went
Yes, I have handcrafted toys and gifts.
Years ago knit teddy bear and panda.
I made some small toys years ago, but have recently re taken up crochet so would like to again
I have but not for some considerable time – this BEAUTY will inspire me to start again