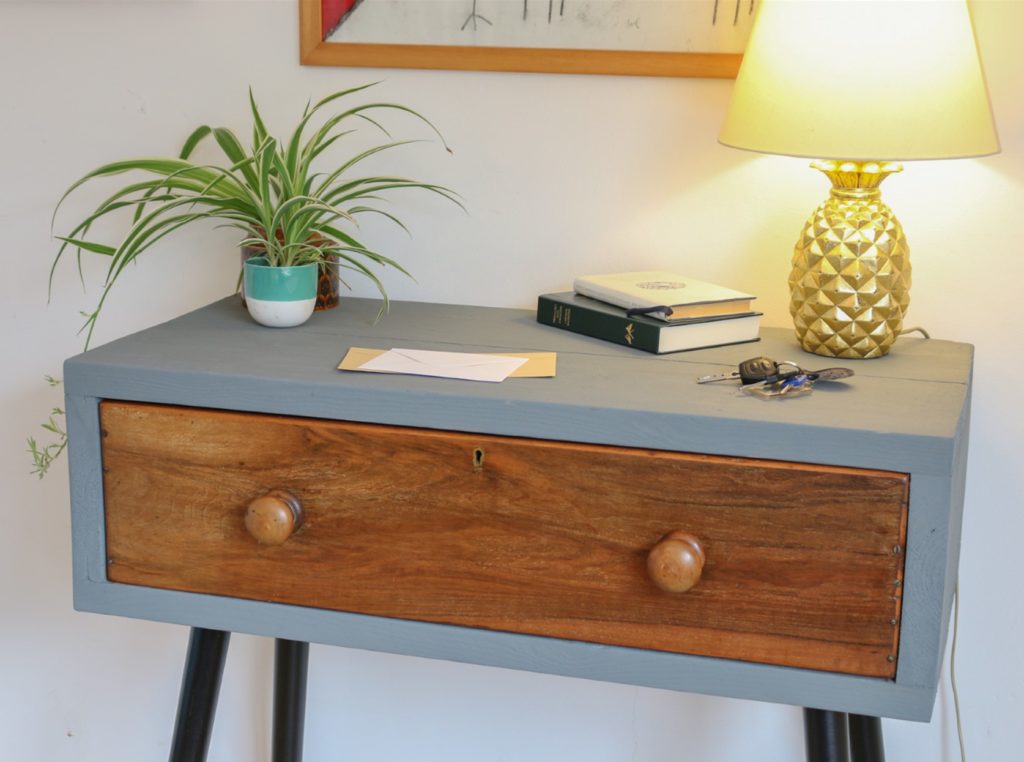
Welcome to my first DIY project of the year! I’ve got so many new projects planned for 2021 and, as we’re not going anywhere at the moment, I’ve also got lots of time to spend in my workshop making them! The only thing I’m lacking is materials so I’ve had to get creative and see what I’ve got in the shed that I can upcycle into something useful. When you can’t go out to buy new stuff in the sales, why not make something new-to-you instead, eh?
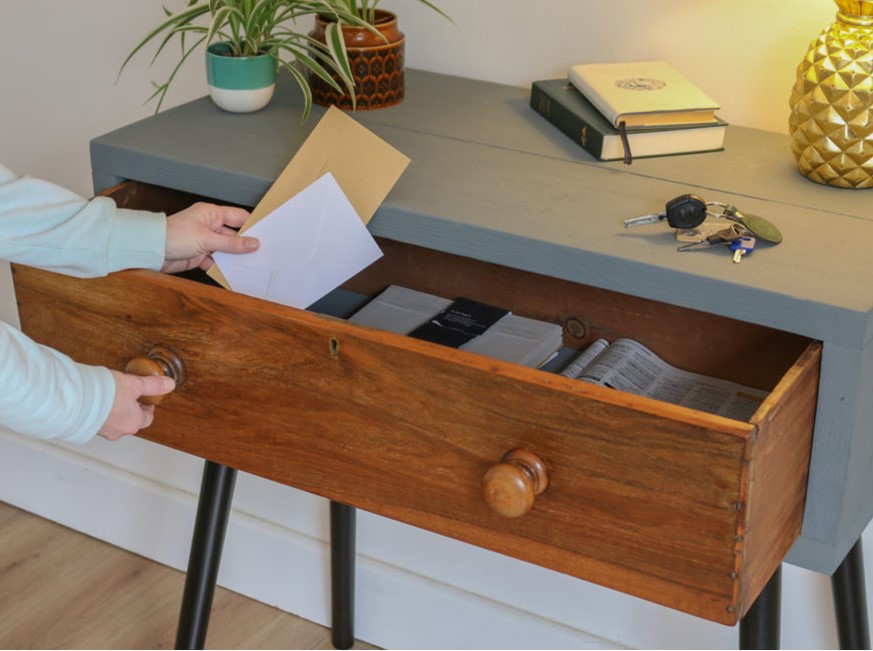
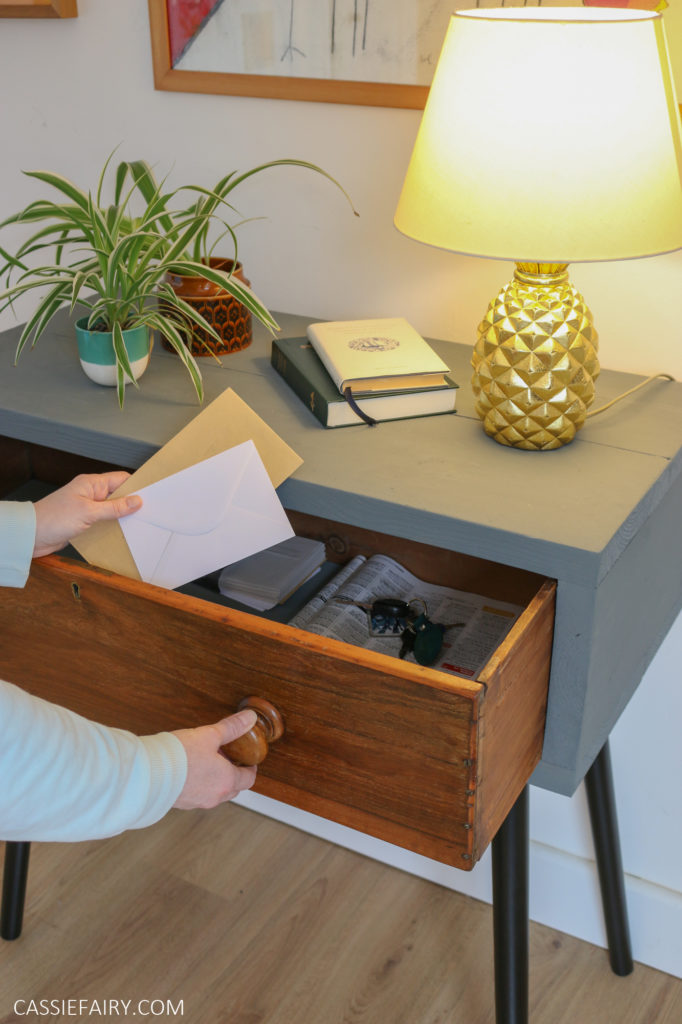
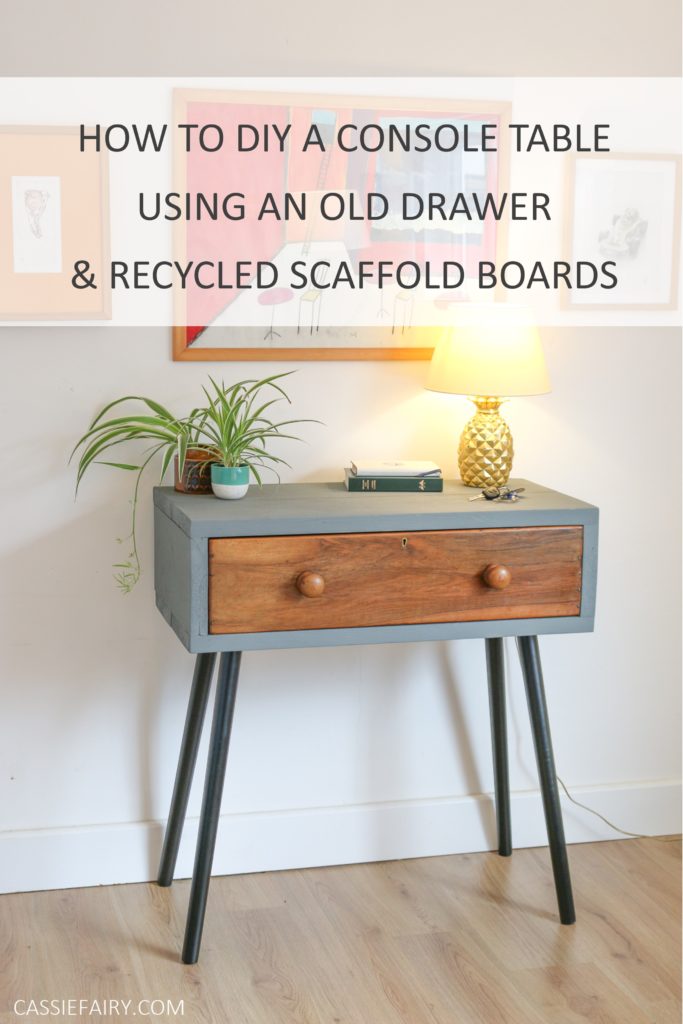
I thought we’d start the year with a really useful DIY project. If you’re working remotely like we are, or if you’ve got the kids studying at home, you might want to DIY a desk space to make home-working easier. Or maybe you want to tidy up the keys, cash and post that accumulate in your entryway, and this project can be used as a console table to keep your hallway clutter-free. I’ve teamed up with home improvement experts ManoMano to show you how to make this handy console-table-slash-desk for yourself.
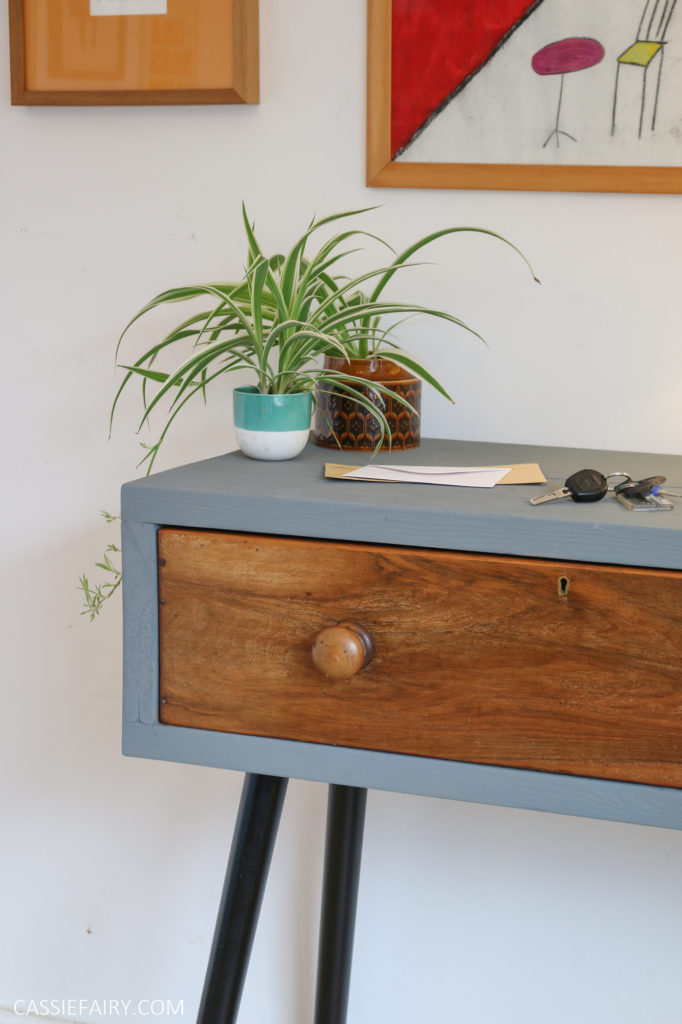
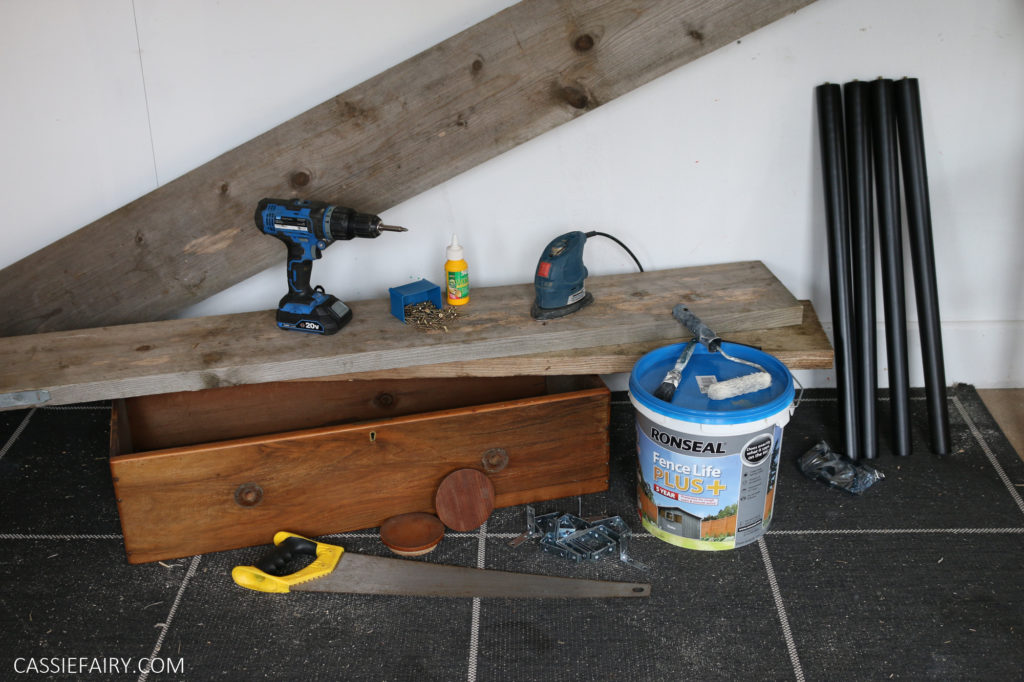
I dug out some scaffold boards from the wood-pile in my garden (I never throw anything away!) and rummaged through the shed to find an old drawer from a broken chest of drawers. In the past, I’ve used reclaimed timber to make plenty of projects for the home and garden. You can see more of my pallet wood projects on The Handy Mano blog, including a planter and garden seat. For this project, I’m using old scaffold boards that we found in a skip to create a chunky finish, but you can use any timber you have space, such as plywood or pallet wood.
YOU WILL NEED
- Old drawer or basket
- Timber – such as scaffold boards, plywood or pallet wood
- Paint and wax
- Table legs and brackets
- Angled brackets
- Wood screws of various lengths
- Drill and drill bit
- Screwdriver
- Hand saw
- Tape measure
- Sander and sandpaper
STEP 1
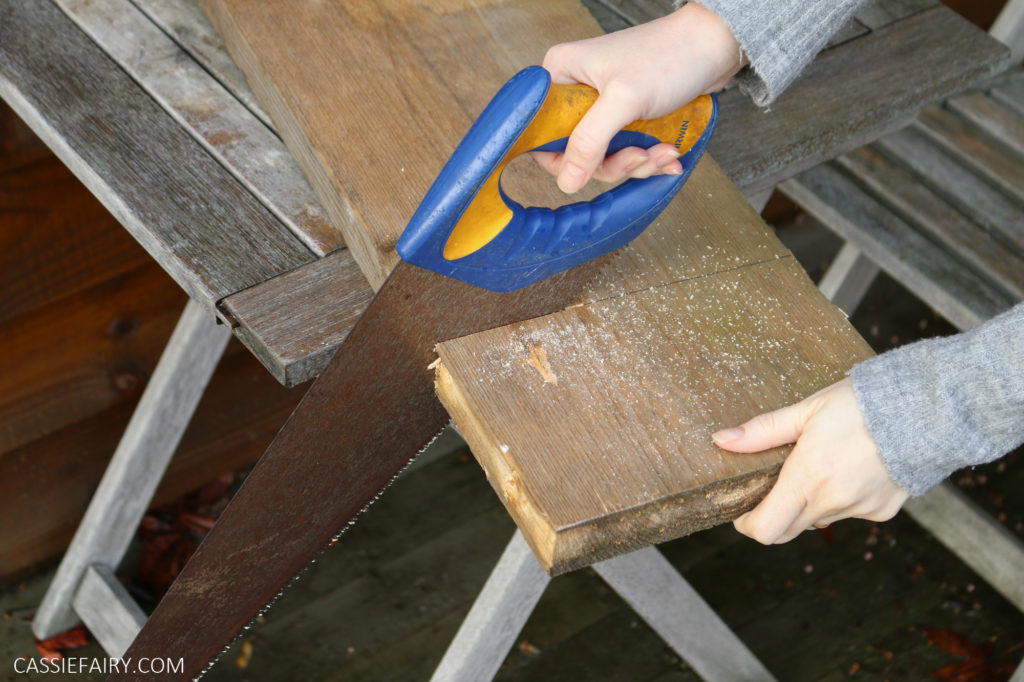
Measure the drawer to determine the dimensions of the surrounding wood frame. You will need a top, base and two side pieces, so cut these to the right length and width to surround your drawer. Alternatively, you don’t need to include a drawer, you can just made a narrow cubby hole to store your laptop beneath the desktop.
STEP 2
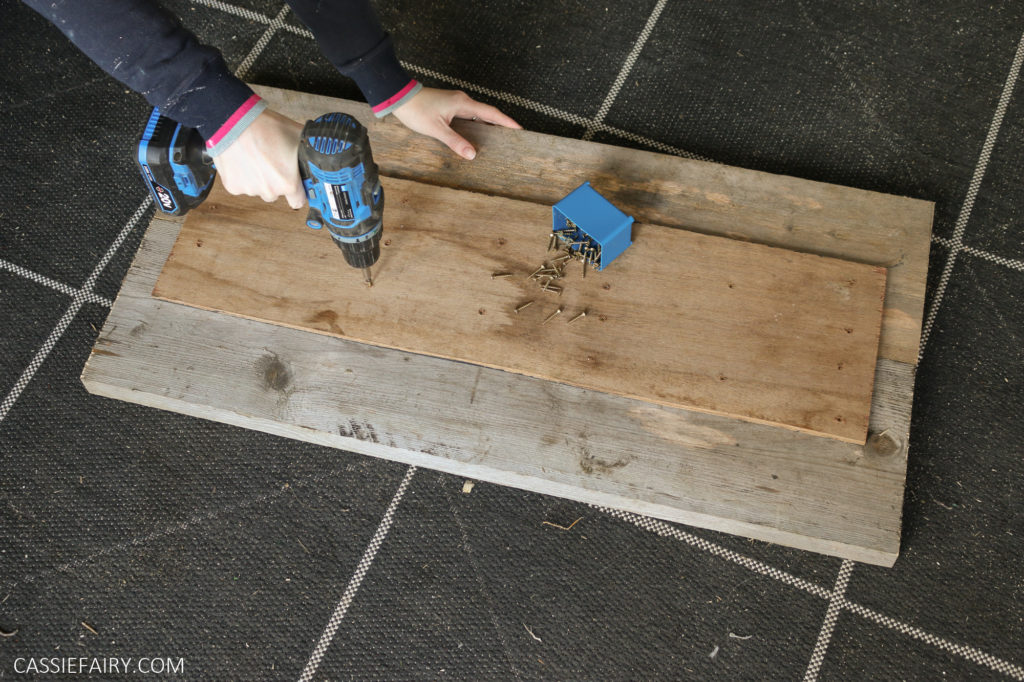
If you are using scaffold boards or pallet wood, you can join multiple pieces of timber together to create one larger piece for top and base. Here I’ve joined two scaffold boards together by screwing a piece of plywood to the underside.
STEP 3
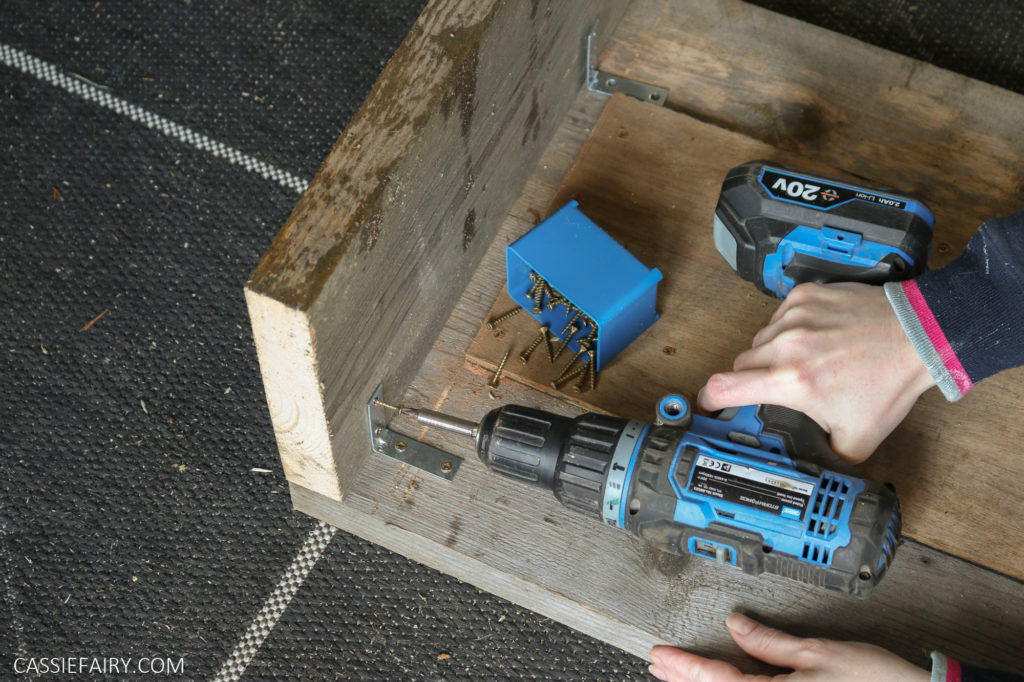
Put the desktop top-down on the floor and use angled brackets to attach the two side pieces to the top.
STEP 4
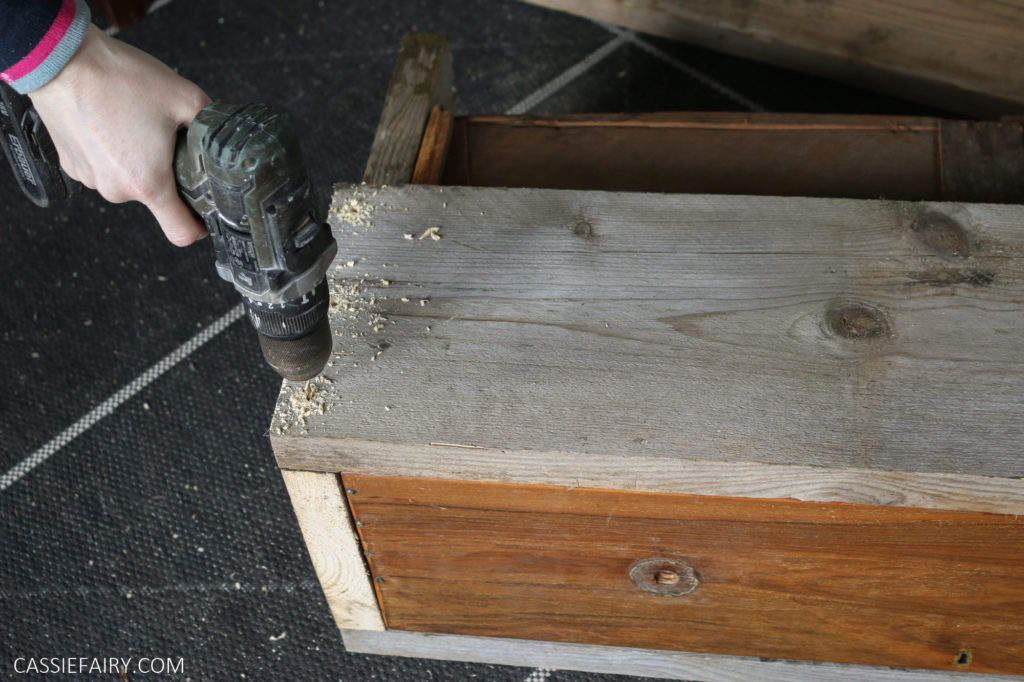
Add the drawer to make sure it fits well within the frame, and then add the base pieces of timber. Use a drill to make pilot holes in the base, going into the sides. The use long wood screws to securely attach the boards to the sides.
STEP 5
Remove the drawer and then sand down the entire frame until the wood is completely smooth with no chance of splinters.
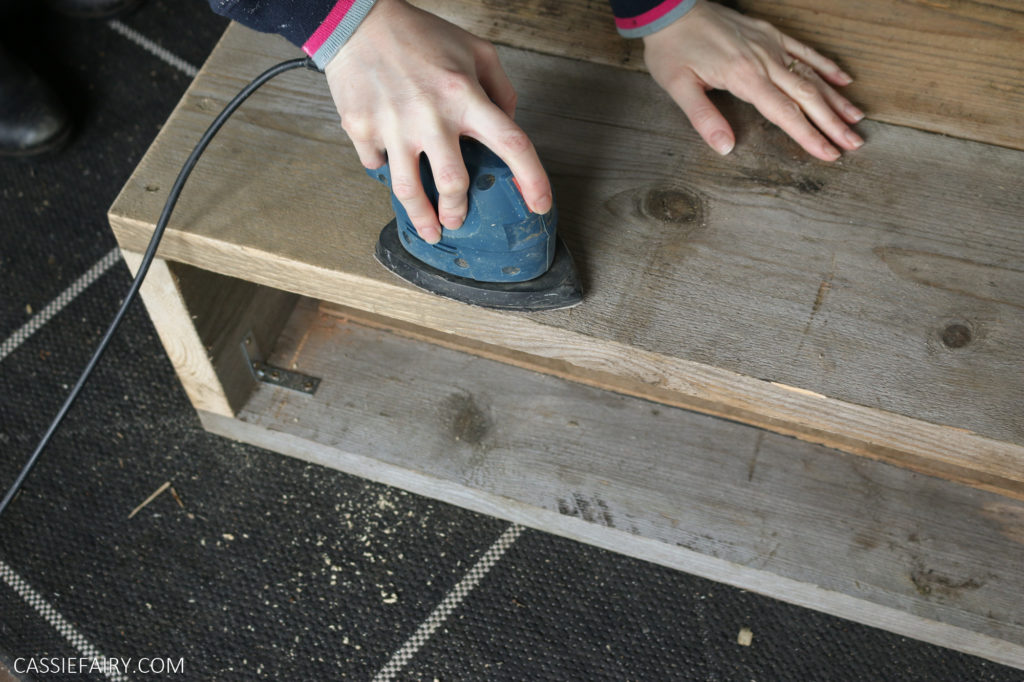
STEP 6
Paint the frame inside and out with your choice of paint. You may need a couple of coats of paint for a solid colour, or you may prefer a ‘washed’ finish with the wood-grain showing through. Alternatively, you can stain and wax the wood for a natural, rustic finish.
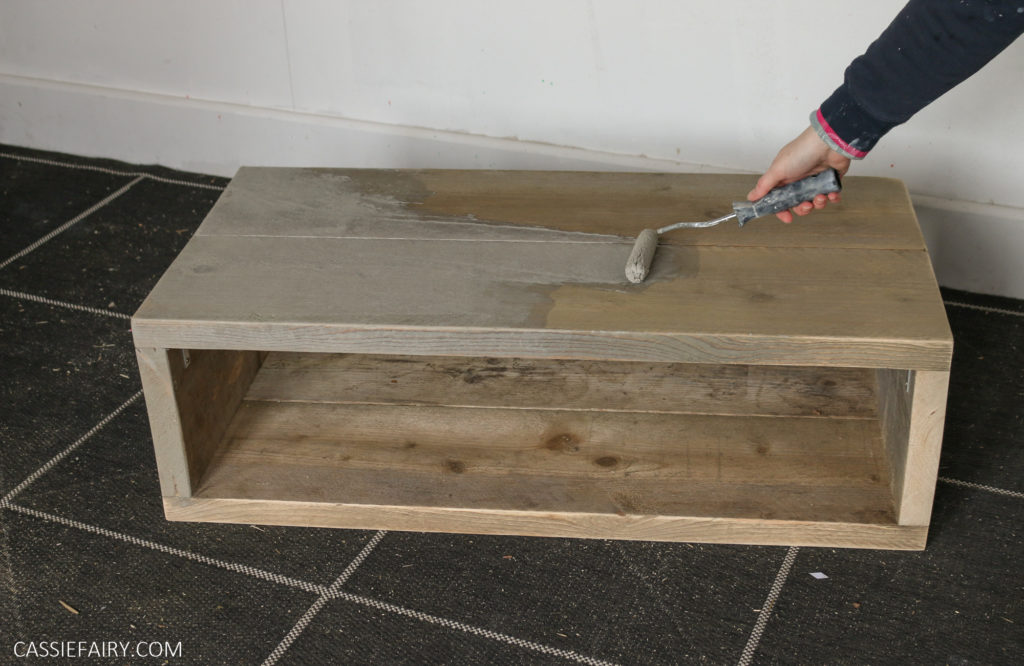
STEP 7
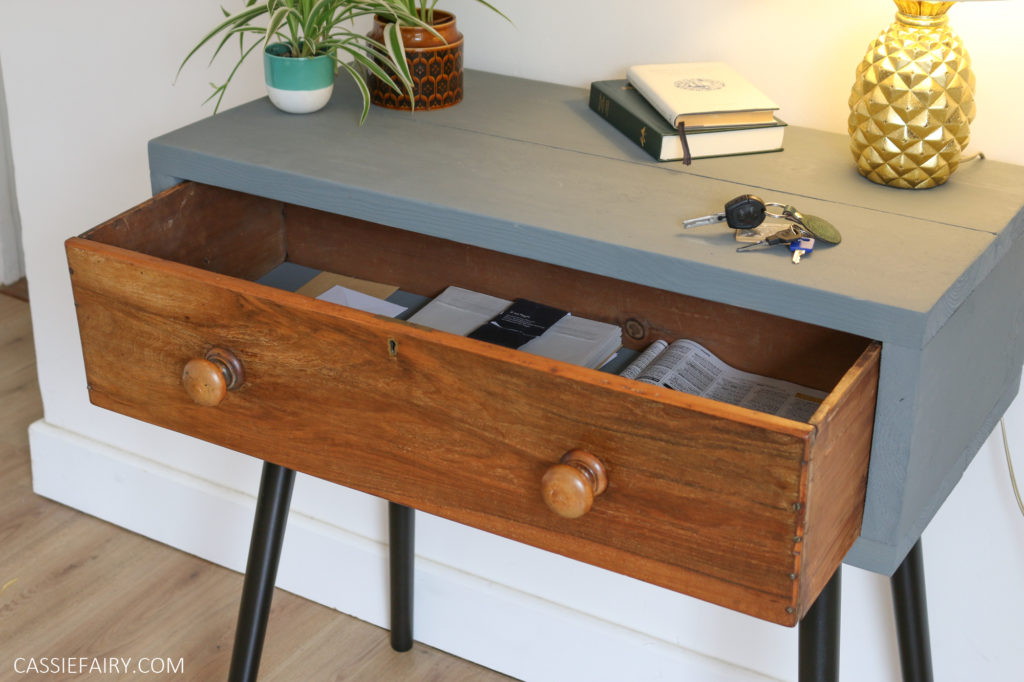
Re-finish or paint the drawer if you like. We waxed the drawer front to keep the wood effect and painted the base inside the drawer with the same grey paint as the frame.
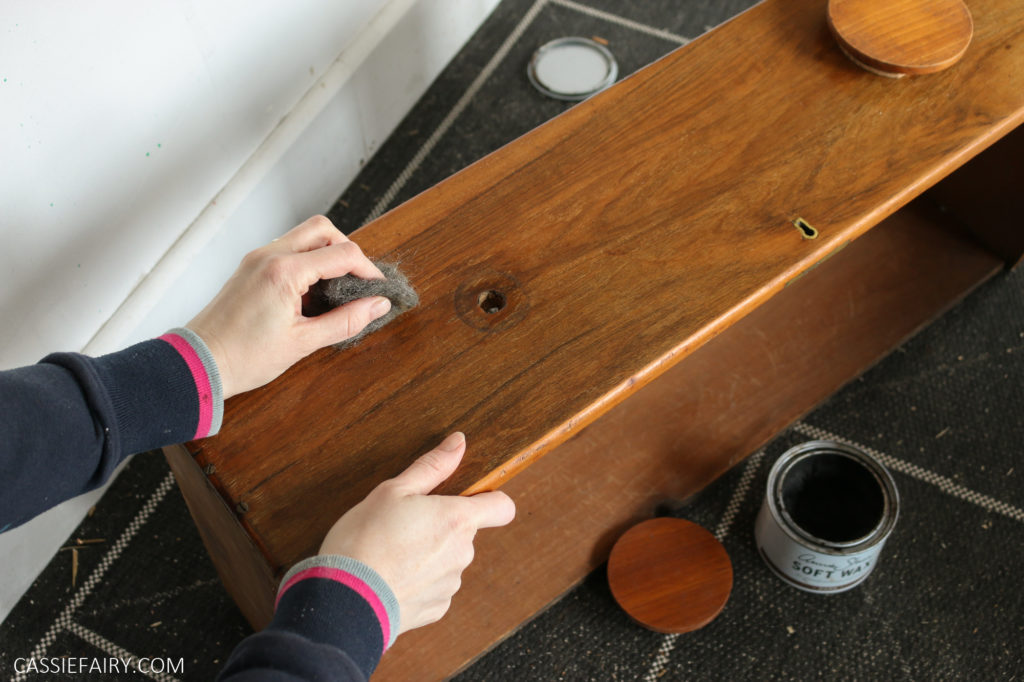
STEP 8
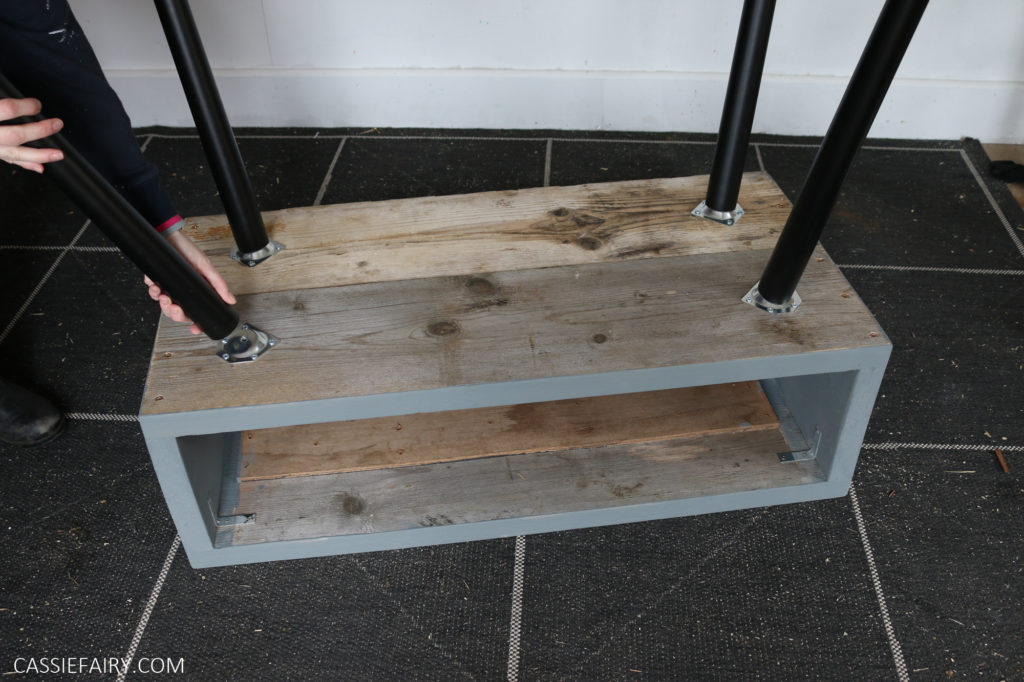
Attach the leg brackets to the underside and screw in the legs. You can buy wooden desk legs or go for metal hairpin legs of any height. Or you could recycle some old table legs – I’ve often bought broken mid-century planters and coffee tables at car boot sales in order to remove the brackets and re-use the tapered legs in a future project.
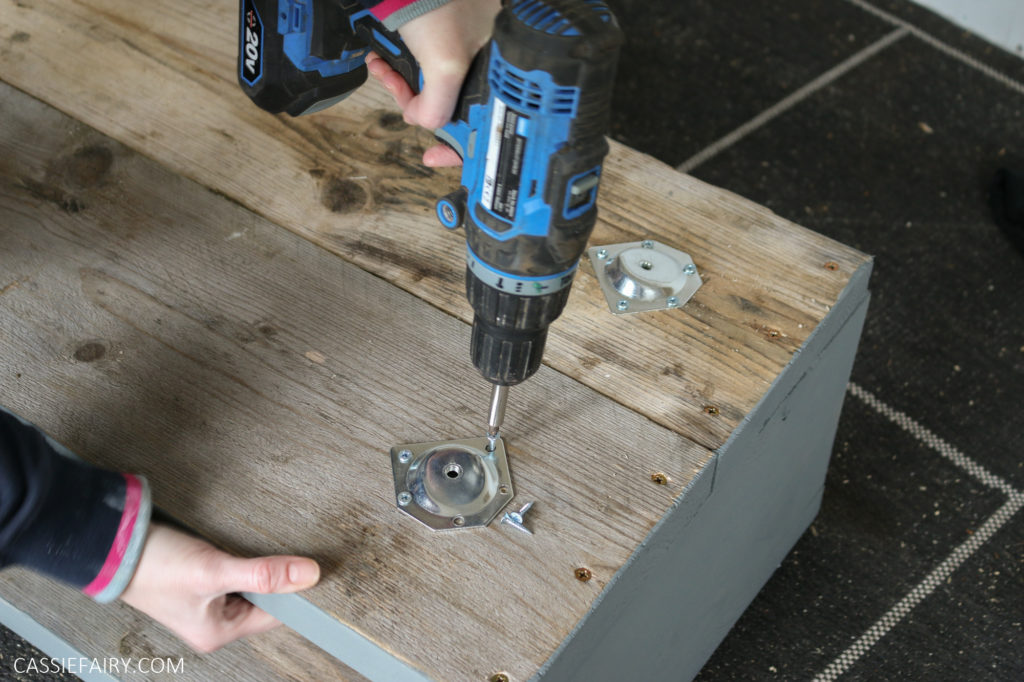
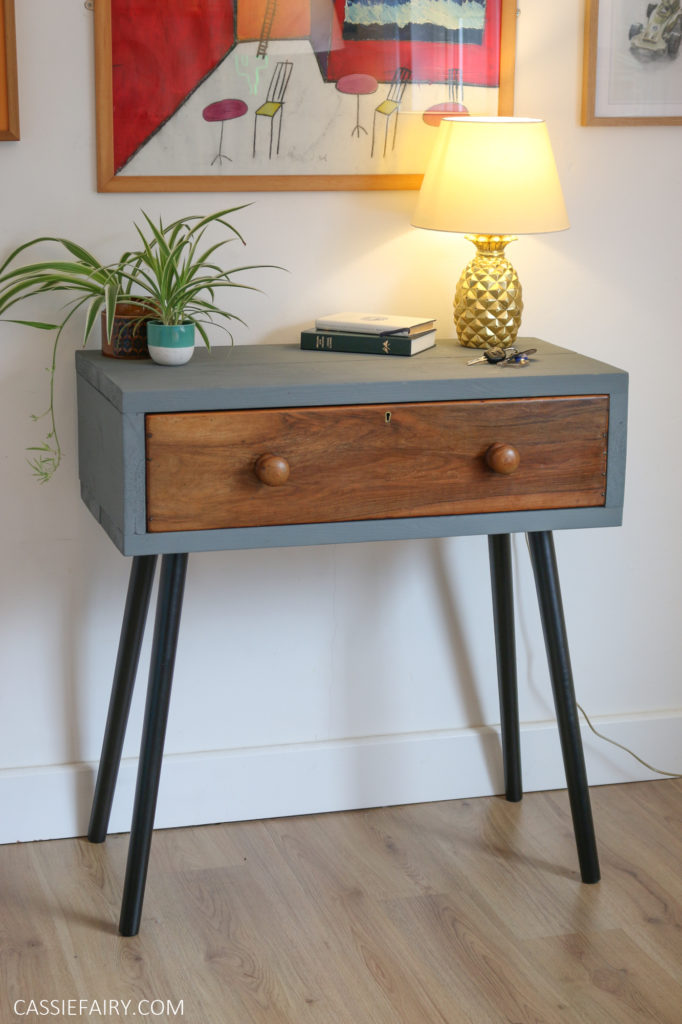
This project is completely customisable so you can make it any width, length, depth or height to suit your needs. Simply adjust the size for the purpose – you can make it taller and narrower for a hallway like this one, or make it table-height with a much thinner drawer if you’re using it as a desk.

This project can even be made into a DIY coffee table with castors or low legs, or can be made to fit into an alcove to create a fitted desk office space. Feel free to paint the wood, drawer and legs to coordinate with your home or finish with varnish for a smooth wooden look.
If you have a go at making this project please let me know how you get on and tag me in your photos @Cassiefairy on Instagram – I’d love to see what you create!
PIN IT FOR LATER
This article is a sponsored collaboration. The pink links in the content indicate a sponsored link or information source. The blog post reflects my own experience and the sponsor hasn’t had any control over my content 🙂


