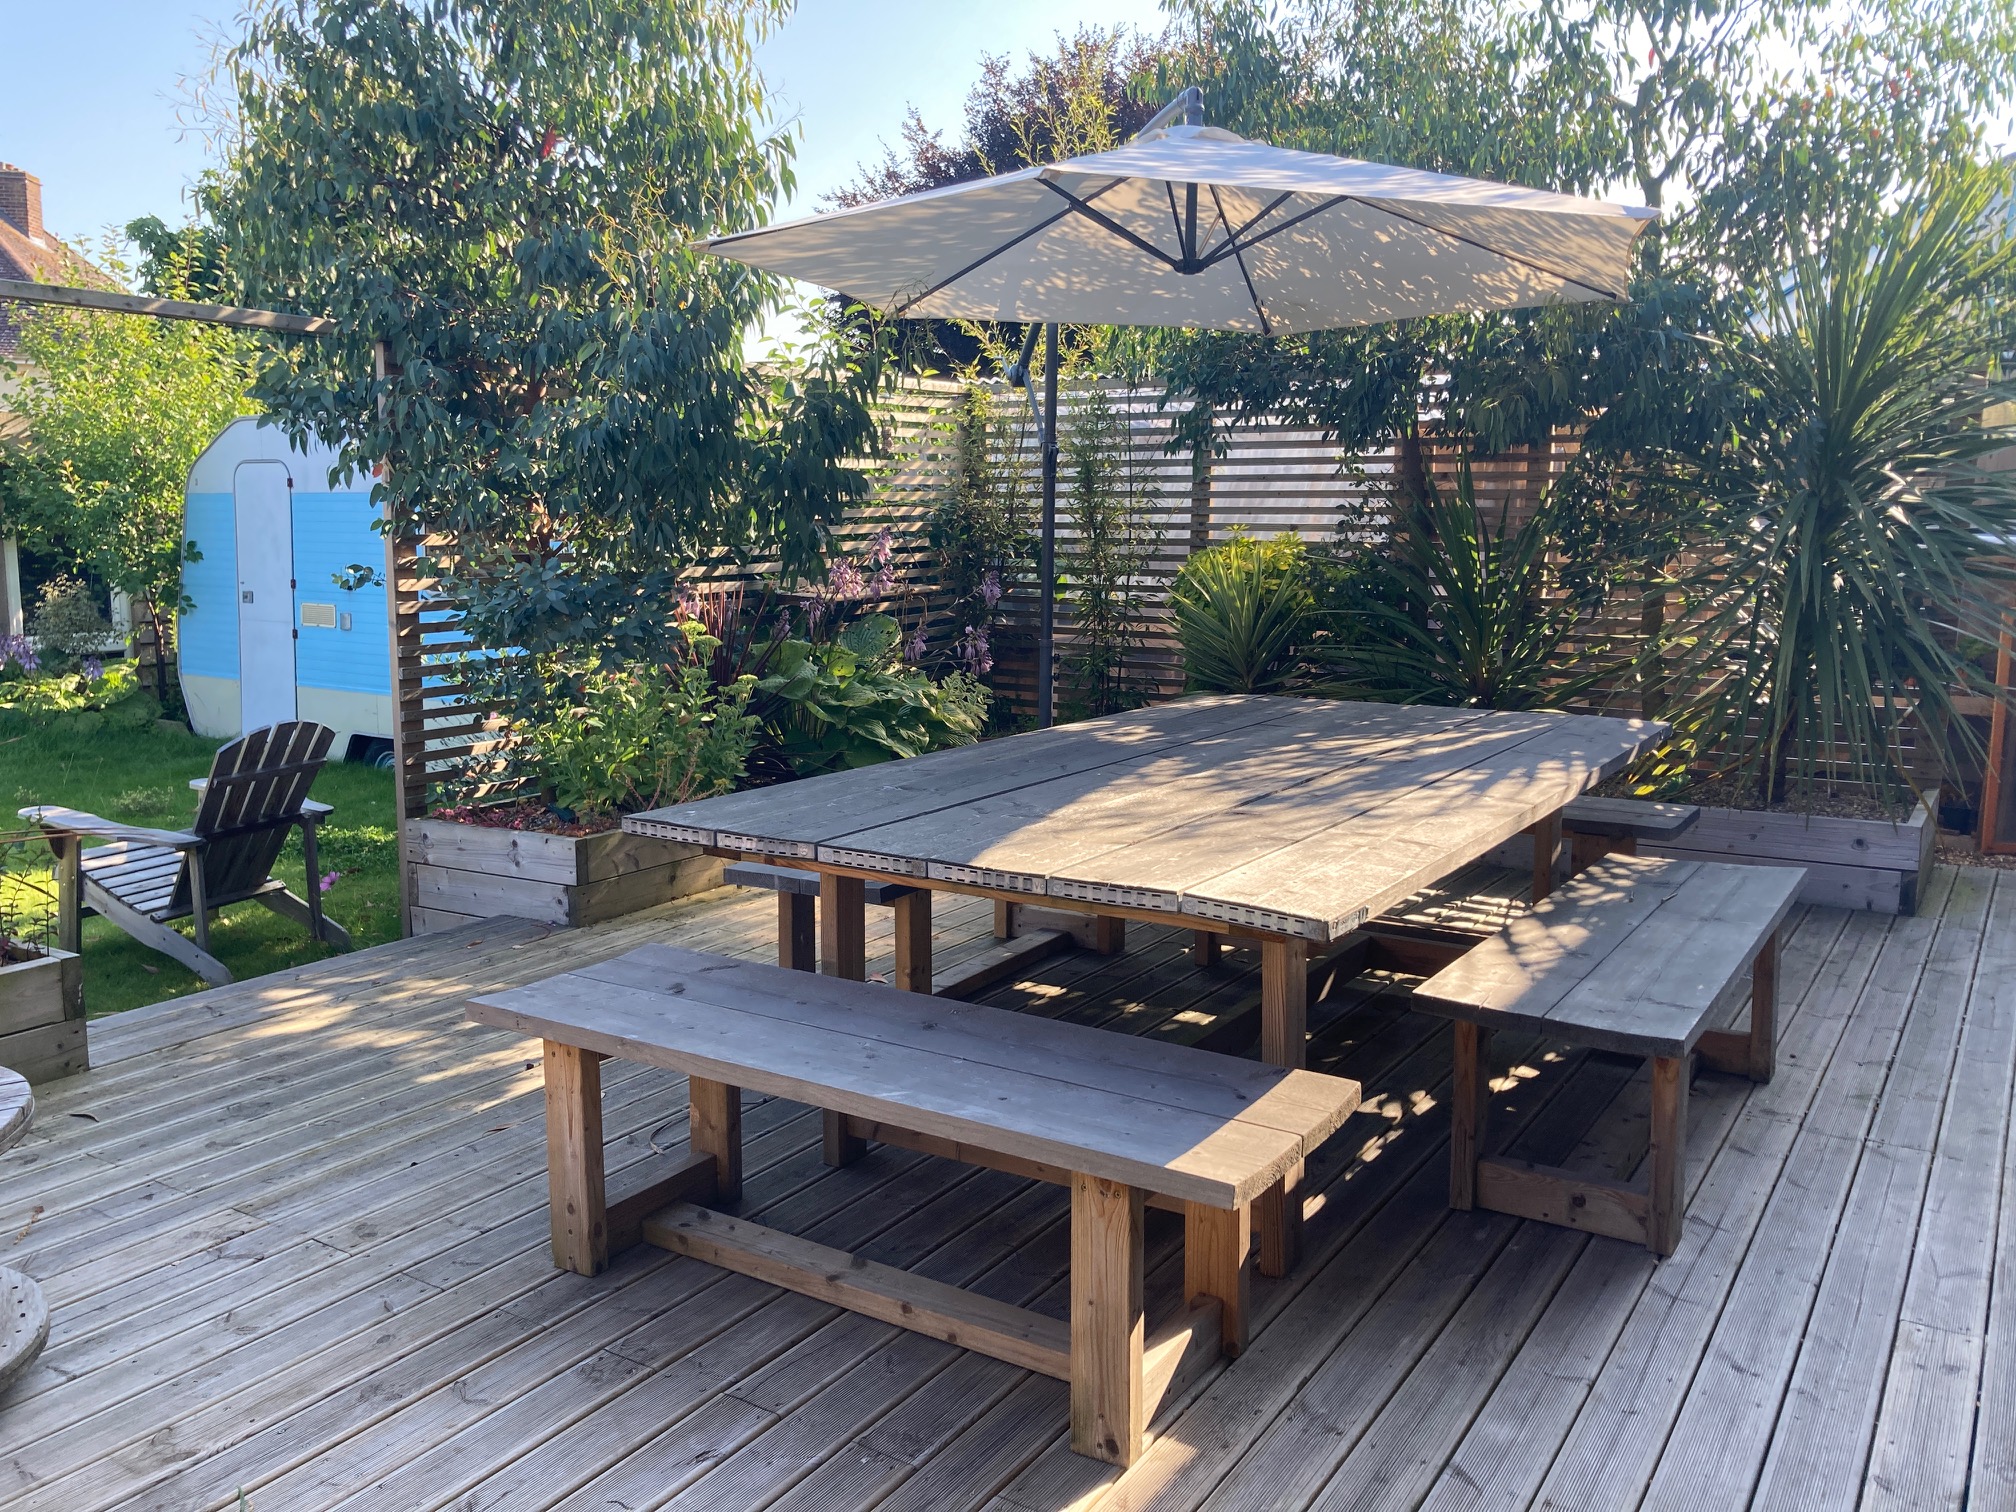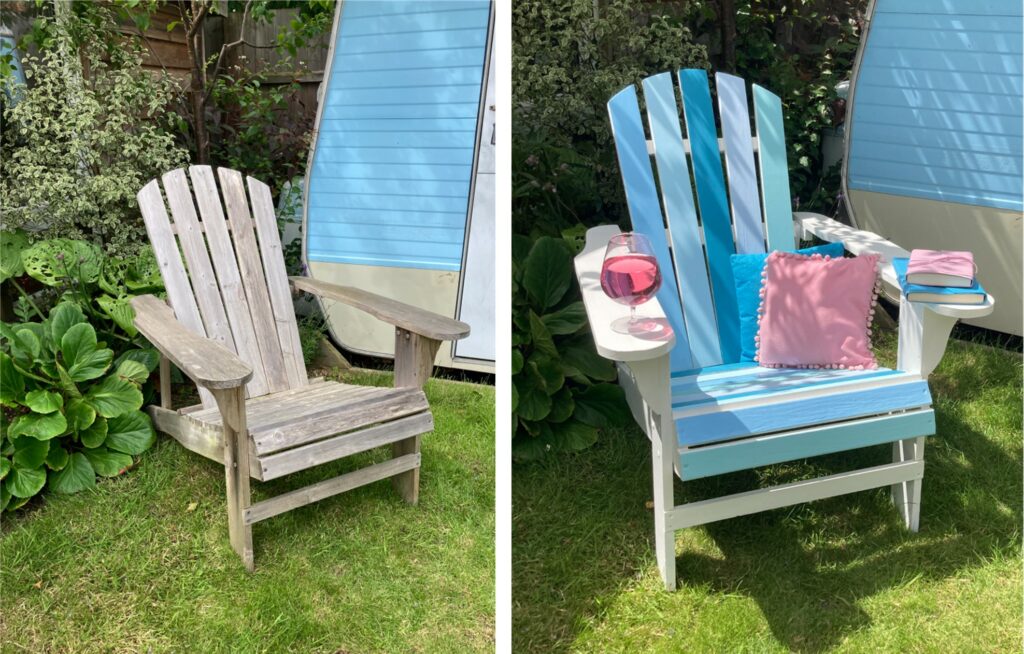
Even if your wooden garden furniture is wobbly, worn and weathered, don’t worry – it can still be salvaged!
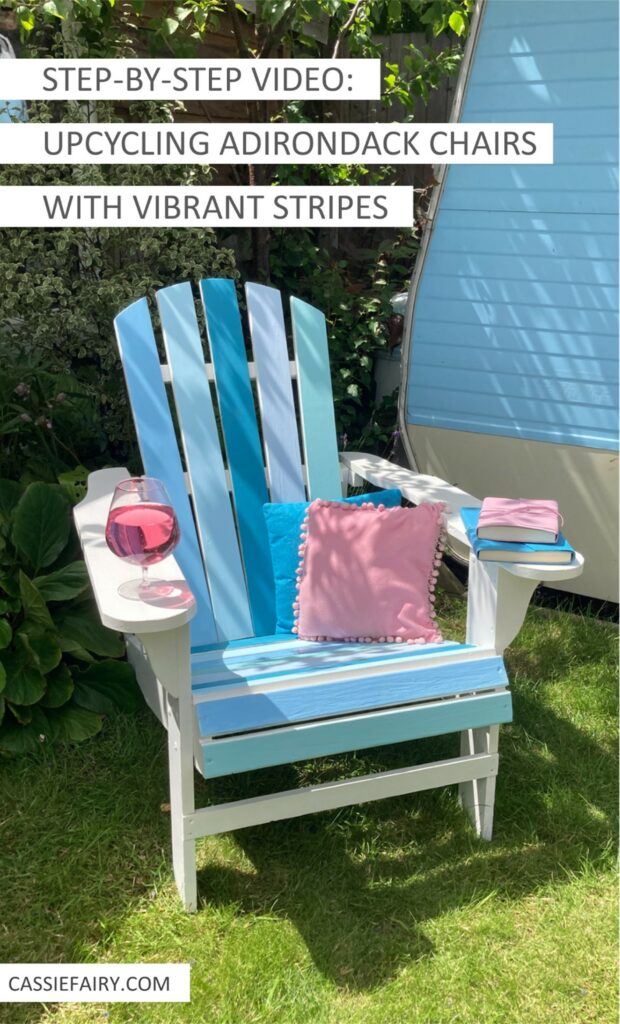
I thought my old Adirondack chairs were beyond repair when I started work on them. But, with a tightening of the bolts and a quick sanding down, they were ready to be revamped with a splash of paint.
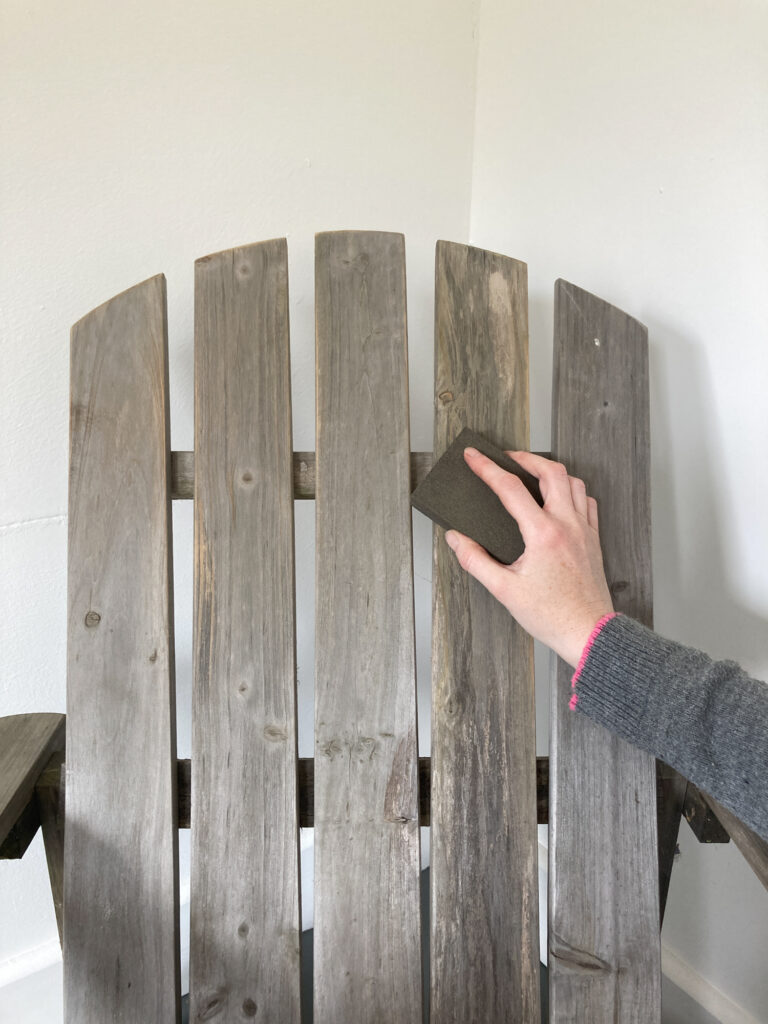
All you need to do is set aside a bit of time to paint them to give your garden an upgrade. Here’s what you’ll need for the project:
- Sandpaper or sanding block
- Screws or bolts and screwdriver to fix any loose parts
- White undercoat
- White Weathershild top coat
- Tester pots of paint in your choice of colours
- A clear weatherproof varnish
I found that the first coat of white paint took me about 45 minutes to do (it’s amazing how many angles there are!) and then each subsequent coat was about 20 minutes.
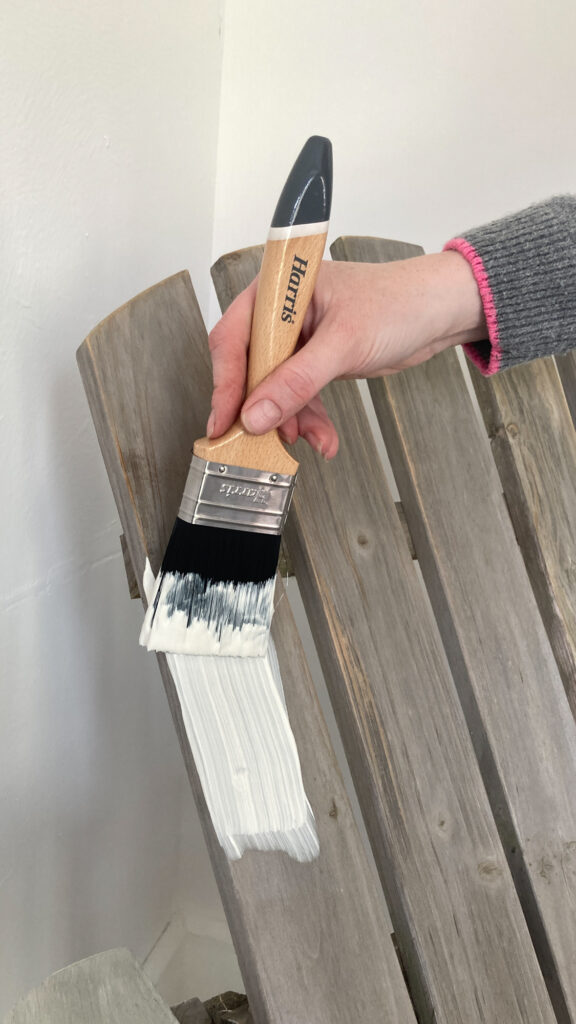
I did two layers of undercoat to get good white coverage and then added the colourful stripes. These were tester pots from the time that I was trying to choose a colour for my kitchen.
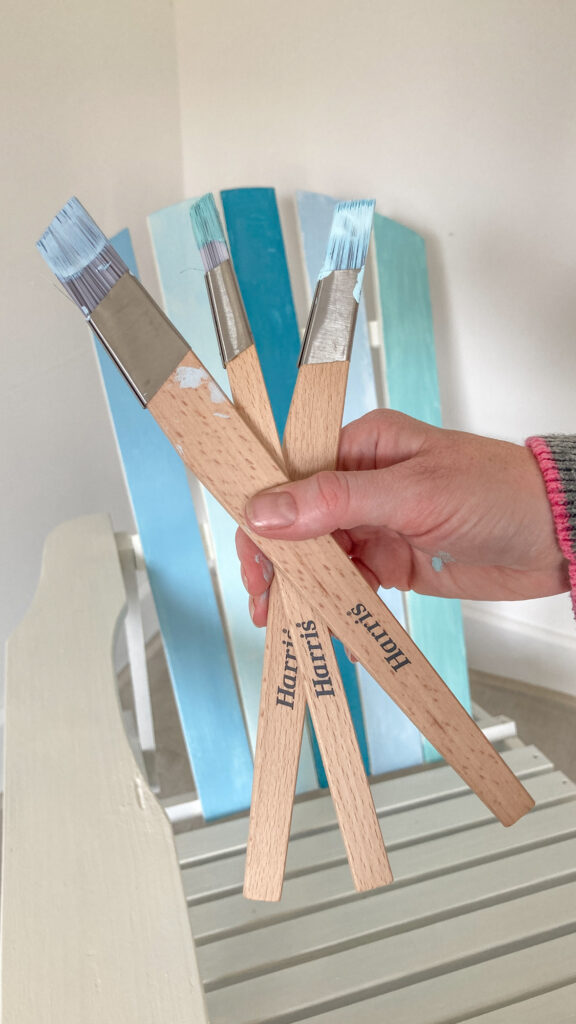
I then finished the white parts with a topcoat of Weathershield paint and added a protective clear layer over the blue stripes. Keep hold of any unused paint so that you can refresh the paintwork next year if the wintery weather causes any trouble.
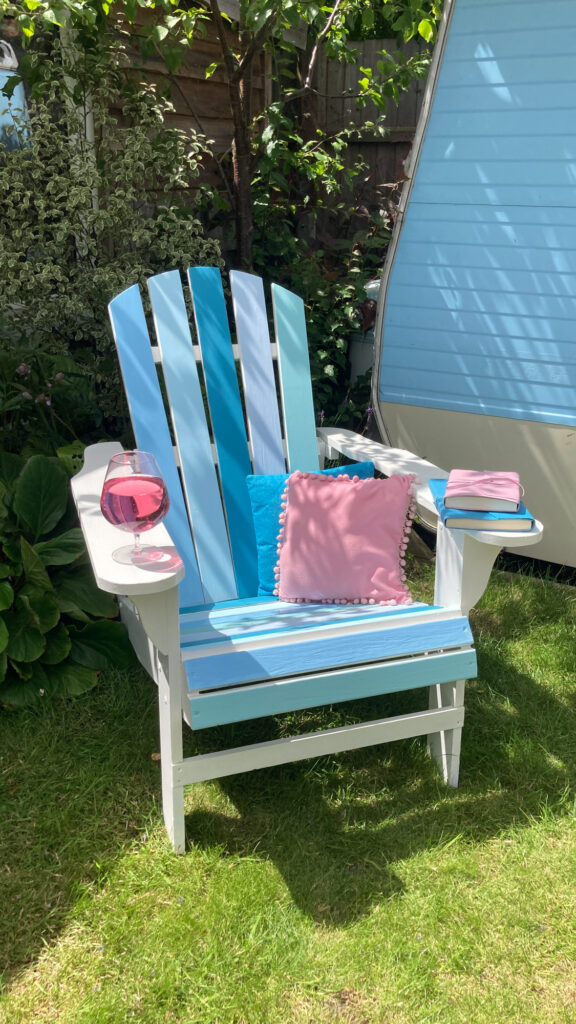
The chairs now coordinate with my little vintage caravan perfectly – what do you think of the colours I’ve chosen? You could do rainbow stripes for a fun look or match the colours to your existing garden furniture – or go for muted green hues for a natural feel.
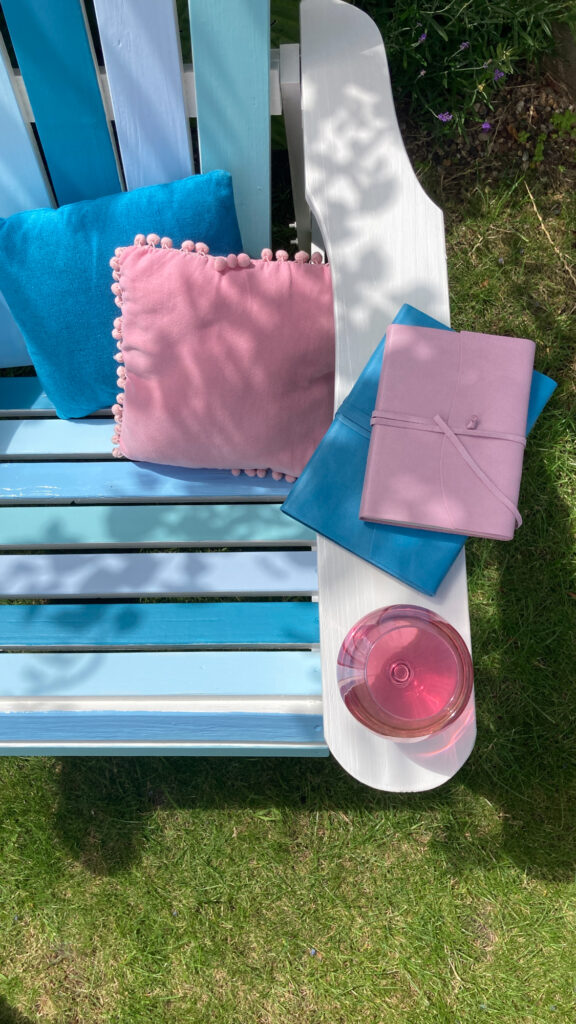
Here’s the full step-by-step video that I’ve shared with the Harris Brushes account on Instagram – I hope you like it! The vid makes it look so easy but actually, it WAS really a fun makeover to do!
Let me know if you have a go at revamping your old wooden garden chairs or benches in the comments below – I’d love to hear your tips for painting outdoor furniture. Plus, please tag me @Cassiefairy in your photos on Instagram so I can see your upcycling projects!
Pin it for later
