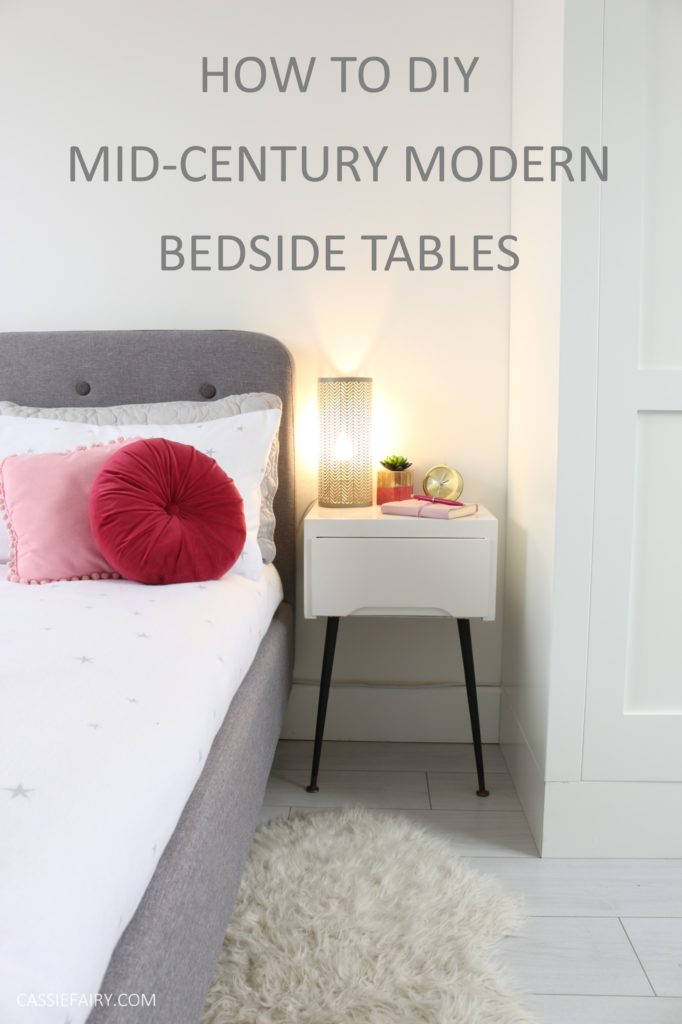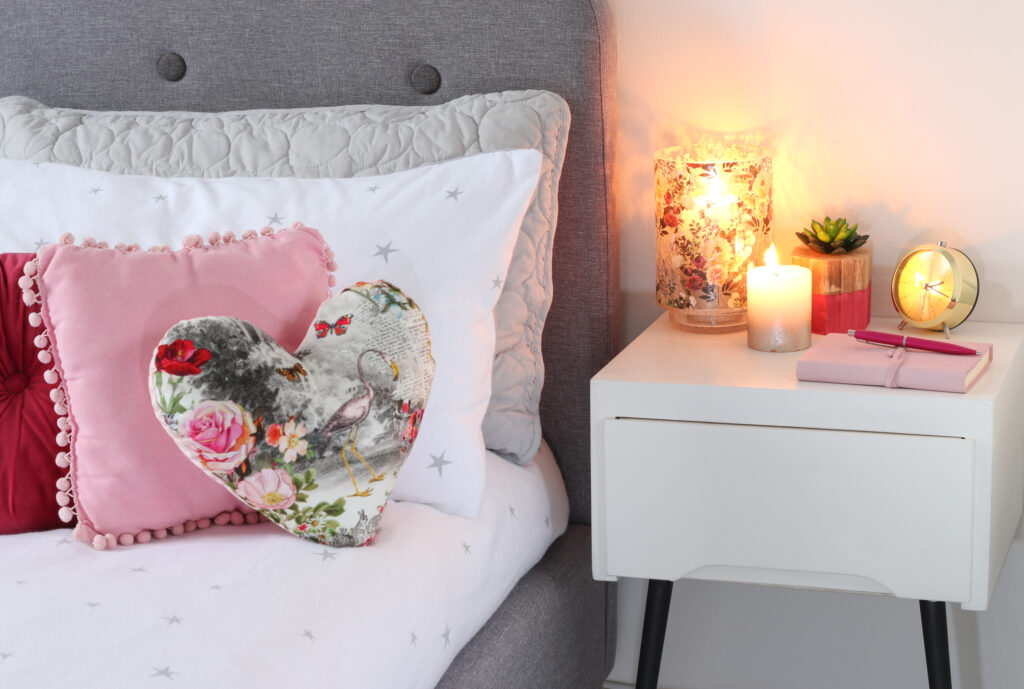
If you’ve only got the drawers left out of an old chest of drawers and have been wondering: ‘How can I upcycle these drawers?’, there are a few things you can do with them, including under-bed storage and creating a work-from-home desk or console table. And smaller drawers are ideal for this bedside cabinet project…
You will need:
- Old slim chest of drawers
- Thin plywood
- Wood glue
- Wood filler
- Rust-Oleum Surface Primer in White
- Rust-Oleum Painter’s Touch in Gloss White
- Set-square
- Hand saw or jigsaw
- Drill with a drill bit to match the screws and wood screws
- Screwdriver
- Sander and sandpaper
- Corner brackets
- Legs and matching screw-plates
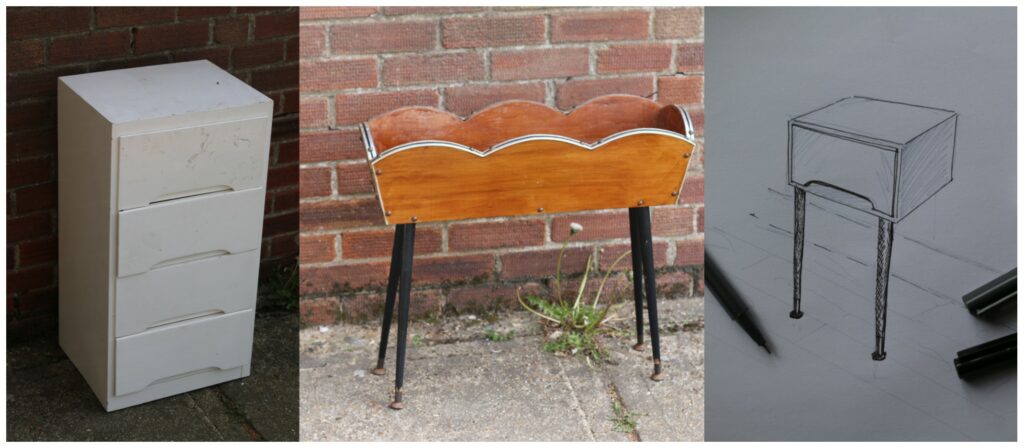
Step 1
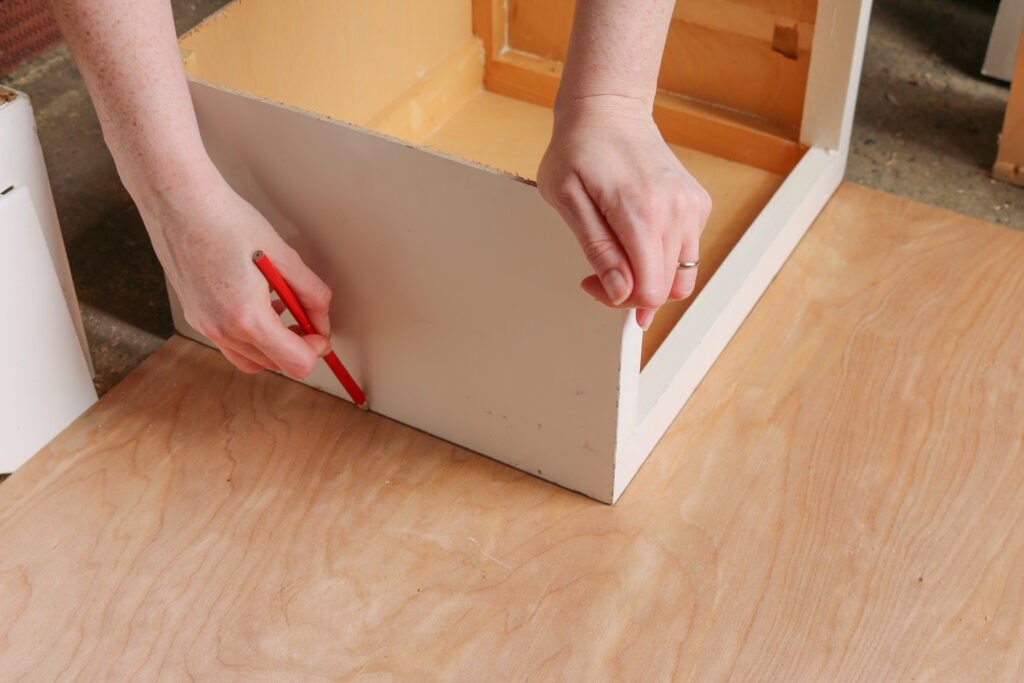
Remove the middle drawers from an old chest of drawers. You’ll be using the top and bottom drawers and the surrounding frame for this project. Mark the point where the bottom of the top drawer meets the frame. Using a set square, mark this line across the sides and back of the frame.
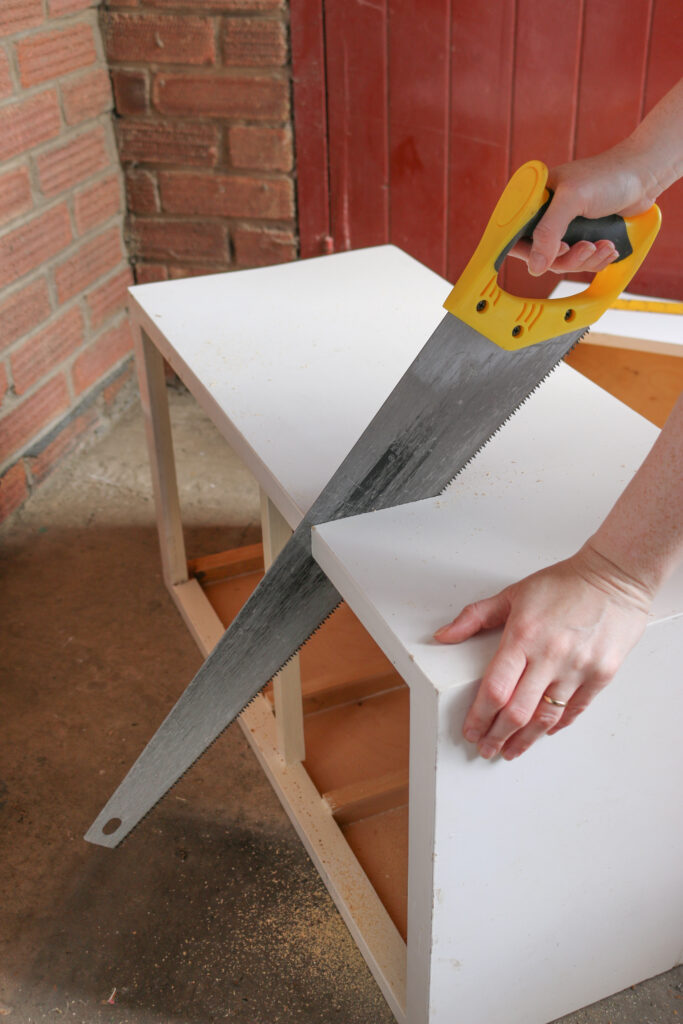
Step 2
Use a handsaw or jigsaw to cut along the line to cut off the top of the frame. Repeat the measuring and cutting steps on the bottom section of the chest of drawers, this time marking a line at the top of the bottom drawer.
Step 3
Use the top of the frame as a template to mark out a new base piece on thin plywood. Cut out the new base using a hand saw or jig saw. Repeat this step, cutting a second piece to make a top for the bottom drawer.
Step 4
Line up the piece on the base of the top frame and use a drill to pre-drill some screw holes around the frame. Remove the ply wood and add a line of wood glue around the frame before putting it back in place. Screw the base to the frame and allow the wood glue to dry thoroughly. Repeat this step to add the new top to the bottom frame.
Step 5
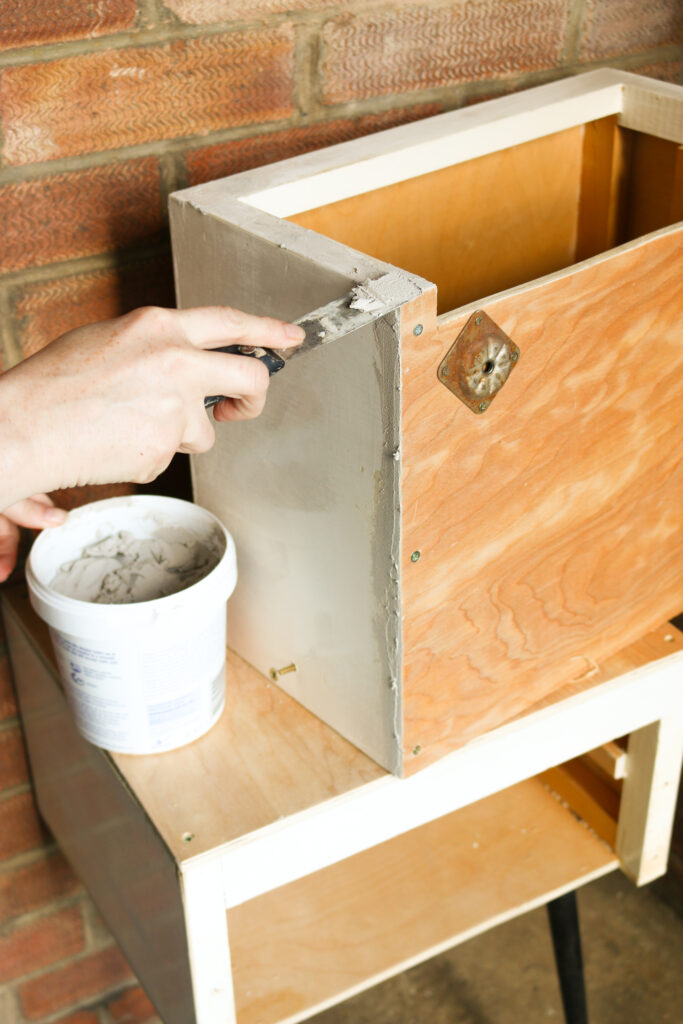
Give the bedside tables a light sanding all over and then fill all the screw holes with wood filler. Allow to dry before sanding smooth. Wipe away any dust.
Step 6
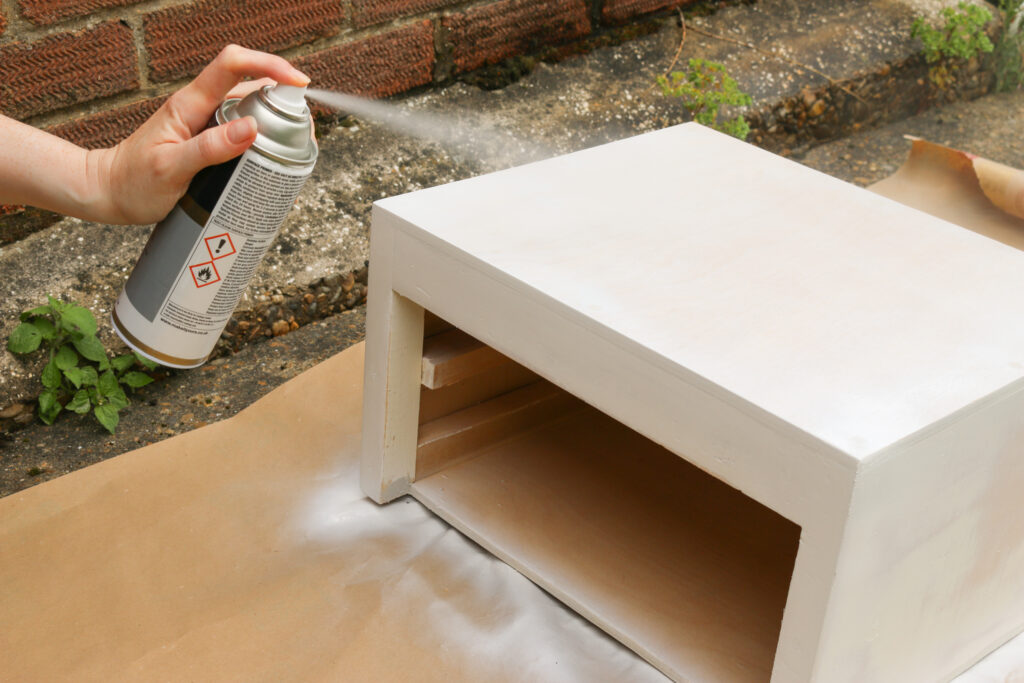
Give the bedside tables a coat of white primer. Allow to dry before painting with a top-coat of white gloss spray paint. Allow to dry and add a second coat if needed.
Step 7
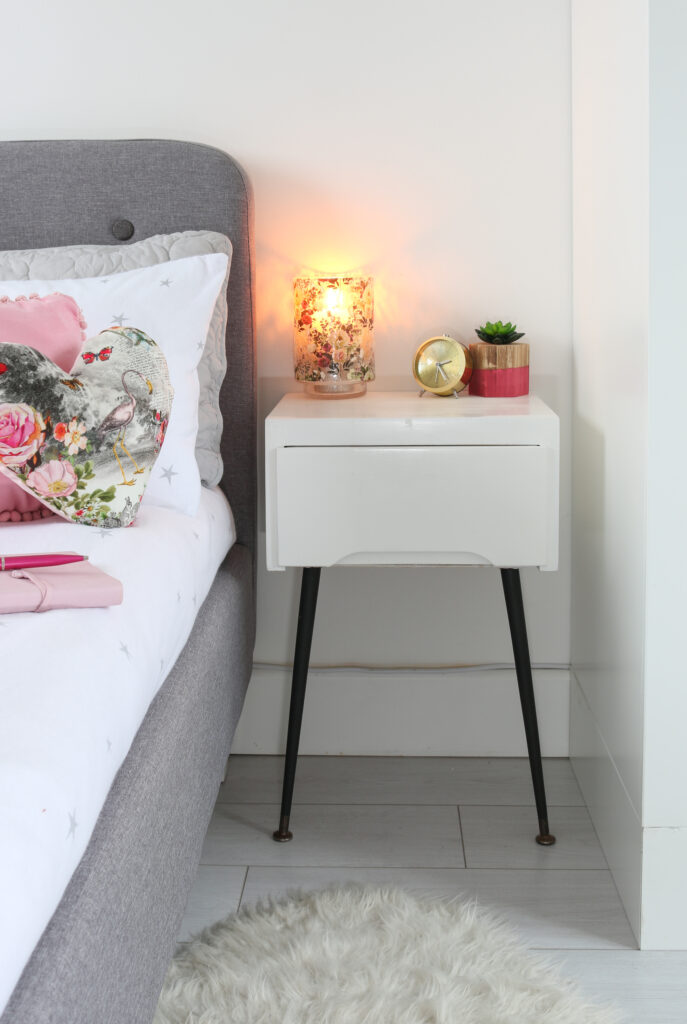
Attach the leg screw-plates to the front of each bedside table and screw the legs in. Position 2 corner brackets at the very back of the underside of each beside cabinet. Screw into the base, leaving one side of the corner bracket facing downwards. Use this bracket to attach the bedside cabinets to the wall beside the bed.
If you would prefer freestanding bedside cabinets rather than wall-mounted tables, you can add four screw-in legs to each drawer unit.
Top tips
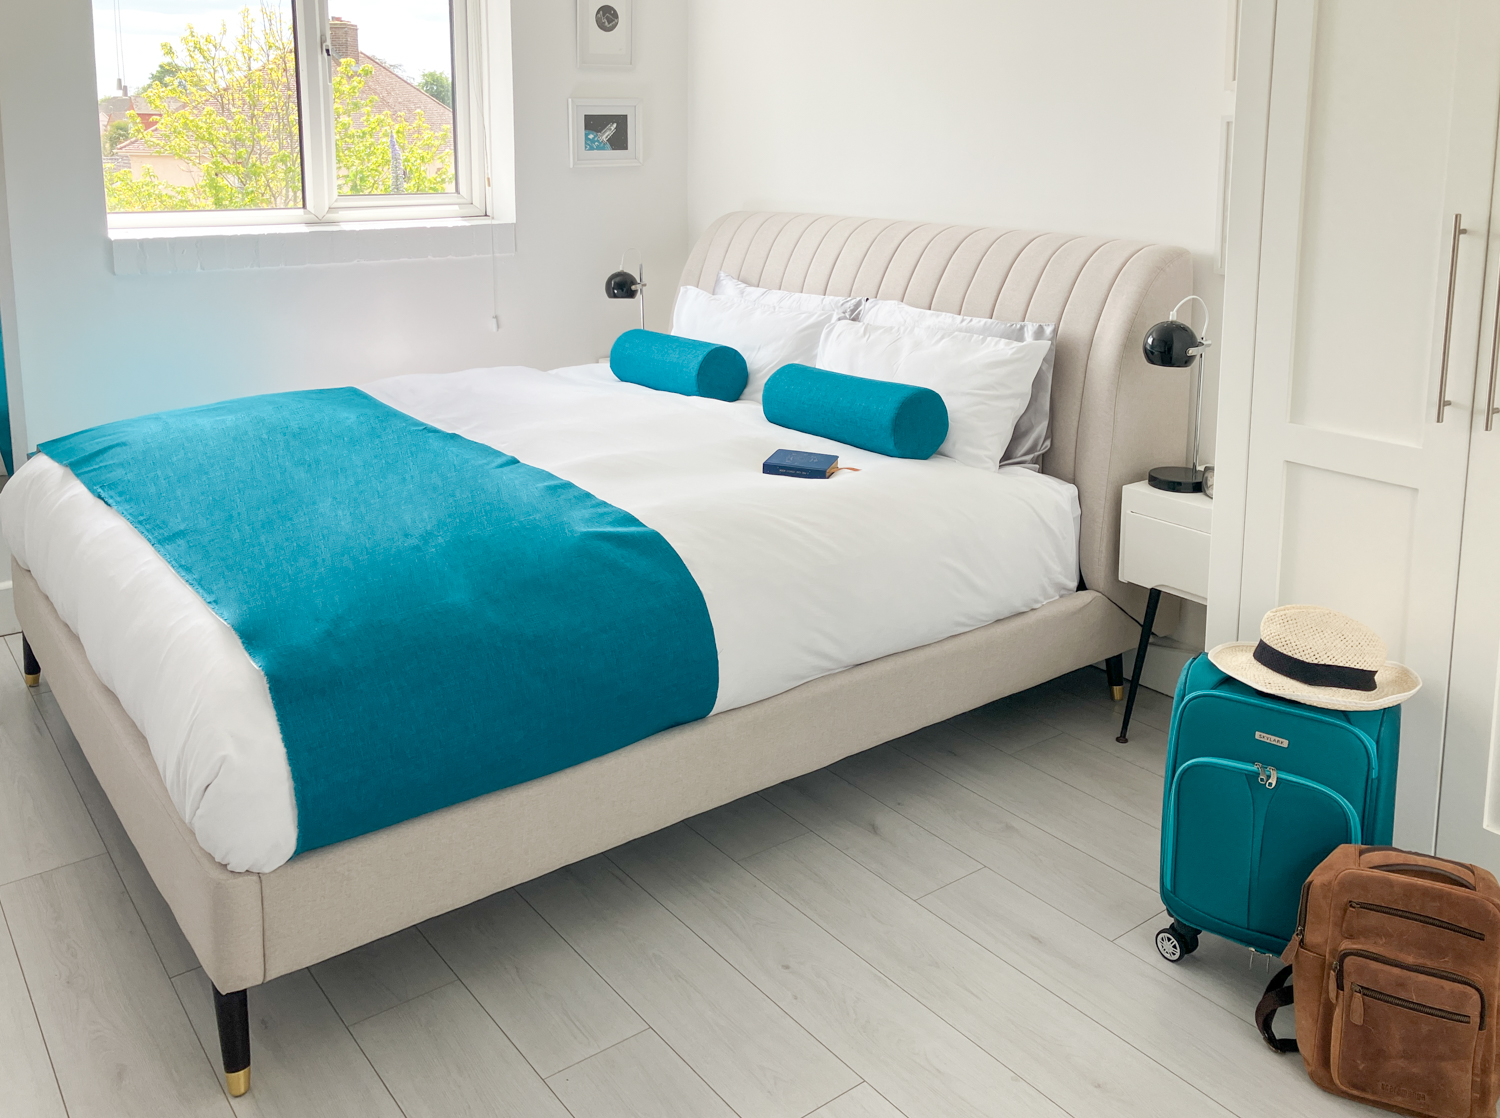
If you only have old drawers but no frame, you can still turn them into a bedside cabinet like I did with in my guest room DIY bedside table project. Simply build a frame to fit around the drawers and add legs to make the cabinet whatever height you wish.
When painting your bedside cabinets, why not go for a bold colour to add a contrasting accent colour to your bedroom? Or simply spray paint the legs in a bright neon or metallic tone to make a feature of the mid-century style legs.
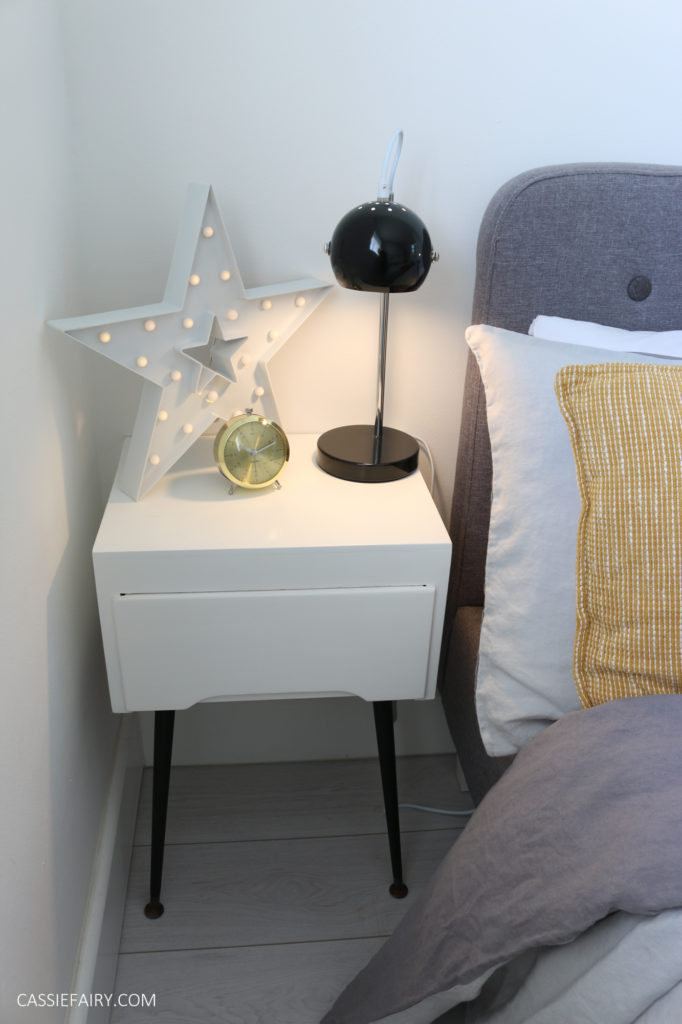
I’d love to see how you get on with your own bedside unit DIY projects so please tag me in your photos on Instagram @cassiefairy.
Pin it for later
