I am forever spotting gorgeous vintages dresses when I go for my weekly rummage in the charity shops but I am often put off from investing in an outfit because it is far too big for me. Last week, I tried on this vintage shirt dress from Oxfam, which was around 3 sizes too big for me, but I loved the (so on-trend!) tropical pattern of the fabric that I decided to give it a new home and see what I could do to make it fit me.
The dress didn’t have any labels in it, so it may well have been handmade in the first place so I didn’t feel too bad making adjustments to it, although that first cut is always difficult, because I don’t want to ruin something that has survived so many years! At least it will be worn if I can make it fit me, whereas it would be relegated to the back of my wardrobe if wasn’t brave enough to make any changes, so I got my scissors out and set to work.
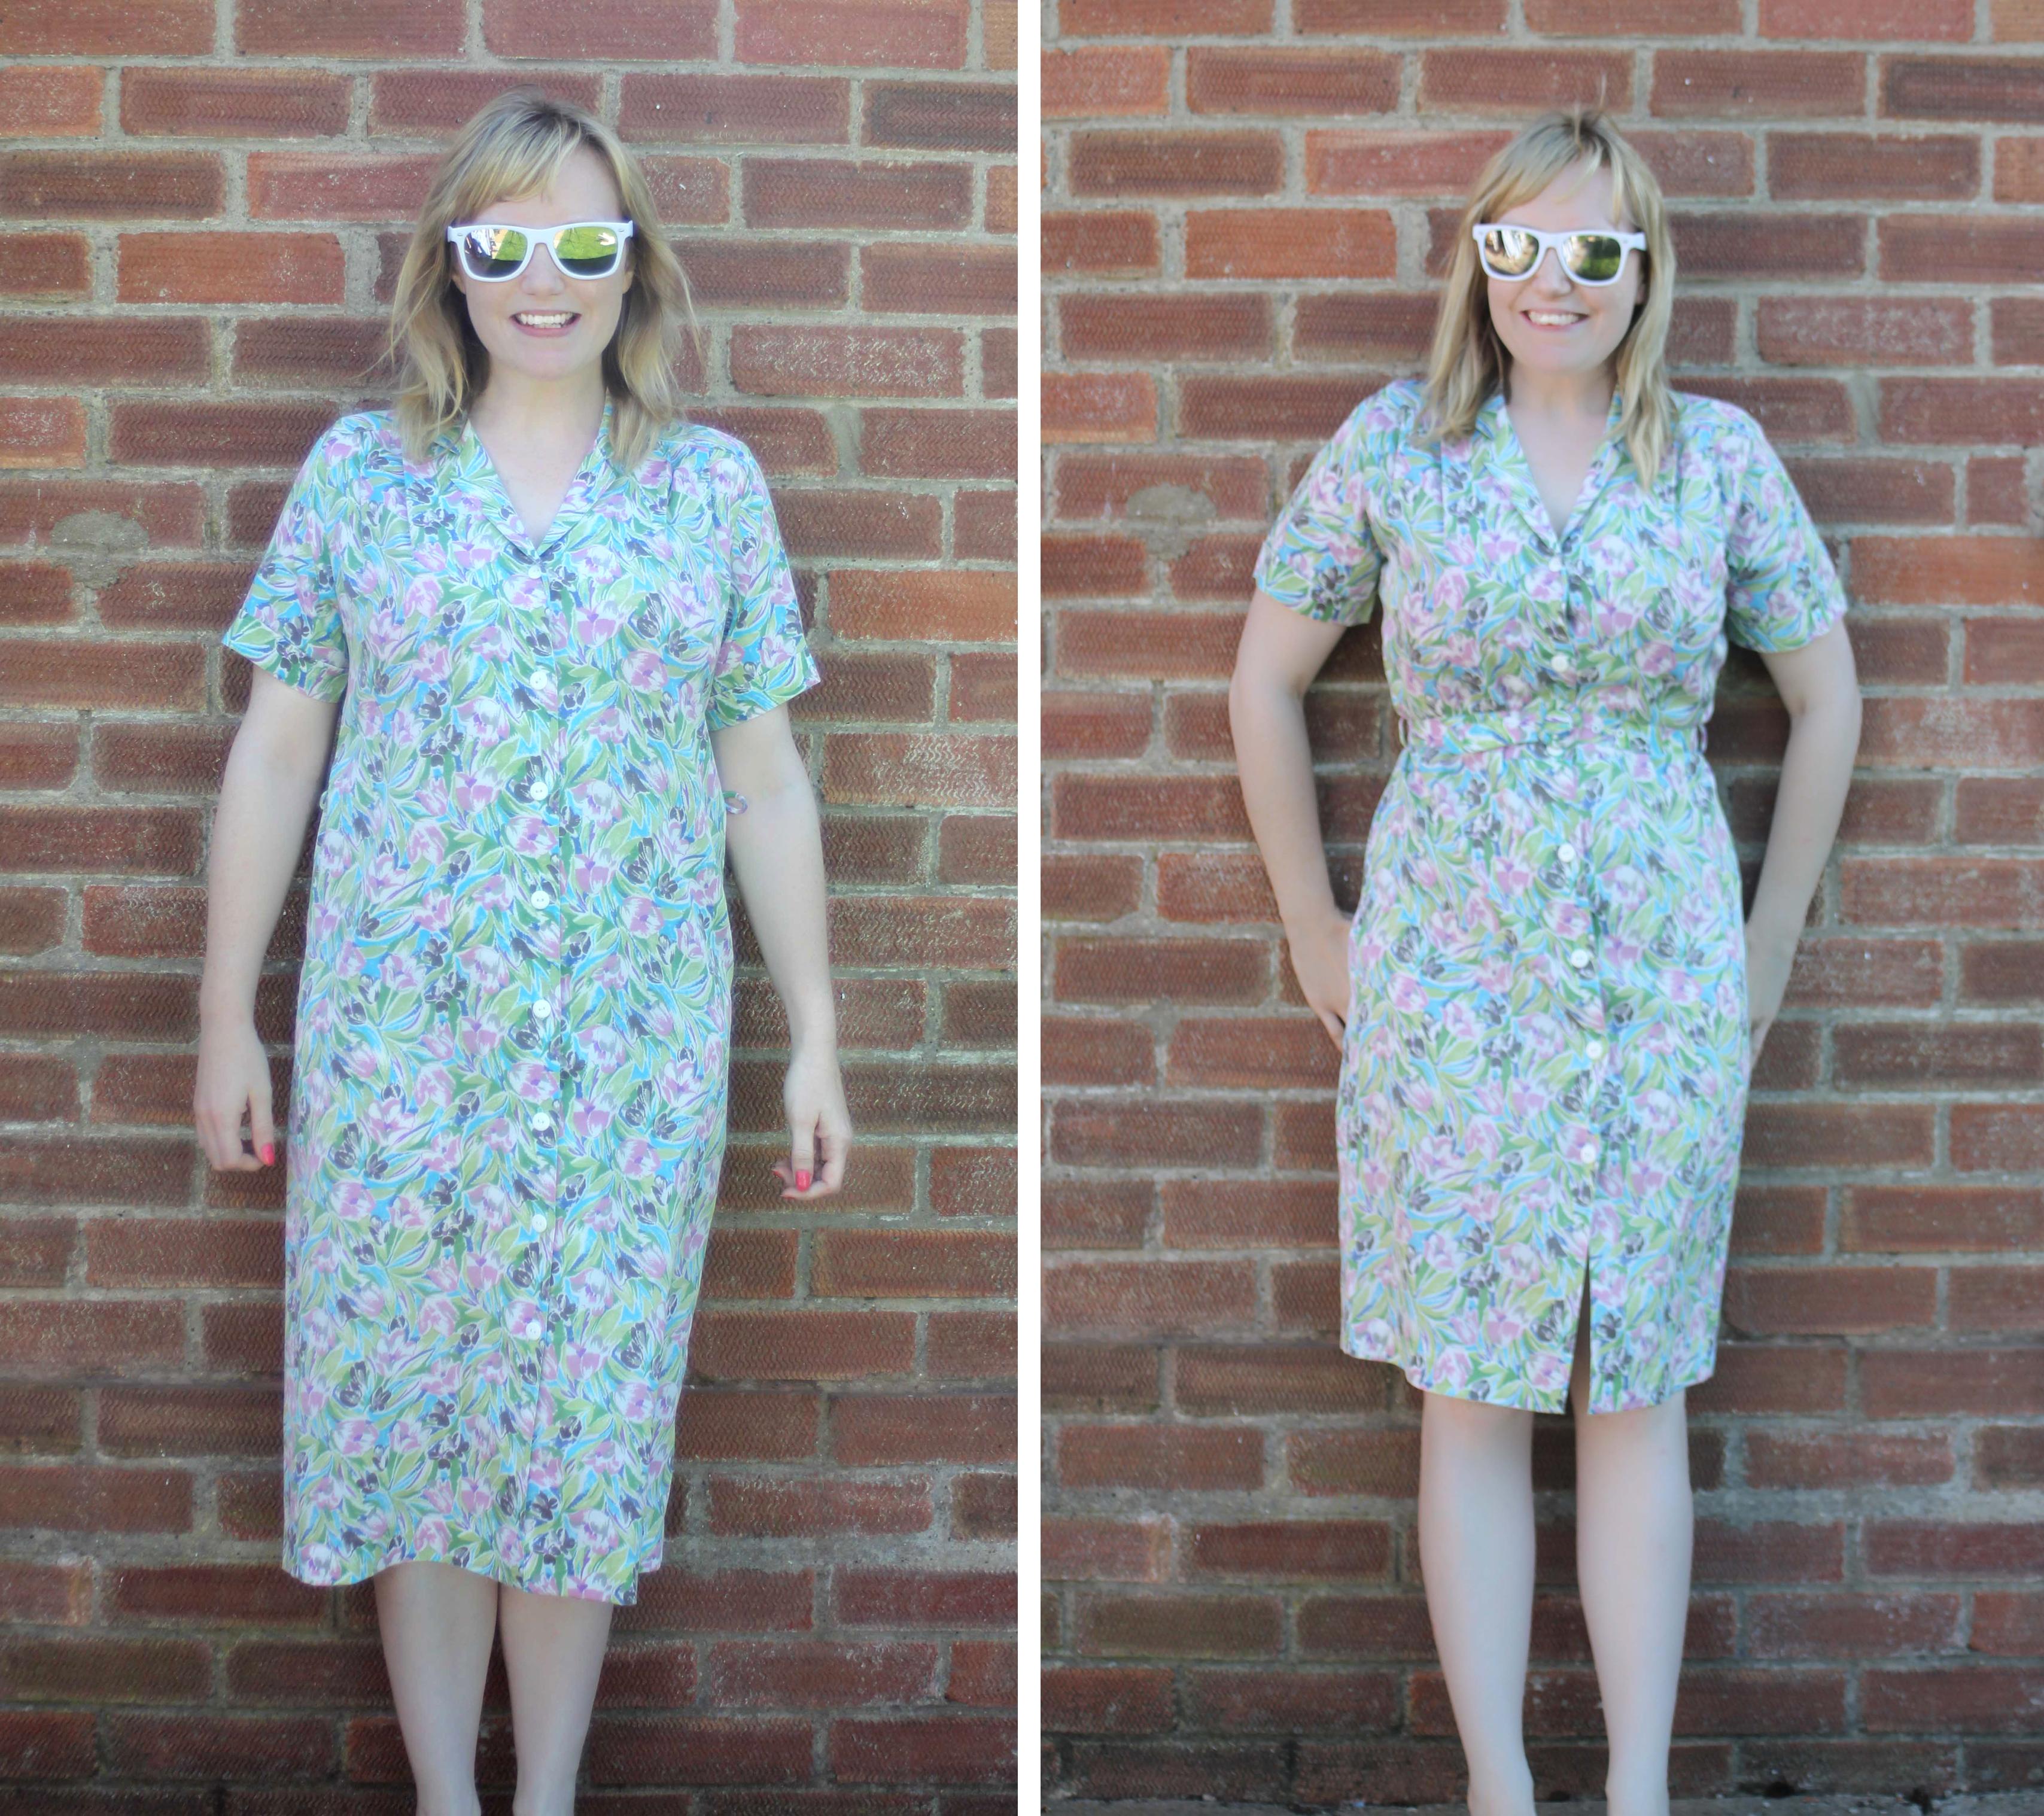
- First of all I put the dress on to see where the adjustments needed to be made. The shoulders were too wide, the side seams could be taken in about 6 inches and I wanted to make it into a knee length dress, otherwise it would be too long for me. So I pinned down the sides to make it fit, pinned up the shoulders and measured how much fabric would need to be removed in order to make it knee length.
-
I began by stitching up the side seams by following the line of the pins to create a more figure-hugging shape, trimmed off the excess fabric and zig-zag stitched over the seam to prevent it from fraying.
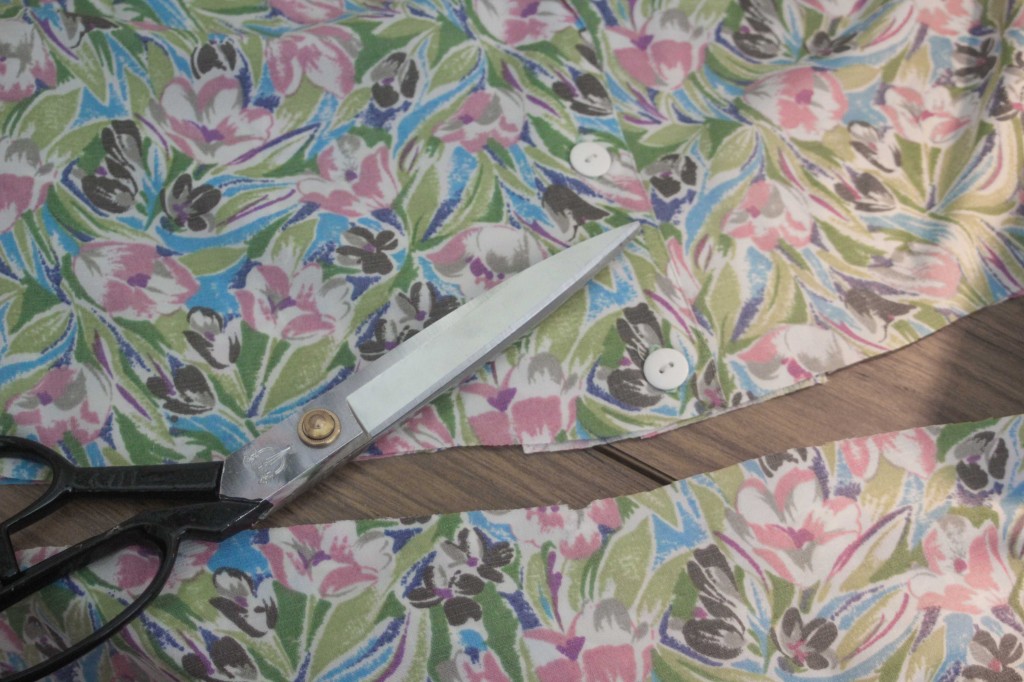
- Instead of taking up the hem of the dress, which already had a perfect blind hem stitched in place, I decided to shorten the dress at the waist. So I cut the dress straight across at my waist point (a very scary moment – I needed to be brave!) which left me with a ‘top’ and a ‘skirt’.
-
I used the measurement for the right length that I noted down whilst trying on the dress, which was 4 inches shorter, so I cut a strip 4 inches deep from the top of the skirt – cutting straight across again.
-
I then reattached it by pinning the skirt around the bottom of the top, with the right sides of the fabric together. I zig-zag stitched around the middle to join the dress back together.
Now my vintage shirt dress is 4 inches shorter and about 6 inches smaller and fits me perfectly. After I tried on my new dress, I realised that the sleeves would look better if they were a little slimmer too, so I took in the sleeve seams by about an inch too. So next time you find a dress that you love which is too big for you, don’t dismiss it straight away. Think about what you can do to make it fit, and give the dress a new lease of life!


3 responses
Haha *blush* thanks Aimee 🙂
This looks fab Cassie,you clever lady!it really suits you,you look gorge xXx