Do you ever buy some fabric just because you like it but have no idea what you’ll end up doing with it? I actually got this fabric from Abakhan over a year ago and at the time I thought it might be the inspiration for a kitchen makeover. But during the year, my tastes have changed and I no longer fancy a nautical theme in my kitchen. I’ve since moved on to lolly pops, bright colours and googie shapes, but whether this will still be my plan when I actually get round to decorating the kitchen is another story! However, as you’ve probably gathered from reading my bathroom blog posts, I’ve moved my coastal-desires over to the bathroom and I’ve since realised that the fabric will look equally fab in my beach-hut inspired room.
Although there’s not much call for soft furnishings in a bathroom, privacy is still essential so I decided to use the ‘Porto’ lighthouse fabric to make a blind for the window. I followed a basic blind pattern and I spent a few enjoyable hours at my sewing machine making a cute roman blind. I always thought that it would be pretty difficult to make a roman blind and if you read through tutorials online, it’s quite easy to get baffled by all the measurements and 40-step instructions, but I found out that it’s not all that difficult, and if you want to revamp your windows (or even just show off your sewing skills a bit!) have a go at following my ‘simple’ tutorial for making a lined roman blind.


You will need
- Curtain fabric
- Lining fabric
- Matching thread
- Length of self-adhesive hook and sew-on loop fastener the width of the batten
- 3 lengths of cord – each twice the length of the blind plus the width of the finished blind
- Small plastic rings
- Square wooden batten the width of the blind
- 4 pieces of wooden dowelling, the width of the finished blind minus 3 inches (I used 4 garden canes) If your window is long, or you would like more folds, add extra dowelling.
- 4 screw-in curtain wire eye loops
Step 1
Work out the size of your roman blind by measuring from the top of the window to your required finished drop, adding 2 inches to the top and add 4 inches to the bottom hem. For the width, measure the width of the window, subtract 1 inch to allow for smooth movement either side once it is fitted then add 1 inch either side for attaching the lining to the side seam. Position these measurements on your fabric so that the pattern is central – if you have a stripe or repeating pattern, make sure the lines are straight and there is an equal pattern either side. Cut out your blind fabric.


Step 2
Use the same measurements to cut your lining fabric, adding 2 inches to the height for each dowelling pocket – so for my three pockets, I added 6 inches to the length. Cut the lining fabric and mark your hems – measure up 4 inches from the bottom and mark a line across on the back of the fabric, and do the same at two inches down from the top. Divide the rest of the fabric between these lines by the number of dowels you would like to use and mark a line across on the back of the fabric at equal intervals – I wanted to include 3 dowels, so I divided my fabric into three equal sections and marked a line at each point.


Step 3
Fold along the dowelling pocket lines and press with an iron. Pin and stitch a straight line at one inch from the fold to make a pocket for the dowelling. Repeat for each of the dowelling pockets.


Step 4
With the right sides of your fabric and lining facing each other, match up the edges and pin down both sides of the blind. Stitch a hem down one side at one inch from the edge, sealing one end of the dowelling pockets. Insert the dowelling canes at the open edge, then stitch a one inch hem down the side of the blind. Turn right-side out.


Step 5
Working on the reverse of the blind, turn the top edge of the blind and lining down by one inch and press with an iron, then turn down another inch and press. Pin the stitch-on loop fastener across the width of the blind, covering this top hem and stitch in place at the top and bottom of the loop fastener.


Step 6
Still working on the reverse of the blind, turn the bottom of the fabric and lining up together by 2 inches and press with an iron. Turn up another two inches and place iron-on hem webbing along the top of this hem. Follow the instructions to iron on the webbing to glue the hemming down. This keeps the hem in place while you slip-stitch the hem to the lining – making sure you don’t stitch through to the front of the blind.


Step 7
Insert the bottom dowel into the hem pocket and hand-stitch the edges together to seal the dowelling into the hem.


Step 8
Working on the reverse of the blind, stitch the plastic rings along each of the dowelling rod pocket seams in three places – 4 inches from each side and in the very centre. Tie the pieces of cord onto the bottom ring and feed up through the other rings to the top of the blind.


Step 9
Screw the curtain wire eye loops into the batten at the same intervals as the rings on the back of the blind. Apply the stick-on hook fastener to the batten and attach the batten at the top of your window recess – we used grip adhesive because there is a lintel above my window!


Step 10
Attach the blind using the hook-and-loop fastener and feed the cord through the curtain wire eye loops and out to the side. Attach a cleat to the wall where you would like to tie off the blind. Knot the cord together at the bottom and pull up your new blind to create the folds and tie off using a cleat.
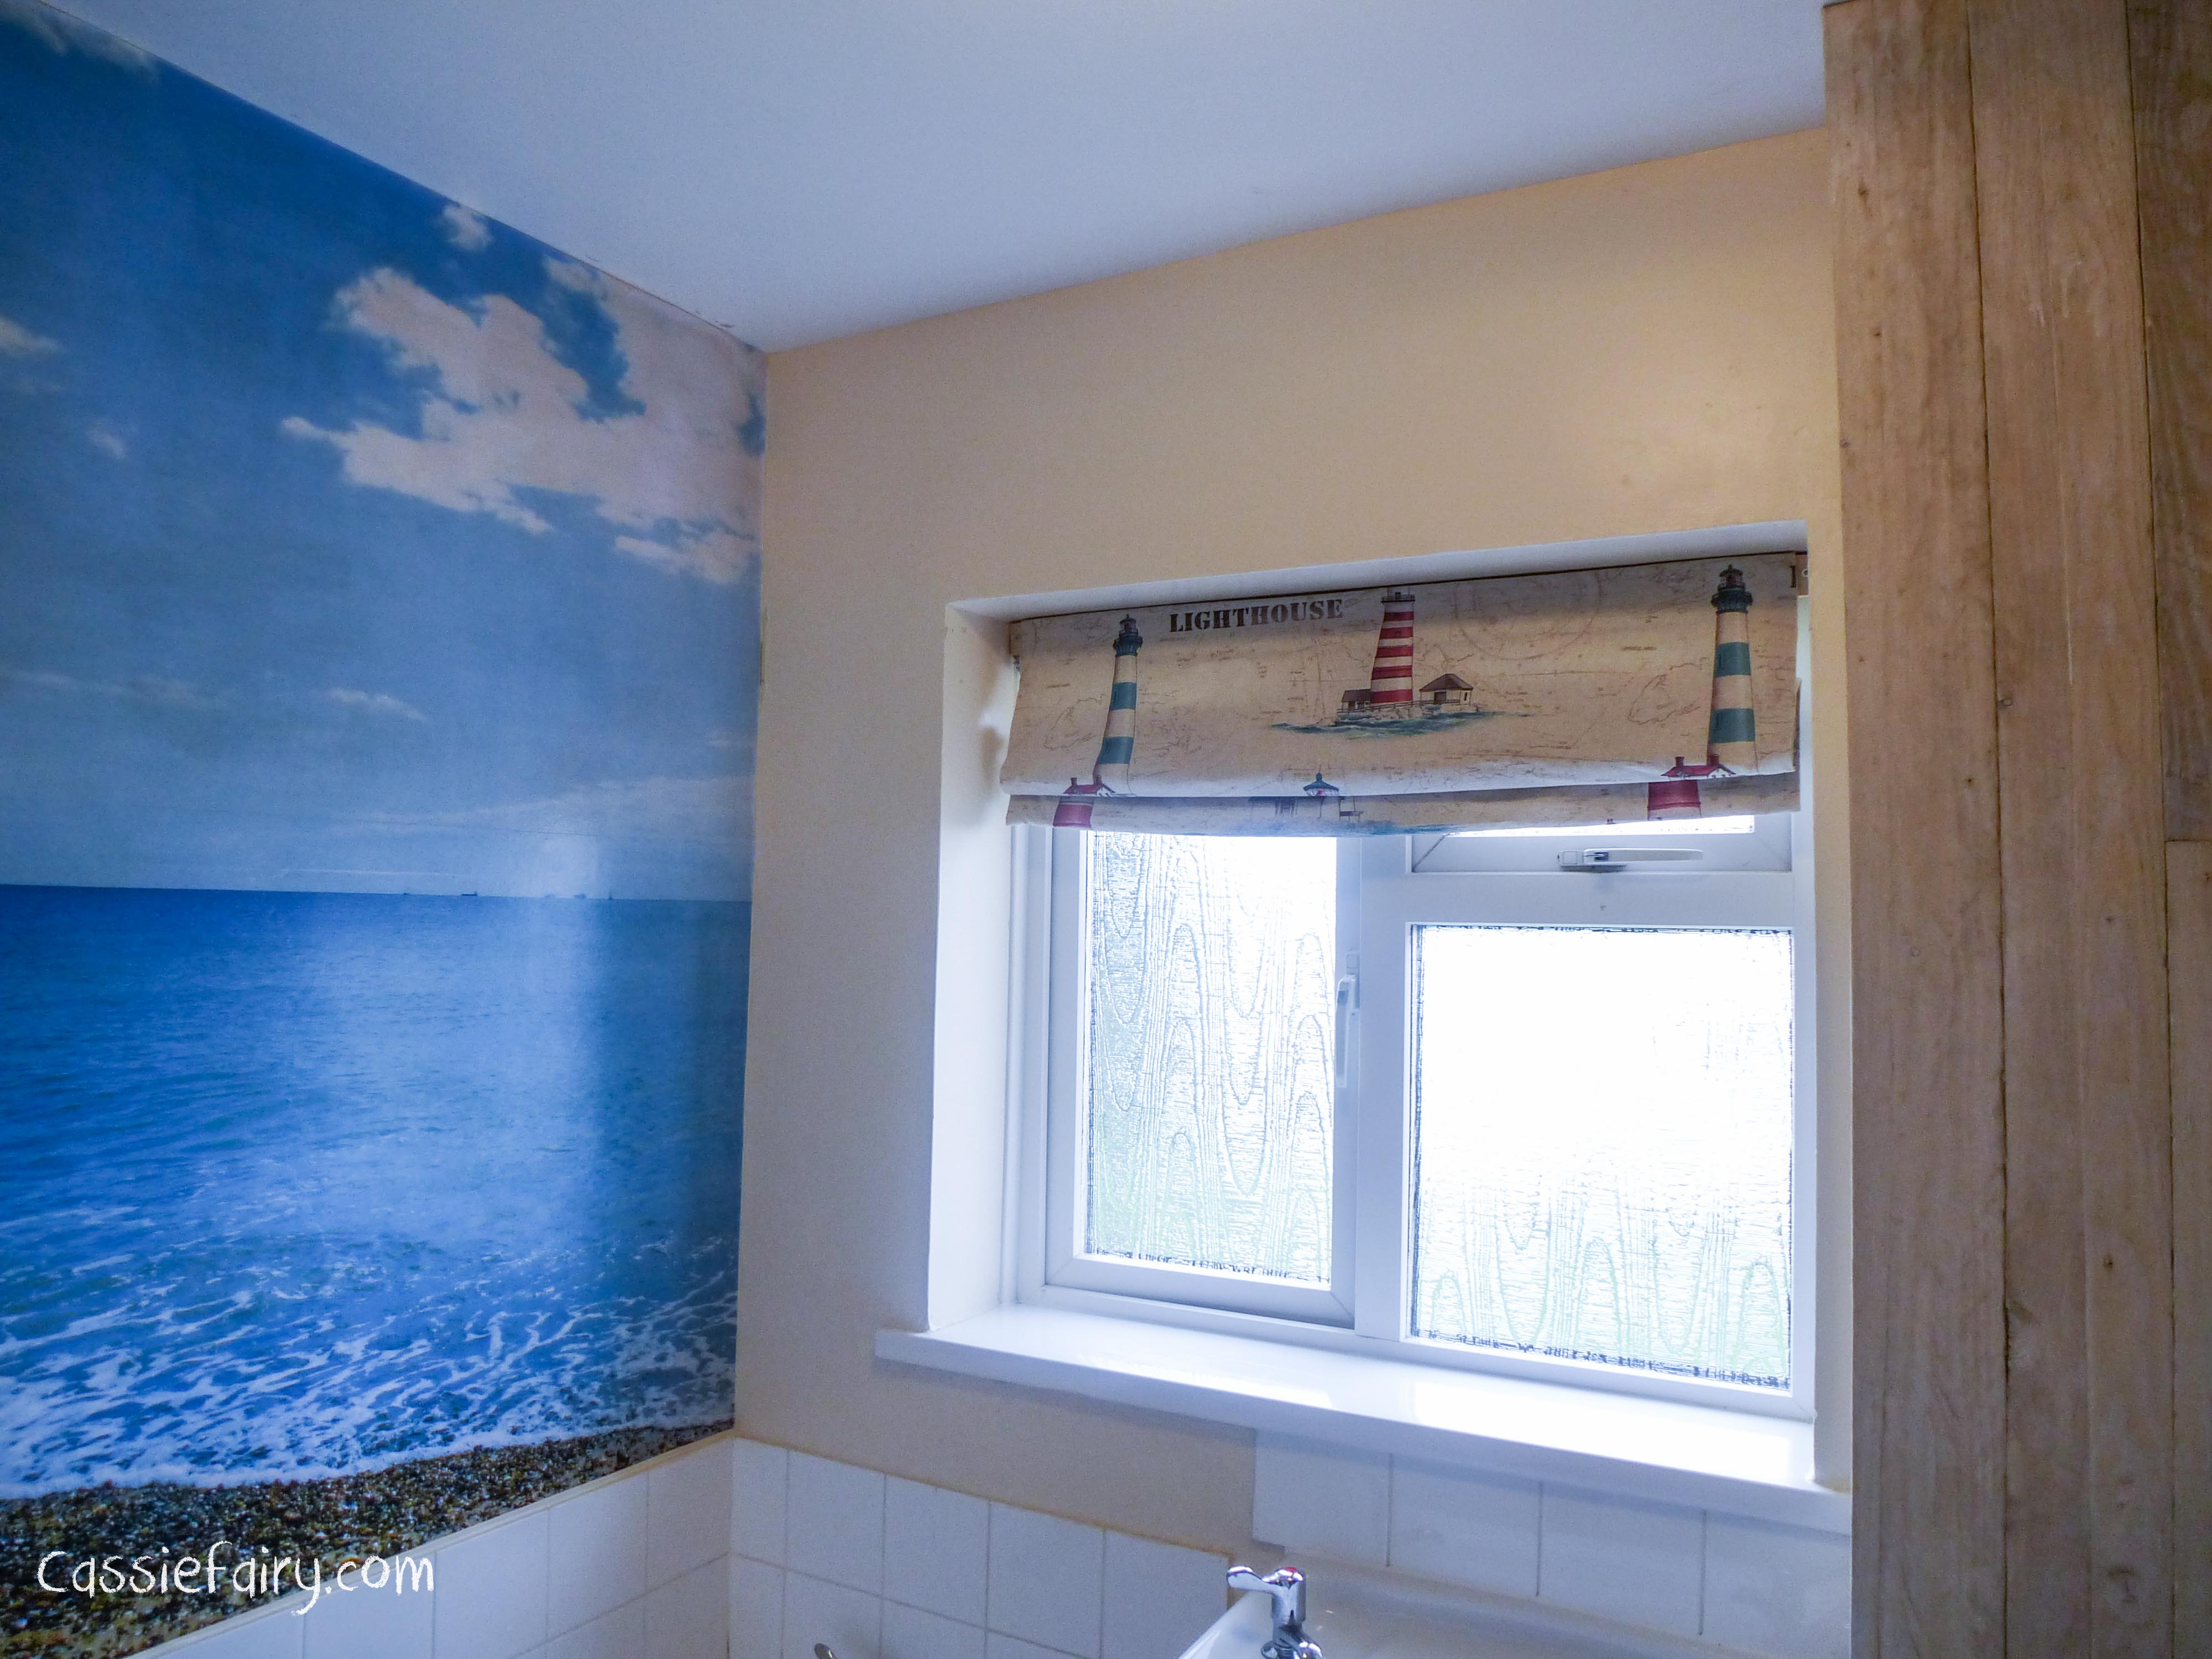

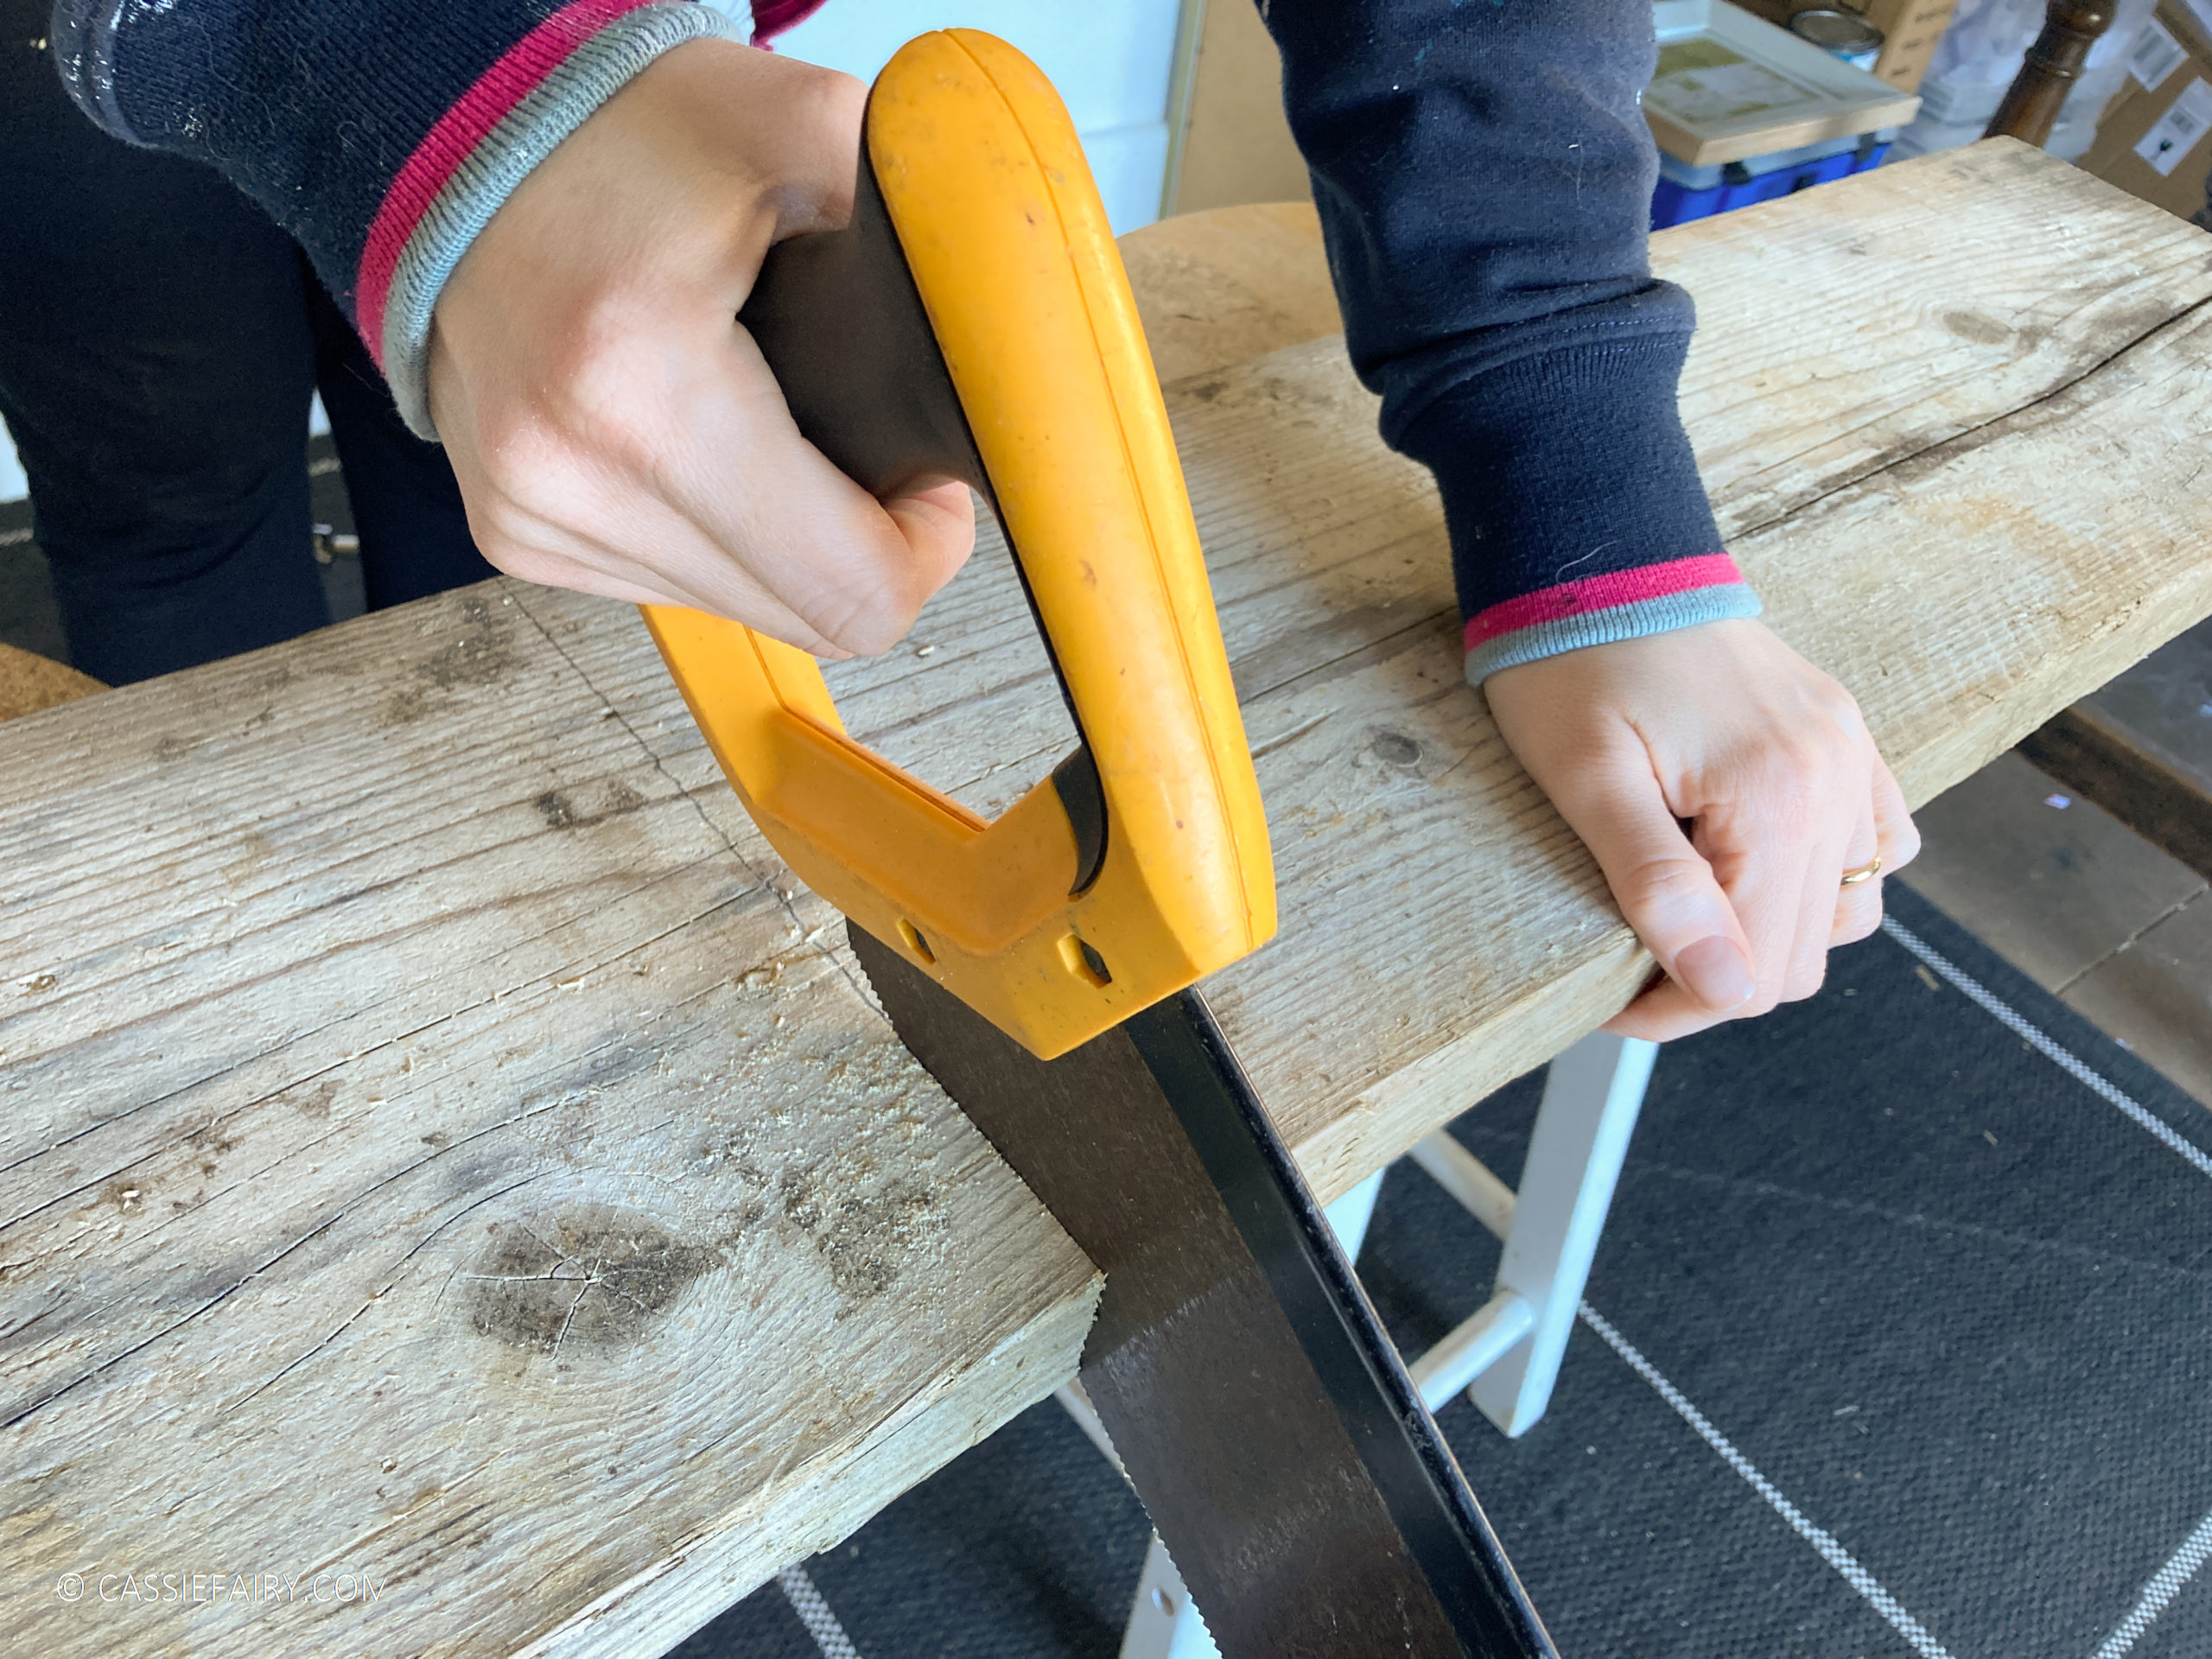
And this is what my blind looks like after I enlisted hubby to install it in the bathroom. I’m really quite happy with how it turned out and it’s nice to have the extra privacy (and I’m sure extra warmth in winter!) in the bathroom. I’ve still got more fabric left over so watch this space for more projects! Next up on my list is more storage in the bathroom and I’d love to build a towel shelf over the door. I’ve been searching online for tutorials and found a great channel on YouTube which shares easy DIY projects from start to finish. I wanted to brush up my DIY skills and this channel has some great information about power tools; The multi-tool looks ideal for a DIY novice like me!
I just need to find some more wood (hopefully free or found in a skip, like the shuttering we used for the bathroom floor and storage wall) and I’ll be able to start on my next project for the bathroom makeover! I’ll post more updates next week because we’re sure to be doing more DIY in the bathroom over the weekend and I’ll take some photos to share with you. In the meantime, have a fab weekend 🙂