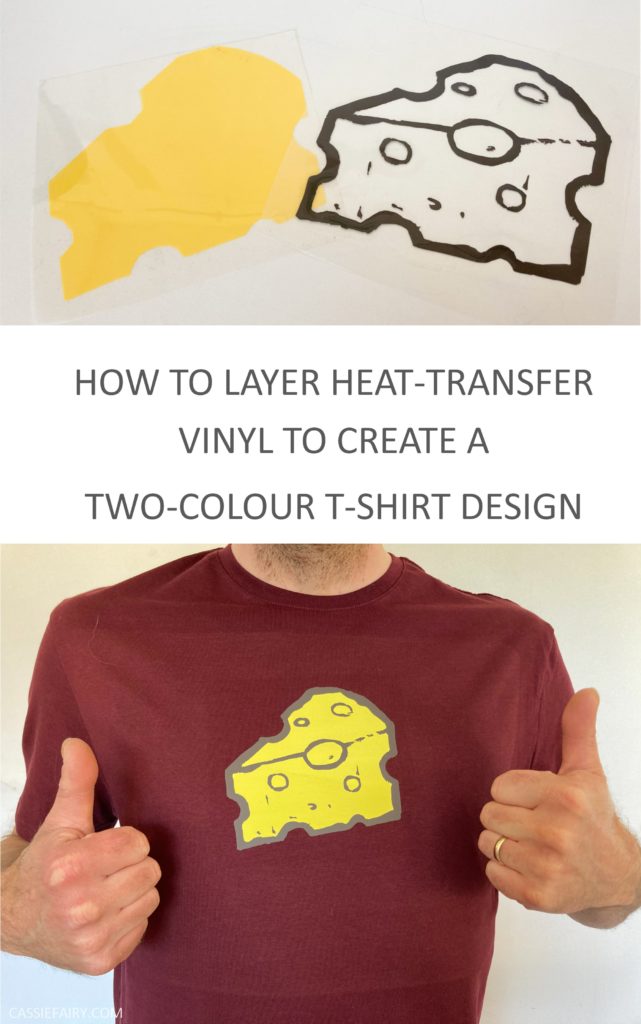
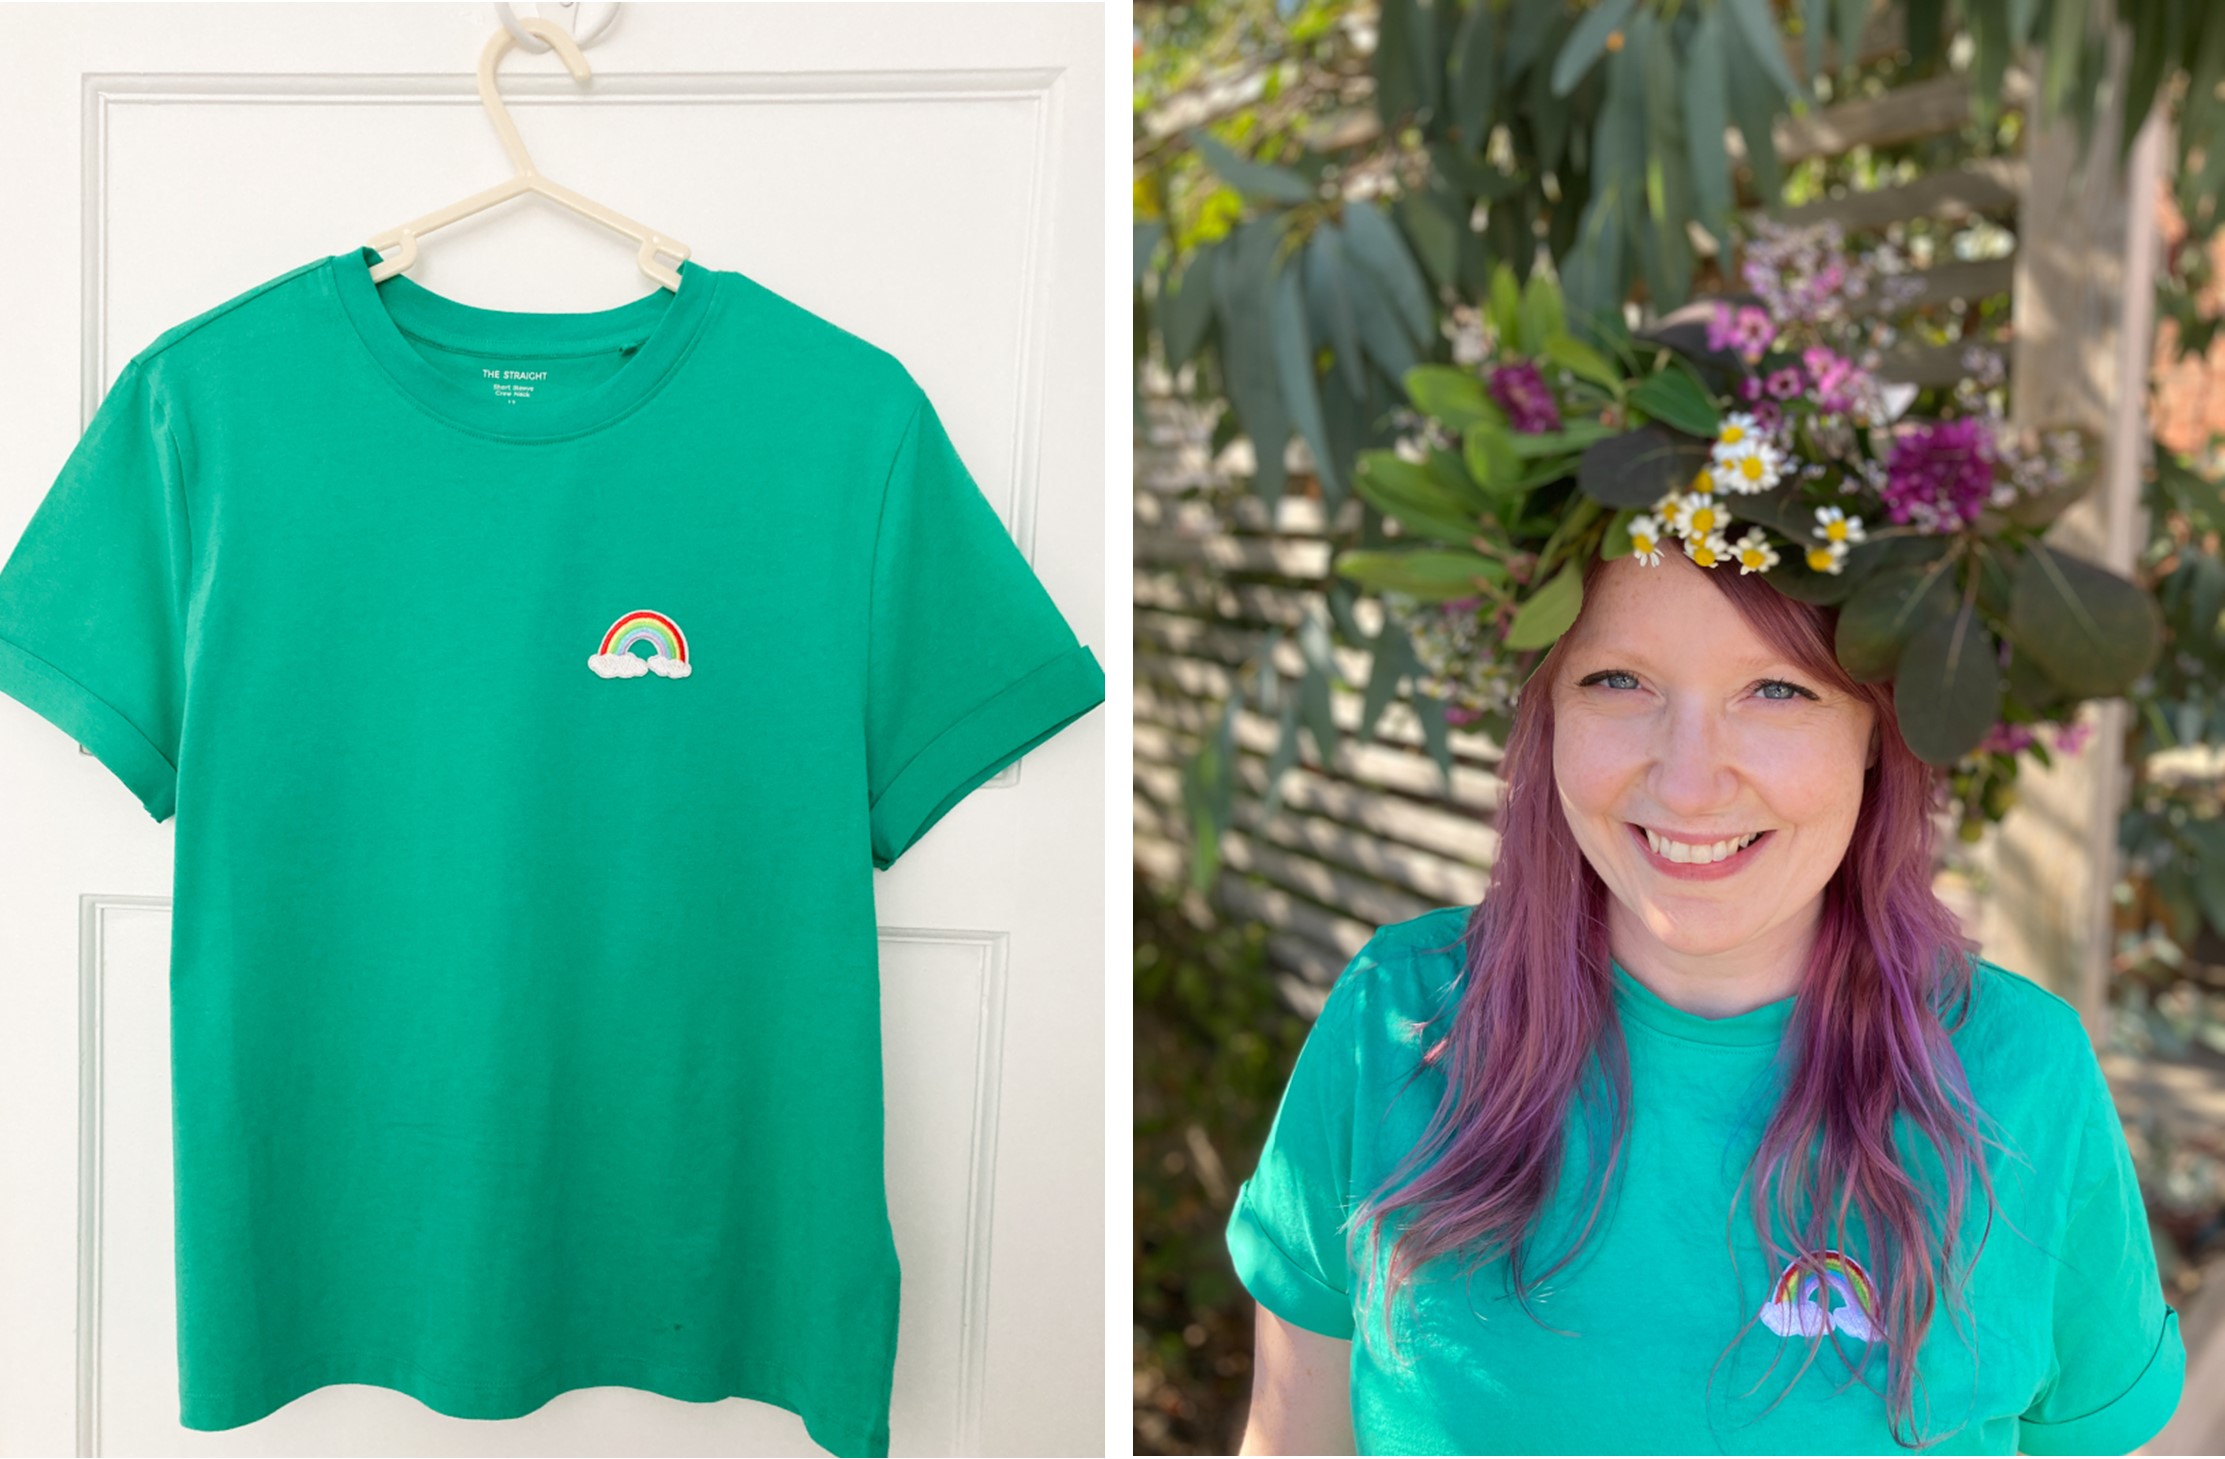
I’ve been making my own slogan t-shirts for a while now. It’s a great way to upcycle old clothing (and cover up stains!) and you can personalise your charity shop finds with quotes or designs of your own. But I’ve never attempted to layer up coloured heat-transfer vinyl before – I thought it was some kind of mystical trickery and didn’t dare try it. But this month, I thought I would give it a go and luckily I had my camera on hand to film the process. Here’s how I got on…
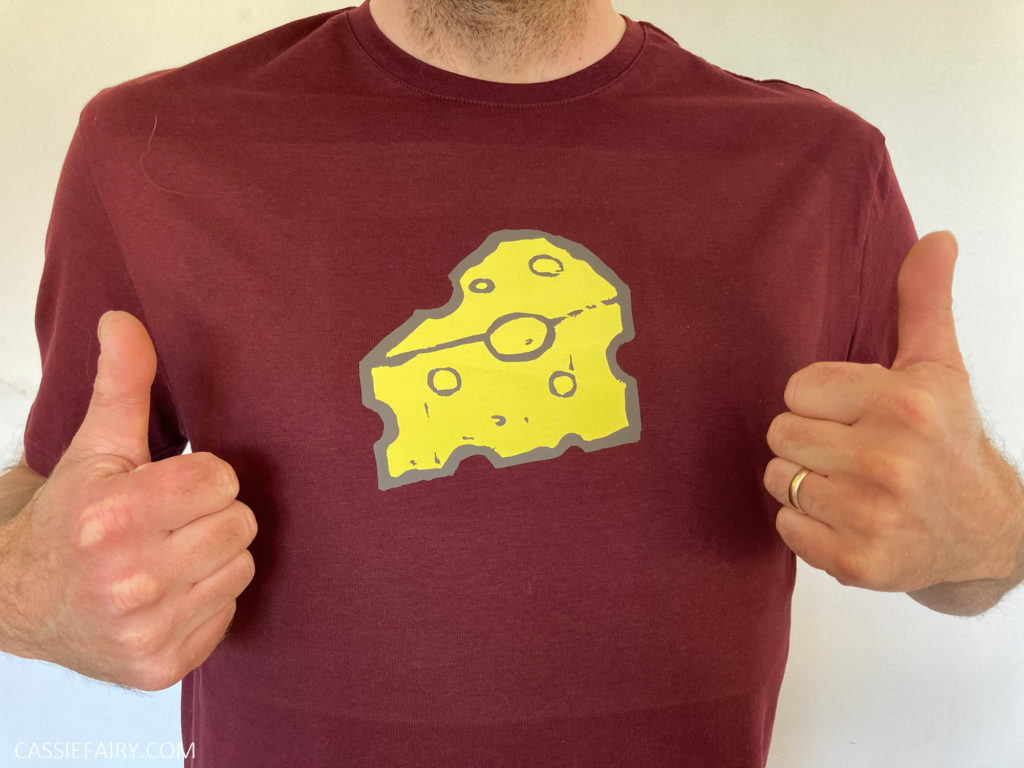
A PERSONALISED WARDROBE
If you fancy personalising your clothing, you can’t go wrong with heat-transfer vinyl. You can buy packs of colours at low cost on Amazon and it can be used to cut out any design you like. As long as you follow the heating instructions to apply the vinyl using a heat press or iron, you’ll be able to create a unique item of clothing that you’ll wear with pride – “I made it myself!”
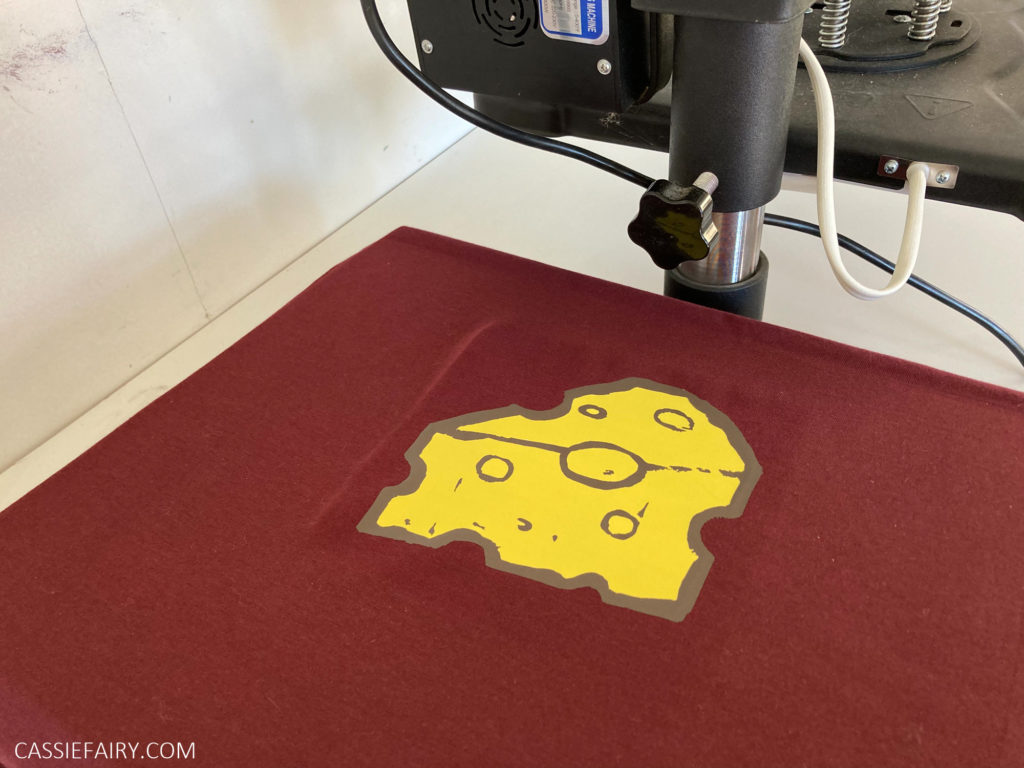
WHAT CLOTHING TO USE
You don’t have to stick to just T-shirts when planning your heat-transfer project. You can use vinyl to add designs to any clothing you like as long as the fabric is able to be heated without being damaged; a hoody, mens trousers, a jersey top, sweatshirt or even jeans. Pretty much, if it’s cotton, it’s okay to use – but try ironing a small, unnoticeable part of the clothing to ensure that it isn’t damaged when you apply heat.
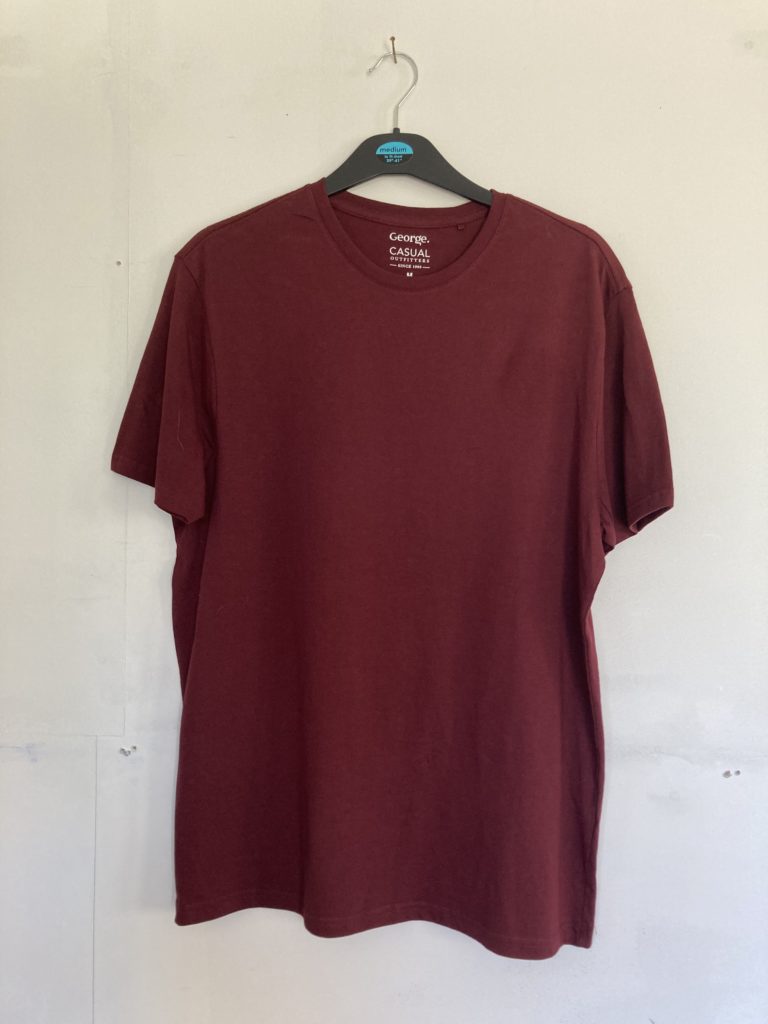
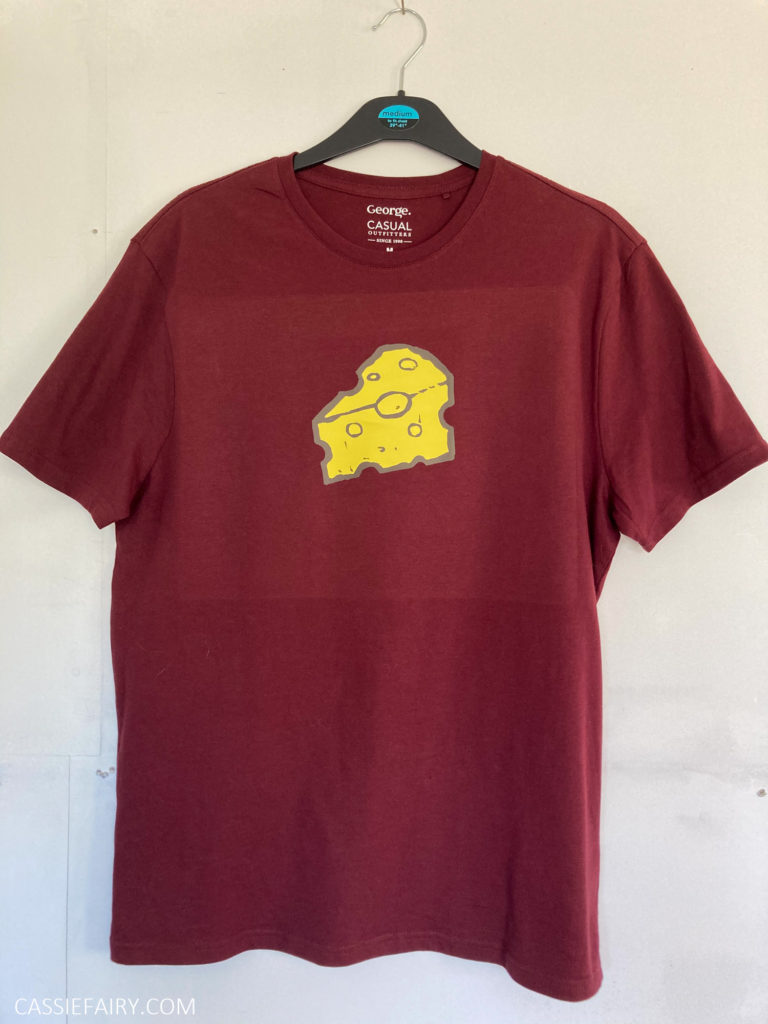
CHOOSE A DESIGN
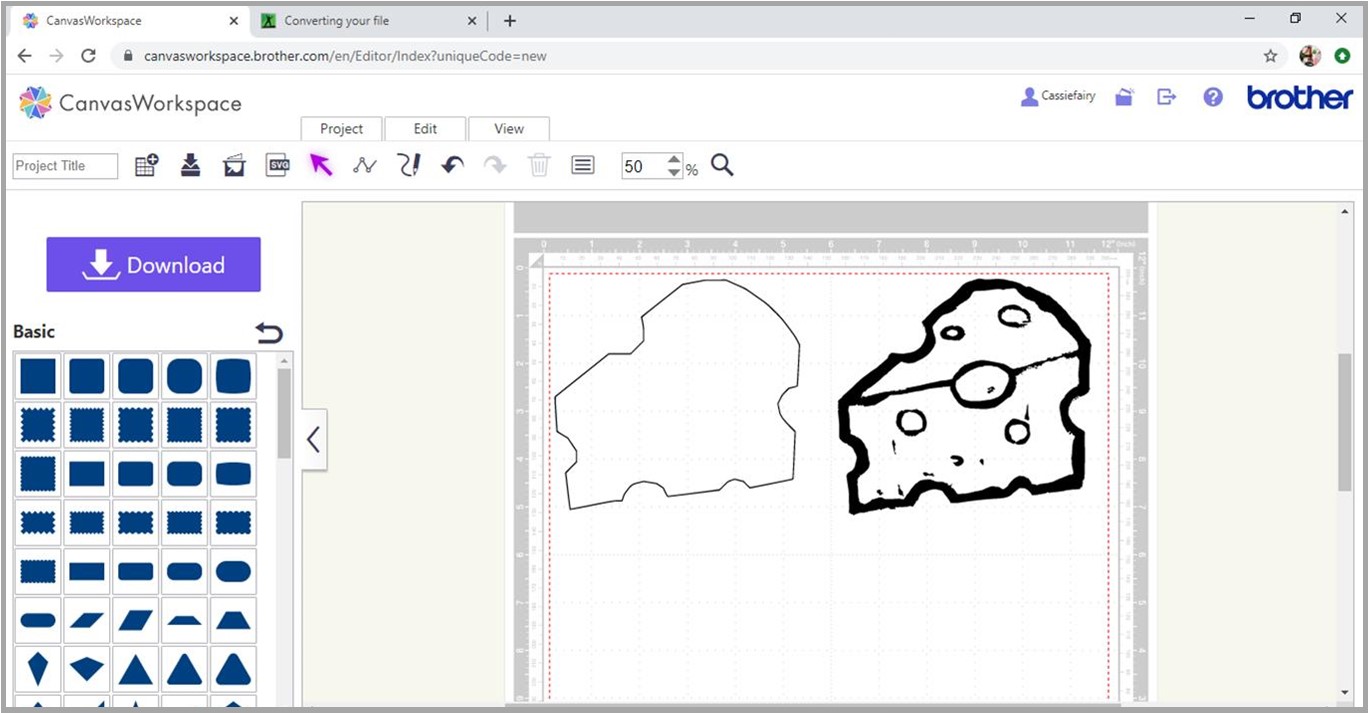
The first step is to choose a two-colour design to print onto you clothing. It could be text printed onto a coloured background shape, or it could be an image with a darker outline. Use the software that comes with your cutting machine to extract each layer into a SVG file, ready to cut. If you don’t have a cutting machine, don’t worry – you can use a craft knife and cutting mat to carefully cut out the shape and outline from the vinyl yourself.
THE CUTTING PROCESS
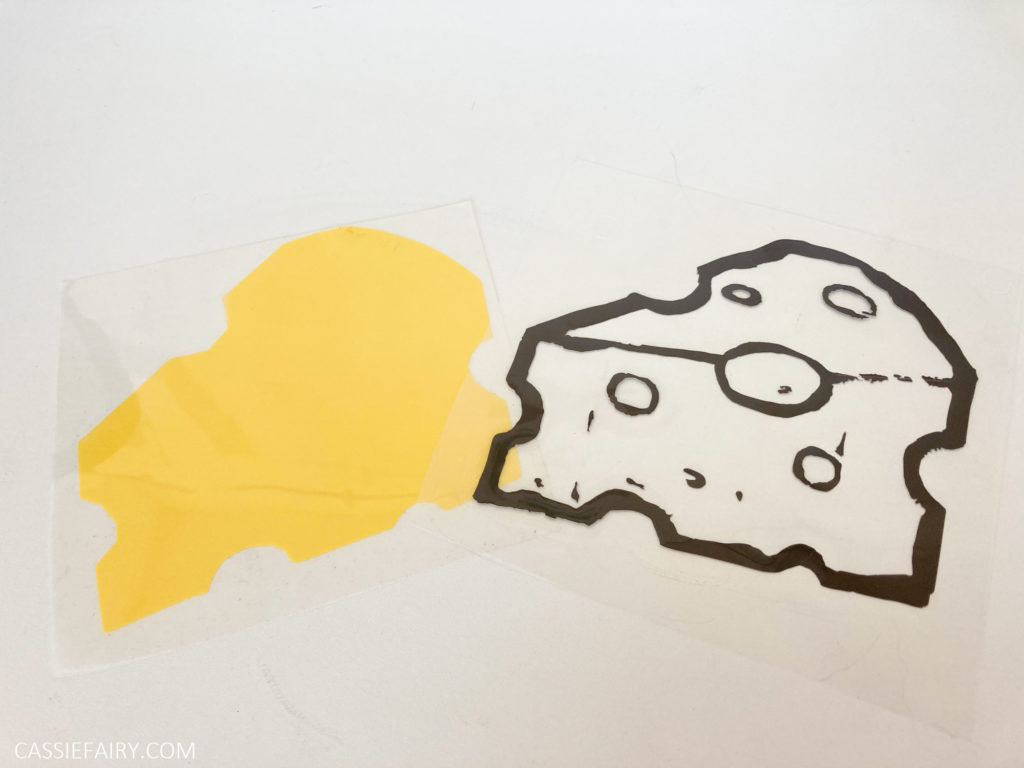
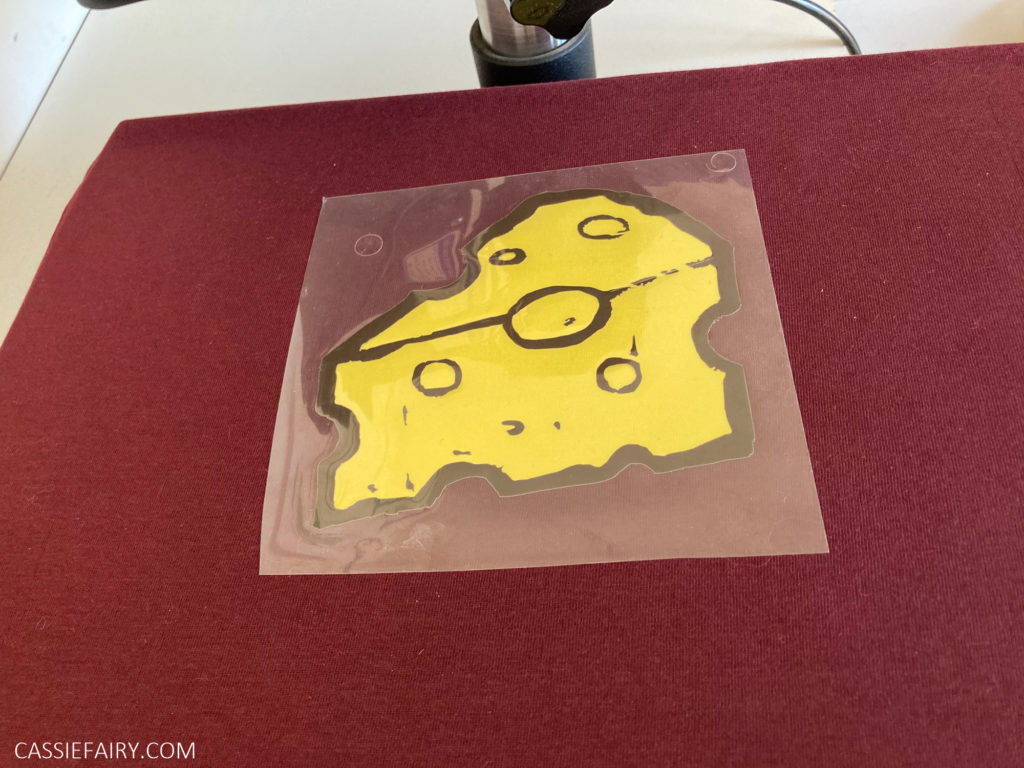
The most important part of the layering process is to make sure not to cut all the way through the clear acrylic backing sheet on the top layer of vinyl. You can cut out the background shape, as this will be transferred first and the backing will be peeled away. But the second layer needs to have the clear backing sheet intact as this protects the background shape from melting when it’s heated a second time!
STEP-BY-STEP VIDEO
It’s so much easier to show you how to do the twp-layer process rather than try to explain it, so here’s a quick video I’ve popped onto YouTube so that you can see the process for yourself.
CARING FOR YOUR CLOTHING
Once the heat-transfer vinyl is attached to your clothing, it should stay in place for a long time. You can wash it and wear it – I’ve got t-shirts that have lasted for years after being printed with heat-transfer vinyl. One of the patterned designs I printed lasted for about 2 years before the edges of the stars started to come way from the fabric. One important thing to say is that I wouldn’t iron directly over the vinyl design as it might melt – take care!
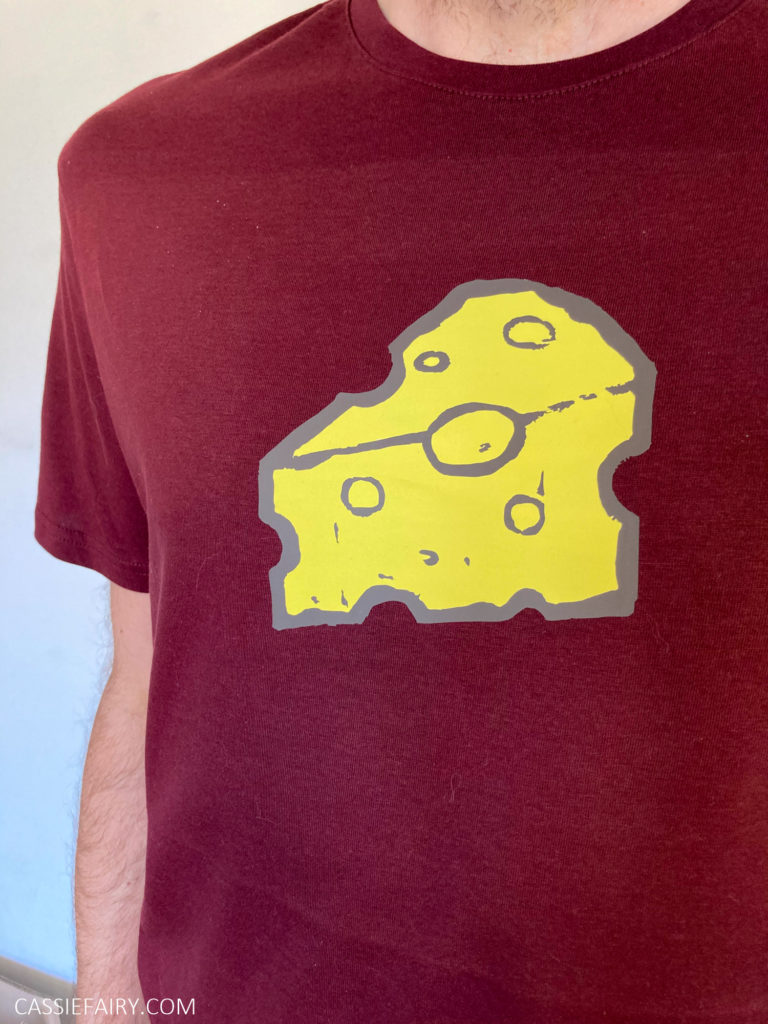
Let me know if you have a go at making your own t-shirts or customising secondhand clothing youself and I’d love to see your photos of your creations 🙂
PIN IT FOR LATER
This article is a sponsored collaboration. The pink links in the content indicate a sponsored link or information source. The blog post reflects my own experience and the sponsor hasn’t had any control over my content 🙂









One Response
This is very wonderful and attractive blog This blog really helps a lot of peoples. thank you for sharing this bog.